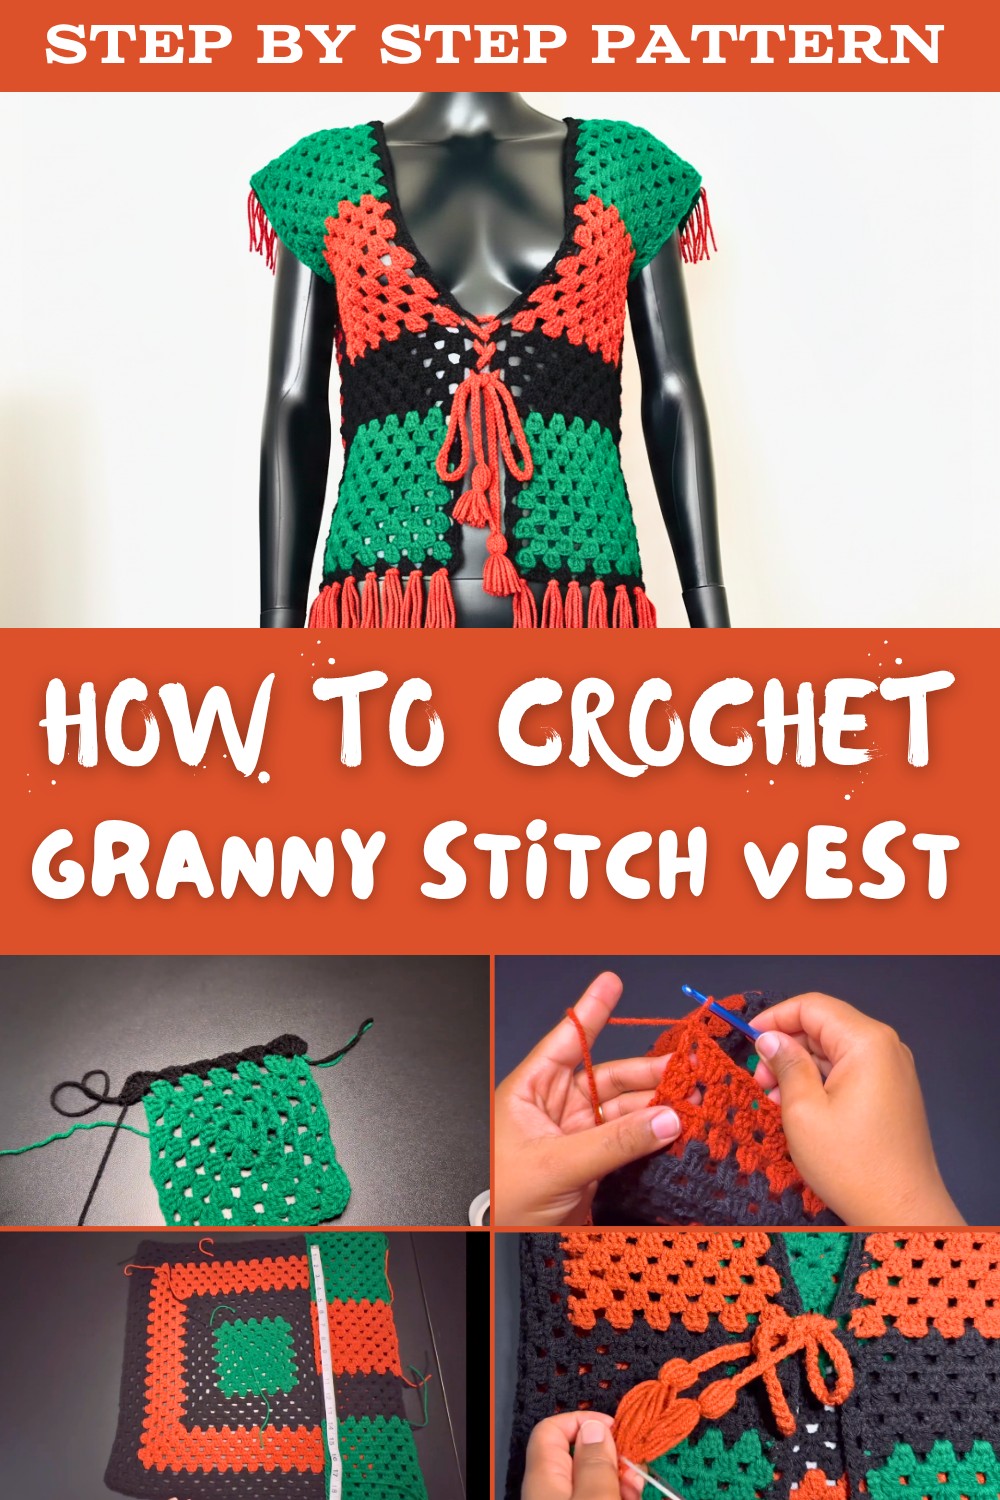
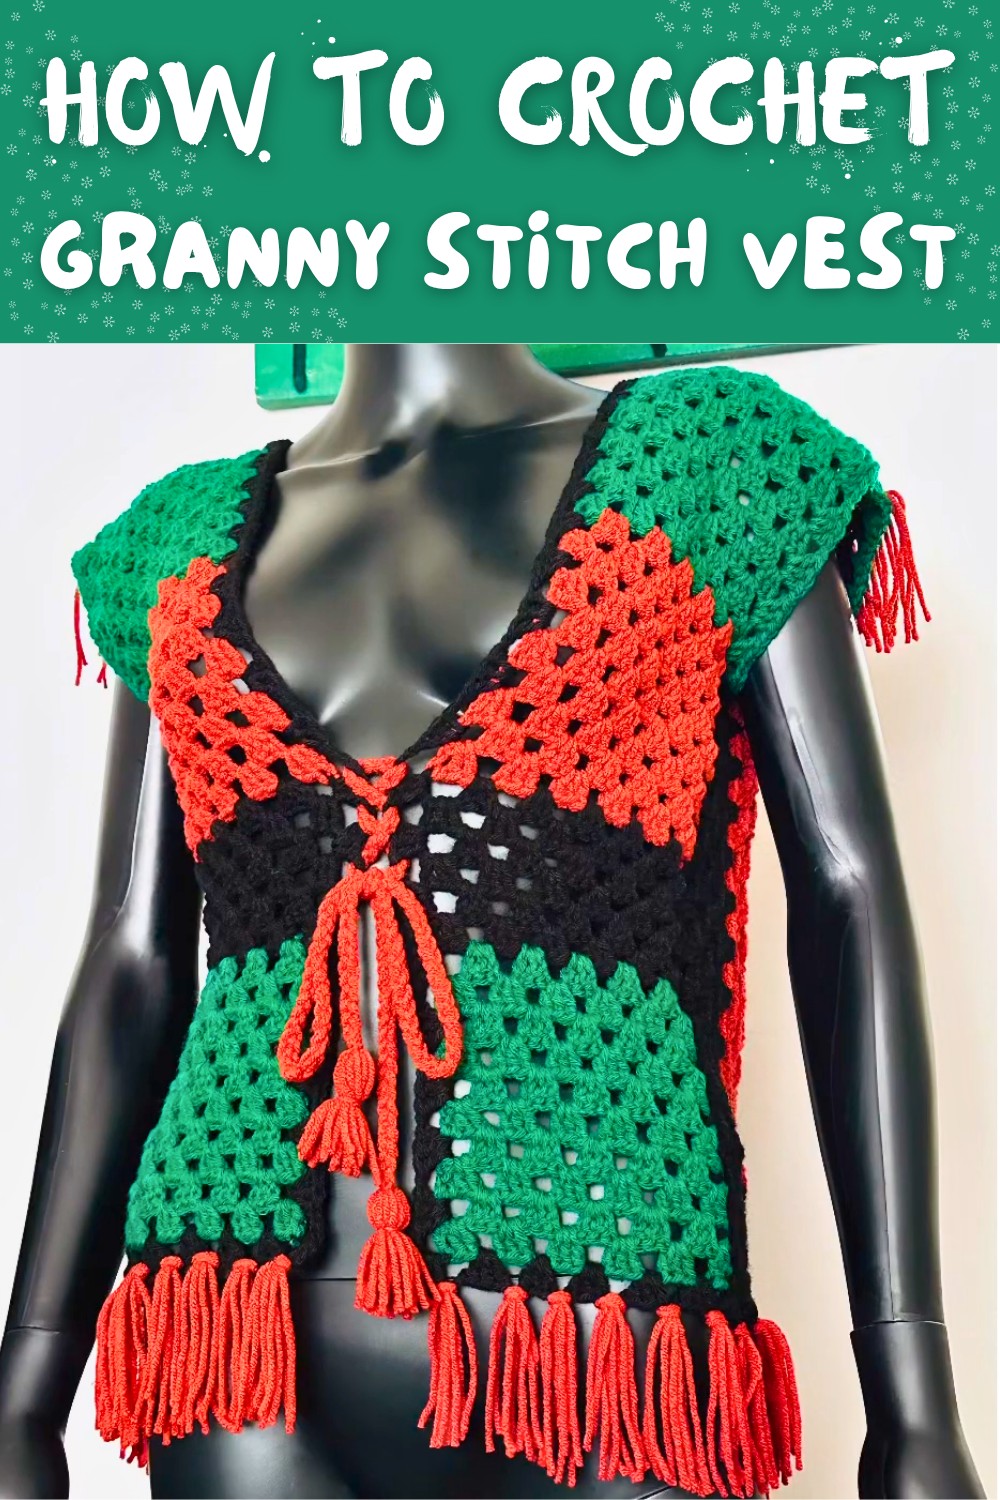
Adorable Free Crochet Granny Stitch Vest Pattern for Any Season
Add flair with this Crochet Granny Stitch Vest Pattern, turning classic motifs into a cozy, colorful piece that brightens any outfit with charm and style.
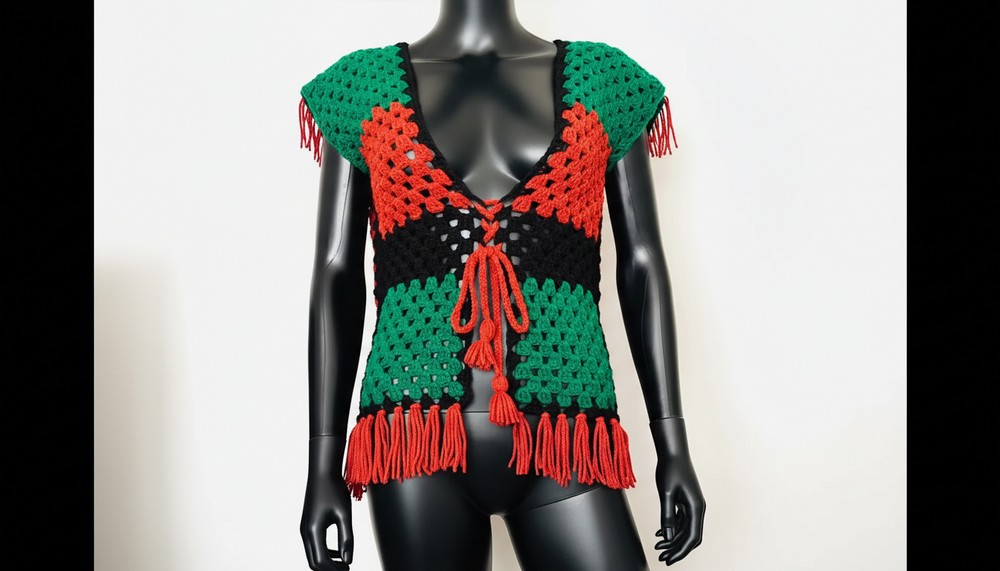
Colorful clusters and openwork combine to create a lightweight layering piece that's both playful and practical. A Crochet Granny Stitch Vest Pattern turns the classic granny stitch into a sleeveless garment, making it perfect for adding texture and warmth without bulk. This project is fun because the repetitive stitch pattern is relaxing while still allowing plenty of room for creativity with color combinations, panel arrangements, or stitch orientation.
Free Crochet Granny Stitch Vest Pattern That's for Everyday Wear
Makers can craft it in separate squares for a patchwork effect or work it seamlessly for a sleeker look. For a twist, try ombré yarn for a subtle gradient, add fringe along the hem for a boho vibe, or mix bright, contrasting colors to give the vest a cheerful, retro-inspired flair.
Granny Square Vest Crochet Pattern
Materials
- Yarn:
- Red Heart Super Saver or similar worsted weight yarn (Size 4).
- Yardage for the project: Approximately 800-1000 yards total.
- Yarn colors: Suggested 3 colors (green, black, and an optional 3rd color for accents).
- Crochet Hook:
- 6.00mm hook (adjust hook size if needed for tension).
- A smaller hook (3.75mm) for attaching fringe for precise control.
- Measuring Tape: For accurate sizing and alignment.
- Scissors: To cut fringe and trim edges.
- Darning Needle: For weaving in ends and securing loose strands.
- Optional Stitch Markers: To mark neckline and armholes.
Gauge
The gauge depends on shoulder-to-shoulder measurement:
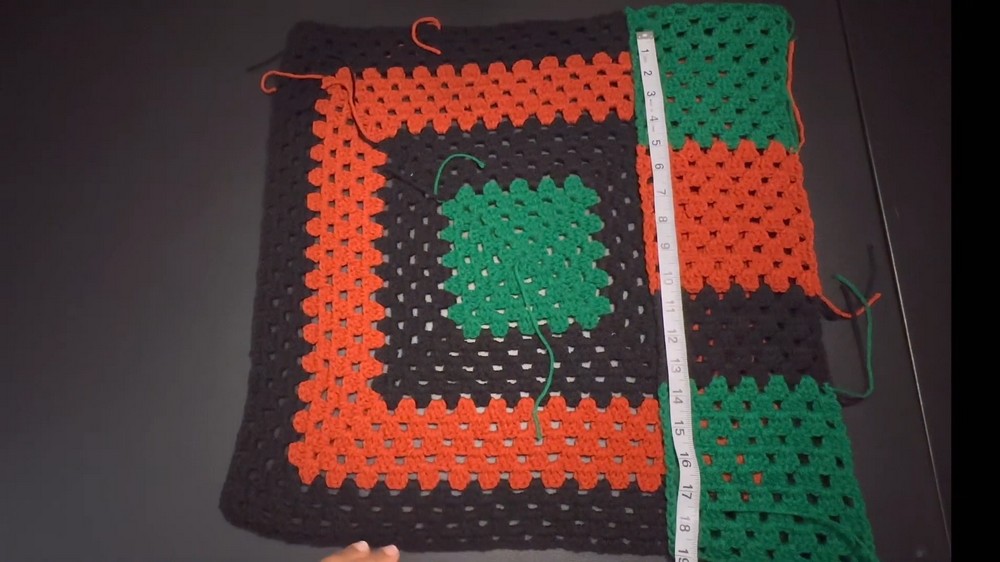
- Individual granny squares measure approximately 20 inches per panel for an adult size.
- Adjust for smaller or larger sizes by increasing or decreasing rows of the granny square.
Finished Measurements
- Back Panel: 20 × 20 inches.
- Front Panels: Each measures 20 × 10 inches.
- Neckline/armholes: Adjustable based on preference, approximately 7 inches wide.
Pattern Instructions
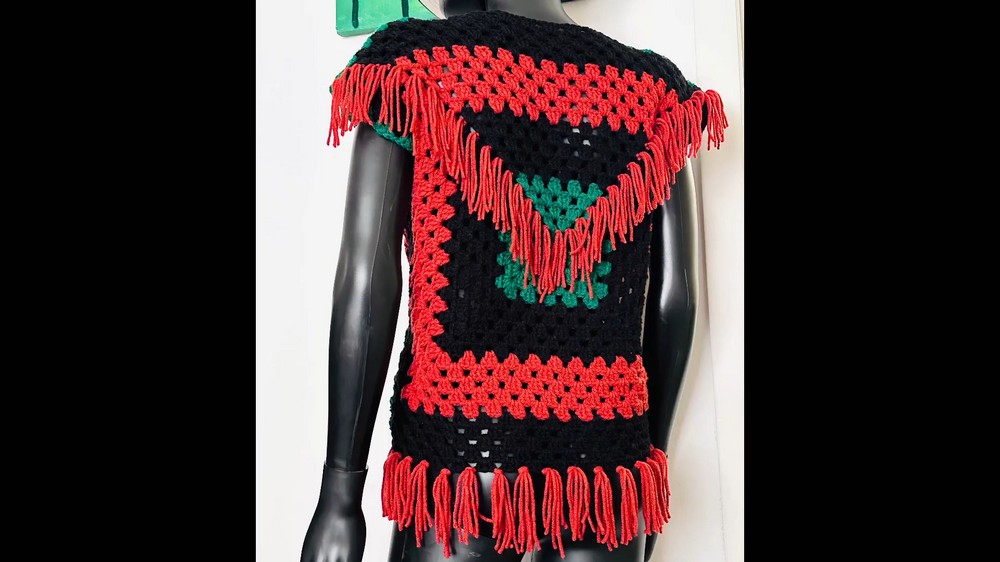
Step 1: Large Granny Square (Back Panel)
Follow the instructions to make a large granny square as the foundational back panel.
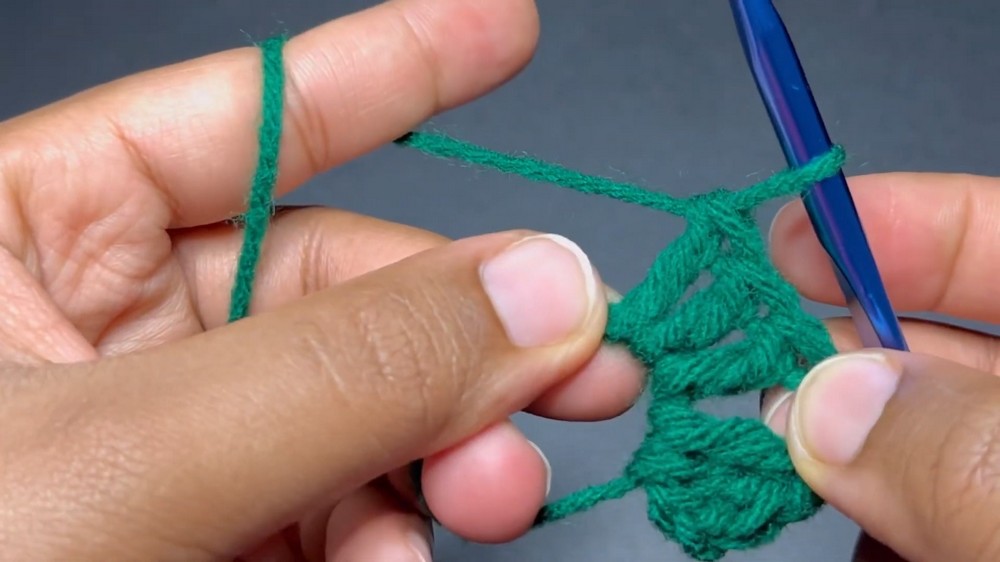
Starting the Granny Square
- Create a magic ring:
- Loop yarn, secure with a slip knot, and pull tight.
- Chain 4, this will count as the first double crochet and chain space.
- Into the ring, work:
- 3 double crochets.
- Chain 2.
- Repeat 3 double crochets, chain 2 three more times (to form 4 corners).
- Pull the ring tight to close the gap and finish by slip stitching into the third chain to close the row.
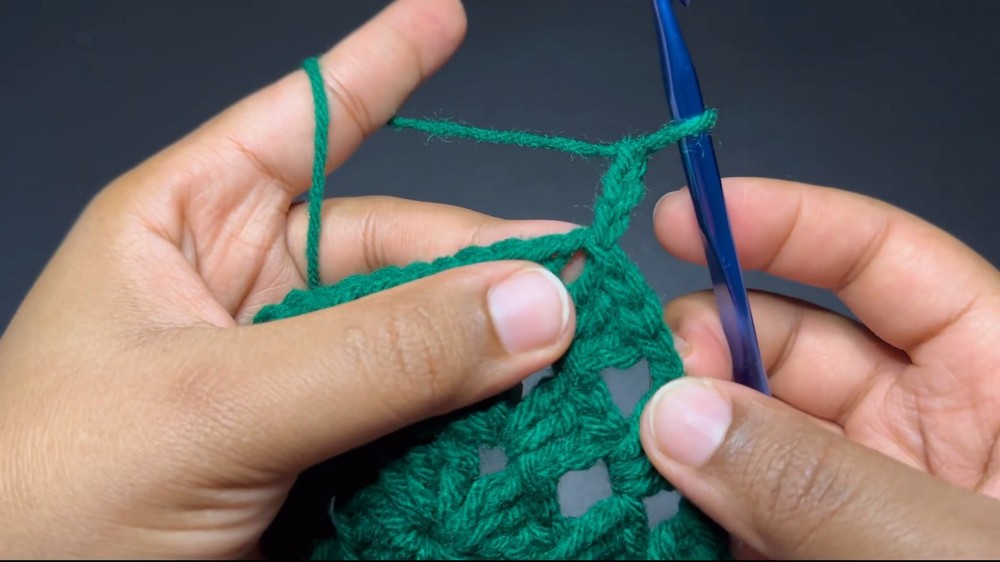
Building Rows
From the first row, begin expanding the granny square:
- Row 2:
- Slip stitch into the chain-2 corner space.
- Chain 3 (counts as first dc), make 2 more double crochets, chain 2, 3 double crochets, into the same corner.
- Chain 1, work 3 double crochets into the next chain space.
- Continue creating shells (3 dc, chain 2, 3 dc) in all corners and chain 1 between clusters.
- Slip stitch to join.
- Repeat Rows 2-4 to continue expanding your square, maintaining shell clusters in corners and chains between sets.
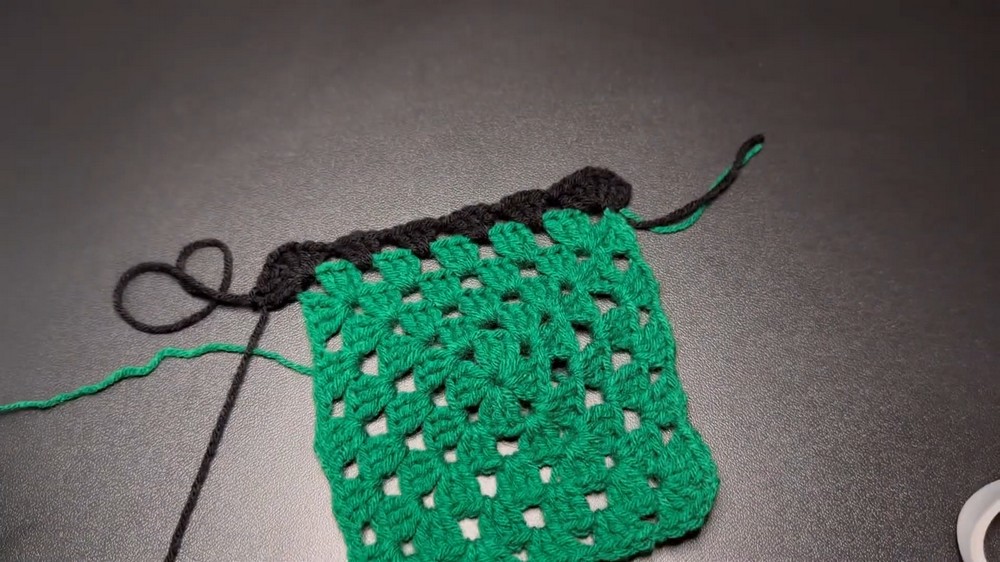
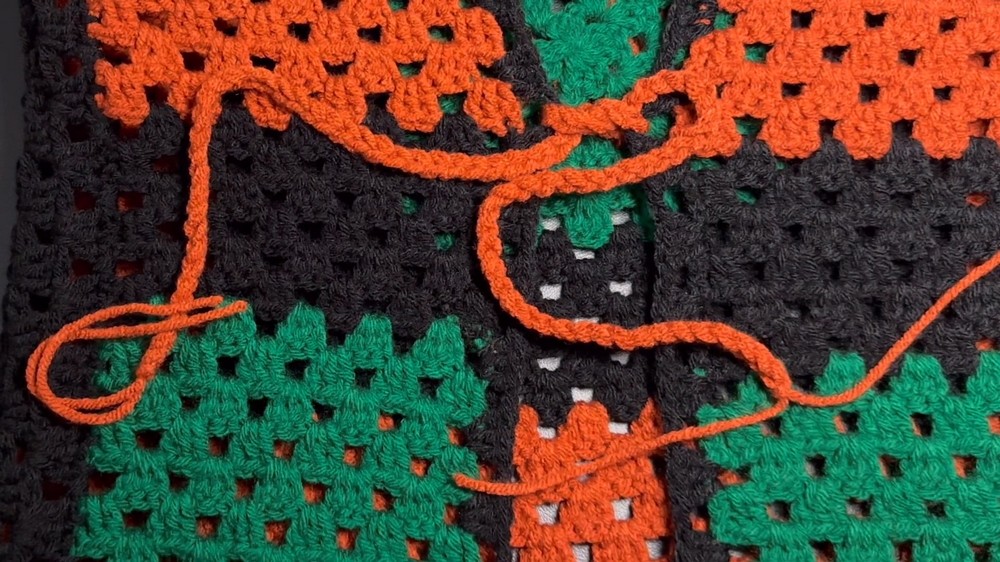
- Color changes:
- If changing colors, fasten off at the end of a row, attach new color into a chain space, and continue the pattern.
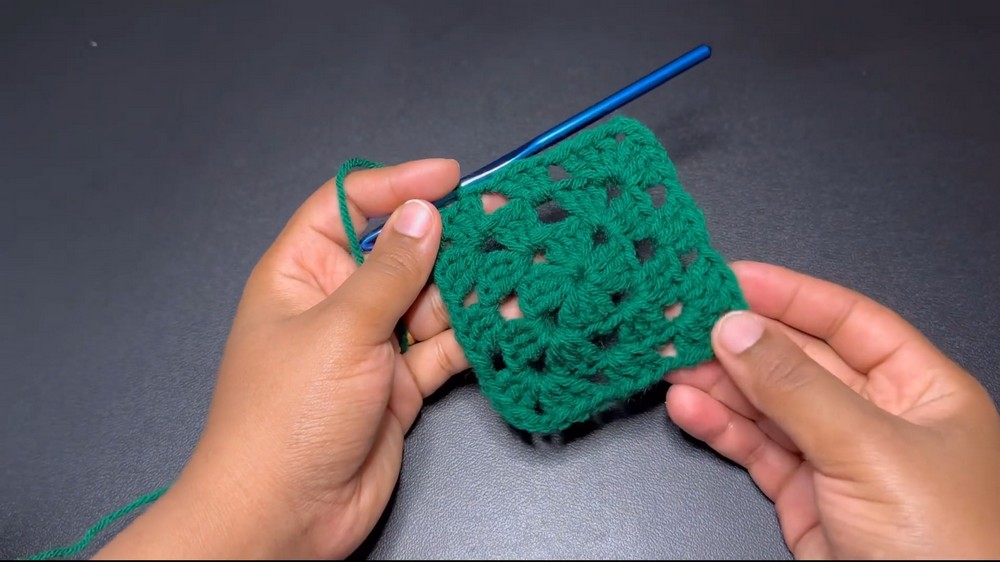
Final Size
Work until the square measures 20 inches across. The tutorial makes 19 rows for the back panel.
Step 2: Front Panels
The front panels are worked as two separate rectangles, attaching directly to the back square to form the vest shape.
Measurement
Each front panel measures half the width of the back: 10 inches wide × 20 inches long.
- Mark where the neckline begins by leaving a gap at the center top of the back panel (approximately 7 inches for the neckline).
Starting the Front Panels
- Attach yarn to one side, making sure to align with the back square shoulder and neckline markings.
- Repeat granny square rows, reducing cluster spaces where necessary:
- Begin rows with chain 3, work clusters (3 dc, chain 1), and shell corners as needed.
- Maintain symmetry with the back panel until each front panel matches the height of the back panel (20 inches).
Step 3: Joining Front and Back Panels
Side Seams
- Fold your vest with the front panels overlapping the back.
- Mark armhole openings your desired size (typically 7 inches wide). Use stitch markers or scrap yarn to hold panels in place.
- Attach yarn to one side and work single crochet stitches through the edges of both panels:
- Place 2 single crochets per granny square shell for stability.
- Repeat on the second side, leaving armholes open.
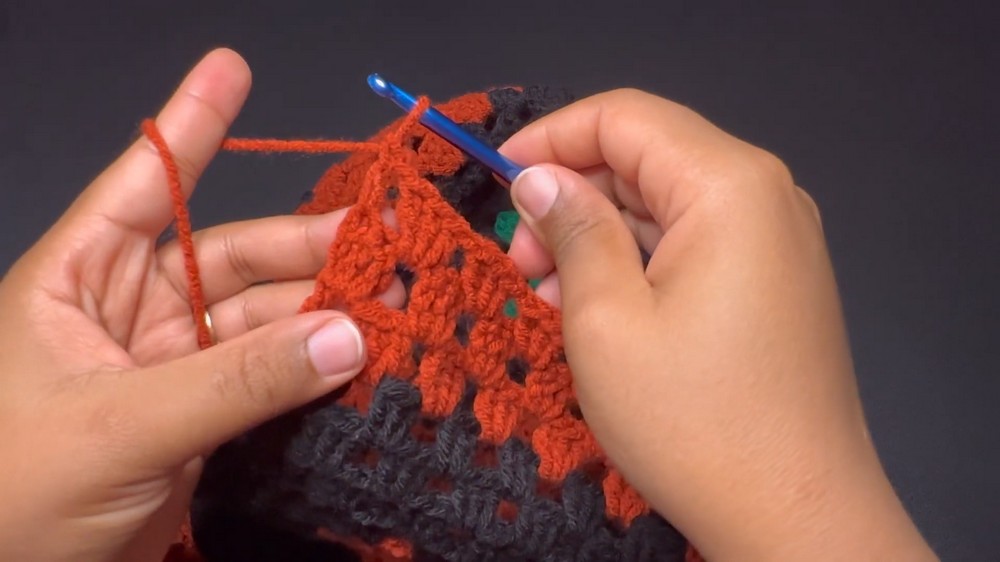
Step 4: Edging
Once the panels are joined, add edging to the neckline, hem, and sleeves.
Neckline/Hem Edging
- Attach yarn to the neckline.
- Work 3 double crochets in every chain space around the opening, chaining 1 between clusters to create scallops.
- If desired, add multiple rows for a wider border.
Sleeve Edging
- Attach yarn to armhole edges and repeat the scalloped border pattern.
Step 5: Fringe Detailing
Back Panel Fringe
- Cut strands of yarn approximately 7-9 inches long (adjust length based on preference).
- Fold the strands in half and attach them to the edges of all granny square shells along the center back using a smaller crochet hook:
- Insert hook into the shell, pull the strands through the fabric, then loop ends into the pulled loop and tighten.
- Repeat along both sides of the granny square.
Hemline Fringe
Create fuller fringes by folding 4 strands together for each tassel and attach to the hemline in each chain space.
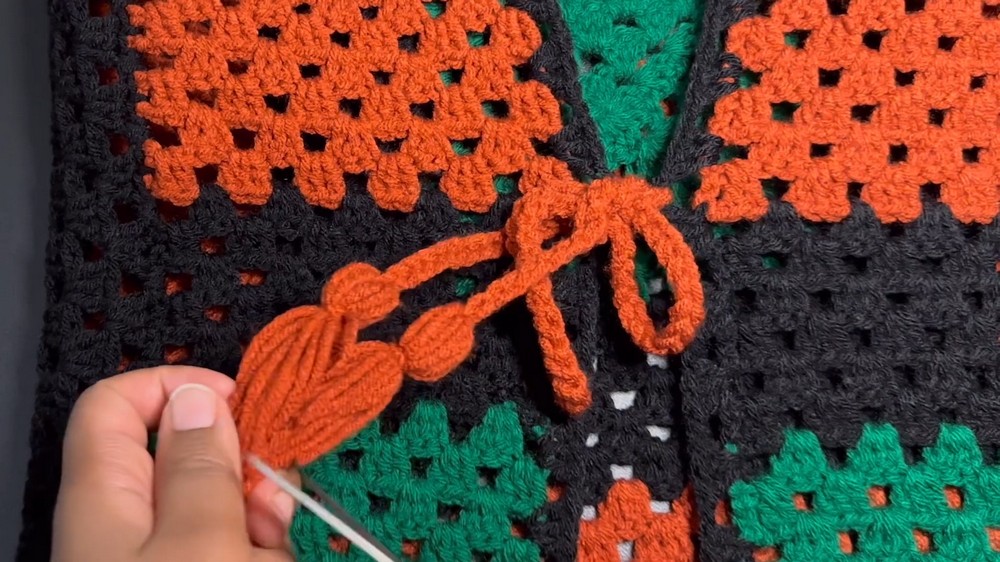
Step 6: Waist Tie
- Double yarn to create a sturdy chain long enough to wrap around your waist.
- Thread the chain through the last granny square row of the front panels to secure and tie at the waist.
- Add fringe to both ends for a creative finish, trimming excess strands neatly.
Finishing the Pattern
- Secure all loose ends with a darning needle, focusing on knotting secure transitions between color changes.
- Check alignment: Ensure the neckline and armholes are even, and fringe falls symmetrically.
- Block the vest gently to shape it properly, especially if edges feel tight or uneven.
Final Words and Tips
- Custom Sizing: Adjust the size by enlarging or reducing the granny squares for both width and height. Use a smaller or larger hook if needed.
- Fringe Options: Experiment with textured or boucle yarns for the fringe to create a dimensional effect.
- Color Transitions: Plan your color sequence carefully for harmonious blending, particularly between panels and edging.
- Versatility: Pair the vest with jeans, skirts, or shorts for effortless layering options.