
Beautiful Free Crochet Flower Pattern to Brighten Your Day
Learn how to make a simple and beautiful crochet flower with easy steps, perfect for decorating your things or giving a special handmade gift to someone you love.
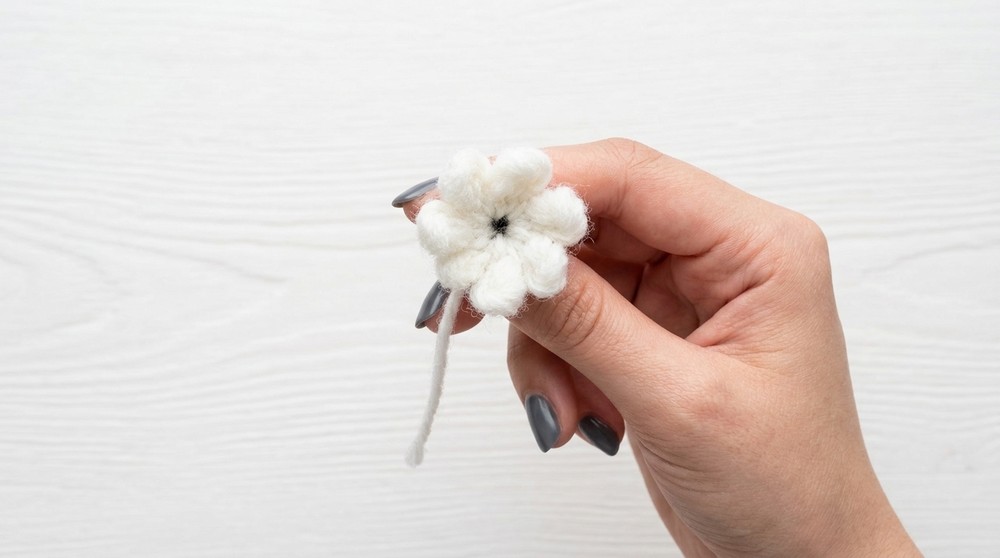
Creating a handmade flower through crochet is a fun and creative way to add beauty to any setting. This soft yarn creation is designed to look like a real blossom, with vibrant petals and a unique texture that makes it stand out. It can be customized with different colors and shapes to match any style, making it a delightful craft for anyone to try.
Crochet Flower Pattern You'll Love to Use for Any Project

This versatile piece is perfect for decorating clothes, adding a touch of charm to hair accessories, enhancing home décor, or serving as a thoughtful gift. It is lightweight, durable, and easy to make, providing a cheerful and lasting touch wherever it is used. Simple yet elegant, this artistic design allows anyone, whether a beginner or experienced crocheter, to create something truly special and memorable with just a little time and creativity.

Materials
- Light worsted (DK) yarn in your preferred colors (petals, leaves, pistil/center)
- 2.5 mm crochet hook (or size to match yarn)
- Florist wire, 22-26 gauge (optional but recommended for sturdy shaping)
- Yarn needle
- Scissors
- Fabric glue
Key Abbreviations (US Terms)
ch = chain
sc = single crochet
hdc = half double crochet
dc = double crochet
tr = treble crochet
sl st = slip stitch
inc = increase (2 stitches in the same stitch)
Special Notes
- Wires are crocheted over for extra strength, shaping, and realistic appearance.
- Pattern is for a full flower (petals, pistil/center, leaves); you can omit wire if not needed.
- All stitches are worked through both loops unless specified.
Petals (Make 5)
- Start with a slip knot and 13 chains.
- Work 1 sc in each of the first 2 chains, crocheting over wire if using.
- Work 1 hdc in each of the next 2 chains.
- Work 1 dc in each of the next 3 chains.
- Work 1 tr in the next chain.
- Work 2 tr in the next chain (tr inc).
- Work 1 dc in the next chain.
- Work 1 hdc in the next chain.
- In the last chain, work 1 sc, ch 2, and 2 sc (all in the same chain).
- Now, working along the reverse side:
- Work 1 hdc in the next stitch.
- Work 1 dc in the next stitch.
- Work 1 tr in the next stitch.
- Work 2 tr in the next stitch (tr inc).
- Work 1 dc in each of the next 3 stitches.
- Work 1 hdc in each of the next 2 stitches.
- Work 1 sc in each of the last 2 stitches.
- Sl st to the base of the first sc to close.
- Fasten off, leaving a long tail.
Repeat for a total of five petals.

Center Pistil
- With your chosen pistil color, make a magic ring.
- Into the ring:
- ch 4, make 3 sl sts in the ring.
- Repeat this step until you have 8 loops.
- Tighten the magic ring so loops cluster together.
- Fasten off, leaving a long tail.
- Optional: Insert wire for extra structure.
Leaves (Make 3)
- With green yarn, make a slip knot and chain 13.
- Work 1 sc in the first chain (over wire if using).
- Work 1 hdc in the next chain.
- Work 1 dc in each of the next 7 chains.
- Work 1 hdc in the next chain.
- Work 1 sc in the next chain.
- In the last chain, work 1 sc, ch 2, and 1 sc.
- Work along the reverse side of the chain:
- Work 1 sc in the first stitch.
- Work 1 hdc in the next stitch.
- Work 1 dc in each of the next 7 stitches.
- Work 1 hdc in the next stitch.
- Work 1 sc in the last stitch.
- Sl st to base to close.
- Fasten off.
- Wrap the yarn tail tightly around the wire stem to cover, securing with glue at the end.
Repeat for three leaves.

Assembly
- Twist petals' wire stems together or sew the bases tightly with yarn tails.
- Place the pistil at the center, joining securely with yarn or glue.
- Gather the leaves into a cluster, twisting their wires together and wrapping the base with yarn.
- Attach leaf cluster to flower base, using yarn and glue as needed.
- Wrap all visible wired stems with yarn and secure ends neatly.
- Shape petals and leaves as desired. Let glue dry thoroughly.

Conclusion
This flower combines layered petals, a textured center, and sturdy leaf cluster for a professional, realistic effect. Wire is highly recommended for shape and durability. If you wish, adjust petal and leaf counts or color scheme for personalized arrangements.

Pattern Correction & Tips
- Make sure stitch counts on both sides of each petal and leaf match for symmetry.
- Always wrap wire ends securely with yarn.
- Block and shape flower for best results.
- Optional: Add fabric stiffener for extra structure.