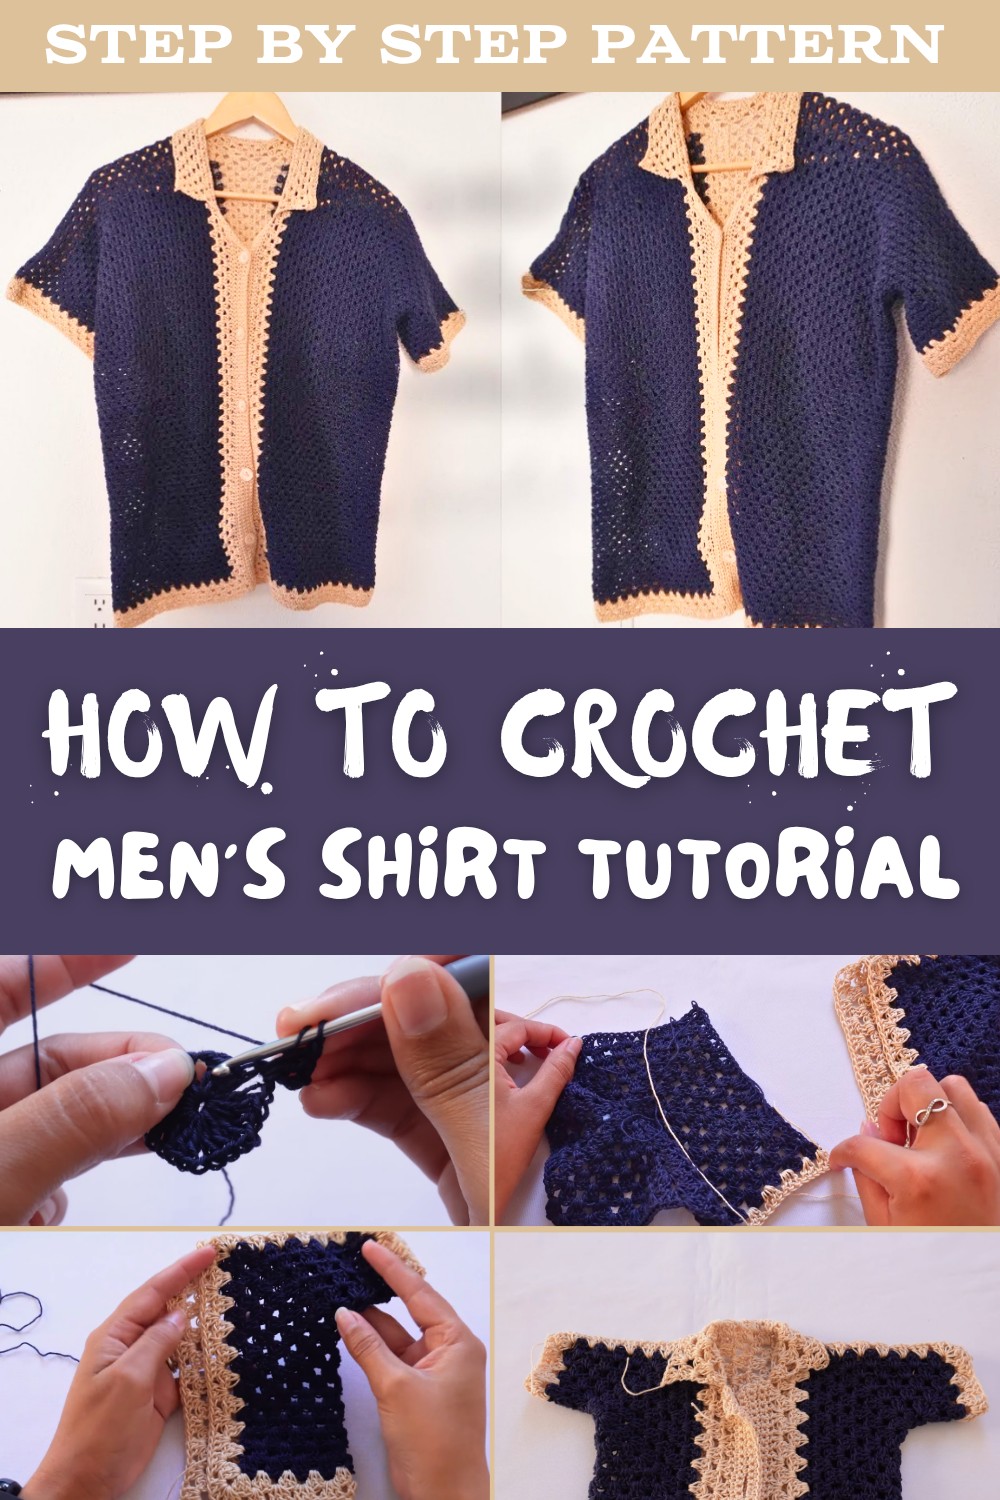
How to Crochet a Stylish Men’s Shirt: Free Pattern
Prepare a cool and comfy men's shirt with this free crochet pattern that's easy to follow, fun to make, and perfect for showing off your crochety skills.
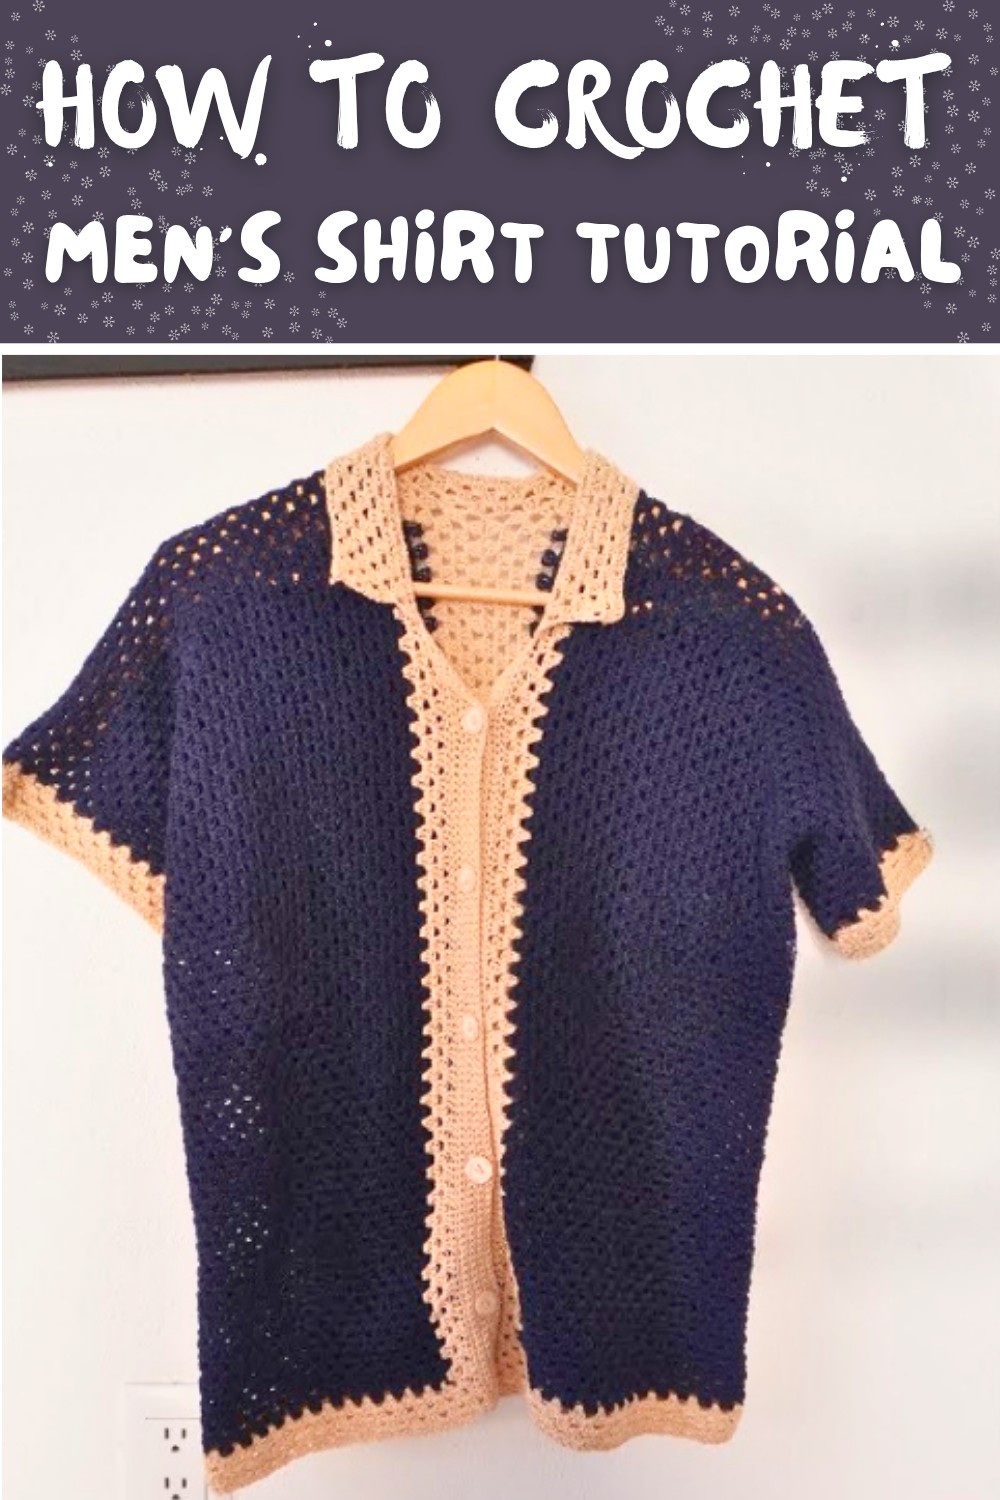
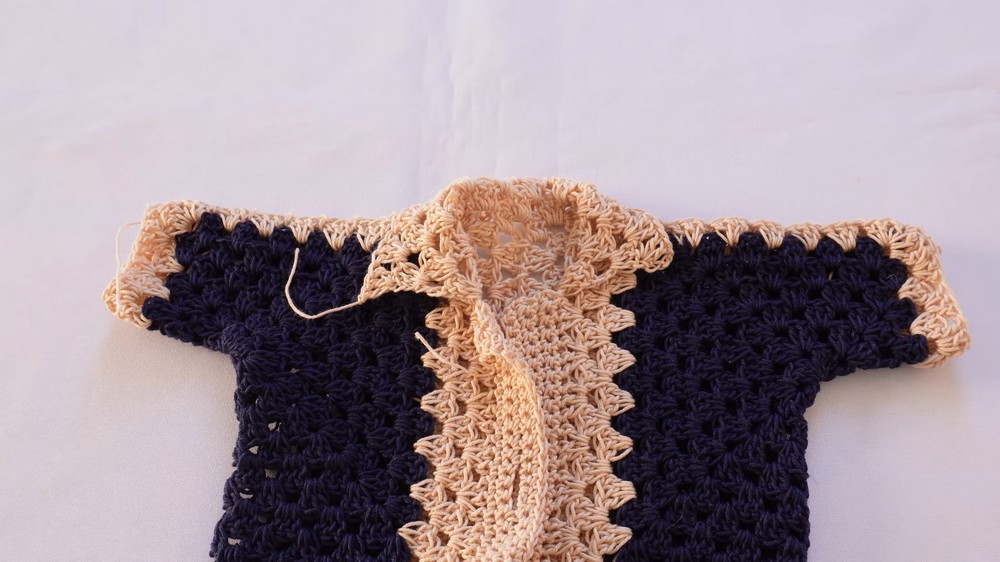
Creating something truly unique and stylish with your own hands, a lightweight and comfortable shirt made entirely from crochet. This shirt offers a blend of simplicity and charm, making it suitable for wearing at home, casual outings, or even on warm summer days. Its neat and airy design allows for proper ventilation, keeping it cool and comfortable in any weather. The texture is soft, and it drapes beautifully, giving a relaxed yet well-fitted look that flatters the wearer.
Best Free Crochet Men's Shirt Pattern for Unique Clothing
With easy-to-follow instructions, the design can be tailored to different sizes, making it accessible even for beginners who are just learning the project. Its uniqueness is enhanced by the option of using different colors and yarns, allowing you to customize it in a way that represents your personal style.
This project results in a finished shirt that is not only beautiful but also practical, offering a handmade touch of elegance. Whether for yourself or as a thoughtful gift for someone special, it becomes an impressive choice that combines functionality and creativity seamlessly.
Crochet Hexagonal Motif Shirt
Skill Level
Advanced Beginner/Intermediate
Materials
- Yarn: Omega brand yarn, size 6 (or any fine-weight/fingering cotton or cotton blend)
- Main color (e.g., navy blue)
- Contrast color (e.g., beige)-for edgings, collar, and button band
- Hook: 3.0mm crochet hook
- (Use a larger hook than yarn label recommends-creates more movement and drape)
- Notions:
- Measuring tape (for custom fit)
- Scissors
- Yarn needle (for sewing, weaving ends, and attaching buttons)
- Small buttons (for closure; typically 5-7)
Special Techniques
- Magic ring (adjustable ring): For starting motifs
- Granny clusters (3 double crochets in a space)
- Slip stitch join (for motifs and bands)
- Turning at Row Ends: For working lengths
- Measurement-based sizing: Pattern is adjusted based on wearer's measurements
Abbreviations (US Terms)
| Abbreviation | Meaning |
|---|---|
| ch | chain |
| dc | double crochet |
| sc | single crochet |
| sl st | slip stitch |
| sp | space |
Pattern Overview
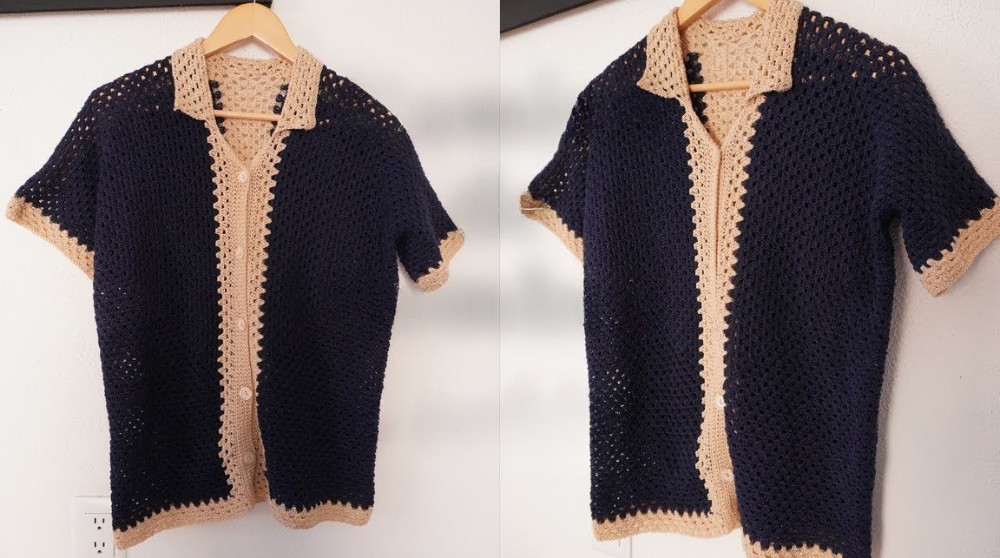
The shirt is worked in two identical panels (front and back), each built from a central hexagonal motif. Construction proceeds outward, working increases at corners for length, width, and body. Shoulders and side seams are joined as you go. The shirt is finished with contrast-color bands, collar, and a button band.
Custom Sizing
You will measure:
- Desired sleeve length (shoulder to wrist)
- Arm width (bicep + movement allowance)
- Shirt width (chest/hips as preferred, + ease)
- Shirt length (shoulder to hem)
- Neckline depth/width as preferred
Add ease for comfort!
Instructions
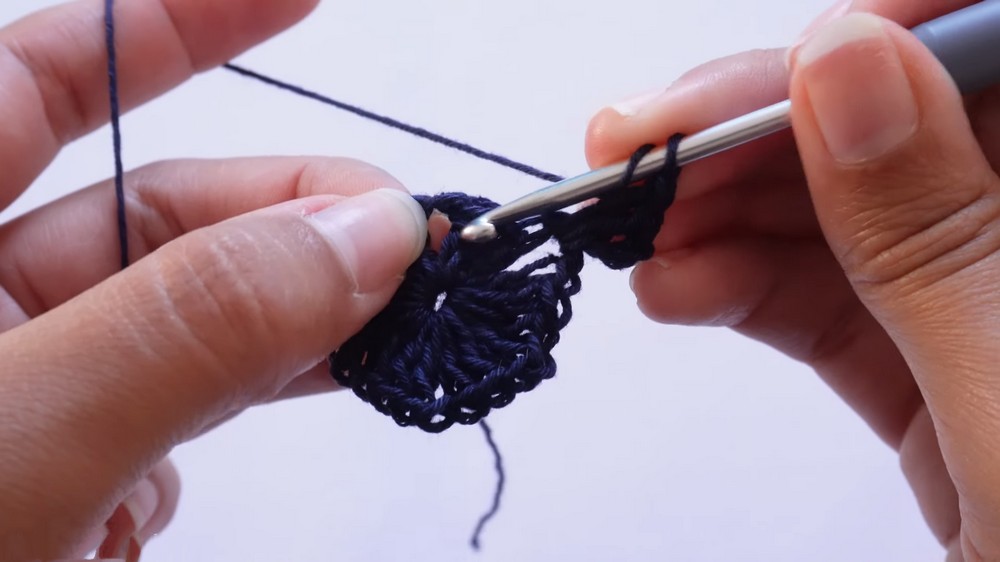
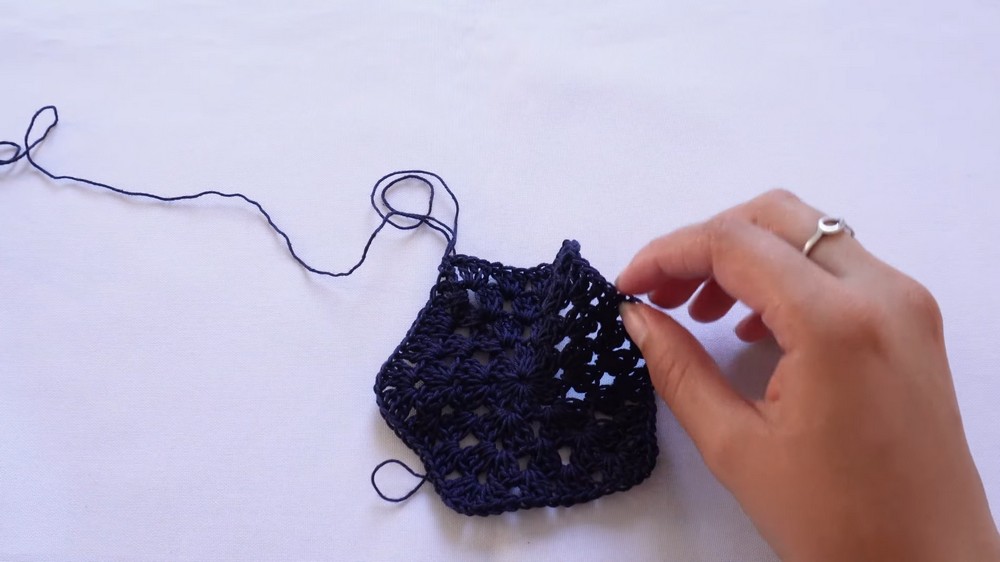
1. Starting the Sleeve Hexagon (Main Color)
- Step 1: Make a magic ring.
- Step 2: Round 1:
- Ch 3 (counts as dc), 2 dc in ring (first dc group).
- Ch 1, 3 dc in ring. Repeat from * to end, until you have 6 groups of 3 dc, each separated by ch 1.
- Ch 1, sl st to top of beg ch-3 to close round.
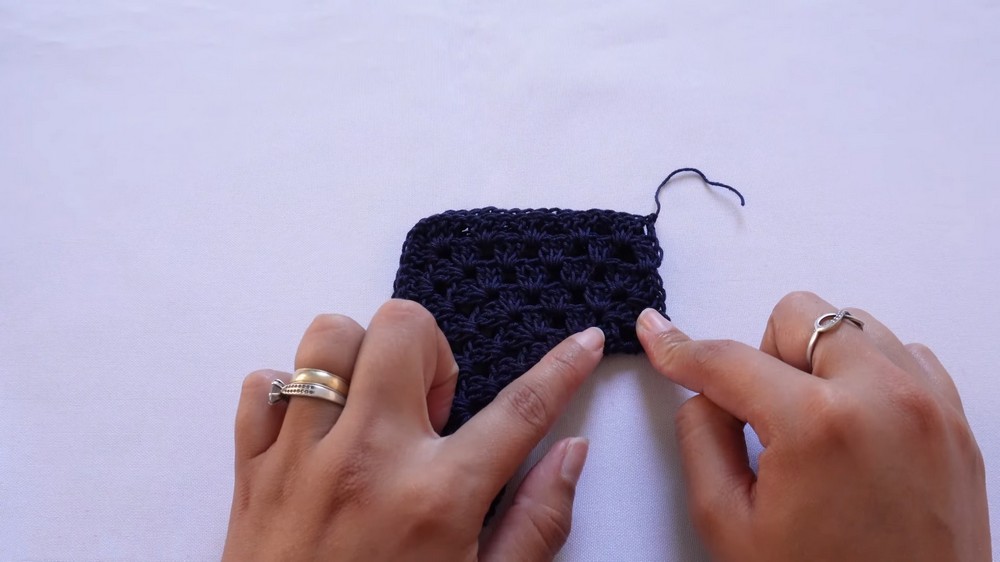
- Step 3: Round 2 & All Subsequent Sleeve Rounds:
- Ch 3, 2 dc in same sp (first cluster).
- In each ch-1 corner sp: (3 dc, ch 1, 3 dc) in same sp (this is your corner/increase).
- Between corners, work 3 dc in each sp (skip chains except at corners).
- At the end, sl st to join.
- Repeat this round, always increasing at each corner, until the sleeve is as long as you measured from the body (including allowance for the contrast edge that will be added later).
- Sample: For a men's size, approx. 10-14 rounds gives a sleeve length of ~37cm. Don't add the contrast bands yet!
2. Customizing Sleeve Width
When sleeves are long enough, you'll work back-and-forth on five sides/edges only (do not increase on the side that is your sleeve length).
- For sleeve width: use your bicep measurement + 2-6cm (for comfort).
- Each row: work clusters of 3 dc between corners, and (3 dc, ch 1, 3 dc) at corners.
- At every row end: ch 3, turn, and work back along 5 sides only.
- Repeat until sleeve reaches full width. (Sample: 9 rows).
3. Expanding to Shirt Width
Now, work granny clusters across three sides only (not all edges-see video at 17:58).
- Attach yarn in any of the 'side' corners.
- Work rows of 3-dc clusters and corners just as before-but only on the three sides forming the body (leaving the top two sides as sleeves).
- At each row end: ch 3, turn, and continue working the same three sides.
- Work until shirt matches desired body width + ease.
- Sample: For a 120cm chest, about 9 rows.
4. Adding Shirt Length
When width is right, work only across one edge (the future hem/bottom).
- Attach yarn at one hem corner.
- Work rows of 3-dc clusters and corners as before-but only across the hem/bottom.
- Turn at each row end; repeat, until garment is desired total length (shoulder to hem).
- Sample: 68cm long = ~20 rows.
5. Repeat for Second Panel
- Make the second panel exactly as above.
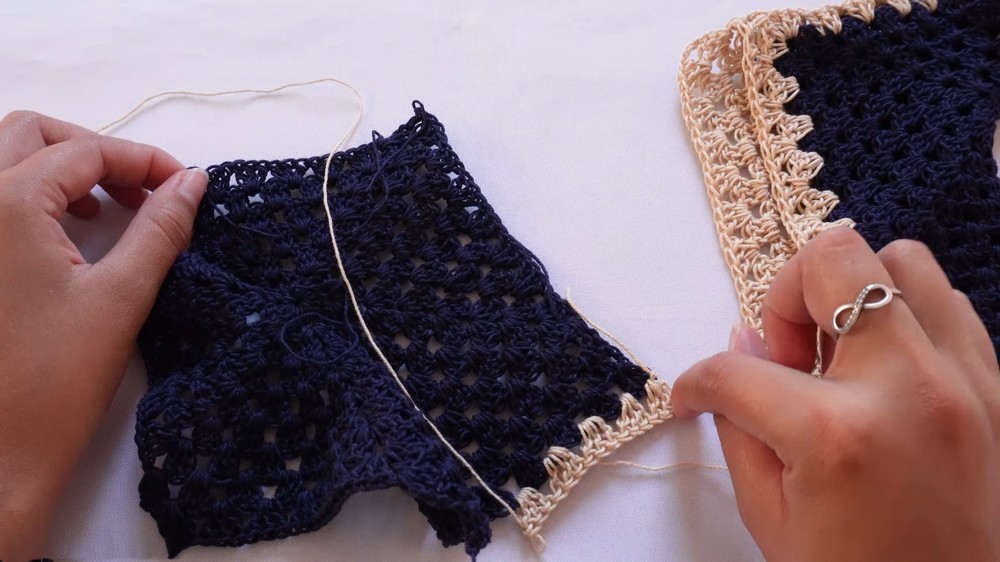
6. Contrast Edging (Beige Color, Both Panels)
- Using beige, work 2-4 rounds around the entire panel to create an attractive edge and bring the piece to final dimensions.
- Attach beige yarn at any bottom corner.
- Work rows of 3-dc clusters along sleeve ends and shirt body as described above.
- When you reach the neckline/shoulder edge, do NOT work all the way around; see next step for joining shoulders.
- For shoulders: Only work to point where pieces will join. Align panels and use slip stitches to join shoulders as-you-go (described below).
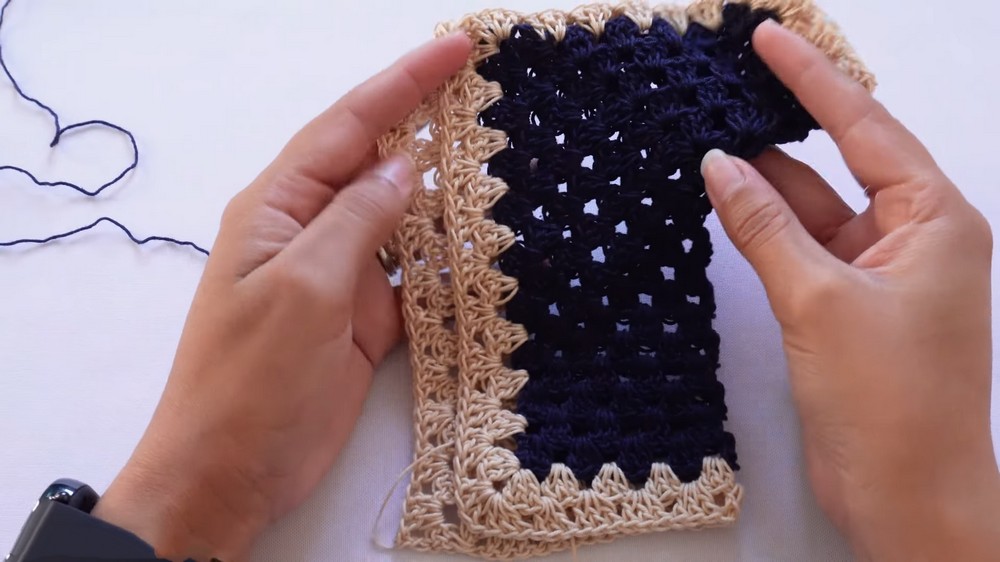
7. Joining Shoulders
- To join shoulders (with right sides facing out):
- When reaching the shoulder area during your last row/round, align corresponding edge of both panels.
- Insert hook through both layers' spaces, work slip stitch to join, then continue next set of clusters as usual.
- Alternate joining slip stitch and clusters as you work across shoulder.
- This gives a tidy, sturdy, seamless join.
8. Side and Body Joining
- Repeat as above, joining sides and lower panels by slip stitching through corresponding space on both pieces.
- Ensure the pieces are aligned so seam is neat.
9. Finishing Touches - Neckline, Button Bands, and Collar
- Neckline/Placket Setup:
- Work sc evenly along one side of the neck opening (this will be the buttonhole or buttonband side).
- Ch 1, turn, and work several rows (5-8, or preferred collar thickness) of sc or (alternately) granny clusters for a flat collar placket.
- On the buttonhole side (right usually for men's shirts):
- Work to desired height; at desired row(s), ch 3 (or more as needed for buttonhole), skip equal number of sc, then sc in next st. Continue to end; repeat across band for all desired buttonholes.
- For subsequent rows, place sc in each st and each ch-sp to leave buttonholes open.
- On the opposite side:
- Make same number of rows in sc for a symmetrical placket.
- Sew buttons to this side to correspond with buttonholes.
- Collar:
- At neckline, with right side facing, attach contrast yarn at one edge, work granny clusters or rows of sc evenly across neck.
- Turn at each row end.
- As desired, increase at ends for a slight collar point.
- Make 4-7 rows in total; fasten off.
10. Sleeve and Shirt Body Finishing
- If not already done, work additional rounds of 3-dc clusters in contrast color at hem, body and sleeve cuffs for balanced style.
11. Weaving in Ends and Final Steps
- Neatly weave in all loose yarn ends using a yarn needle.
- Sew on buttons.
- Block the finished shirt gently, if needed, for best fit and drape.
Tips & Suggestions
- Sizing: Take careful body measurements for the person who will wear the shirt-make all parts slightly loose for comfort.
- Yarn: Use a light/sport or fine-weight cotton for the best drape. Thicker or stiffer yarns will make a denser shirt.
- Edging: The number of rounds for the contrast edge can be increased to add style or accommodate measurement differences.
- Joining: Always align corners, spaces, and rows when joining panels for the neatest appearance.
- Customization: Easily adjust length of sleeves/body/collar, or use other colors.
Final Words
Congratulations! Your men's (or women's) hexagonal motif crochet shirt is complete. The modular construction and granny clusters give it movement, lightness, and a classic look. The edging and join-as-you-go seams provide a professional, durable finish, while the button placket and collar make it truly shirt-like and casual.
This pattern can be adapted to any size with careful measurement, and the modular method makes adjustments easy. Enjoy wearing or gifting your beautiful handmade shirt!
Maintain the pattern:
- Count clusters and rows regularly.
- Check seam alignment before seaming long sides.
- For extra neatness and strength, block pieces lightly before joining.