
Create A Beautiful Layer With This Free Crochet Flower Cardigan Pattern
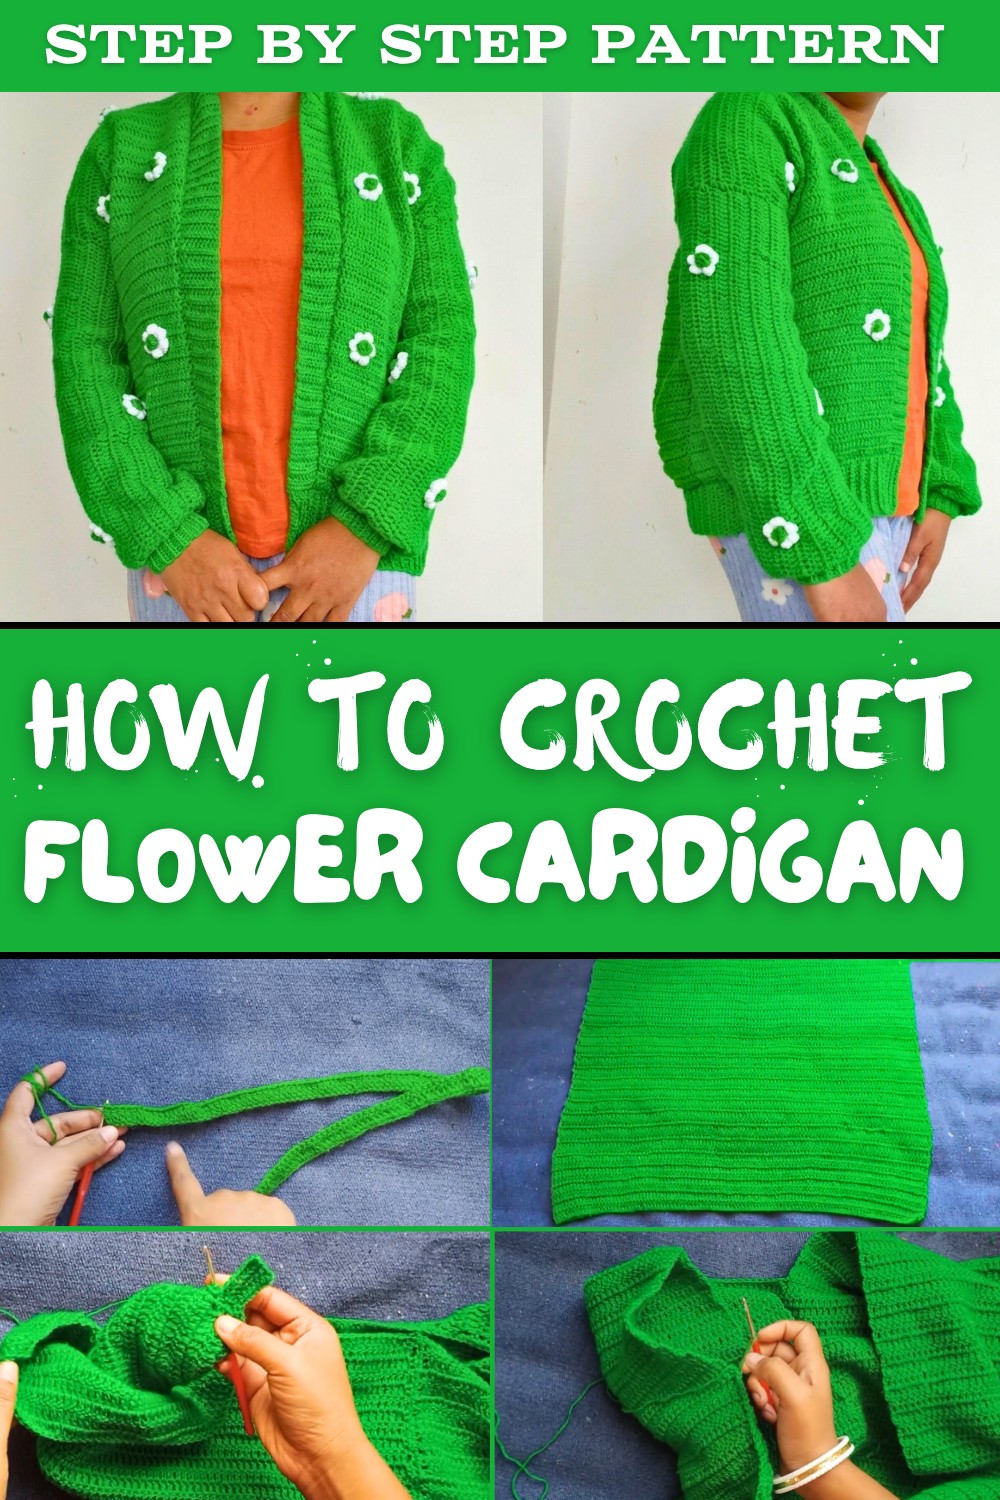
Bring your creativity to life and crochet happiness stitch by stitch with this crochet flower cardigan that is a cozy and colorful project you will love making and wearing.
Featuring soft yarn, vibrant floral designs, and a timeless style, this flower cardigan is both beautiful and practical. Its stunning flower accents make it stand out, giving it a cheerful and unique look. Designed to be lightweight, breathable, and easy to wear, this cardigan quickly becomes a favorite for any season. Whether it's a cool morning or a casual outing, this cardigan will add both charm and coziness to your outfit. It starts with basic crochet techniques, using easy-to-follow steps to make the back, front, and sleeves. The distinct flower patterns are crocheted separately and attached to make the cardigan even more vibrant. You can also easily adjust the size, so it fits you perfectly or makes a thoughtful personalized gift for someone special.
Enhance Your Closet With This Crochet Floral Cardigan Free Pattern
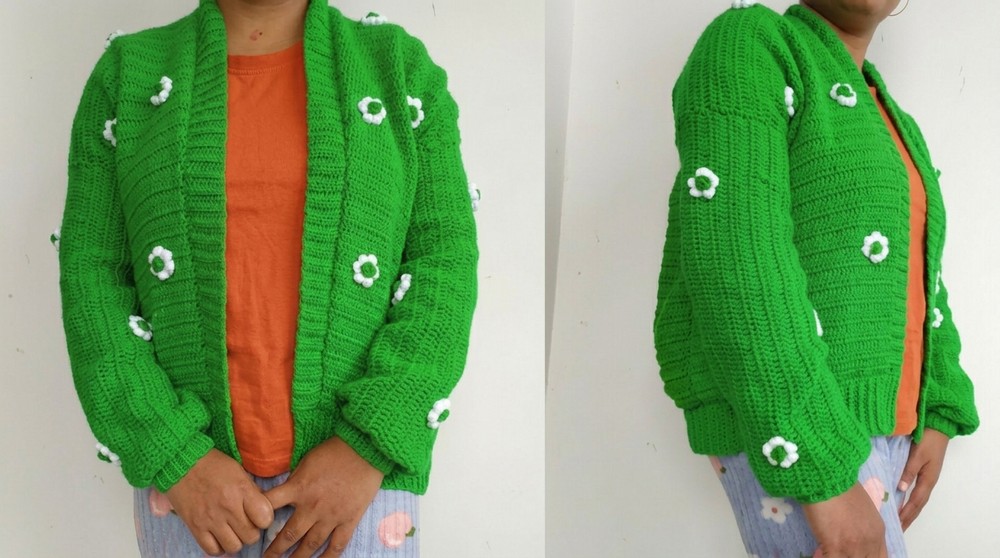
The cardigan's soft texture and playful flower details bring creativity into every stitch. Its clean neckline and beautifully crocheted borders, made using half double crochet stitches, add an extra touch of elegance. The sleeves are designed for comfort, ensuring it's not just stylish to wear, but also practical for daily use.
What makes this crochet cardigan truly unique is its ability to look delicate yet sturdy. It blends handmade artistry with modern clothing needs. You won't just be wearing another sweater-you'll be showcasing a beautiful piece of crochet, filled with care and creativity. Whether for casual wear, layering, or gifting, this cardigan's beauty and warmth are something everyone will admire.
Crochet Flower Cardigan Pattern
Materials Needed
- Yarn: Medium weight (4 ply) yarn in your chosen color. For a medium sized cardigan, you'll need approximately 400-600 grams. Adjust accordingly for smaller or larger sizes.
- Crochet Hook: 4.5 mm or the size needed to achieve the correct gauge.
- Scissors: For cutting yarn.
- Tapestry Needle: To join pieces and sew in loose ends.
- Stitch Markers or Pins: To mark sections for accurate assembling.
- Measuring Tape: To ensure sizing matches your preferences.
Stitches & Abbreviations
- Chain (ch): Yarn over (YO) and pull through.
- Slip Stitch (sl st): Insert hook, YO, pull through stitch, and pull through loop on the hook.
- Single Crochet (sc): Insert hook through stitch, YO, pull through, YO, and pull through two loops.
- Half Double Crochet (hdc): YO, insert hook, pull through, YO, and pull through all three loops.
- Double Crochet (dc): YO, insert hook, YO, pull through two loops, YO, and pull through the remaining loops.
- Turning Chain (tch): Chains added at the end of the row to adjust the row's height.
Pattern Overview
This cardigan consists of four main components:
- Back Panel
- Two Front Panels
- Sleeves
- Borders (Neckline, Hem, and Sleeve Cuffs)
The pieces are worked individually and later joined for finishing.
Pattern Instructions
Step 1: Back Panel
- Begin by creating a slip knot and placing it on your crochet hook.
- Base Chain:
- Chain 110 for a medium sized back panel (adjust the number of chains based on your size-e.g., fewer for small, more for large).
- Skip the first 2 chains, and start working into the third chain from the hook.
- Foundation Row:
- Work Double Crochet (dc) in each chain across the row. You should have 108 dc at the end of the row.
- Chain 3 (for the turning chain) and turn your work.
- Body Rows:
- Continue working dc into every stitch across for a total of 15-18 rows, or until the panel is your desired length.
- Cut the yarn and fasten off.

Step 2: Front Panels
- Each front panel consists of half the stitches of the back panel.
- Base Chain for Front Panels:
- Chain 52 for one front panel (adjust size as per your preference).
- Skip the first 2 chains, and start working into the third chain.
- Foundation Row:
- Work dc in each of the 52 chains across.
- Body Rows:
- Continue working rows of dc for 9-11 rows, or until the panel matches the back panel's height.
- Repeat the above steps to create the second front panel.

Step 3: Joining Shoulder Seams
- Lay the back panel flat with the right side up.
- Place the two front panels on top of the back panel, aligning the top edges at the shoulder.
- Using Single Crochet (sc) or a tapestry needle, join 10 to 15 stitches on each shoulder seam, leaving the center open for the neckline. Be sure to make the stitches secure.
- Fasten off and weave in the loose ends.

Step 4: Adding Borders
Now add borders to enhance the cardigan's structure and appearance.
(a) Neckline Border
- Attach the yarn to one edge of the neckline opening.
- Chain 8:
- Add 2 extra chains to serve as the turning chain.
- Work Half Double Crochet (hdc) into each chain across, creating a strip.
- Continue this process row by row until the border wraps completely around the neckline.
- Use slip stitches (sl st) to attach the border to the neckline edge.

(b) Hem Border (Bottom Edge of the Cardigan)
- Attach the yarn along the bottom hem of the joined piece.
- Chain 16 (or desired width for the hem).
- Add 2 chains to serve as the turning chain.
- Work hdc in each chain across for the first row.
- Continue creating rows of hdc until the strip is long enough to cover the bottom hem.
- Use sc or slip stitches to attach the hem border to the bottom of the cardigan.

Step 5: Crocheting the Sleeves
- Set Up for Sleeves:
- Attach yarn at the armhole seam.
- Work 1 round of Single Crochet (sc) around the entire armhole to create a foundation. You should have an even number of stitches.
- Sleeve Length:
- Chain 80 to create the length of the sleeve (adjust if needed).
- Add 2 extra chains for the turning chain.
- Work Double Crochet (dc) into each chain across for the first row.
- Join each completed row to the armhole seam using Slip Stitches (sl st) or sew them directly, forming a round sleeve.
- Continue this process until the sleeve fits your desired length.

(a) Cuff for Sleeves
- To add a fitted cuff:
- Attach yarn to the sleeve's bottom edge.
- Chain 9, and work 8 Half Double Crochets (hdc) back across the row.
- Continue working back and forth in rows to create the cuff strip.
- Attach the cuff to the sleeve using slip stitches.

Step 6: Sewing and Assembly
- Fold the cardigan with the right sides together.
- Use Single Crochet (sc) or a running seam to join:
- The sides of the cardigan.
- The underside of the sleeves.
- Turn the cardigan right side out and check the fit.
Step 7: Final Adjustments
- Check all seams for security.
- Weave in the remaining yarn tails with a tapestry needle.
Finishing Touches & Optional Embellishments
- Flowers or Buttons:
- Add crocheted flowers to highlight specific areas like the neckline or sleeves. Refer to other pattern for guidance.
- Attach buttons for functional or decorative purposes.
- Steam Blocking:
- Lightly steam block the finished cardigan to enhance its shape and texture.

Maintenance Tips
- Washing:
- Hand wash with mild detergent and cold or lukewarm water.
- Avoid machine washing to prevent stretching or fraying.
- Drying:
- Lay flat on a clean towel to air dry. Avoid hanging.
- Storage:
- Store flat or folded to maintain the cardigan's shape.
Final Words
This crochet cardigan pattern is designed to be adaptable, ensuring a perfect fit for any size. Its simplicity makes it ideal for beginners yet stylish enough for seasoned crocheters to personalize with embellishments or different patterns. The use of basic stitches like dc, sc, and hdc ensures that the project is achievable and enjoyable.
Take your time with each step and remember that every stitch contributes to a beautiful finished piece. Whether used as a daily wear or layered for colder days, your cardigan is sure to receive compliments!
We hope this pattern inspires you to explore more creative crochet projects.