
Crochet Luxury Velvet Bag – Free Pattern Included
Experience a free crochet velvet bag pattern, for a soft stylish accessory that's easy to make and perfect for adding charm to any outfit.
Not every bag adds a touch of quiet elegance and soft comfort quite like a handmade velvet crochet purse. When you look at its gentle shine and feel the smooth ribbon yarn, you notice right away how this bag is different from the rest. It stands out because it looks fancy but is easy to make, even if you have never tried crochet before. The strong, thick stitches keep everything safe inside, so it is perfect for carrying small books, a phone, or your favorite treasures.
Stunning Crochet Velvet Bag Pattern - 100% Free
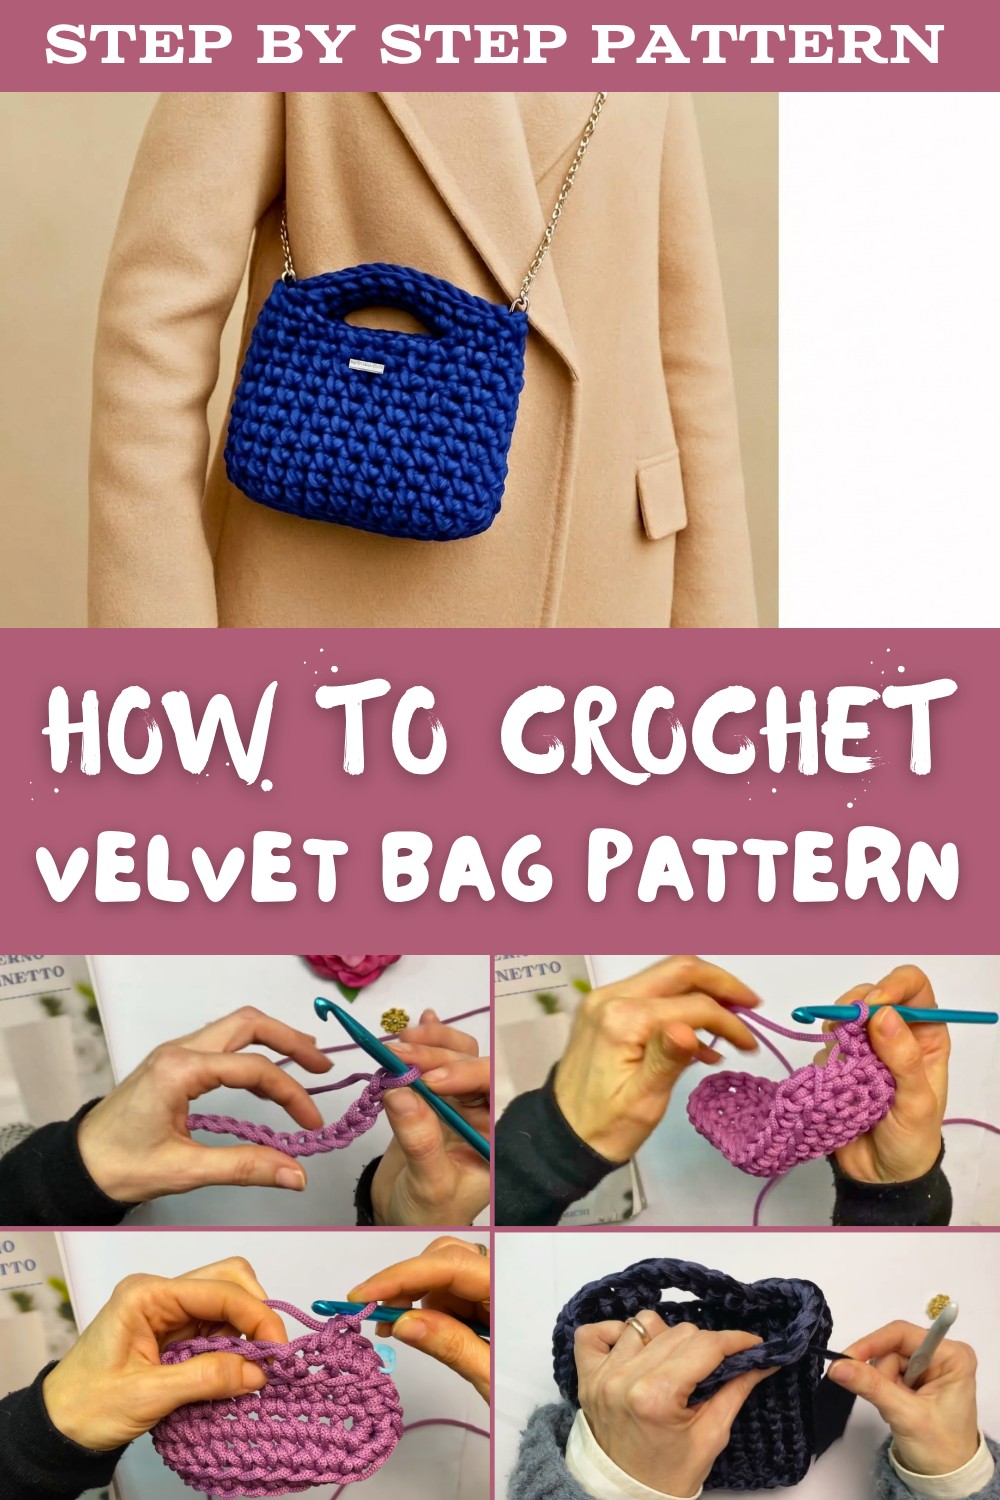
Its simple handle lets you hold it easily, or you can add a shiny chain for a new look. You also get to choose any color you like, turning each bag into your own special creation to match any outfit or mood. The finished bag keeps its shape nicely and does not need extra lining, making it both pretty and practical. Every step is explained clearly, so anyone can enjoy making and using this beautiful bag while discovering the joy of a truly unique accessory.

Velvet Ribbon Handbag Crochet Pattern
Materials
- Yarn: Velvet ribbon yarn (approx. 350g). The original project used a shiny velvet ribbon; other types of ribbon yarn or thick yarn can be substituted.
- Crochet hook: Size 9 mm (US size M/N-13)
- Optional: Stitch markers or scrap yarn, scissors, yarn needle, measuring tape, carabiners and chain for an optional shoulder strap
Key Abbreviations
- ch - Chain
- sc - Single crochet
- sl st - Slip stitch
- st(s) - Stitch(es)
- rep - Repeat
- rnd - Round
Special Notes
- Pattern is worked in joined rounds for the base and then continued in a spiral for the body.
- The bag base creates a dense, rounded rectangle that doesn't require a lining.
- The unique single crochet placement mimics a knitted appearance and produces a firm texture ideal for handbags.
- Finished size: Approximately 7" wide x 6.7" high x 2.7" deep (18 x 17 x 7 cm).
Pattern
1. Prepare the Yarn
- Wind your ribbon yarn into a ball for easier handling and more consistent working tension.
2. Base of Bag
Step 1: Foundation Chain
- Ch 10.

Step 2: Round 1
- Starting in the 2nd ch from the hook, work sc in each ch across (8 sc),
- In the last ch, work 3 sc (this creates a corner).
- Working along the opposite side of the foundation chain, sc in each ch (8 sc).
- In the last ch, work 3 sc (creates second corner).
- Join with a sl st to the first sc. (Total 22 sc: 8 + 3 + 8 + 3)
Step 3: Round 2
- Ch 1 (does not count as a st here and throughout).
- Working in continuous rounds:
- Sc in each of the next 8 sts,
- 2 sc in each of the next 3 corner sts,
- Sc in each of the next 8 sts,
- 2 sc in each of the next 3 corner sts.
- Use a stitch marker to mark the start of each round.

3. Body Increase (Optional third round for a larger base)
- If a bigger base is desired, at each curve (6 sts around the two ends), alternate:
- [sc in 1, 2 sc in next] across the 6 corner sts,
- sc in every side st,
- This maintains the rounded rectangle shape.
4. Begin Body - Work Upwards
Step 1: Prepare for Raised Sides
- Ch 1.
- Working in the back loops only (BLO), sc in each st around.
- This rounds the base edge to transition from the flat base to the upright sides.
Step 2: Establish Main Stitch Pattern
- Begin working in a spiral (do not join rounds, simply continue; keep using your stitch marker).
- For the special, dense "knit look" stitch, sc into the 'V' formed at the front of each stitch, not the usual hole (insert your hook under the front two strands just below the previous round's back loop).
- This gives a tightly woven appearance.
Step 3: Continue Working the Body
- Sc (using the "V" stitch described above) in each st around.
- Continue spiraling upwards until the bag measures approximately 14 cm (about 5.5") from the base.
5. Create Handle Opening
Step 1: Work to Desired Handle Placement
- Continue in pattern to the stitch where you want to begin the handle (centered on one side of the bag).
Step 2: Form the Handle
- Ch 6 (adjust number for desired hand width/size).
- Skip the next 5 sts, sc in the 6th st to attach the chain loop.
- Continue in pattern across to the opposite side, repeat for second handle opening if making two.
- Place a stitch marker at both handle start and end points to keep track.

Step 3: Rejoin in the Round
- Continue working in pattern, including over the chains (work 1 sc through each ch of the handle).
6. Final Rounds and Finishing
- Continue crocheting in established stitch pattern for any remaining rounds to desired height (original: 17 cm total, about 6.7").
- End at your stitch marker.
To Finish:
- Cut yarn, pull through last loop.
- For a seamless finish:
- Skip one st, insert hook from the outside to inside in the next st, pull end through.
- Insert hook into base of last stitch made, pull end through to inside.
- Weave in all ends securely using the yarn needle.
- Optionally, attach carabiners and a metal or matching chain strap at the outer sides.
Conclusion
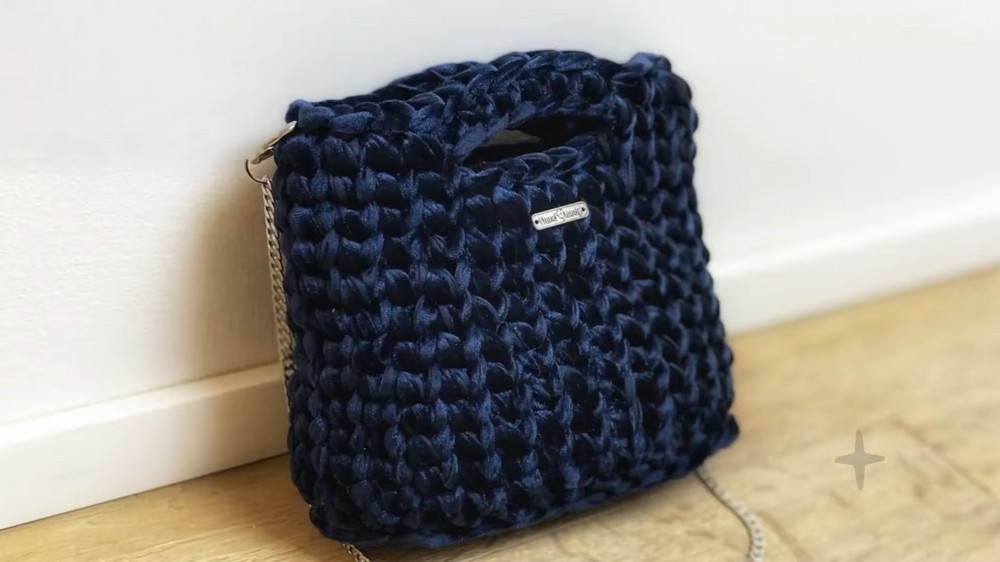
The Velvet Ribbon Handbag is crafted with a dense single crochet technique for strength and style, offering a chic, unlined, sturdy accessory. Its construction ensures durability, and the velvety ribbon adds an elegant touch suitable for formal occasions, yet the project adapts beautifully to any color.

Pattern Corrections & Tips
- Correction: The base stitch count may need slight adjustment depending on your gauge and yarn bulk. Always check width after your foundation round - recommend 8 side stitches for approx. 18 cm width; alter slightly if needed.
- Tip #1: Use durable, minimally stretchy yarn or ribbon for best results.
- Tip #2: Mark the starts and ends for your handle opening to maintain symmetry.
- Tip #3: For a wider or taller bag, increase chain length or add rounds respectively.
- Tip #4: To avoid a visible 'step' at the end, always complete rounds at the side rather than front or back centers.