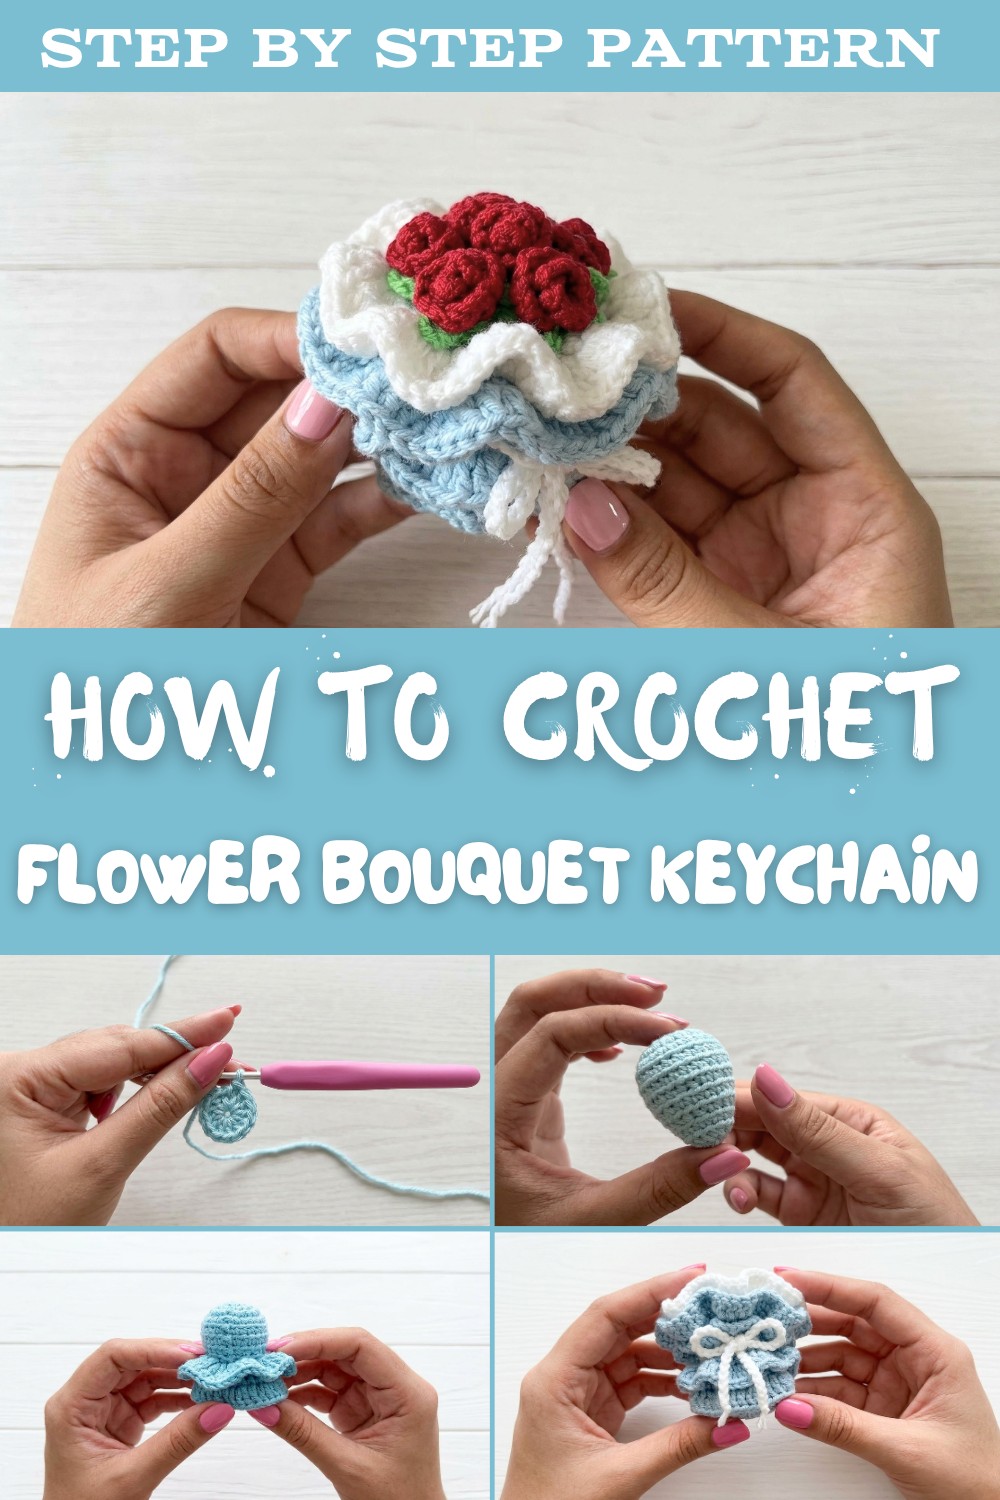
Crochet Flower Bouquet Keychain (Free Pattern)
Personalize your keys or bag with this free crochet flower bouquet keychain pattern, that offers a fun & easy way to add cheerful style daily.
Add a burst of color and joy to your daily routine with small yarn blossoms that never wilt or fade away. This crochet flower bouquet keychain pattern allows anyone to design a tiny bouquet that fits right in the palm, adding charm to keys, bags, or as a simple heartfelt gift. Each flower is stitched using easy steps, joined together into a mini arrangement that is both beautiful and practical. This keychain stands out by turning everyday items into something unique and personal, brightening your moments with cheerful colors and textures.
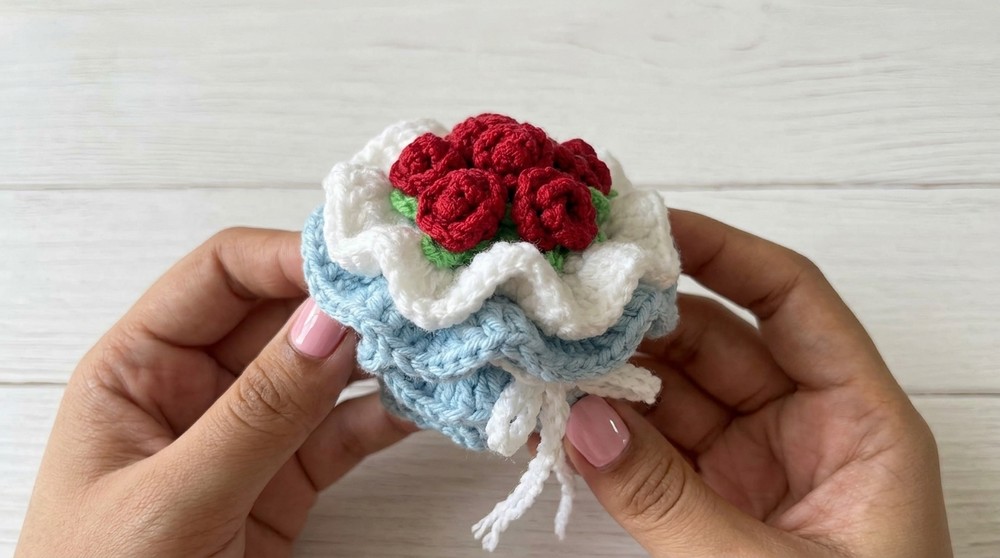
Free Crochet Pattern for Mini Flower Bouquet Keychain
The best thing is how lightweight and sturdy it is-great for busy days, outdoor adventures, or keeping track of important items around the home. Children and adults alike can enjoy the sense of pride that comes from finishing a flower bouquet keychain and showing it off wherever they go. It's more than an accessory-it's a small reminder of happiness, care, and creativity that everyone can use and enjoy.
Mini Bouquet Case Crochet Pattern
Skill Level
Beginner to Intermediate
Materials
- Yarn: Medium-weight (Milk Cotton or similar), in white, red, green, Aqua, or your preferred shades for bouquet base and flower accents.
- Hook: 2.5 mm crochet hook
- Notions: Stitch marker, yarn needle, scissors, hot glue (for flower assembly)
Abbreviations (US Terms)
- ch: chain
- sc: single crochet
- hdc: half double crochet
- dc: double crochet
- inc: increase (2 stitches in one stitch)
- dec: decrease (single crochet two stitches together)
- sl st: slip stitch
- MR: magic ring
- st(s): stitch(es)
- BLO: back loop only
Special Techniques
- Magic ring
- Working in back loop only
- Simple increases/decreases
- Ruffle layers (made by working additional rounds at back loop stitches)
- Crochet flower motifs
Pattern Instructions
1. Bouquet Base (Vase Body)
A. Foundation
- Create a magic ring.
- Work 8 sc into MR. Mark the first stitch.
- Pull ring tight, sl st to first sc, ch 1.

B. Increase Rounds
- Round 2: [2 sc in each st] x 8 = 16 sts. Sl st to first st, ch 1.
- Round 3: [1 sc in next st, 2 sc in next st] x8 = 24 sts. Sl st, ch 1.
- Round 4: [sc in each st] x24 = 24 sts. Sl st, ch 1.
C. Working in Back Loop Only (BLO) and Shaping
- Round 5: Work 24 sc in BLO. Sl st, ch 1.
- Round 6: Work 24 sc in BLO. Sl st, ch 1.
- Round 7: [2 sc, dec] x6 around, working in BLO = 18 sts. Sl st, ch 1.
- Round 8: [sc in each st] x18 in BLO. Sl st, ch 1.
- Round 9: [1 sc, dec] x6 in BLO = 12 sts. Sl st, ch 1.
- Round 10: [sc in each st] x12 in BLO. Sl st, ch 1.

D. Stuffing and Closing
- Stuff base.
- Round 11: [dec] x6 = 6 sts. Sl st, cut yarn, use yarn tail and needle to weave through front loops of last round, pull tight to close, weave in end.
2. Lower Ruffle Layers
A. First Lower Layer (Round 9 BLO)
- With new yarn, insert hook into BLO of Round 9, pull through yarn, ch 2.
- At same loop, work 2 dc (dc inc).
- Continue: [2 dc in each BLO] around (12 loops).
- Sl st to first dc, ch 2.
- Next Round: At same st, dc in each st. [1 dc, dc inc] x 12 around.
- Cut yarn, use yarn tail and needle to finish invisibly, shape ruffle.
B. Second Lower Layer (Round 8 BLO)
- With new yarn, insert hook into BLO of Round 8, ch 2.
- At same loop: [hdc, ch 1, hdc] in each BLO around (18 loops/sets).
- Sl st, ch 2, cut tail, use needle to finish.
- Next Round: [hdc in hdc, hdc in ch 1, hdc in hdc] around (54 hdc), join and finish.
3. Upper Ruffle Layers
A. First Upper Layer (Next available round's BLO, usually Round 7)
- With new yarn, insert hook into BLO, ch 2.
- At same loop: [dc, ch 1, dc] in each loop around (24 loops).
- Finish as with lower layer.
B. Second and Third Upper Layers
- Repeat as above for each upper layer - you'll use either next round below or above, with color changes if desired.
- For the third layer, use white yarn for contrast.
4. Ribbon & Layer Separator
A. Layer Separator
- With white yarn, ch 21.
- Starting from 2nd ch from hook: sc in each ch (20 sc).
- Ch 1, leave a long yarn tail for sewing, cut.
- Place separator between upper and lower ruffle layers, sew ends together, hide ends.
B. Ribbon
- With white yarn, ch 50.
- Cut yarn, tie around middle section between layers, adjust and trim ends.

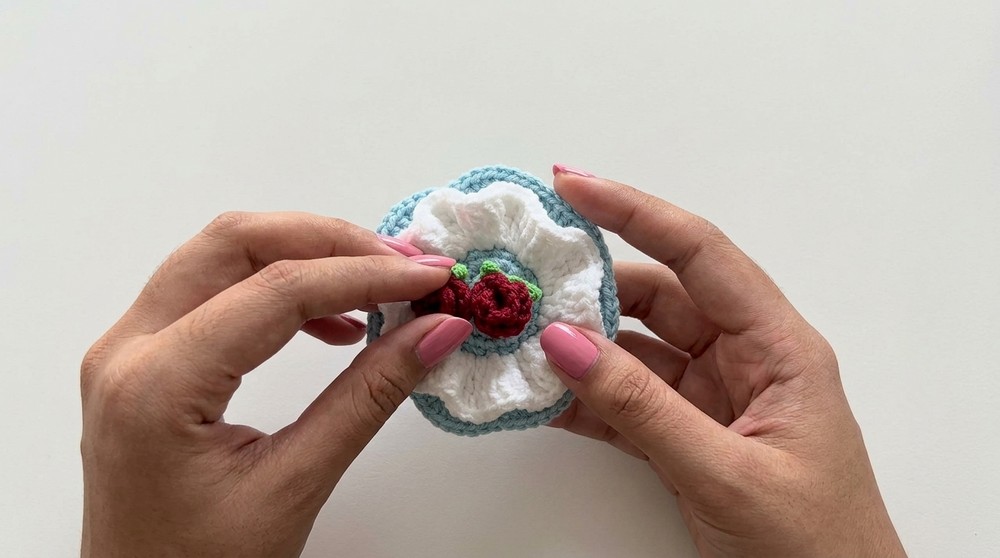
5. Flower Motifs
A. Rose
- With red yarn, make slip knot, ch 7.
- Starting from 2nd ch from hook:
- [2 sc in each ch] × 2
- [3 sc in each ch] × 3
- Ch 1, cut yarn, tie ends together, roll into rose. Secure with hot glue.
Rose Leaves
- Magic ring, ch 3.
- From 2nd ch: sl st, sc in next ch, sl st in MR.
- Repeat two more times for three leaves.
- Pull ring tight, tie yarn ends, cut.
- Hot glue leaves to base of rose.
(Make 6 roses for bouquet)
6. Assembly
A. Rose Bouquet:
- Place one rose at center, glue five around it.
7. Finishing
- Adjust all ruffles and layers for volume and shape.
- Trim all yarn tails and secure.
- Double-check flower placement; hot glue as needed for security.
- Add ribbon or decorative touches as desired.

Tips & Suggestions
- Color Play: Try different shades for layers and flowers for variety.
- Stuffing: Use fiberfill for best shaping of bouquet base.
- Ruffle Layers: If you prefer, add more or fewer ruffle layers for different fullness.
- Flower Swapping: Replace flowers with your own crochet motifs for uniqueness.
Final Words
Your adorable Mini Bouquet Case is now complete! The pattern is designed for quick, fun projects and allows for much customization. Use as a lovely decoration, gift topper, or display piece.