
Crochet Frog Keychain Free Pattern With Big Personality and Style
Learn how to make a cute and easy crochet frog keychain that is soft, tiny, and perfect for decorating bags, holding keys, or giving as a fun handmade gift.
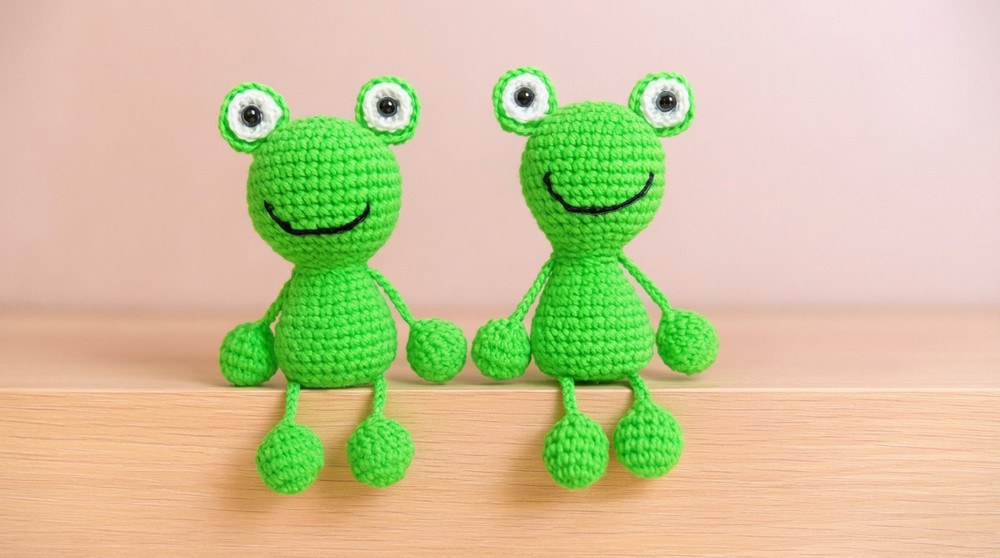
Meet the cutest little frog you'll ever carry in your pocket! This free crochet frog keychain is adorable, cheerful, and so easy to make. With its big round eyes, tiny arms and legs, and a happy little smile, it's sure to brighten up your keys or backpack. Kids and adults alike will fall in love with its playful and soft appearance. This tiny frog isn't just fun to look at-it's also super practical. You can attach it to your keys, hang it on your school bag, or even give it as a heartfelt handmade gift. Its small size makes it perfect to take anywhere, and it's lightweight enough that you won't even notice it on your bag.
Crochet Frog Keychain Free Pattern to Adorn Backpacks and Bags
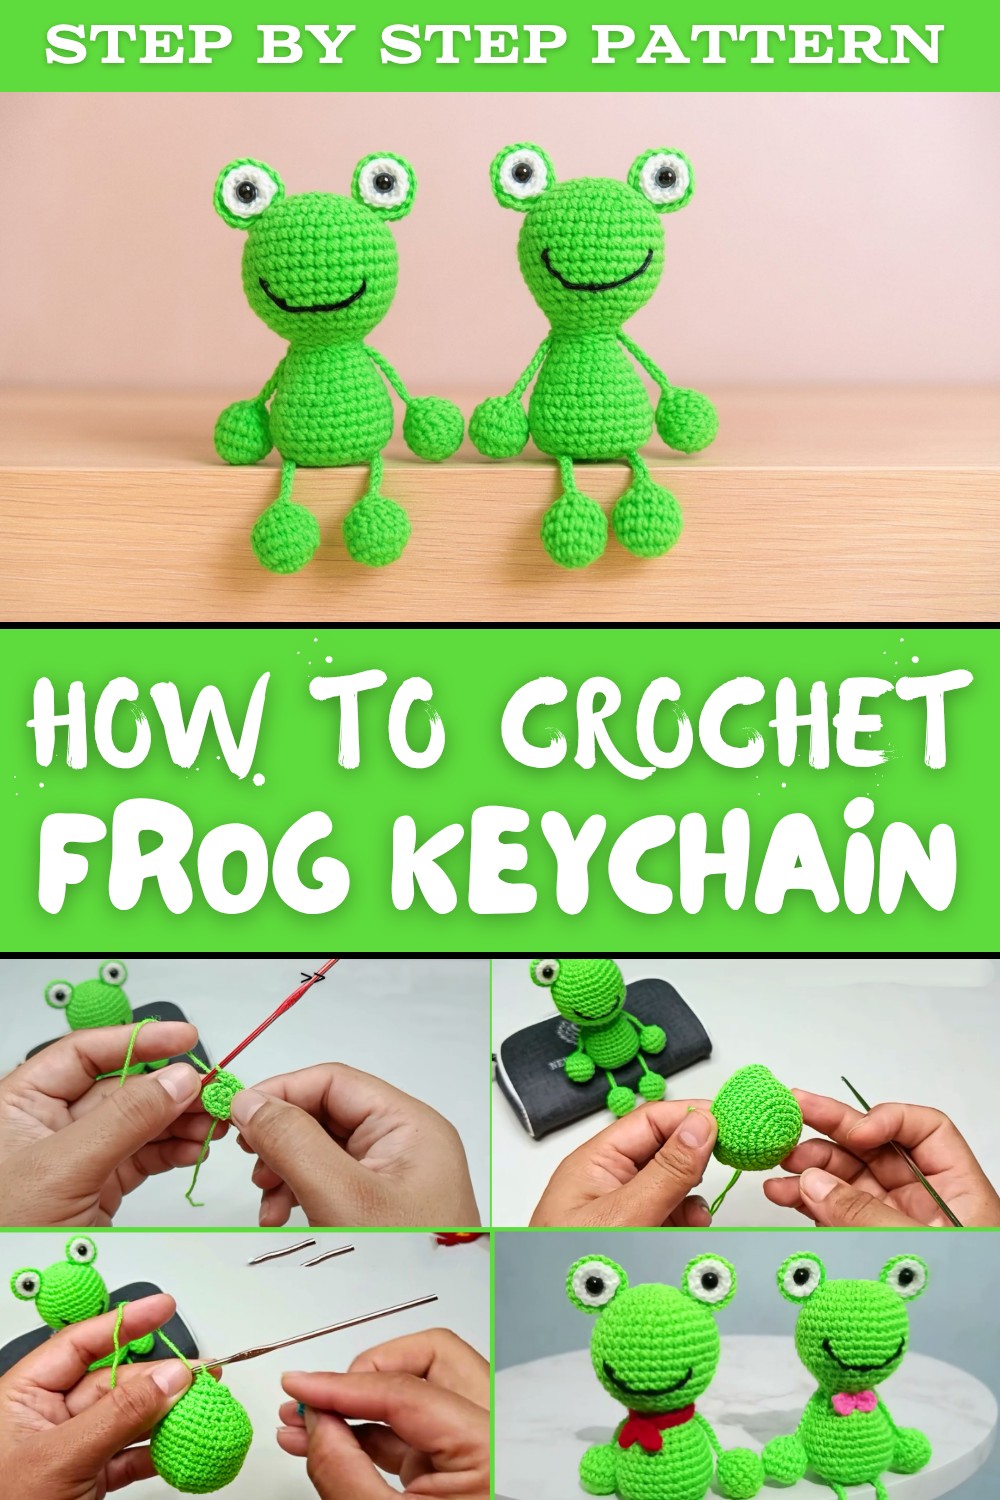
What makes it even more exciting is how you can make each frog your own. Use green for a classic look or try fun colors like pink, blue, or yellow. Add a cute scarf or bow, or make one frog for each of your friends. It's quick to make and doesn't need a lot of yarn or complicated stitches, so it's a great project for beginners too.
With its soft texture, simple charm, and happy features, this little frog keychain will bring smiles wherever it goes. Whether you're keeping it for yourself or making one for someone special, it's a fun and easy way to turn yarn into something full of personality and joy.
Crochet Frog Keychain Pattern
Finished Size
Using a 3 mm hook and 3 ply yarn, the finished frog measures approximately 3 to 4 inches (8 to 10 cm) in height. The size can vary slightly depending on your tension, yarn, and hook.
Materials Required
- Crochet Hook: 3.0 mm crochet hook.
- You can use different hook sizes to achieve a larger or smaller frog.
- Yarn:
- Green: For the frog's body, arms, and legs.
- White: For the eyes.
- Black or dark thread: For embroidery (mouth) and adding detailing.
- Polyester Fiberfill: For stuffing.
- Stitch Marker: To mark the first stitch of each round.
- Beads for Eyes: Black beads or safety eyes (optional). Use glue or sew beads if they are not safety eyes.
- Sewing Needle: To attach parts and make facial embroidery.
- Craft Glue (Optional): For attaching eyes securely.
- Scissors: For cutting yarn and thread.
Gauge
Exact gauge is not crucial for this pattern, as long as the stitches are tight and stuffing does not show through. With a 3 mm hook and 3 ply yarn:
- 6 SC x 6 Rows in a 1"x1" (2.5 cm) square.
Special Techniques
- Magic Ring: Creates a tight loop to start crocheting in the round.
- Single Crochet (SC): Insert the hook, pull up a loop, yarn over, and pull through both loops on the hook.
- Increase (Inc): Two SC in the same stitch.
- Decrease (Dec): Insert hook into the front loops of the two next stitches, yarn over, pull through both loops, and complete as a single crochet.
- Slip Stitch (Slst): Insert the hook, pull a loop through the stitch and the loop on the hook.
Pattern Instructions
Part 1: Head and Body
The head and body are crocheted as one continuous piece.
Head (Green Yarn):
- R1: Start with a magic ring. Crochet 6 SC into the ring. Pull to tighten. [6 SC]
- R2: Inc in each stitch around. [12 SC]
- R3: (1 SC, Inc) 6 times. [18 SC]
- R4: (2 SC, Inc) 6 times. [24 SC]
- R5: (3 SC, Inc) 6 times. [30 SC]
- R6: (4 SC, Inc) 6 times. [36 SC]
- R7-R12: Work 1 SC in each stitch around. [36 SC per round]

Shape the bottom of the head (Decreasing Rounds):
8. R13: (4 SC, Dec) 6 times. [30 SC]

- R14: (3 SC, Dec) 6 times. [24 SC]
- R15: (2 SC, Dec) 6 times. [18 SC]
- R16: (1 SC, Dec) 6 times. [12 SC]

- Stuff the head firmly with fiberfill before proceeding. Ensure the shape is even and rounded.
- R17: Dec 6 times. [6 SC] Pull tail closed using a needle.

Body (Green Yarn):
- R1: Attach yarn to the bottom of the head. Make 6 SC around the previous stitches. [6 SC]
- R2: Inc in each stitch. [12 SC]
- R3: (1 SC, Inc) 6 times. [18 SC]
- R4: (2 SC, Inc) 6 times. [24 SC]
- R5-R8: SC in all 24 stitches. [24 SC per round]
- R9: (2 SC, Dec) 6 times. [18 SC]
- R10: (1 SC, Dec) 6 times. [12 SC]
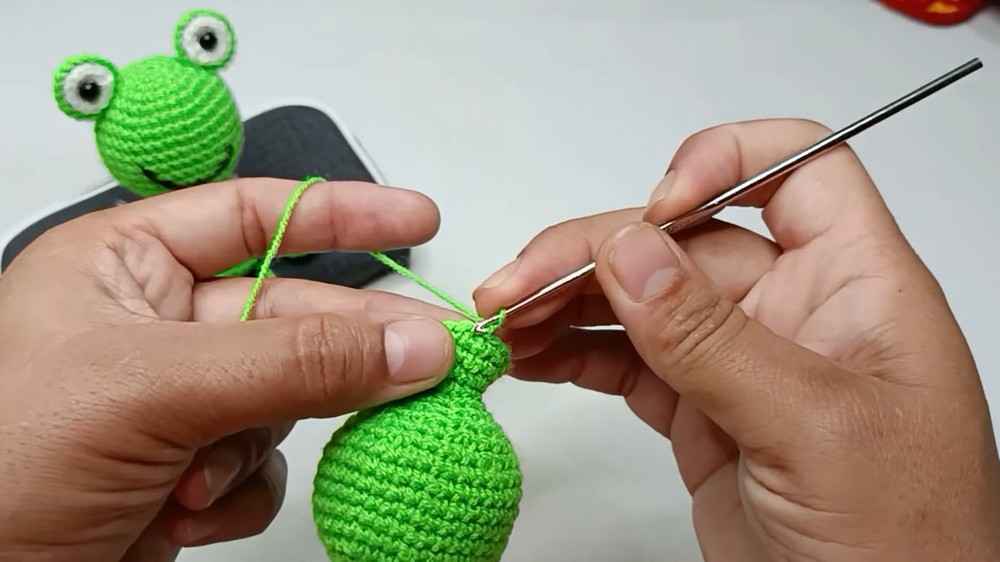
- Stuff the body firmly with fiberfill, ensuring it retains its rounded shape.
- R11: Dec 6 times to close. [6 SC]

- Pull yarn through the remaining stitches with a needle and pull tight to close.
Part 2: Arms and Legs (Make 2 Each)
Arms:
- R1: Magic ring with 6 SC. [6 SC]
- R2: (1 SC, Inc) 3 times. [9 SC]
- R3 to R6: SC in each stitch. [9 SC per round]
- Stuff lightly and leave a long yarn tail for sewing.
Legs:
- R1: Magic ring with 6 SC. [6 SC]
- R2: Inc in each stitch. [12 SC]
- R3: (1 SC, Inc) 6 times. [18 SC]
- R4: (2 SC, Dec) 6 times. [12 SC]
- R5 to R6: SC in each stitch. [12 SC per round]
- Stuff firmly and leave a long yarn tail for sewing.
Part 3: Eyes (Make 2)
Outer Eye (Green Yarn):
- R1: Magic ring with 6 SC. [6 SC]
- R2: Inc in each stitch. [12 SC]
Inner Eye (White Yarn):
- R1: Magic ring with 6 SC. [6 SC]
- R2: Inc in each stitch. [12 SC]
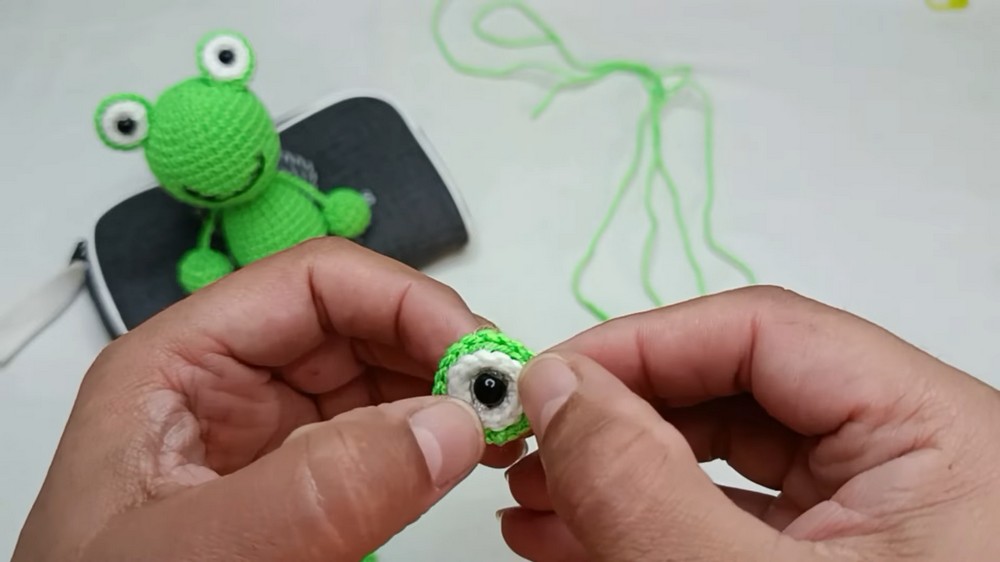
- Sew the white part onto the green part. Add a bead or safety eye in the center of the white part for the pupil. Secure it with glue or sew it on firmly.
Part 4: Assembly
- Attach Eyes: Position the eyes on the top of the head evenly (around the 6th and 7th rounds). Sew them securely.
- Embroider Smile: Use black or dark thread and embroider a small curve between the 9th and 10th rounds of the head.
- Attach Arms and Legs:
- Sew the arms to the sides of the body, slightly below where the head meets the body.
- Attach the legs at the base of the body evenly. Ensure the frog can sit or rest flat.
Part 5: Optional Accessories
Scarf/Muffler:
- Chain 20.
- Skip the first chain and SC into every chain until the end. [19 SC]
- Fasten off, weave in the ends, and tie it around the frog's neck.
Bow:
- Make a magic ring, then work: (1 half double crochet, 1 double crochet, 1 half double crochet).
- Close with Slst.
- Repeat for the second side of the bow. Tie yarn around the center to shape the bow. Attach under the head.
Customization Ideas
- Experiment with different yarn colors for a colorful frog.
- Use safety eyes for a more polished look.
- Add a tiny crochet flower or crown for personalization.

Conclusion and Important Remarks
Congratulations! Your adorable amigurumi frog is now complete. It can be a keychain, toy, or gift, depending on how you personalize it. With each stitch, you've created not just an amigurumi but a delightful keepsake that's sure to bring smiles.
Important Tips:
- Tighten stitches to ensure stuffing doesn't show through.
- Check attachments (arms, legs, and eyes) to ensure they are secure.
- For gifting, wrap in tissue paper and present as a handcrafted piece of art.