
Crochet Mini Bag Keychain Pattern for Lip Balm Storage
Slip a little handmade charm into your day with this Free Crochet Mini Bag Keychain Pattern that makes a cute bag for keys or backpacks.
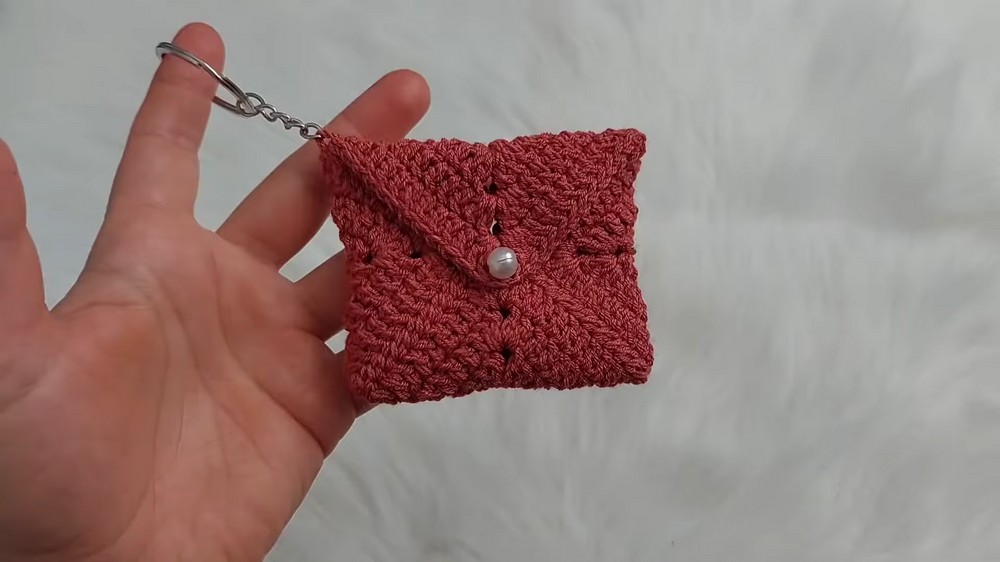
Creating a mini bag keychain with crochet is so much fun and very easy. With just a few simple steps, you can make a cute and stylish mini bag keychain. Imagine having a bag so small and cute, it fits right on your keychain. You can choose any color you like, which makes each one unique and special. It's made from a single motif, a basic crochet design that anyone can make. The end result is a pretty little envelope style bag, perfect for holding small items like headphones, coins, or keys. It's great for adding a personal touch to your belongings.
Free Crochet Mini Bag Pattern for Purse Organizer
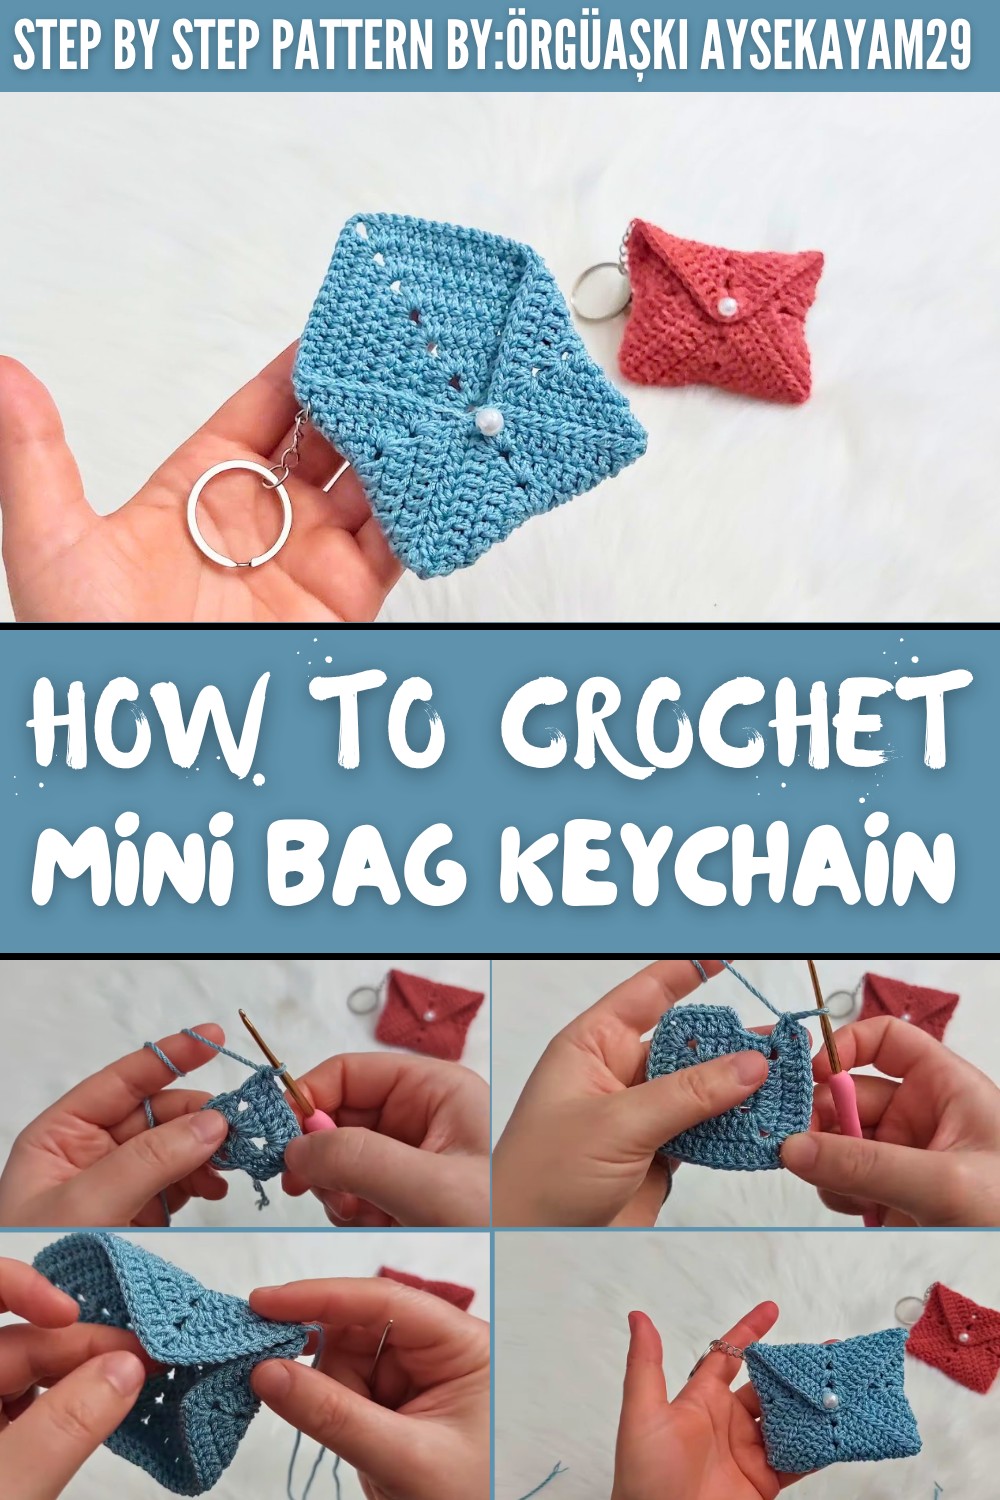
To make this keychain, you need some basic materials: a 2 mm crochet hook and yarn. Adding a pearl brings elegance and charm, making it a lovely accessory to show off. The mini bag keychain is not only practical but also looks sweet and stylish.
One of the amazing features of this crochet pattern is how customizable it is. Want a bigger bag? Just add more rows, You can adjust the size easily based on your needs. It can even become a pencil case or a makeup bag. The secret is in the magic ring and simple handrails, making the design both intricate and straightforward.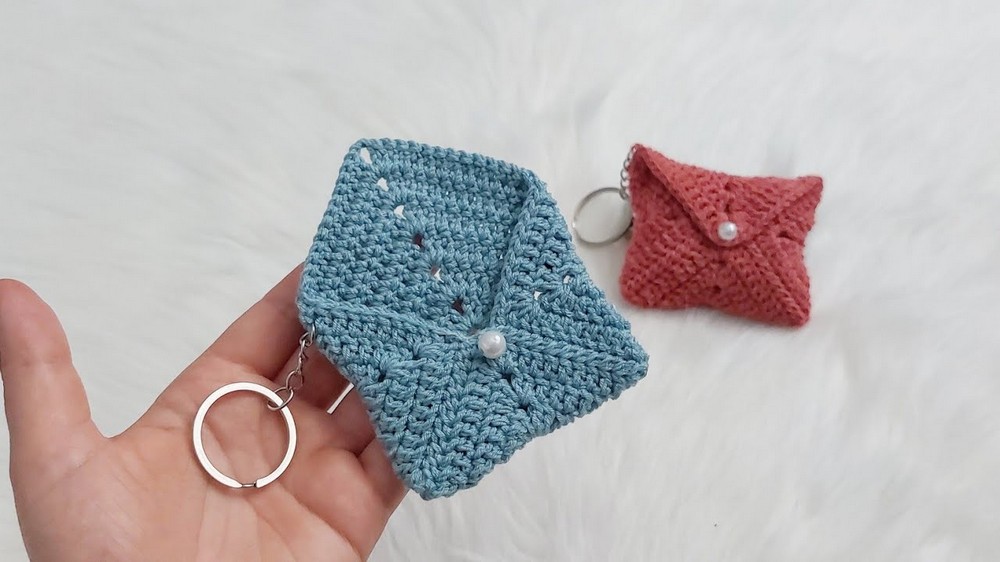
Finally, add a small pearl or bead to give it an extra touch of elegance. Whether you place your headphones or coins inside, this mini bag keychain stands out. So grab your crochet hook and start crocheting your very own mini bag keychain. This delightful project brings joy and usefulness, all in one tiny package.
Materials Required
- Yarn
- Yarn of medium thickness, approximately fingering or sport weight.
- Choose a smooth, durable yarn that can withstand daily use.
- Crochet Hook
- 2 mm crochet hook.
- Accessories
- Keychain Ring: Any standard keychain ring you can attach to the corner of the bag.
- Pearl/Bead: One medium sized pearl or bead (make sure the yarn fits easily through the hole).
- Lighter: Optional, for melting and thinning the yarn ends to pass through small beads.
- Scissors: For cutting the yarn ends.
- Tapestry Needle: To sew the sides of the motif and attach accessories.
Gauge
Gauge is not critical for this project since the size of the bag is small and adjustable. However, with fingering weight yarn and a 2 mm hook, the finished motif measures approximately:
- Width: 6 cm (2.4 inches).
- Height: 6 cm (2.4 inches).
Adjust your hook size or yarn thickness as needed to achieve your desired bag dimensions.
Finished Size
The completed bag has the following approximate dimensions:
- Height: 6 cm (when folded).
- Width: 6 cm (closed width).
This size is perfect for securing small objects like coins or earbuds.
Customization Ideas
- Enlarge the Bag:
Add more rows to the motif to create a larger bag. Increase consistently around the 2 chain corners for a bigger, functional pouch (e.g., for pencils or makeup). - Smaller Bag:
Use thinner yarn and a smaller hook size for a more compact look. - Decorative Options:
- Replace the pearl with buttons, beads, or fabric embellishments.
- Crochet a flap or strap for increased functionality.
- Play with Colors:
Use gradient yarn or contrasting colors for a striped or multi tone effect.
Special Techniques Used
- Magic Ring:
A technique for creating a circular base with no gaps in the middle. - Double Crochet (dc):
Yarn over, insert hook, yarn over, pull up a loop (3 loops on hook). Yarn over, pull through 2 loops, yarn over, pull through the last 2 loops. - Slip Stitch (sl st):
Insert hook into the specified stitch, yarn over, and pull through both the stitch and the loop on the hook. - Foundation Squares:
The bag is worked as a square motif, using increases at the corners to expand outward.
Pattern Instructions
Part 1: Creating the Square Motif
Round 1 - Magic Ring and Foundation Corners
- Begin with a magic ring.
- Chain 3 (counts as the first double crochet), work 2 double crochets (dc) into the ring.
- Chain 2 (this forms the first corner).
- Work 3 dc into the ring.
- Repeat the sequence of (chain 2, 3 dc) 2 more times, forming a total of 4 sides (each side has 3 dc).
- After the last chain 2, join with a slip stitch into the top of the beginning chain 3 to close the round.
- Pull the ring tight to close the center.

At the end of Round 1, you will have a small square with 4 sets of 3 double crochets separated by chain 2 corners.
Round 2 - Expanding the Square
- Chain 3 (counts as the first dc).
- Work 1 dc in each double crochet across the first side.
- When you reach the corner (chain 2 space):
- Work 2 dc, chain 2, 2 dc, all into the same chain 2 space (this creates the next corner).
- Continue around, working dc in each stitch across the side, and (2 dc, chain 2, 2 dc) into each corner space.
- Join with a slip stitch into the top of the starting chain 3.
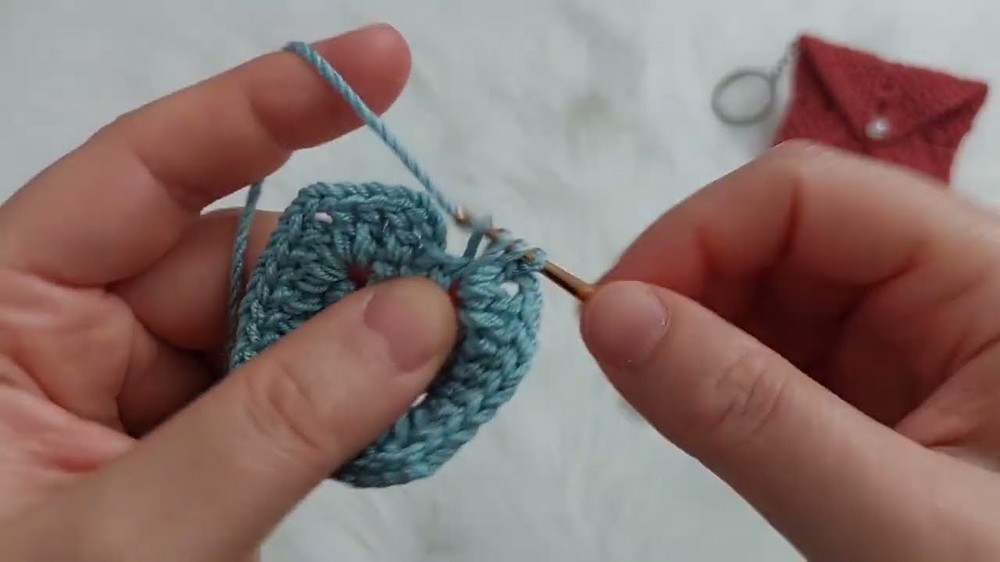
At the end of Round 2, each side will now have 7 stitches: 3 stitches from Round 1's side + 2 dc increases at each corner.

Round 3-6 - Building the Square
- For each round:
- Begin with chain 3 (counts as the first dc).
- Work dc in each stitch across the side.
- At each corner space (chain 2 space from the previous row): Work (2 dc, chain 2, 2 dc).
- Repeat this pattern for a total of 6 rounds.
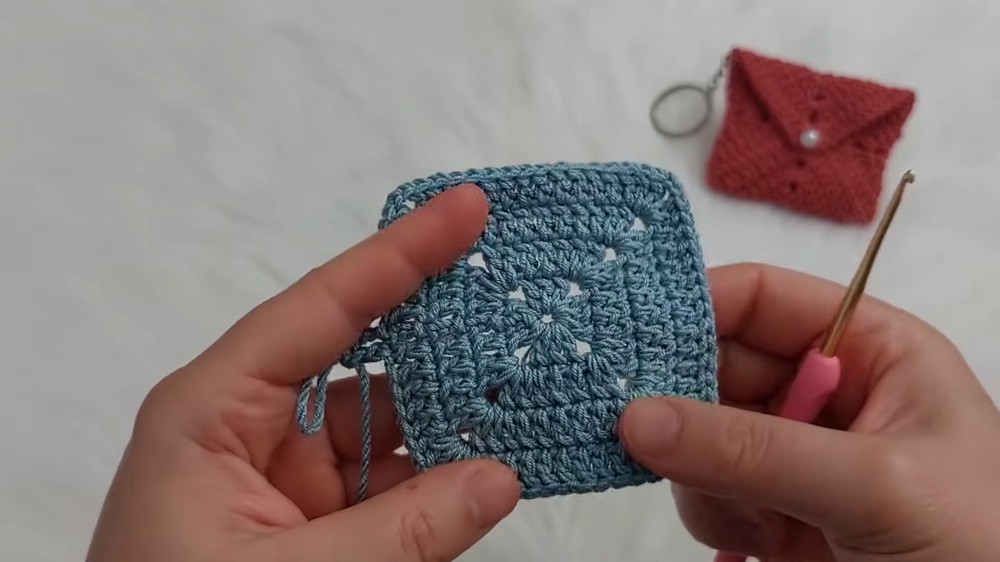
At the end of Round 6, each side will have increased by 4 stitches per round, resulting in 23 stitches per side in the final round.
Part 2: Forming the Mini Bag
Joining the Sides
- After completing the 6th round, cut the yarn with a long tail (for sewing). Pull the cut yarn through the loop on the hook to secure.
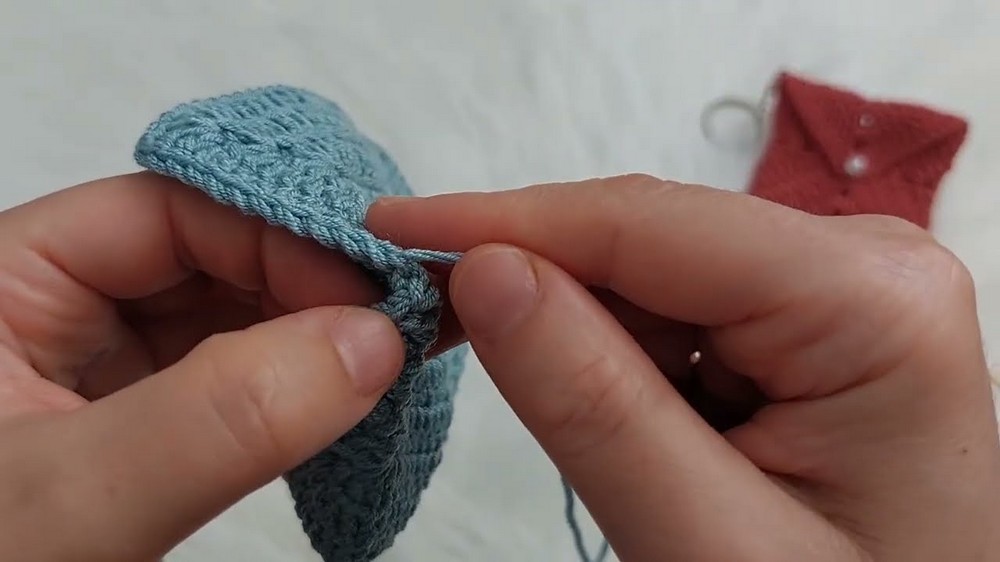
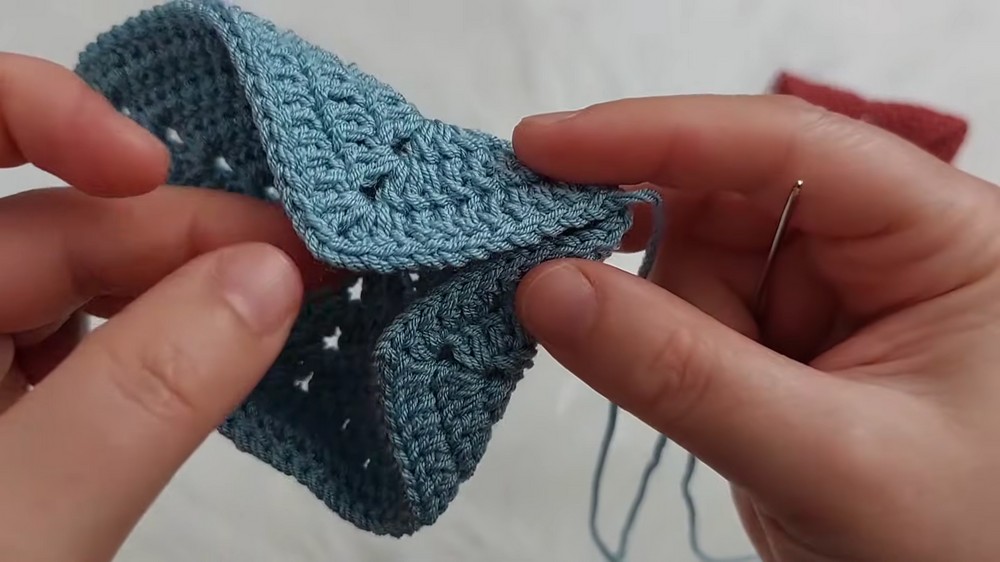
- Fold the square diagonally in half to form a triangular "envelope" shape. The corner with the initial ring will become the bottom point.
- Thread the tail yarn into a tapestry needle. Sew along the two open sides, joining them together. Use simple whipstitches or a running stitch for clean edges.
- Ensure the alignment is even as you move toward the top corners. Do not sew the top edge; this remains open as the bag opening.
Part 3: Adding Finishing Touches
Adding the Pearl or Button Closure
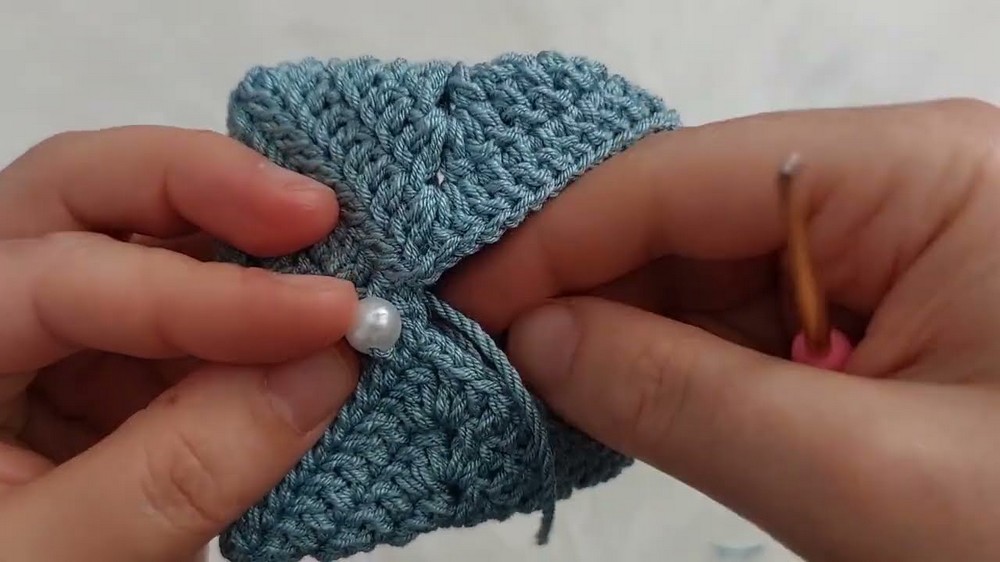
- Cut a short piece of yarn. Thread it through the pearl or button and tie a secure knot.
- Stitch the pearl onto the front of the bag flap (starting edge of the motif). Attach firmly to ensure it acts as the bag's closure.
- The bag can now be opened and closed by tucking the pearl into the gaps between stitches.
Attaching the Keychain Ring
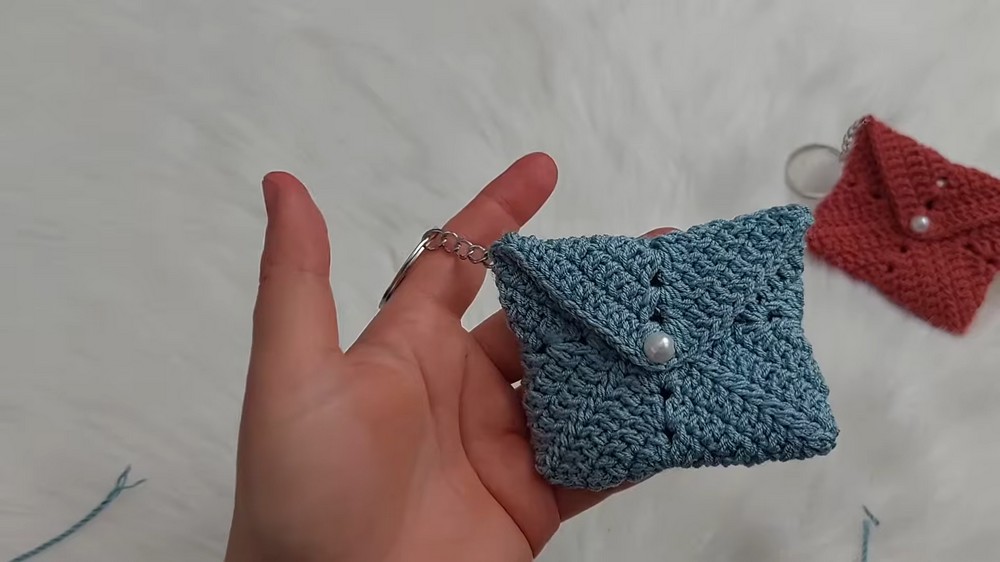
- Using a small piece of yarn or your tapestry needle, attach the keychain ring to one of the sewn together corner points. Tie or sew securely.
Optional Customizations
- Additional Rows: Add rows to the square motif before folding to make a larger bag. Always increase corners evenly.
- Strap: Chain a long strap and attach it to the sides for a shoulder bag version.
Finishing
- Clean Loose Ends: Weave in all yarn ends with a tapestry needle to hide them between stitches.
- Steaming/Blocking: Lightly block the bag to give it smoother edges and a more polished appearance.
Tips for Success
- Count Stitches and Spaces: Keep track of stitches and corner spaces at the end of each round to maintain symmetry.
- Tension Matters: Work with medium tension to keep the motif flat without curling at the edges.
- Test Pearl Size: Ensure the pearl or button fits snugly into the gaps of the motif.

Conclusion
This mini bag envelope keychain is a versatile, quick crochet project with practical and aesthetic appeal. Whether used as a keychain accessory, a coin pouch, or a small bag for earbuds, it is delightfully functional. With only one motif required, minimal yarn usage, and simple stitches, it's an accessible project for any crochet enthusiast.
Feel free to get creative with color combinations, decorative closures, and the overall size of the motif.