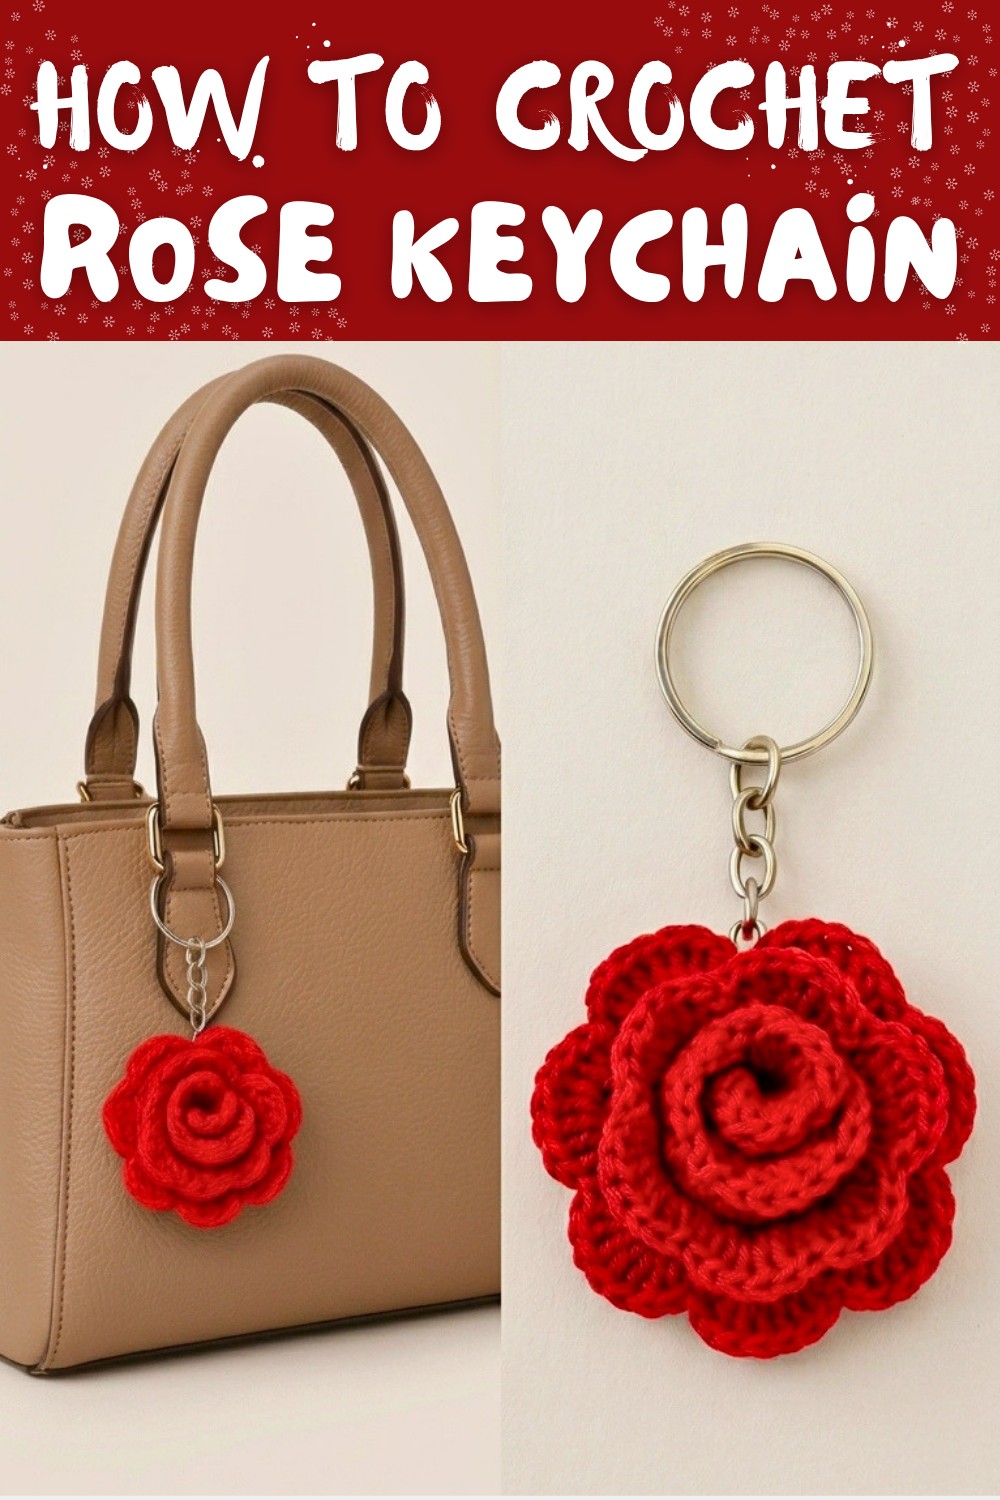
Crochet Rose Keychain Free Pattern That Looks Amazing
Carry a flower that never fades with this Free Crochet Rose Keychain Pattern and make a sweet charm for keys bags and backpacks.
The rose, a timeless symbol of love and beauty, has captivated hearts for generations. In this simple and delightful pattern, you will learn how to create your very own crochet rose keychain effortlessly. This little masterpiece lets you bring the elegance of a rose to life with just yarn and a few basic stitches. This charming keychain does not only hold your keys but also adds a touch of beauty to your everyday items.
Free Crochet Rose Keychain Pattern for Purse Decoration
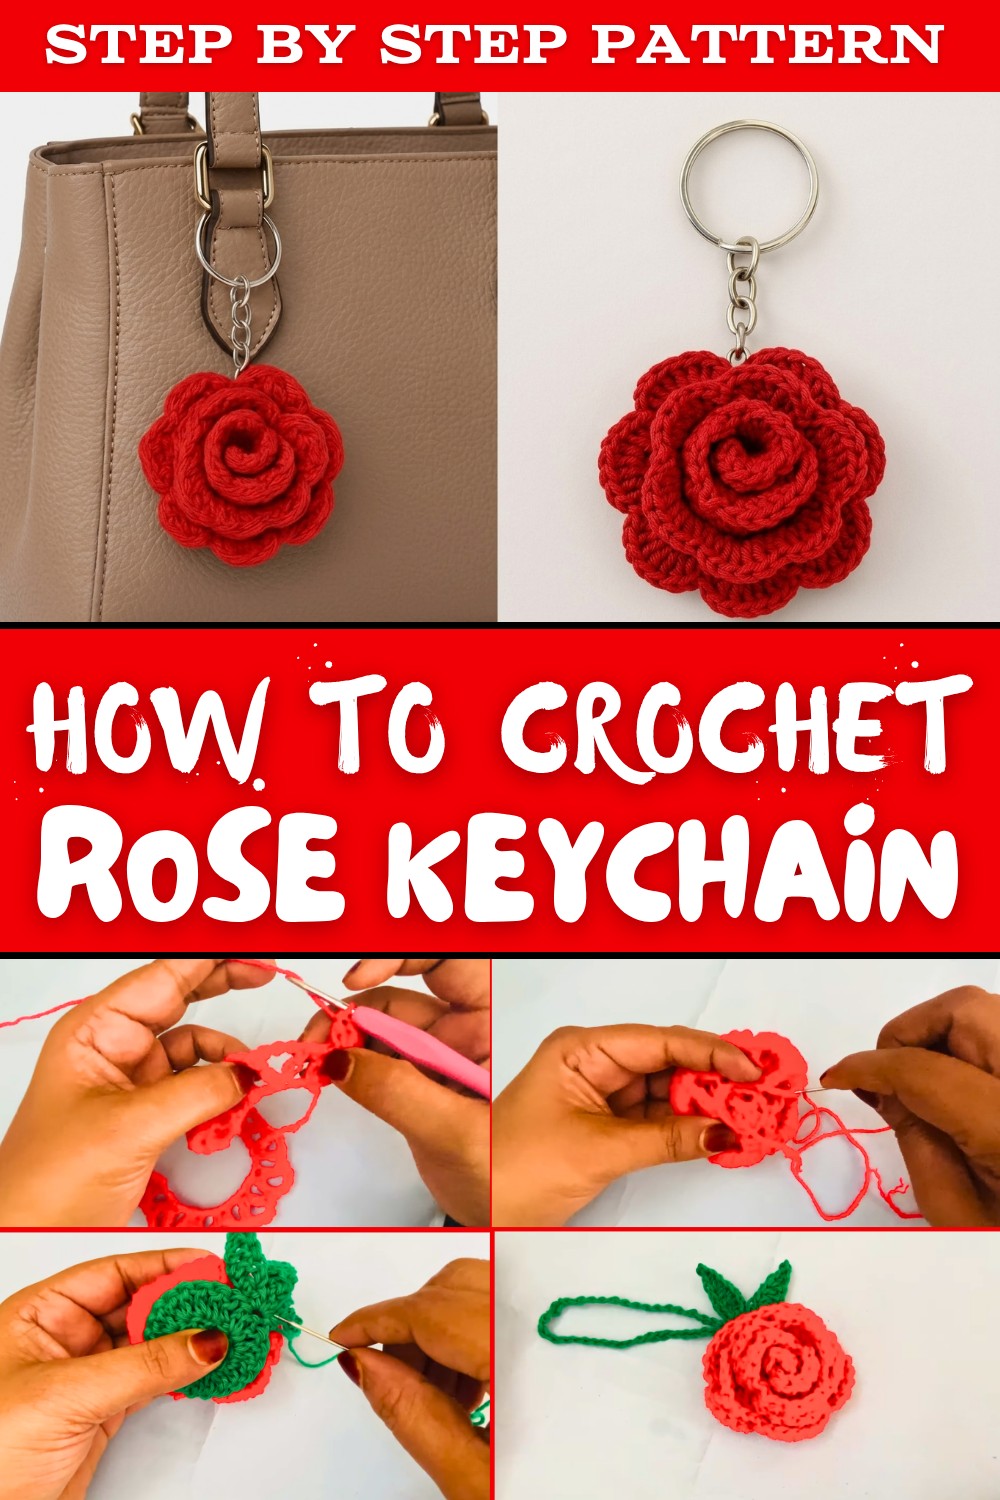
The crochet rose keychain stands out due to its vibrant colors and realistic shape. It mimics the delicate layers of a real rose with soft, overlapping petals, giving it a lovely, textured appearance. This project uses simple crochet techniques, making it perfect for anyone who is new to crocheting. All you need is some yarn, a crochet hook, and a little bit of patience.
You can choose your favorite colors or create different roses using various shades of yarn. Each rose is unique, just like in nature. This personal touch makes it an excellent gift idea for your friends and family. You can attach it to a backpack, a purse, or use it as a decorative piece in your room.
Additionally, because this is a free pattern, anyone can try it out and enjoy the satisfaction of creating art with their hands. The rose symbolizes love and appreciation, and by crocheting it yourself, you can give it even more meaning. So pick up your crochet hook and start creating this delightful crochet rose keychain.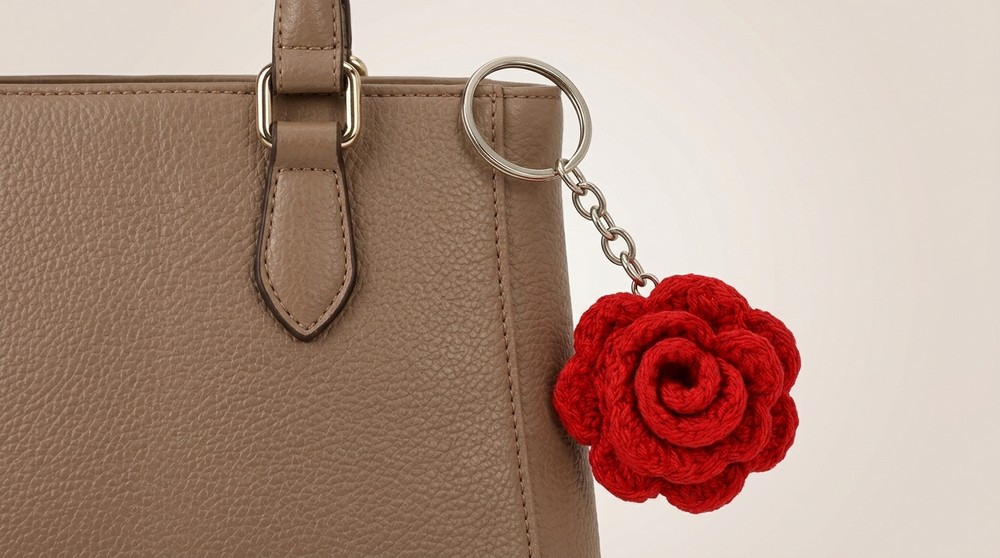
Handmade Crochet Rose Keychain with Leaves: A Step by Step Guide
Materials Required
1. Yarn
- Red or Pink Yarn: For the rose petals.
- Green Yarn: For the leaves and hanging cord. Acrylic yarn is recommended for structure and durability.
2. Crochet Hook
- Use a 2.5 mm crochet hook for neat and tight stitches.
3. Accessories
- Tapestry Needle: For weaving in ends and attaching pieces.
- Scissors: For trimming yarn.
- Key Ring (Optional): To turn it into a functional keychain.
Techniques and Stitches Used
- Magic Circle (MC): A technique for starting circular crochet projects.
- Chain Stitch (CH): A basic foundation stitch.
- Slip Stitch (SL ST): For joining and smooth finishing.
- Single Crochet (SC): A short, compact stitch.
- Half Double Crochet (HDC): Taller than SC but shorter than DC.
- Double Crochet (DC): A taller stitch for added texture.
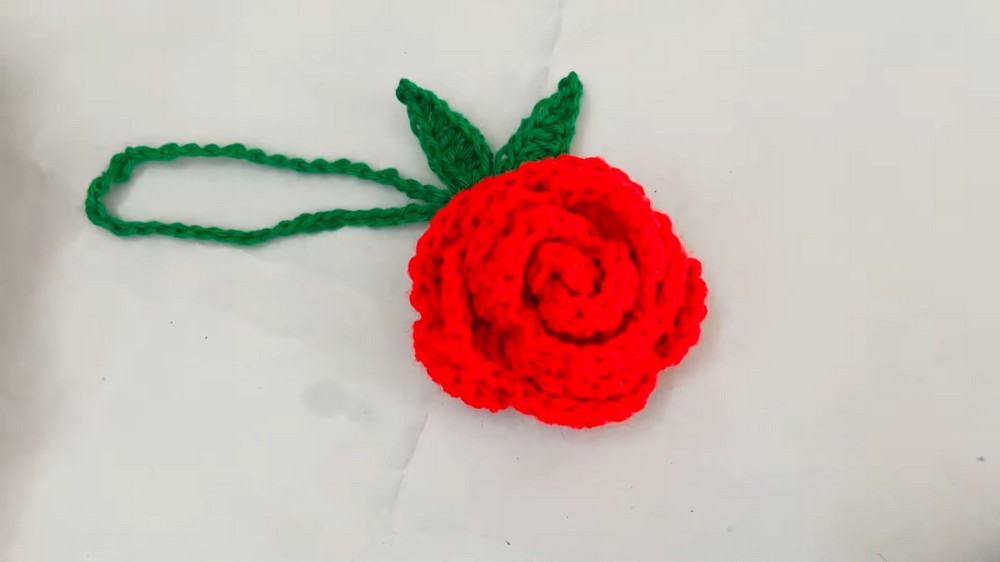
Step by Step Instructions
Part 1: Crocheting the Rose
- Foundation for the Rose
- Make a Slip Knot: Create a foundation slip knot on your hook.
- Start the Base with a Magic Circle: Wrap the yarn into a loop around your fingers and insert the crochet hook.
- Round 1 (Starting the Center of the Rose):
- CH 47 to make the base for the rose petals. This chain length determines the size of your rose. You can adjust the chain count to make the flower smaller or larger:
- 37 CH for a smaller sized rose.
- 57 CH for a larger sized rose.
- CH 47 to make the base for the rose petals. This chain length determines the size of your rose. You can adjust the chain count to make the flower smaller or larger:
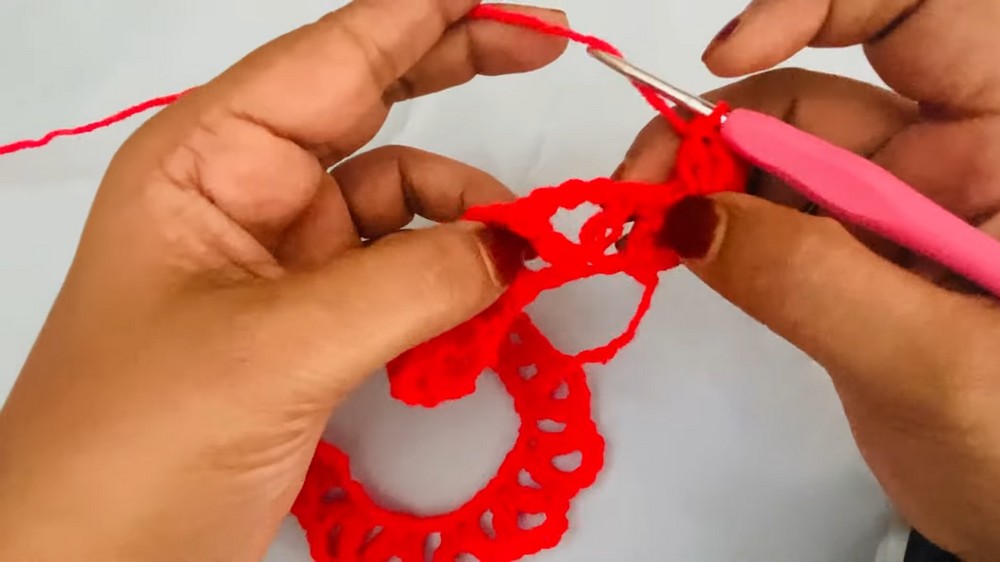
- Round 2 (Forming the Petals):
- Turn the work and SC into the second CH from the hook.
- [CH 3, skip 1, DC in the next CH] across till the end of the chain. You will form loops that act as the foundation for the petals.
- Round 3 (Making the Rose Petals):
- Inside each loop formed in Round 2, work the following stitches:
- 1 SC, 1 HDC, 3 to 4 DC, 1 HDC, 1 SC.
- This creates a petal in each loop.
- Repeat in all the loops until the row is complete.
- Inside each loop formed in Round 2, work the following stitches:
- Shaping the Rose:
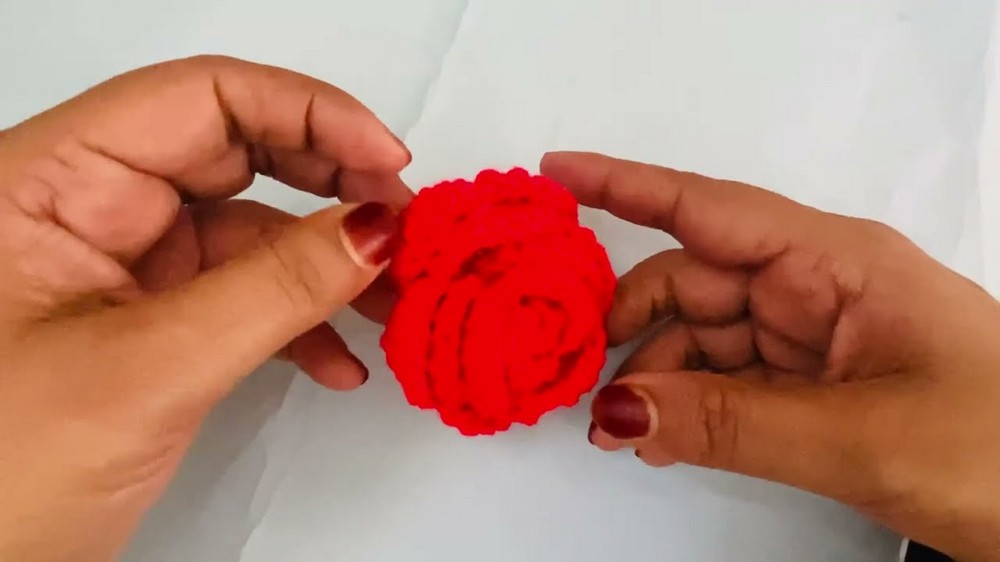
- Once you finish the row, roll the petal strip into a spiral starting from the narrow end.
- Adjust each petal to create a full, blooming rose.
- Use your tapestry needle to sew through the base to secure the rose in shape. Ensure all layers stay together. Sew tightly for durability and cut off any excess yarn.


Part 2: Crocheting the Leaves
- Making the First Leaf:
- Start with a magic circle using green yarn (Color 2).
- Work inside the circle: CH 3, DC 10, then pull the circle tightly to close.
- Round 2 (Forming the Leaf Shape):
- CH 3 (does not count as a DC).
- Work 2 DC into every DC from the previous round (total 20 stitches).
- Create the Tip of the Leaf:
- CH 8 to form the pointed end of the leaf.
- Work the following into the chains: Skip 1 chain, SL ST into the second chain, then SC in the next chain, followed by HDC.
- Next, work 2 DC into each of the next 2 chains. Finally, work HDC, SC, and SL ST into the last chain.
- Repeat to Make More Leaves:
- If desired, create a second or third leaf by repeating the process.
- Securing the Leaves:
- Use the tapestry needle to place the leaves around the rose's back, sewing firmly. Align them to make the rose more visually pleasing.

Part 3: Adding the Hanging Cord
- Attaching the Green Cord:
- Reattach green yarn to the back of the rose.
- CH 40 (adjust the length to your preference).
- Finishing the Cord:
- Connect the chain back to the flower's base using a SL ST.
- Tie off the yarn and weave the ends securely with a tapestry needle.
- Adding the Key Ring (Optional):
- Thread the key ring through the hanging cord before finalizing the knot.
Final Assembly
- Securing All Pieces:
- After finishing, go over all parts of the rose and leaves to ensure they are securely attached. Double knot any loose threads and weave them inside for a tidy finish.
- Trim Excess Yarn:
- Use scissors to carefully trim any protruding ends. Avoid cutting too close to the knots for durability.
- Shape the Rose and Leaves:
- Arrange the petals of the rose for maximum fullness and beauty. Slightly pull and adjust the leaves for a natural look.
- Add Personal Touches (Optional):
- For extra flair, consider adding beads, rhinestones, or attaching the rose to a brooch pin or hairband instead of a key ring.

Final Product
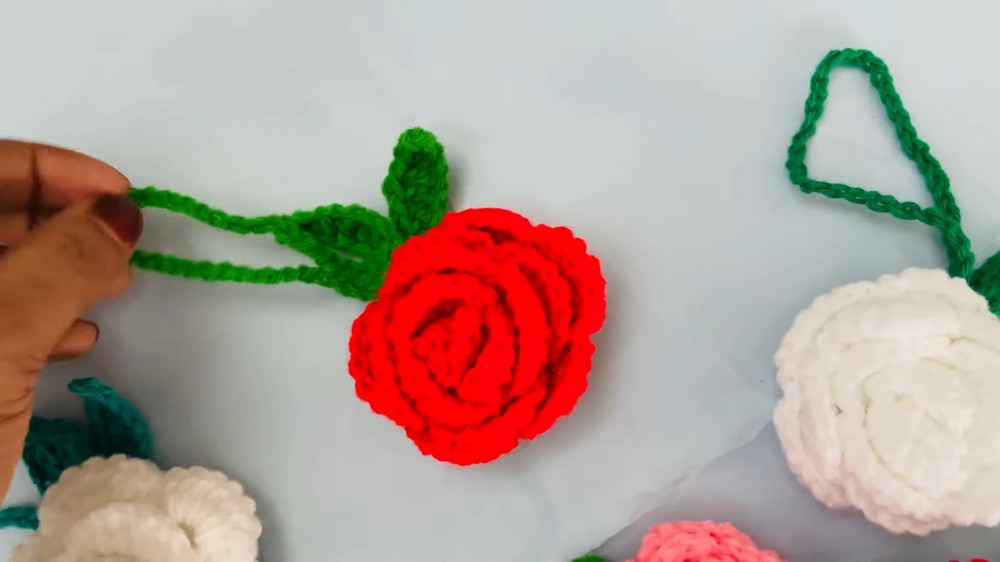
When finished, you will have a beautiful handmade crochet rose keychain with a hanging cord and leafy accents. The result is a gorgeous and versatile accessory - you can use it to decorate bags, keys, or even give it as a personalized and thoughtful gift.
Few Tips for Beginners
- Practice Tension
- Consistent tension is crucial for neat and uniform petals. Relax your hands but ensure the yarn is taut enough to create clean stitches.
- Count Stitches
- Double-check your stitch counts on each round. This ensures accuracy and symmetry in your rose and leaves.
- Experiment with Sizes
- Adjust the number of chain stitches in the foundation round to make the rose larger or smaller. The same applies to the hanging cord length.
- Try Color Combinations
- Experiment with different colors for the rose and leaves. Play with colors like pastel pink, red, or white for the rose, and light to dark green for the leaves.

Care and Maintenance Tips
- Durability:
Use strong acrylic yarn or a yarn blend for better durability and structure. - Cleaning:
Wash by hand in mild detergent and let it air dry flat to preserve the rose's shape. - Storage:
Hang the keychain in a place where it won't lose its shape. Avoid crushing the petals to maintain its fullness.
Final Words
Your handmade crochet rose keychain with leaves is now complete. This elegant accessory showcases the timeless charm of flowers and the soothing artistry of crochet. Whether you use it to decorate your bag, keys, or give it as a gift, it's bound to spread joy and appreciation for handmade craftsmanship.
If you want, you can get more creative by adding beads, glitter, or even using metallic threads for the rose. You can also attach it to hair bands, brooch pins, or even stitch it onto dresses. Customize the design, size, and colors to suit your unique style.
By mastering this pattern, you can explore creating other floral or nature inspired crochet projects. This rose keychain bring you and its recipient as much happiness as you had while creating it.