
Crochet Placemats Free Pattern for Warm Coffee Corners
Gather around a beautiful table with this Free Crochet Placemats Pattern and make soft handmade mats for happy family moments.
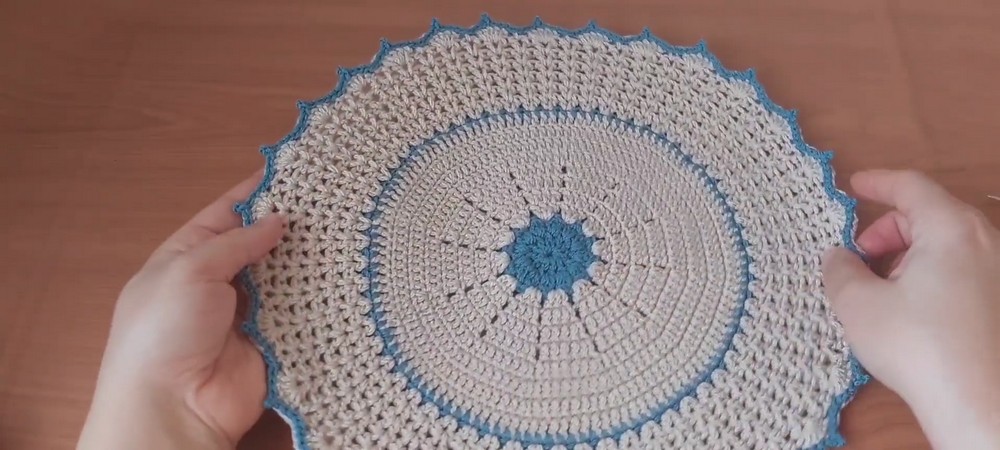
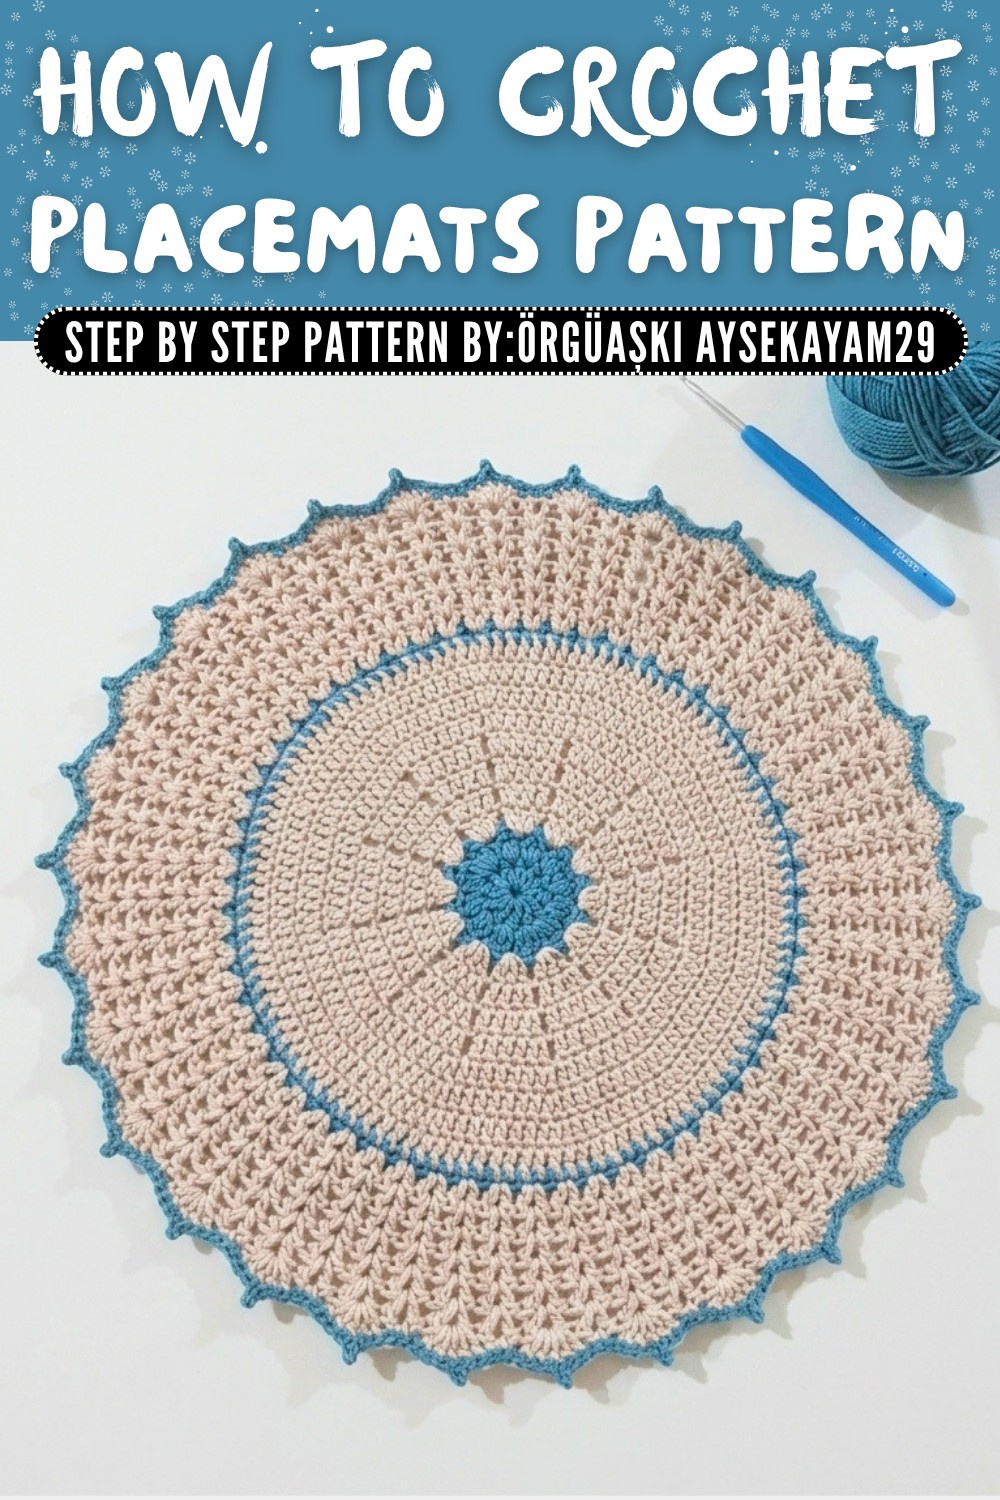
If you enjoy crocheting and want to add a warm, handmade touch to your home, this placemat pattern is just a ideal choice. With this crochet placemat, you can create stunning, colorful designs using yarns in your favorite shades. The base design features a unique combination of V stitch motifs and lace details, giving the placemats an elegant and classy appearance. The edges of the placemat are finished with soft, flowing ruffles that make it stand out. The peanut inspired detailing adds texture and depth, making the piece more intricate and appealing.
Free Crochet Placemats Pattern for Rustic Farmhouse Tables
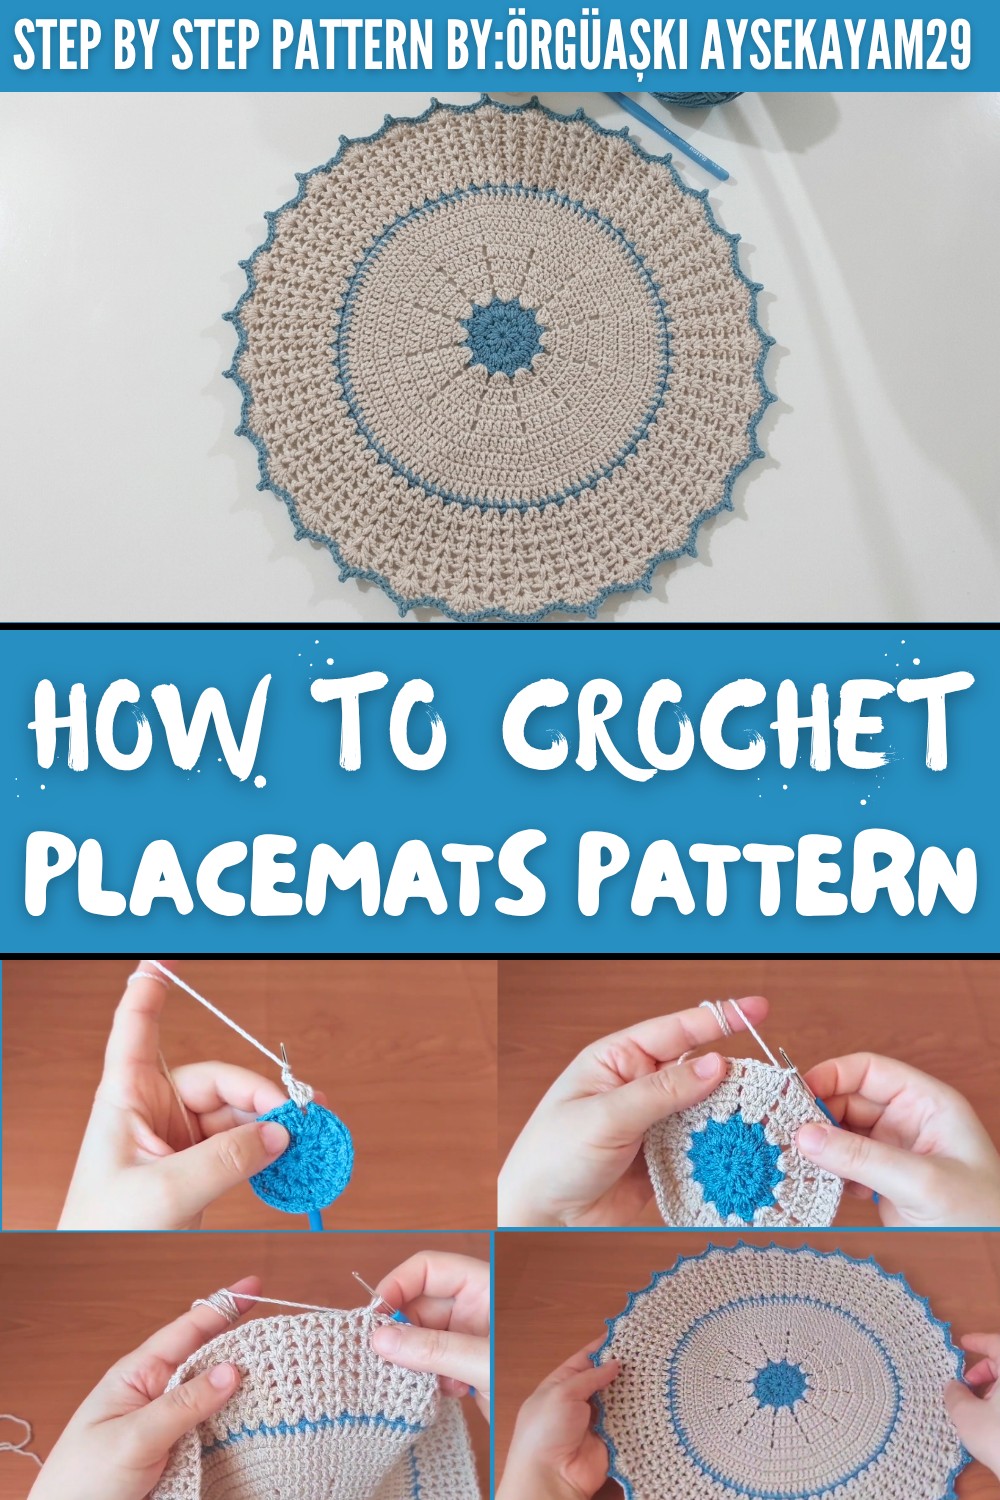
These placemats are not just a stylish decoration but are also very practical. They protect your table from hot plates and spills and add personality to your dining setup. You can use them for daily meals or save them for special occasions like family gatherings, parties, or holidays.
The pattern also offers flexibility for customization. You can make your placemat smaller by stopping after fewer rows or larger by adding more rounds and lace sections. By choosing different colors, you can match the placemats to your room's theme or give them a seasonal vibe. The lightness of the crochet lace makes them elegant yet durable.
This crochet project is a wonderful way to relax, be creative, and gift your family and friends something special. Crochet placemats are a delightful blend of style, functionality, and personal charm. Start your crocheting journey with this easy free pattern to create something you'll be proud to display.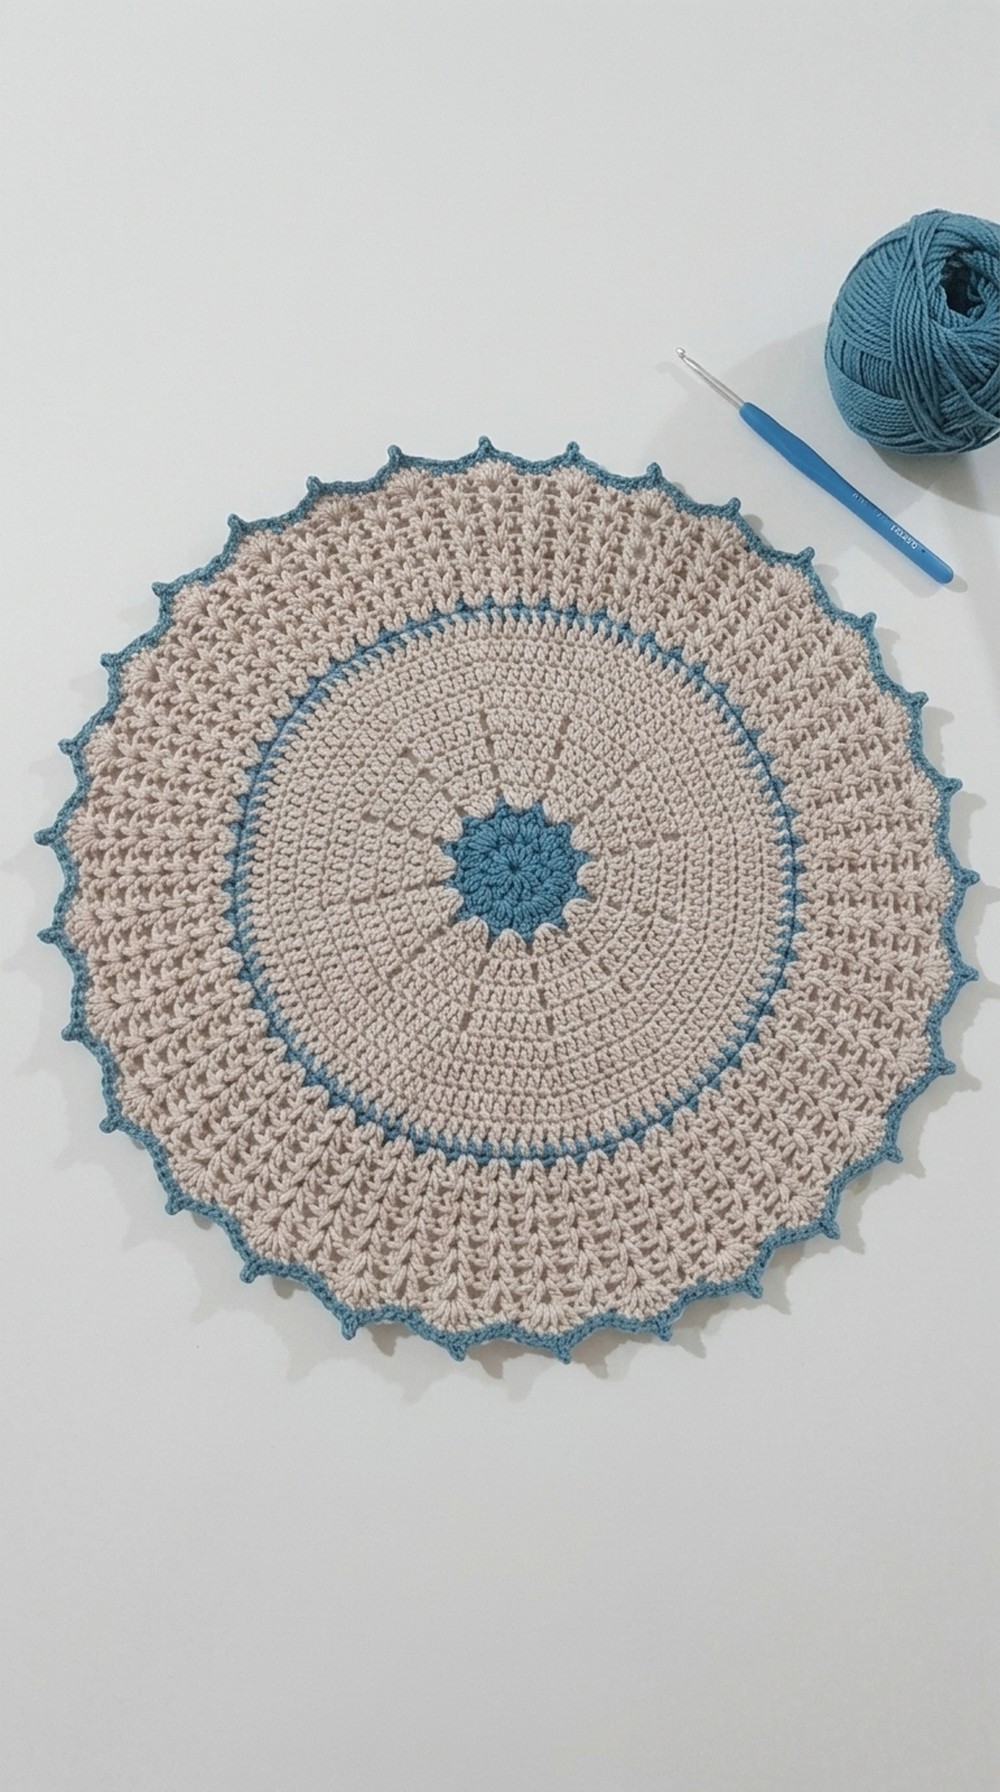
Crochet Placemats Pattern
Finished Size
With DK-weight yarn and a 1.75 mm crochet hook:
- Approximate diameter: 12-14 inches (30-35 cm).
The size can be adjusted by adding more rows or modifying the lace edging.

Recommended Materials
- Yarn
- DK-weight yarn or underlay threads.
- Colors: The pattern uses sweet blue and light colors for contrast. Feel free to select any color combination you'd like for the main and accent sections.
- Crochet Hook
- 1.75 mm hook for precision.
- Notions
- Scissors.
- Tapestry needle for weaving ends.
Gauge
Gauge is not critical for this pattern, but consistent tension is important for neat results.
Approximate gauge: 12 double crochets = 3 inches with DK-weight yarn and 1.75 mm hook.
Abbreviations and Special Techniques
Abbreviations (US Crochet Terminology)
- ch: Chain
- dc: Double crochet
- sc: Single crochet
- sl st: Slip stitch
- MR: Magic Ring
- v-st: V-Stitch (dc, ch 1, dc worked into the same stitch)
Special Techniques
Magic Ring
- Make a loop with yarn. Insert hook into the loop, yarn over, pull through the loop, and chain 1 to secure.
- Crochet the specified stitches into this ring. Pull the tail of the yarn to close tightly.
Pattern Instructions
Part 1: Center Motif
Round 1: Magic Ring Foundation
- Begin by creating a magic ring.
- Ch 4 (counts as dc + ch 1).
- Work dc, ch 1 into the ring 11 more times, creating 12 dc spaces total.
- Pull the magic ring tightly to close it.
- Slip stitch into the 3rd chain from the start of the round to join.
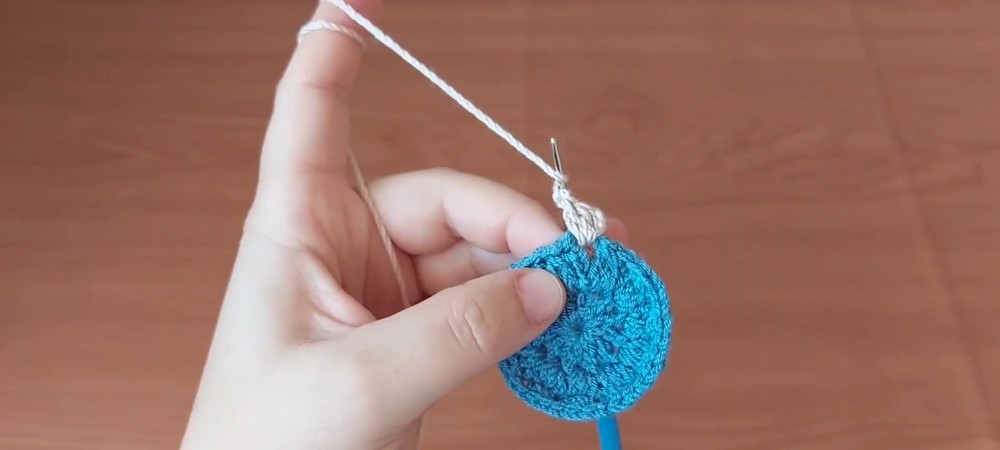
This forms 12 evenly spaced chain spaces arranged in a circular shape.
Round 2: Adding V-Stitches
- Slip stitch into the first chain space.
- Ch 3 (counts as dc), then work:
- (dc, ch 1, dc) into the same space (this creates the first V-Stitch).
- Continue into each chain space:
- Work (dc, ch 1, dc).
- At the end of the round, you should have 12 V-Stitch motifs.
- Sl st to the top of the initial chain 3 to join.
Part 2: Expanding Rows
For the next few rows, the design expands outward by adding additional V-stitches on every round.
Round 3: Expanding the Rows
- Slip stitch into the first chain space of the previous row.
- Ch 3 (counts as dc), then work:
- (dc, ch 1, dc) in each space created by the previous row's V-Stitch spaces.
- At the end of the row, join with a slip stitch.

Repeat this pattern for Rounds 4-5, adding more V-Stitch motifs as you go.
By the end of Round 5, the mat will have expanded evenly into a circular shape and be ready for lace edges.

Part 3: Lace Edging
The lace section adds decorative ruffles that highlight the elegance of the mat.
Row 6: Starting the Ruffled Edging
- Begin in any chain space around the mat:
- Ch 1, work 5 dc in the same space.
- Slip stitch into the next chain space.
- Continue:
- Alternate 5 dc in one space and sl st in the next space all the way around.
- Sl st into the first stitch to join.
The ruffles add texture and volume to the piece.

Row 7: Second Lace Row
- Slip stitch into the first chain space created in Row 6.
- In this space:
- Ch 3, work 5 dc, slip stitch into the same space.
- Skip one stitch space and repeat:
- Work 5 dc clusters alternating with slip stitches.
- Continue around until the edges are completed. Slip stitch to join.

Part 4: Finishing Touches
Final Lace Row (Optional)
- Begin in any chain space:
- Ch 2, and create a decorative picot by slip stitching back into the base of the chain.
- Repeat the picot around:
- Work into chain spaces evenly until the edge is complete.

Securing Ends
- Tie off all yarn and weave in the loose ends.
- Smooth out the edges by lightly steam-blocking or hand-blocking to create a perfect circular shape.
Customization Ideas
1. Color Variations
- Try alternating row colors for visual contrast.
- Use gradient or variegated yarn for a seamless color transition throughout the piece.
2. Adjusting Size
- To make a smaller supla:
- Stop after fewer rounds of V-stitches.
- To make it larger:
- Add more expansion rows before the lace section or increase the number of lace layers.
3. Additional Functionality
- This pattern can be used to crochet smaller coasters or scaled up for larger table mats.
- The supla can also be used as a wall decoration by stiffening the lace edges.
Tips for Success
1. Consistent Tension
Maintain even tension throughout every row to prevent curling or uneven edges. If your stitches seem tight, loosen your grip or switch to a slightly larger hook.
2. Blocking the Supla
Blocking ensures your finished piece lays flat and prevents curling around the lace edges. To block:
- Pin the mat onto a foam board or towel in the desired shape.
- Lightly steam or wet the mat, smoothing it into a circle. Allow it to dry.
3. Customize with Yarn Types
Experiment with metallic threads or cotton yarn for different textures and styles.
Conclusion
You now have a beautiful decorative crochet supla table mat. The combination of V-stitch motifs and an elegant ruffled border brings an intricate yet easy-to-work design to life. Whether you're customizing with colors or adapting the size, your supla is sure to impress anyone who sees it.
This project is perfect for adding a personal touch to your home, creating thoughtful gifts, or even crocheting themed decorations for holidays and special events. By following this pattern and implementing your own creativity, you'll create more than just a functional piece-you'll crochet art.