
Crochet Plumeria Flower Hairclip Free Patten That Pops
Grace your everyday style with this free crochet plumeria flower hair clip pattern that transforms even the simplest hairstyles into something beautifully unique.
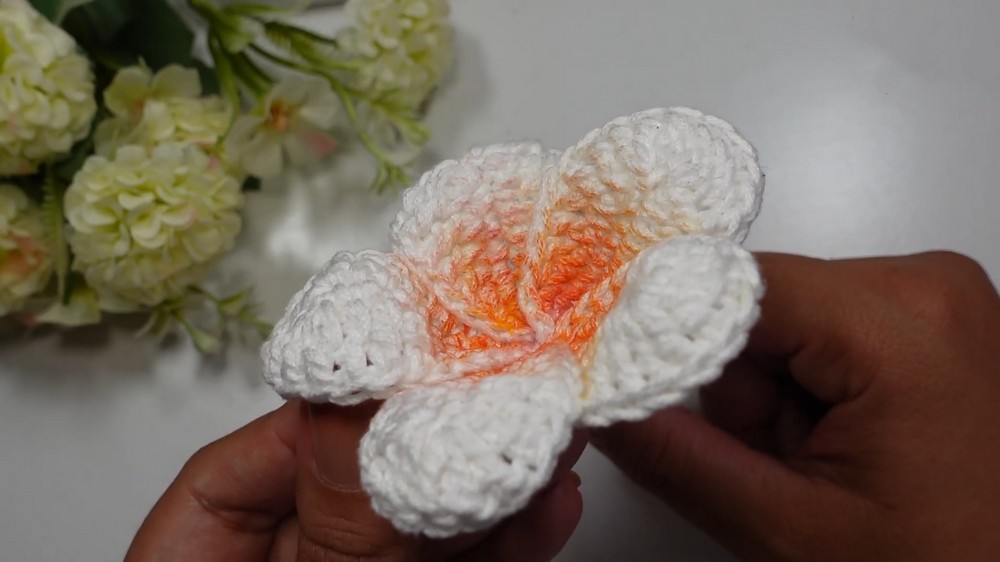
Measuring approximately 8.5 to 9 cm, this plumeria flower is a delicate and charming creation that radiates elegance and tropical beauty. Its lifelike design features five soft petals, intricately shaped to replicate the natural curves of the real blossom. The color palette of white, soft yellow, and touches of red adds vibrant depth and beautiful contrast, making it impossible to overlook. A subtle application of fabric paint or markers in the center further enhances the petals, giving the flower a realistic gradient effect that captivates the eye.
Free Crochet Plumeria Hair Clip Pattern That's Trending Now
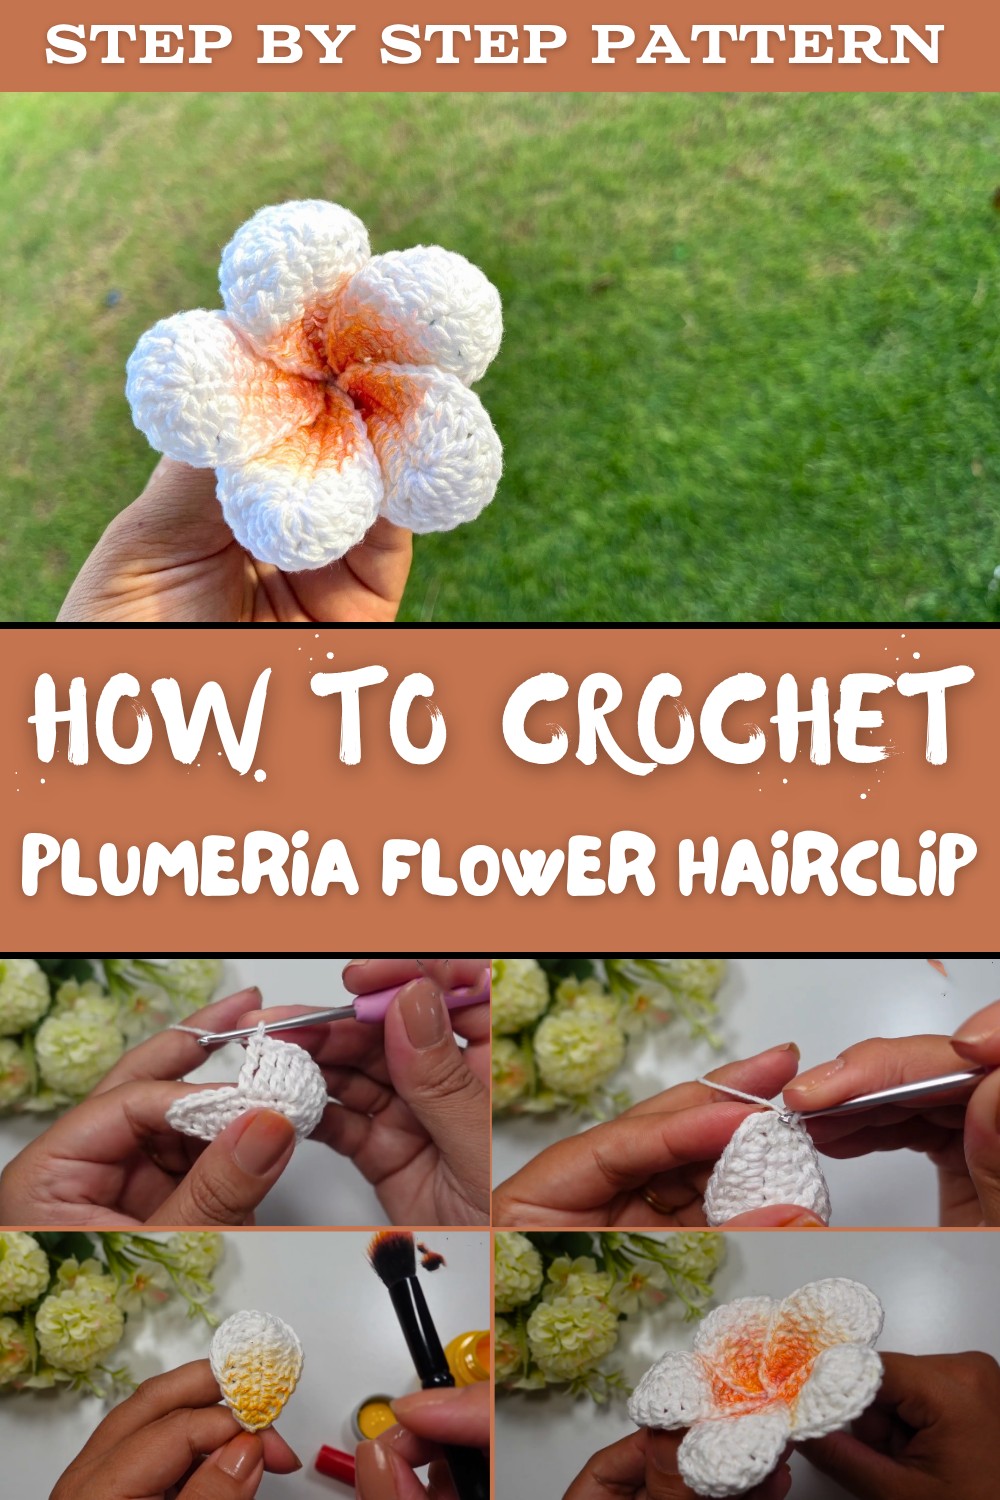
Crocheted using 100% mercerized cotton yarn, the plumeria flower combines softness with durability, ensuring a comfortable finish. Its versatility shines as it can be used as a stylish hairclip, an embellishment for headbands, or a unique decorative touch for bags, gifts, or even home items. The lightweight nature paired with intricate detailing makes it the perfect accessory to brighten any look.
The assembly process is both simple and fun, where each petal is carefully positioned using hot glue to form a cohesive bloom. For extra durability, stitching the flower together can add an additional layer of security, ensuring it remains intact even with regular use. Once completed, its vibrant colors and precise craftsmanship make it a piece worthy of admiration.
This crochet plumeria flower combines beauty, versatility, and creativity into one stunning design. Whether worn, displayed, or gifted, its timeless appeal makes it a lovely addition to any accessory collection and a delightful project for crocheters of all skill levels.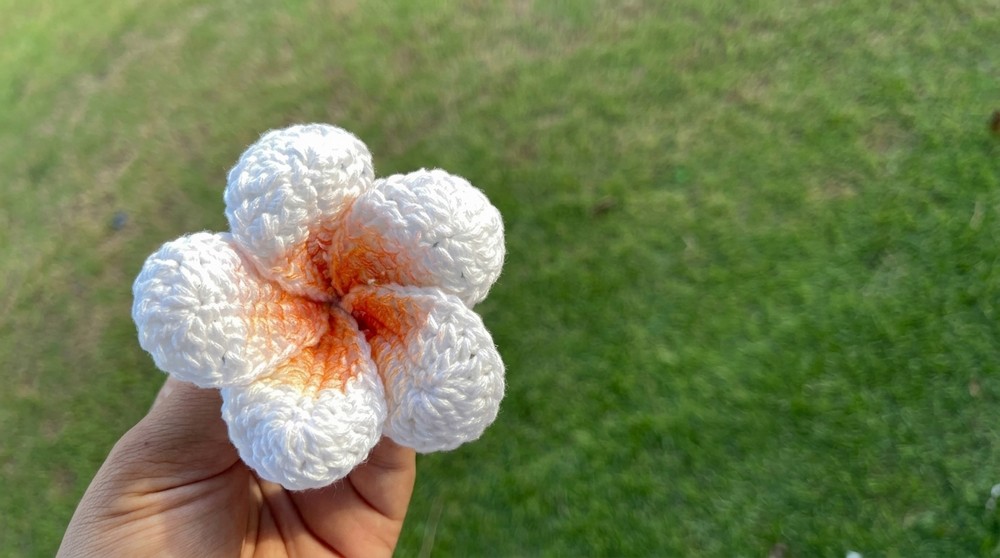
Crochet Plumeria Flower Hairclip Pattern
Finished Size
The finished flower measures approximately 8.5 to 9 cm in diameter.
Materials Required
- Cotton yarn (100% mercerized, 2 mm thickness).
- Crochet hook: 2.5 mm.
- Scissors.
- Hair clip or any base for attachment.
- Fabric paints or markers (yellow and red).
- Brush (if using liquid paint).
- Hot glue gun (with high quality silicone glue).
- Optional: Sewing needle and thread.
Gauge
The gauge does not play a critical role in this flower pattern, but if you want consistency, ensure:
10 single crochet stitches = 2.5 cm.
Pattern Instructions
Step 1: Starting the Foundation Chain
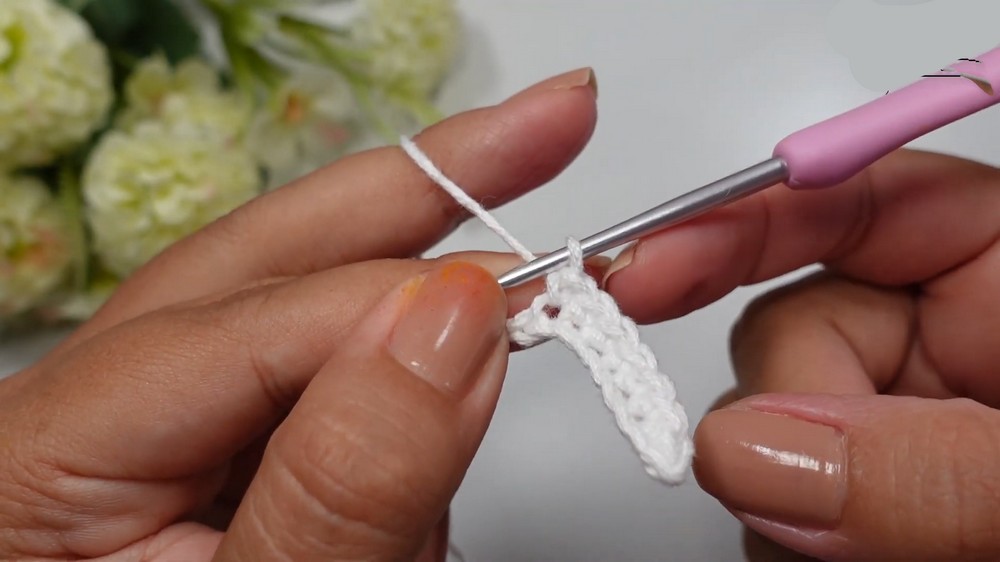
- Start with a slip knot: Place the short end of the yarn over the longer strand connected to the yarn ball. Insert your crochet hook underneath, grab the yarn, and tighten to secure the knot.
- Chain 9 stitches:
Chain 9 (ch9): ch1, ch2, ch3, ch4, ch5, ch6, ch7, ch8, ch9.
Step 2: First Row (Creating Base Round)
- Skip the first chain from the hook and insert the hook into the second chain. Create a single crochet stitch (sc):
- Insert the hook into the chain and pull the yarn through.
- Yarn over and pull through both loops on the hook.
- Continue working 1 single crochet into each chain across for 7 stitches.

Step 3: Creating the Curve
- In the last chain, work 3 single crochet stitches to create the curve of the base round. This will extend the shape for the petal foundation.
- Rotate your work slightly, allowing you to crochet along the opposite side of the stitches.

Step 4: Second Row
- Begin working medium and tall stitches:
- Skip the first stitch on the curved section.
- In the next stitch:
- Work Half Double Crochet (hdc): Yarn over, insert the hook into the stitch, pull through, yarn over, and pull through all loops on the hook.
- In the following three stitches, work Double Crochet (dc) stitches one by one:
- Yarn over and insert the hook into the stitch.
- Pull through the yarn, yarn over and pull through two loops, yarn over and pull through the remaining two loops.

Step 5: Adding Double Treble Crochet
- For the next three stitches, work Double Treble Crochet (dtr):
- Yarn over twice, insert the hook into the stitch, pull through the yarn, yarn over, pull through two loops, yarn over and pull through two loops again, and finish by pulling through the last two loops.
- To finalize the first petal sequence, work 4 Double Treble Crochet (dtr) into the next tall stitches.
Step 6: Repeat for Opposite Side
- Rotate your work again to crochet along the opposite edge. Repeat exactly as follows:
- 4 Double Treble Crochet (dtr).
- 3 Double Treble Crochet.
- 2 Double Crochet.
- 1 Half Double Crochet.
- Once you reach the end, complete the round with Slip Stitch (sl st) into the last stitch. This secures the foundation for your petal.
Step 7: Creating Remaining Petals
Repeat Steps 1 through 6 to create 5 petals. Ensure each petal follows the same process to maintain symmetry.
Painting and Shaping
- Painting the Flower:
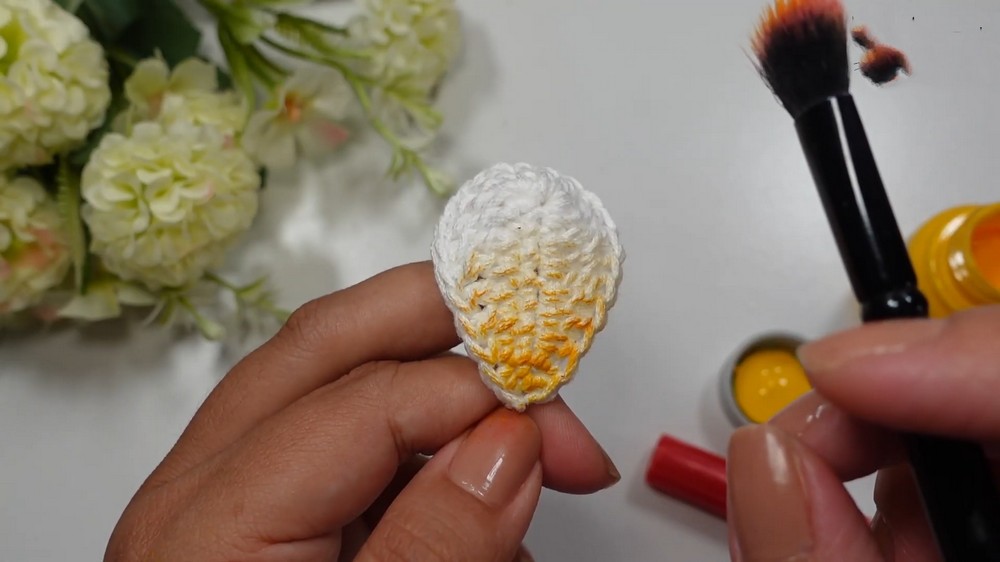
- Use a thin brush for liquid paint or fabric markers. Start with the yellow paint and apply lightly at the center of each petal.
- Gradually add red paint starting from the edges of the yellow area, blending as you move outward.
- Use soft strokes to create an appealing gradient effect. Add more or less paint depending on your preference.
- Shaping:
- Allow the paint to dry fully before proceeding.
- Gently shape each petal to ensure the flower looks natural and aligned.

Assembling the Flower
- Use hot glue to stick the petals together in a circular formation. Start by applying glue at the base of each petal to connect them one by one.
- Once all 5 petals are glued, check the backside of the flower and secure any loose ends to prevent unraveling.

Securing to a Base
- To attach the flower to a hair clip, apply a generous amount of hot glue onto the clip's base. Firmly press it against the back of the flower.
- Tip: Use high quality glue to ensure durability.
- If the glue alone feels unreliable, sew the flower onto the clip using a needle and thread to reinforce the connection.

Customization Ideas
- Color Variations: Make each petal a different color to create a vibrant multi colored flower.
- Extra Decoration: Add small beads, sequins, or glitter on the petals after painting for extra sparkle.
- Leaf Attachment: Crochet small green leaves and attach them to the base of the flower for a more realistic look.

Tips for Success
- Work tightly but not too stiffly to avoid distorting the shape of the petals.
- Use proper fabric markers or paints made specifically for yarn to prevent any color bleeding or damage.
- Test your silicone glue on a sample piece of yarn before using it to ensure it does not melt or damage the fiber.
- Always weave in loose ends carefully to prevent unraveling during use.
Conclusion
The "Plumeria" flower crochet pattern is an easy yet stunning project suitable for beginners and advanced crocheters alike. The combination of soft cotton yarn, intricate crochet stitches, and vibrant paint brings this flower to life. Whether used as a hair accessory or a decorative item, it adds joy and style to any object it's attached to.
Important Remarks
- Ensure you work the stitches evenly to maintain the symmetry of the petals.
- When painting, less is more-start light and gradually increase the intensity to avoid overwhelming the flower's look.
- Use high quality materials for longevity and durability.
This flower will surely stand out wherever it is placed, showcasing not just beauty, but the effort and dedication woven into each stitch.
