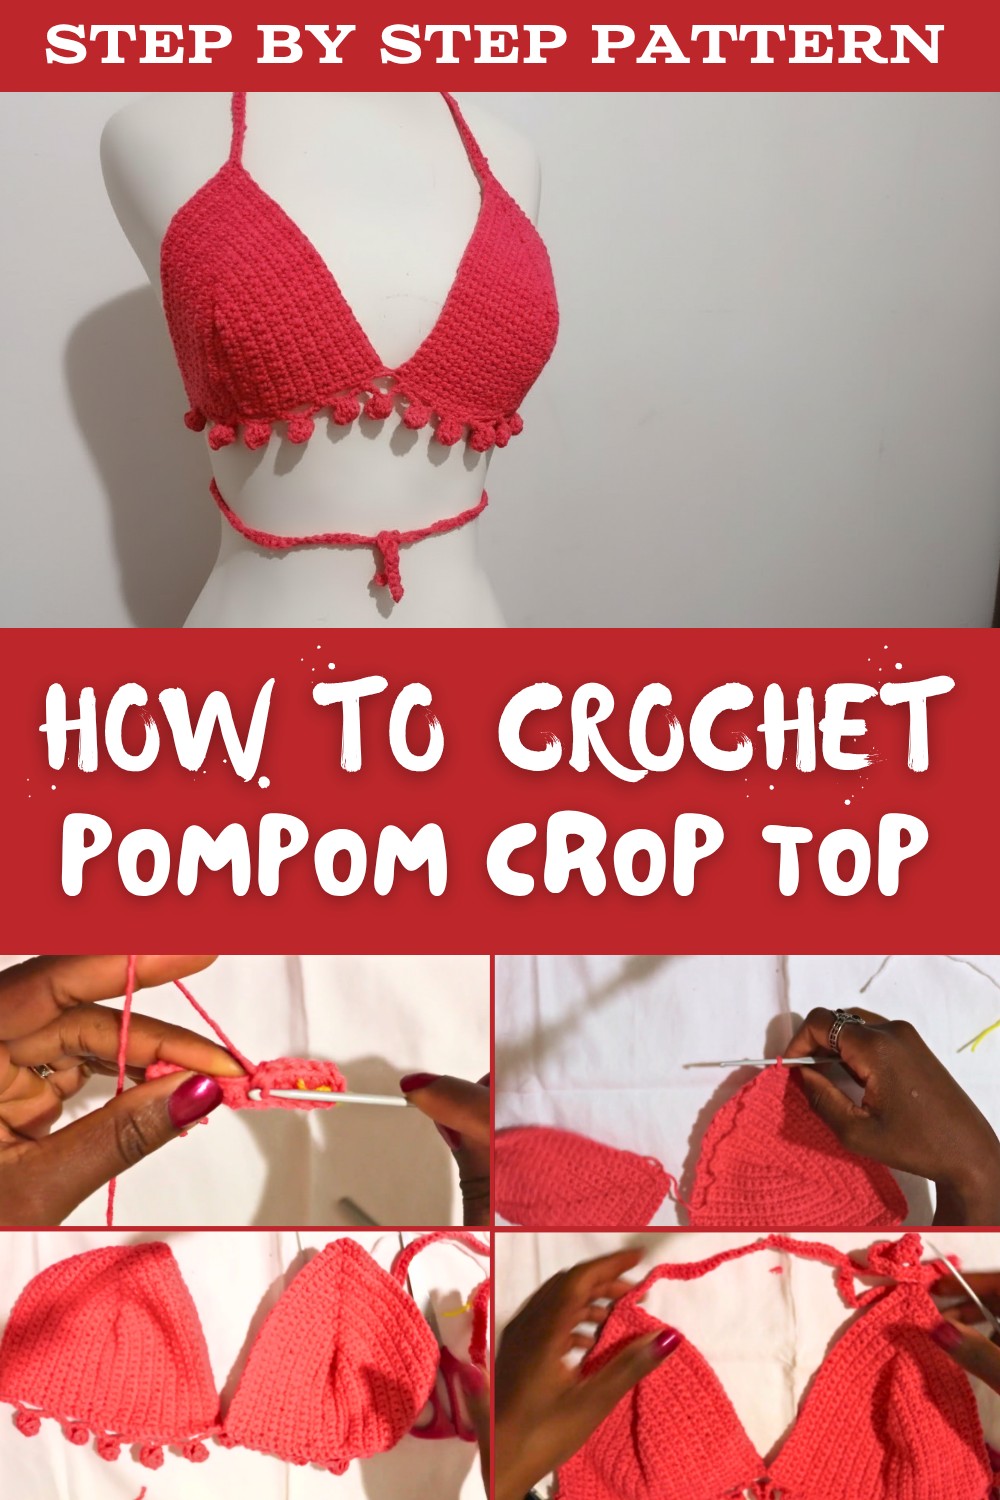
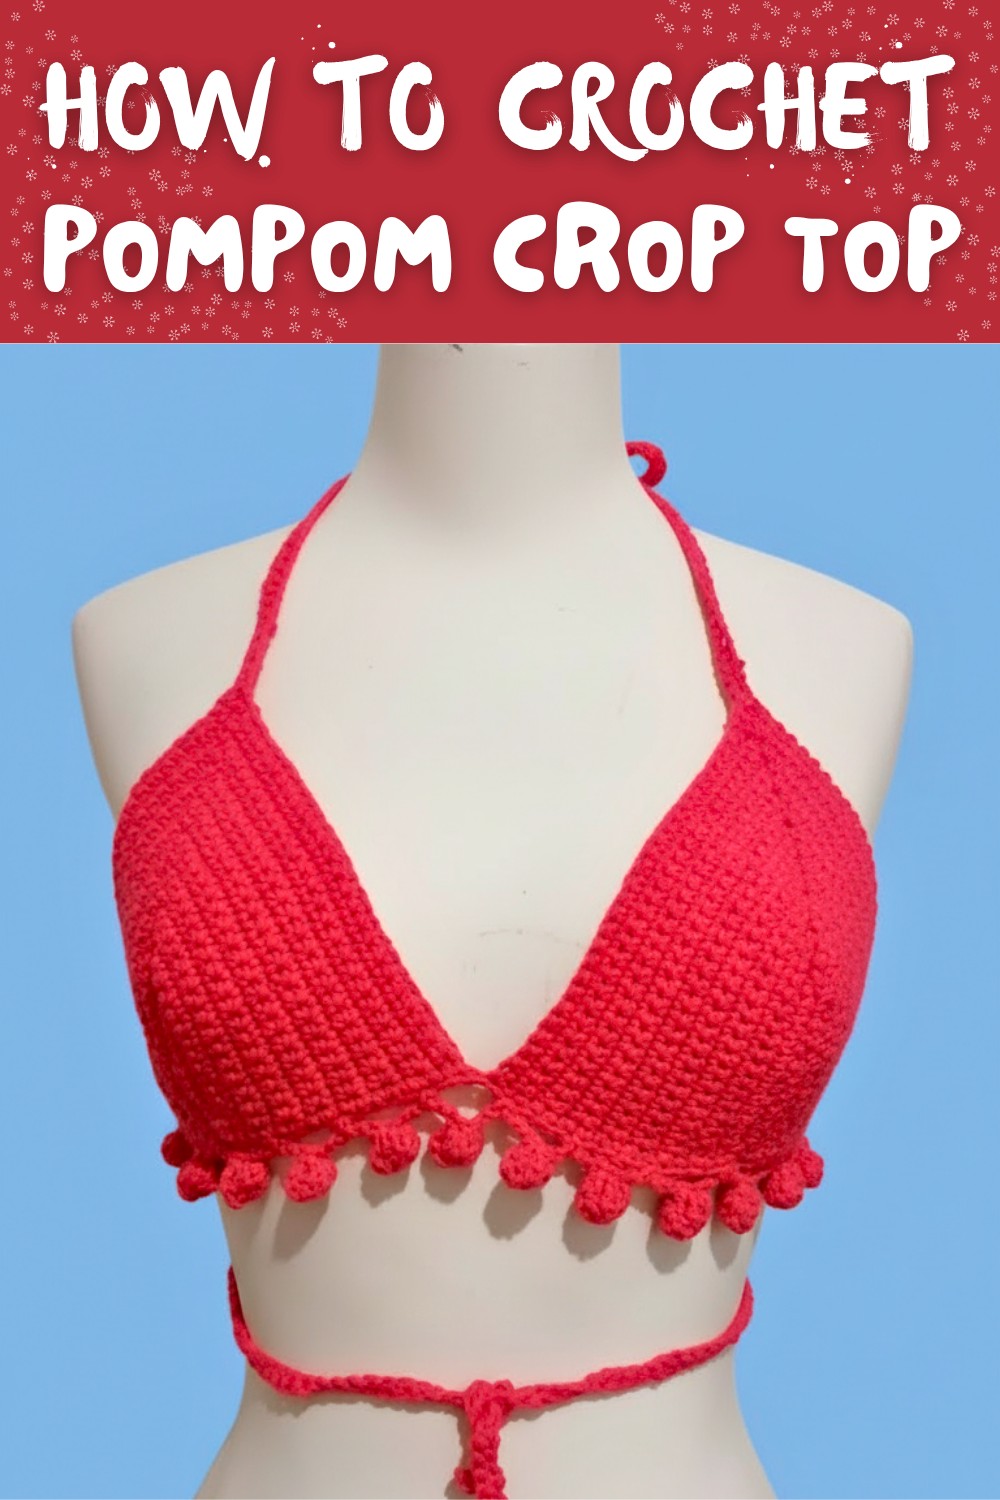
Crochet Pompom Crop Top Free Pattern for a Trendy Wardrobe
Stay stylish this summer with a free crochet pompom crop top pattern that's vibrant, and perfect for pairing with your favorite outfits.
Wearing something that adds fun and charm to your outfit while making you feel confident and stylish. A pompom crop top is a playful and creative crochet design that catches everyone's attention. Its beauty lies in the cute, fluffy pompoms that add a pop of texture and personality to the top.
Crochet Pompom Crop Top Free Pattern for Festive Looks
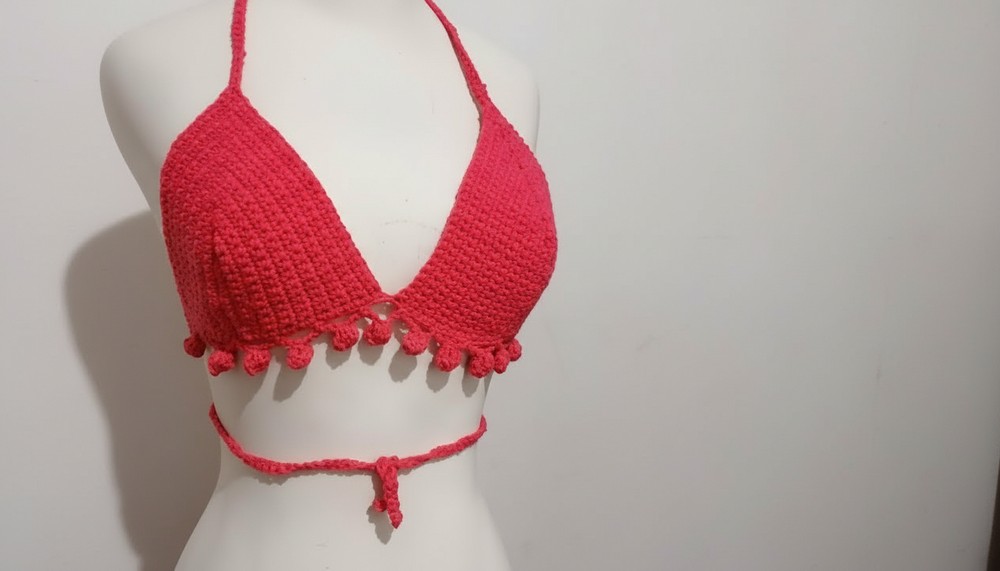
Perfect for summer days, festivals, or casual outings, this handmade piece can be tailored to your favorite colors and sizes, making it as unique as you are. The lightweight design keeps you cool, while the cheerful pompoms bring a touch of joy to your wardrobe.
It's not just fashionable but also functional, as it can be paired effortlessly with skirts, jeans, or even over a dress. This free crochet pompom crop top pattern allows you to create something trendy and special, turning a simple idea into a standout piece that brightens any day.
Pom-Pom Crochet Crop Top Pattern
1. Materials List
Yarn
- Type: Scrap yarn or chunky yarn (thick and soft).
- Suggested material: Acrylic yarn or cotton blend for durability.
- Colors: You can use a single color or multi-colored yarn for a unique look.
Hook
- Crochet Hook Size: 3.25mm hook recommended for tighter stitches.
- Use a smaller hook for neat and durable results.
Additional Tools
- Scissors: For trimming yarn tails.
- Stitch markers: To mark rows or sections (optional).
2. Skill Level
Advanced Beginner to Intermediate
This pattern requires understanding of basic crochet techniques, single crochet (sc), double crochet (dc), slip stitch (sl st), and decorative stitches.
3. Key Abbreviations
US Crochet Terminology is used throughout this pattern.
- ch: Chain
- sc: Single Crochet
- dc: Double Crochet
- sl st: Slip Stitch
- yo: Yarn Over
Special Note: You'll create pom-poms using clusters of dc worked into a loop, pulling through all loops on the hook to form a "bubble-like" stitch.
4. Special Notes
- Gauge is not required, as the sizing for this crop top is adjustable.
- Cup sizing: Measure the width and height of the cup required to fit your bust comfortably. Adjust the starting chain length accordingly.
5. Finished Size
The provided example fits size small (or approximately US 4-6).
Adjust the number of starting chains and rows for larger or smaller sizes.
6. Pattern Instructions
Step 1: Crochet Cups
The crop top begins with two single crochet cups. Ensure each cup matches your desired size. For larger or smaller cups, adjust accordingly.
- Foundation Chain for Cups:
- Ch 13.
- Row 1:
- Sc in the second chain from the hook and in every chain across the row.
- At the last stitch, work 3 sc into the final stitch to form a curve (this creates the top of the cup).
- Place a stitch marker in the middle sc (second stitch of the curve).
- Row 2:
- Turn work. Ch 1, work sc in each stitch across the row, including stitches on the curved edge.
- On the top curve, again work 3 sc into the marked stitch, placing the stitch marker in the middle sc.
- Repeat Rows:
- Continue working rows of sc, increasing at the curved edge with 3 sc at the stitch marker.
- Repeat until your cup reaches the desired size.
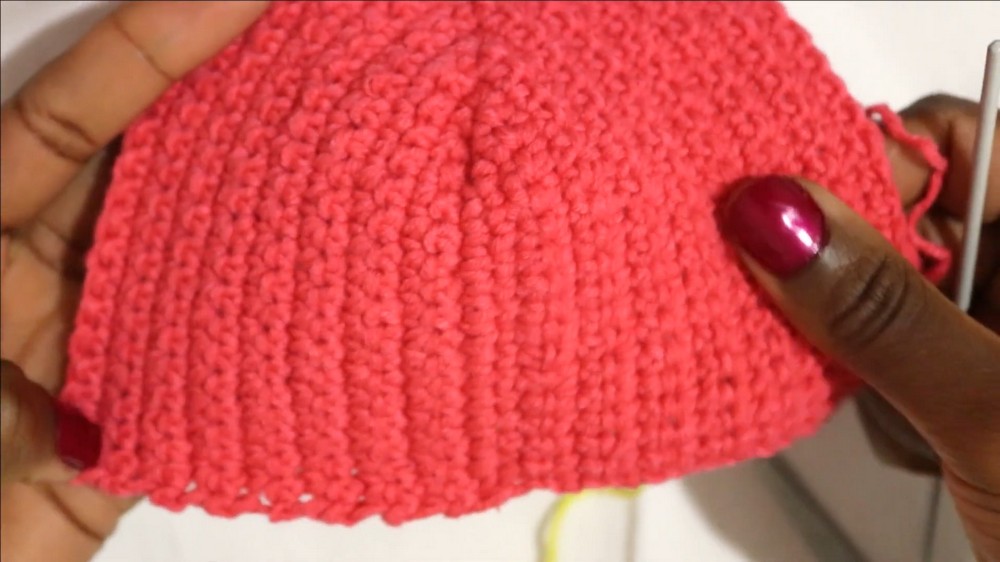
Note: For a size small, make 15 rows from the foundation chain. For larger sizes, continue until the cup covers the bust appropriately.
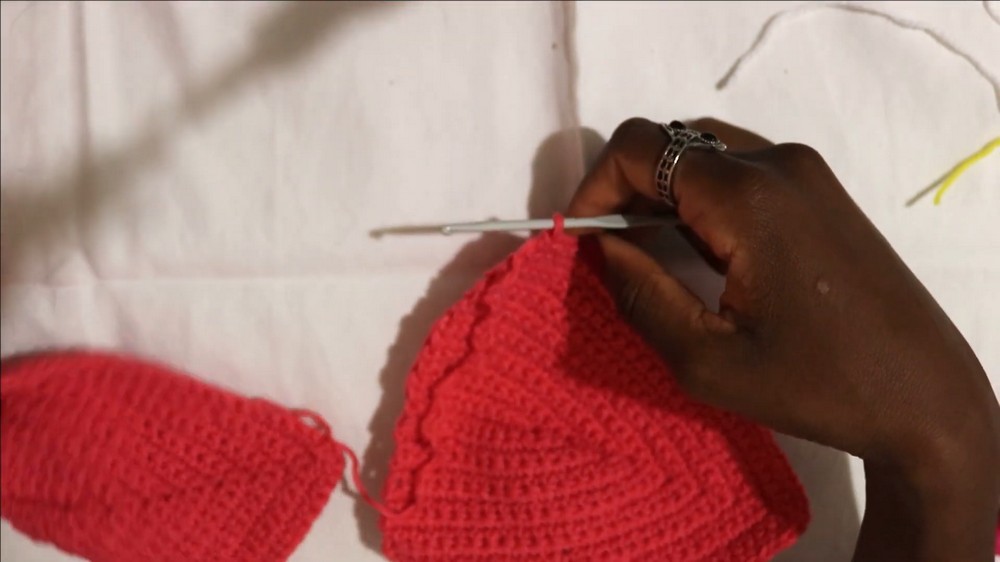
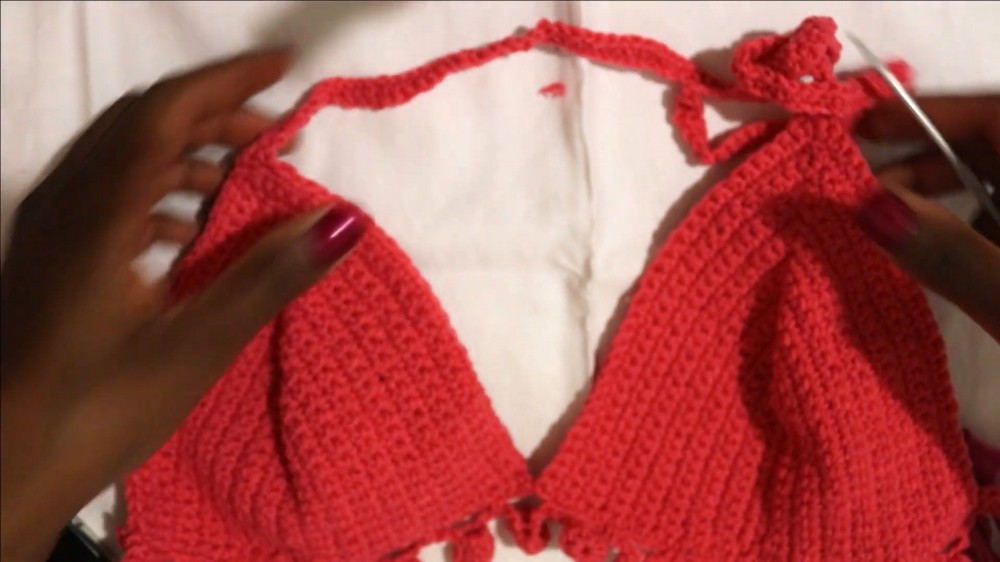
Step 2: Joining Cups
- Once the two cups are complete, lay them side by side with the curves pointing upward.
- Attach yarn at the bottom corner of one cup and begin working sc along the edge, 1 sc in each stitch.
- Slip stitch to join the other cup at its bottom corner.
- Continue working sc along the bottom edge of the second cup.
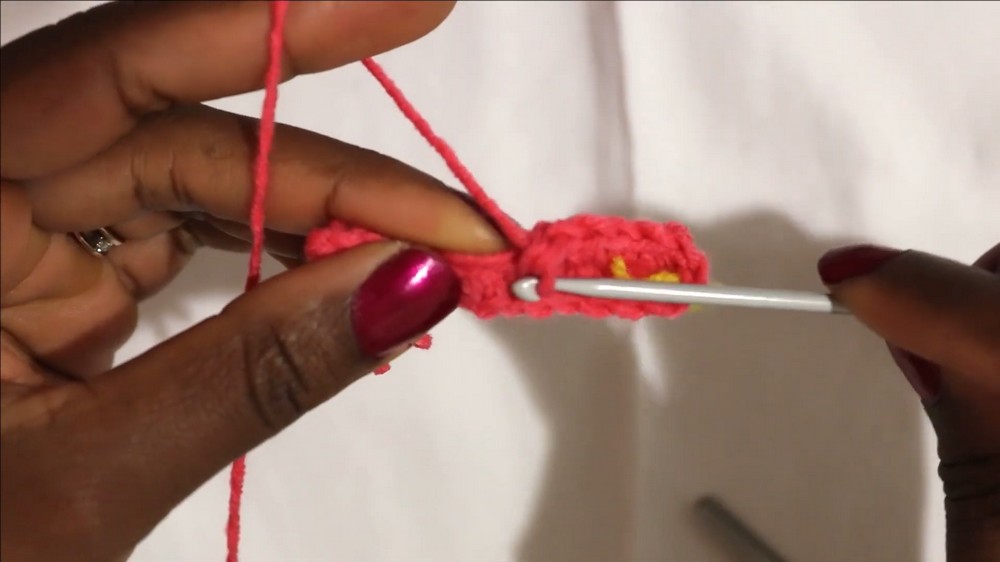
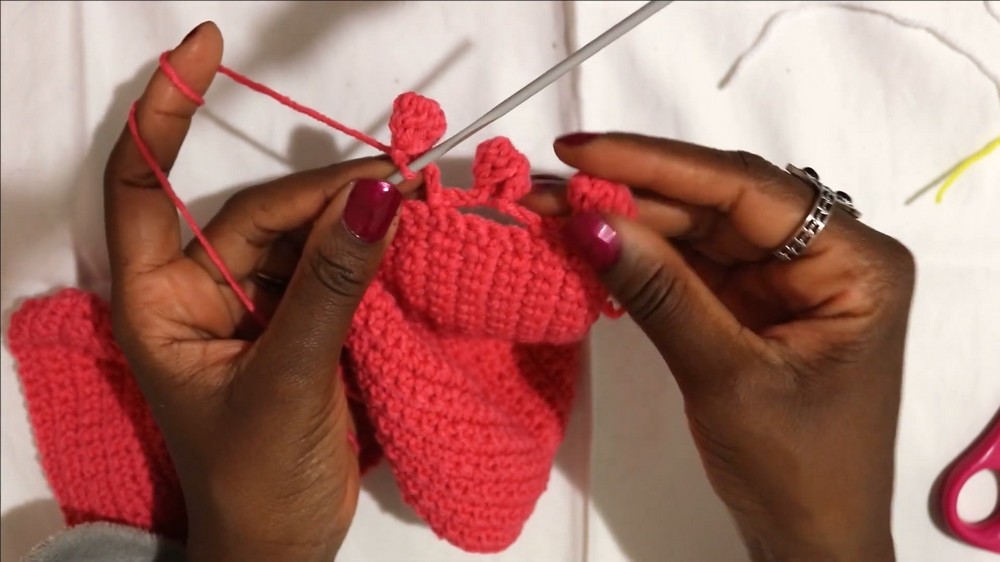
Step 3: Decorative Pom-Poms
The pom-poms are worked across the bottom edge of the joined cups.
- Step A - Base Chains:
- Ch 6, turning work around.
- Step B - Pom-Pom Formation (Part 1):
- Work 4 dc in the third chain from the hook.
- Leave all loops on the hook. You should now have 5 loops.
- Yo and pull through all loops on hook.
- Step C - Chain Between Halves:
- Ch 3, forming the middle of the pom-pom.
- Step D - Pom-Pom Formation (Part 2):
- Work 4 dc in the same base stitch (behind the previous stacked dc).
- Leave loops on the hook, totaling 5 loops.
- Yo and pull through all loops.
- Ch 1 to close the pom-pom.
- Repeat and Spacing:
- Skip 5 stitches along the bottom edge and sl st into the fifth stitch.
- Repeat the pom-pom formation sequence across the edge.
Step 4: Straps
The straps are worked directly from the cups for a neat finish.
- Attach yarn to the upper corner of one cup.
- Work ch 100 (or desired strap length).
- Optionally, for thicker straps, sc all the way back along the chain.
- Slip stitch the end of the strap into the starting stitch to secure.
Repeat for the second strap on the opposite corner of the cup.
Step 5: Finishing Touches
- Weaving in Ends:
- Use a yarn needle to hide tail ends neatly into the stitches.
- Adjust Pom-Poms:
- Check the alignment of pom-poms; they should be evenly spaced.
7. Tips for Customization
- Cup Size Adjustments:
- For larger bust sizes, add more rows during the single crochet cup section.
- Adjust the width by starting with more than 13 chains for the foundation chain.
- Pom-Poms:
- Pom-poms can be spaced further apart for a subtler look or closer together for more drama.
- Strap Variations:
- Add decorative stitches or work with thicker yarn to create statement straps.
- Length:
- Extend the bottom section by adding rows before attaching the pom-poms for a longer top.
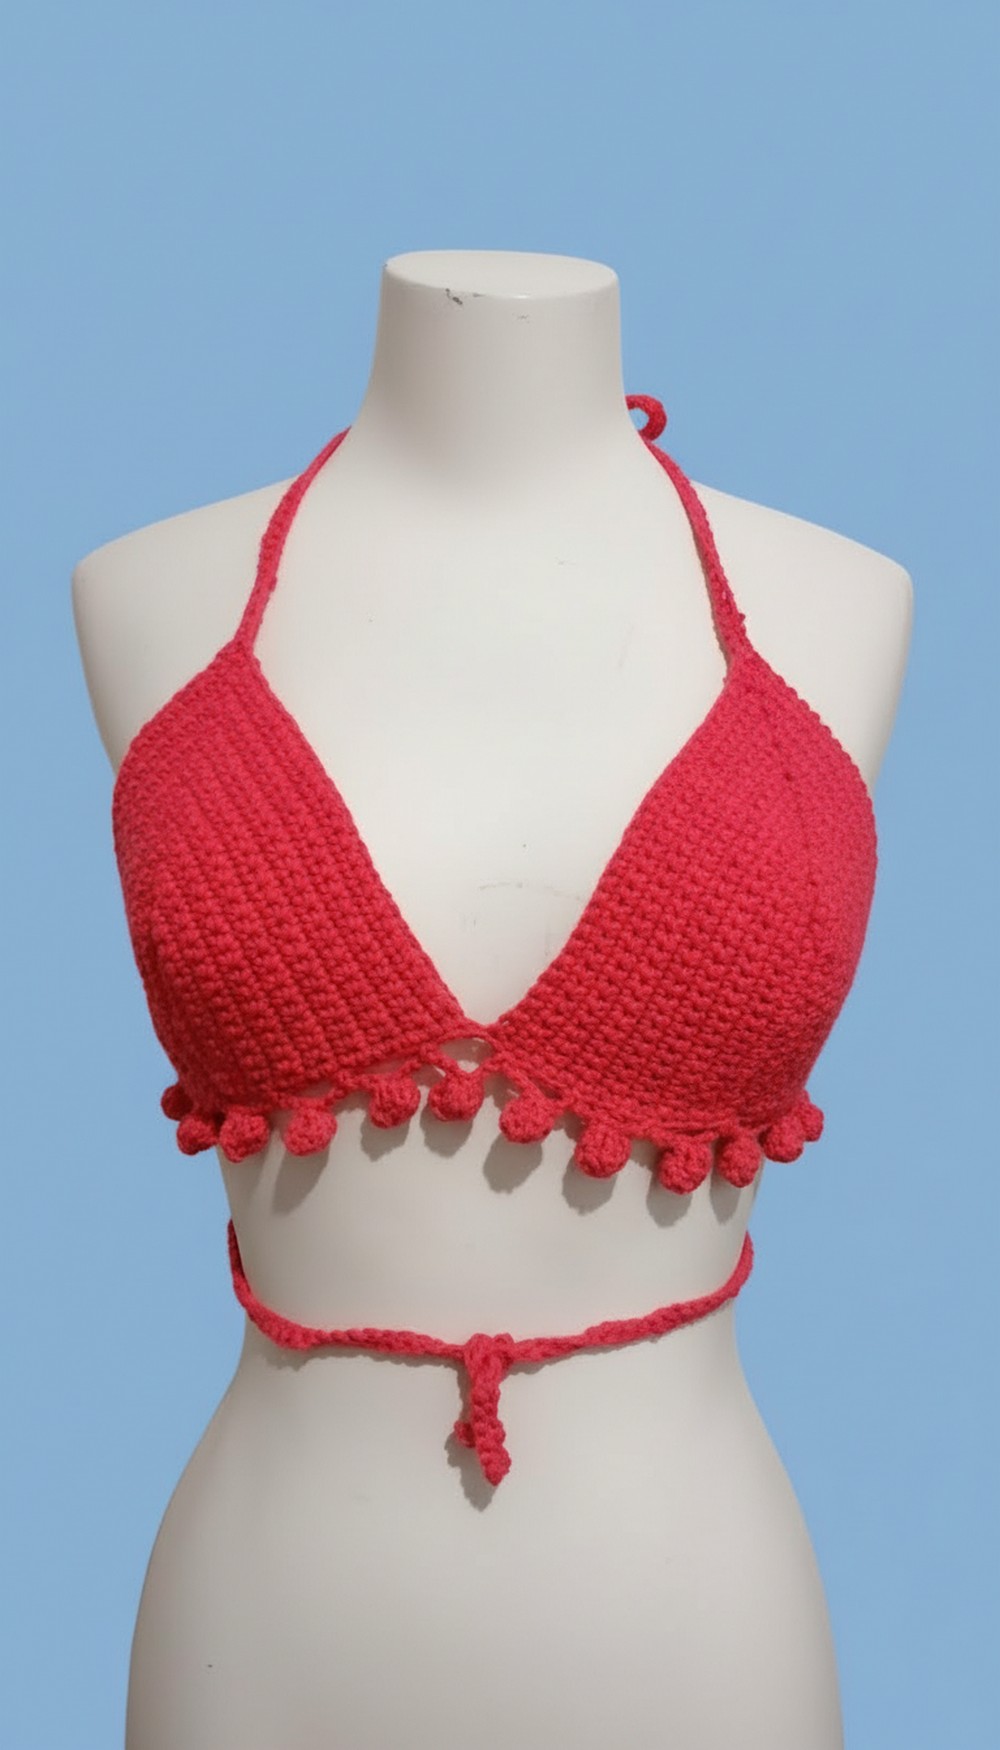
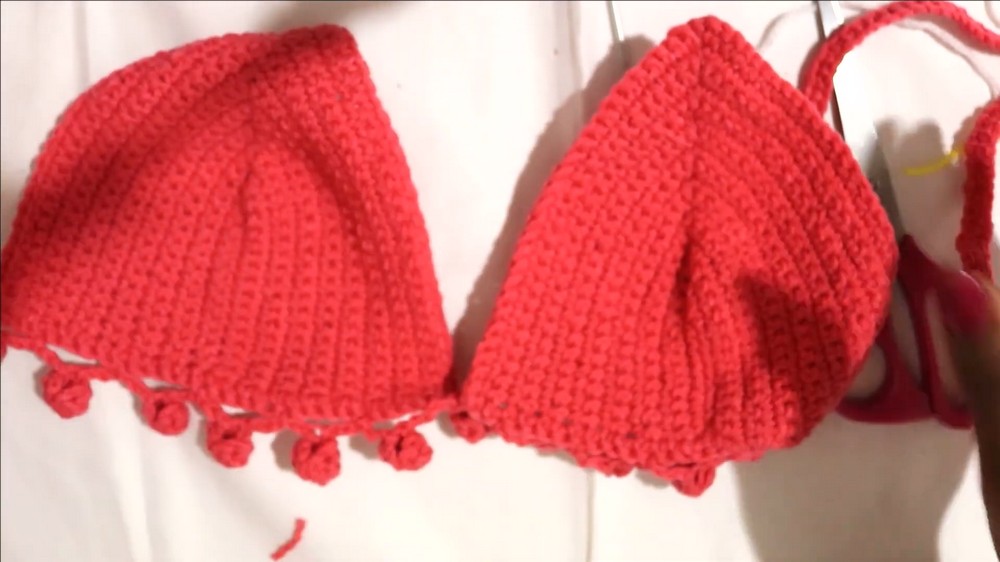
8. Conclusion
Your Pom-Pom Crop Top is now complete!
This playful and stylish piece can be worn to any casual or summer event. You can easily customize it by adjusting the length, colors, or decorative ribbon features. With simple stitches and fun pom-pom accents, this project allows you to showcase your crochet skills while creating something unique!
Pattern Corrections
- Ensure the stitch count is accurate when working the pom-poms to create consistent spacing.
- Tension matters: Keep your tension even to avoid uneven pom-pom sizes or misaligned straps.
Final Remarks
To achieve the best results, take your time with joining and finishing. Neat stitches enhance the overall beauty and value of your final product. Whether you're crafting this for personal use or as part of your business, the details make all the difference.