
Crochet Puffy Stitch Bracelets Free Pattern: Quick and Stylish Gift Idea
Achieve stylish, textured with this puffy stitch bracelets, a unique accessories that are easy to customize and ideal for a quick project.
Add a touch of handmade charm to your accessory collection with a puffy stitch bracelet! This crochet project combines texture and style, creating a uniquely boho-chic piece that's fun to make and wear. The puffy stitch adds a lovely, raised texture that gives the bracelet a soft yet bold appearance, making it stand out as a statement accessory. It's not just easy to crochet, but also highly customizable, experiment with different yarn colors, thread weights, or even metallics for a more sophisticated look.
Free Crochet Puffy Stitch Bracelet Pattern for Unique Accessories
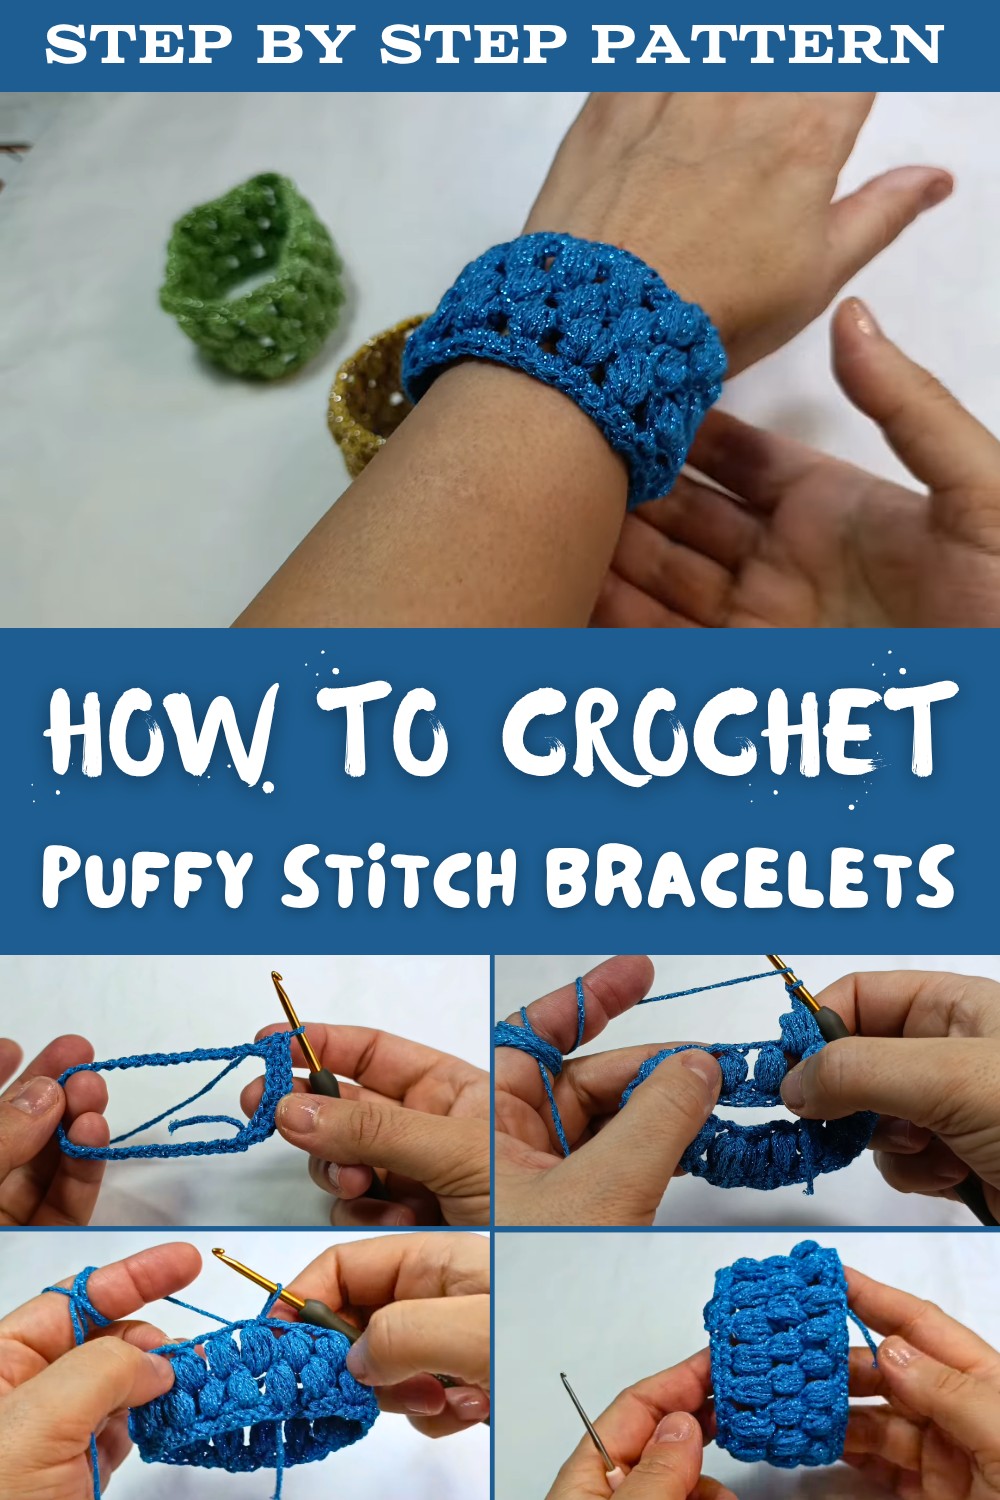
Whether you prefer a single bracelet or love stacking them for a layered effect, these bracelets will suit any personal style. They're also a great way to use up leftover yarn from your stash, turning small scraps into wearable art.
Perfect as a quick handmade gift or a crochet market favorite, these bracelets boast both creativity and functionality. Plus, they're great for beginners looking to practice textured stitching while creating something fashionable and practical.
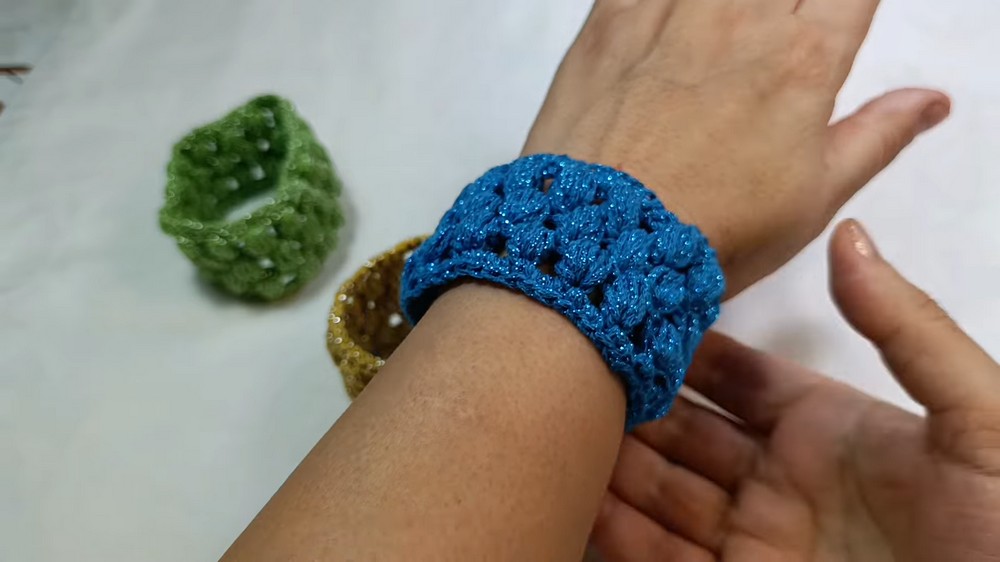
Crochet Pattern: Sparkling Crochet Bracelet
Materials
- Yarn:
- Sparkling cotton yarn for a jewelry-like effect.
- If sparkling yarn is unavailable, substitute with regular cotton yarn in your favorite color (e.g., blue, gold, red).
- Crochet Hook: 3mm crochet hook for the main project.
- Small Crochet Hook: 1.5mm hook (optional) for weaving in loose ends.
- Scissors: For cutting yarn.
Gauge
Gauge is not critical for this project, as bracelets are adjustable. However, ensure your chains and stitches are uniform to avoid uneven results.
Finished Size
- Bracelet Length: Approximately 20.5 cm long.
- Customization: Adjust the length by increasing or decreasing the total number of chains in the foundation round to suit your wrist size.
Skill Level
- Intermediate: Requires knowledge of basic stitches (slip stitch, single crochet) and special stitches (puff stitch).
Special Techniques & Abbreviations
- CH: Chain
- SC: Single Crochet
- SS: Slip Stitch
- YO: Yarn Over
- Puff Stitch: A stitch worked by repeatedly pulling loops through the same space multiple times and then pulling through all loops on the hook in one step.
Step-by-Step Instructions
Foundation Round
- Start by creating a slip knot on your crochet hook.
- Chain 46 loosely (or adjust based on wrist size).
- Tip: Ensure your chains are not too tight, as single crochet stitches will be worked into them.
- Form a circle by inserting your hook into the first chain.
- Double-check to ensure all chains face the front side to avoid twisting.
- SS into the first chain to close the circle.

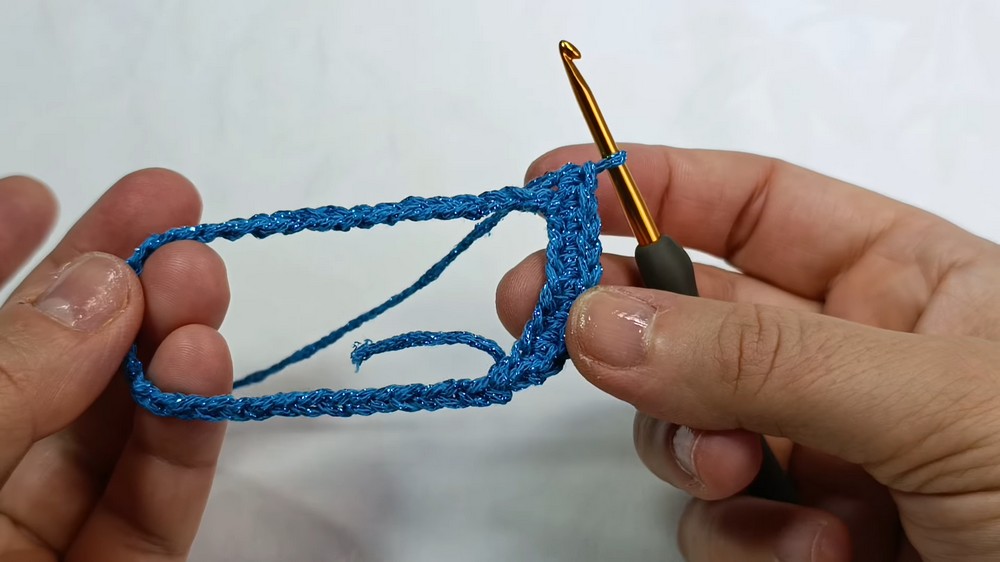
Round 1: Single Crochet (Base)
- CH 1 to begin the round.
- Work 1 SC in each chain around the circle.
- Tip: Insert the hook into the front of each chain for uniform stitches.
- Once the round is complete, join with a SS into the top of the first SC.
- Pull the yarn slightly longer and finish with a chain to secure the round.
Round 2: Puff Stitches
- CH 1, and begin working puff stitches as follows:
- Insert your hook into the same stitch, YO, pull through (1 loop).
- YO, pull through again for a total of 5 loops pulled through the same stitch.
- YO and pull through all loops except for 1 loop left on the hook.
- YO again and pull through the remaining 2 loops.
- This completes 1 puff stitch.
- CH 2 to create spacing between puff stitches.
- Skip 2 stitches and work another puff stitch into the third stitch.
- Continue this pattern: Skip 2 stitches, Puff Stitch, CH 2.
- Complete the round and join with a SS into the top of the first puff stitch.


Round 3: Puff Stitches
- Insert your hook into the first chain space on the upper round.
- Work puff stitches in the same manner as Round 2:
- 5 loops pulled through, followed by CH 2 between each puff stitch.
- Repeat the puff stitch pattern in every chain space around.
- Join with a SS into the top of the first puff stitch.

Round 4: Single Crochet Border
- CH 1.
- Begin working single crochet (SC) stitches as follows:
- 2 SC in each chain space between puff stitches.
- 1 SC on top of each puff stitch.
- Continue this pattern-2 SC in spaces, 1 SC on puff stitches-around the bracelet.
- Finish the round by making a SS into the first SC.

Finishing
- CH 1 to secure the last round. Cut the yarn and pull the loop tightly.
- Use the small crochet hook (1.5mm) or tapestry needle to weave in loose ends.
- On the starting end, make a small knot for extra security. Carefully hide any knots within the back stitches for a smooth look on the bracelet's exterior.
Customization Ideas
- Adjust Length: Modify the foundation chain to fit your wrist perfectly.
- Use Multicolor Yarn: Choose variegated sparkling yarn or alternate yarn colors between rounds for a vibrant look.
- Experiment with Closures: If not making a continuous circle, add metal closures, elastic loops, or buttons for easier wearing.
- Embellish: Add beads or charms during the puff stitch rounds for a personalized jewelry-like finish.
Tips to Maximize Crocheting Experience
- Uniform Chains & Tension: Loose chains provide easier placement of stitches and maintain bracelet flexibility.
- Sparkling Yarn Care: Handle metallic threads gently to prevent unraveling.
- Perfect Puff Stitches: Ensure all loops in puff stitches are evenly sized for symmetry.
Final Remarks and Conclusion
Your sparkling crochet bracelet is now complete! This delicate yet stylish project is perfect for adding a touch of elegance to your outfit or gifting to loved ones. The use of puff stitches creates a beautiful textured effect, and sparkling yarn adds a jewelry-like quality to the piece.

Pattern Corrections
- Double-check skipped stitches between puff stitches to ensure consistency. Miscounting can lead to uneven spacing.
- If puff stitches appear tight, slightly lengthen loops during the pull-through process.