
Crochet Shoulder Bag Free Pattern That Goes Everywhere With You
Adorn your favorite outfits with this Free Crochet Shoulder Bag Pattern and carry a unique handmade accessory with confidence.
Bags are an essential part of our daily lives. They carry our belongings, keep us organized, and often reflect our personal style. Imagine a bag that is not only practical but also soft, lightweight, and comfortable to carry wherever you go. Here's a crochet shoulder bag that offers all of that and more. Its beautiful handmade charm and cozy texture make it a wonderful addition to your collection. This shoulder bag stands out because of its minimal yet classy design. The entire bag is crocheted using one of the most beginner friendly stitches, the single crochet stitch. These stitches give the bag a unique braided texture, making it look neat and professional.
Crochet a Must Have Shoulder Bag Free Pattern for Daily Fashion Moments
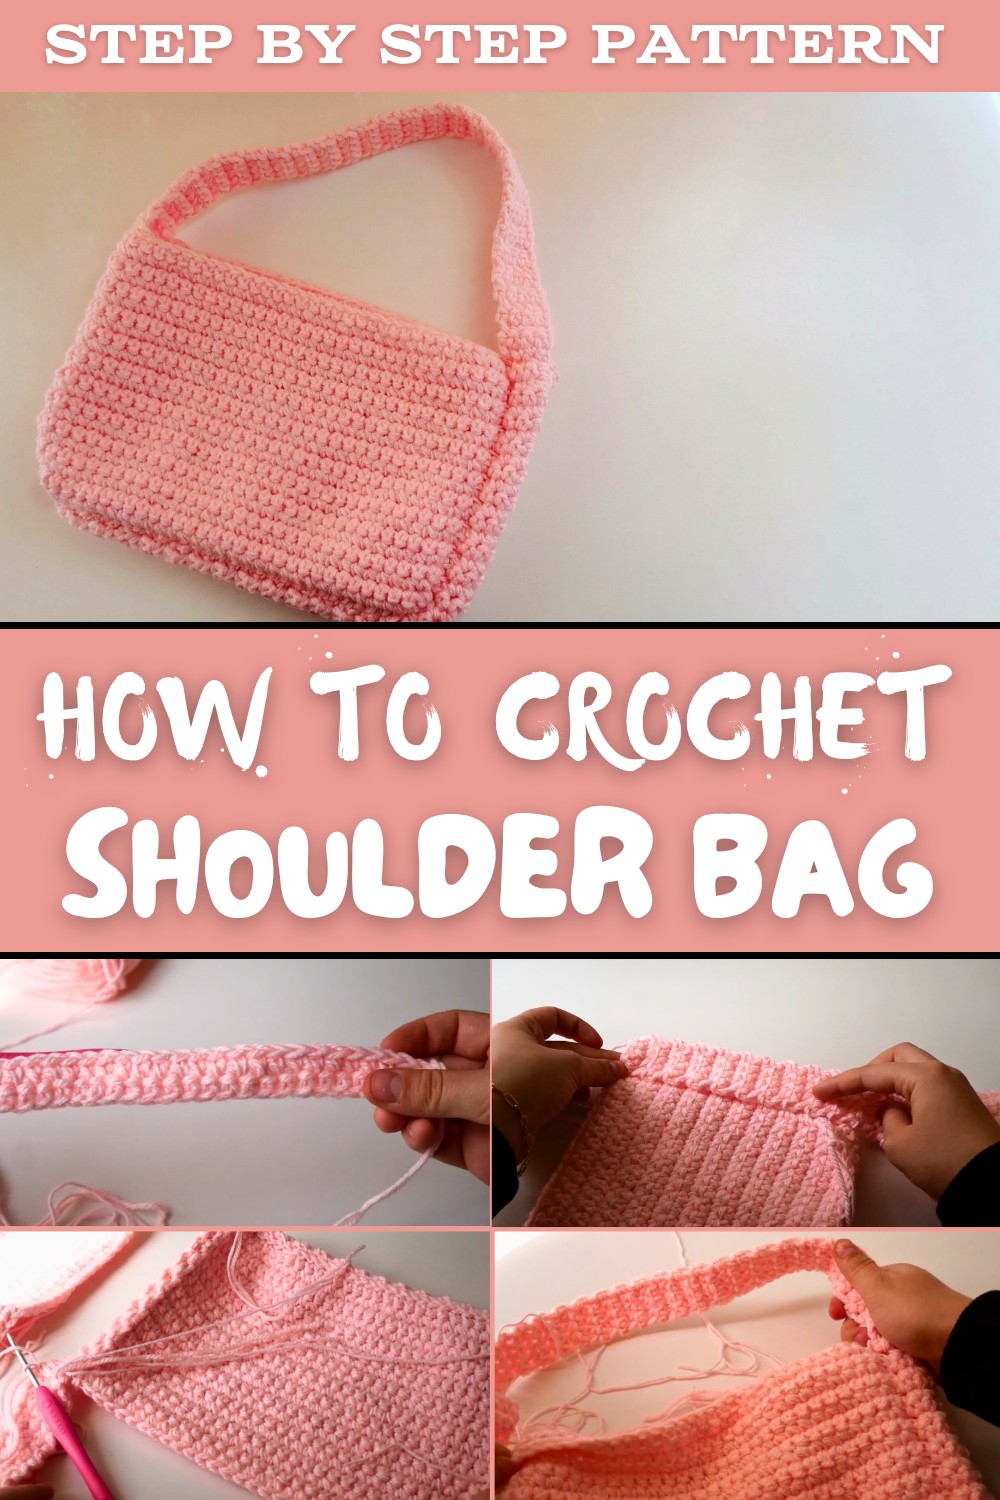
The bag includes two simple rectangular panels and a long strap that you connect together using easy crochet techniques. The strap is designed to be sturdy, and you can make it longer or shorter based on how you plan to use the bag, whether as a shoulder bag or a crossbody style.
This project is not only fun but also a great way to show off your creativity. You can carry small essentials like your phone, wallet, or keys in the bag while enjoying the satisfaction of using something you made with your own hands. With its easy instructions, simple tools, and stunning results, this Free Crochet Shoulder Bag Pattern is a must try for anyone interested in crochet. Give it a try and create a bag that's uniquely yours.
Materials You'll Need
- Yarns:
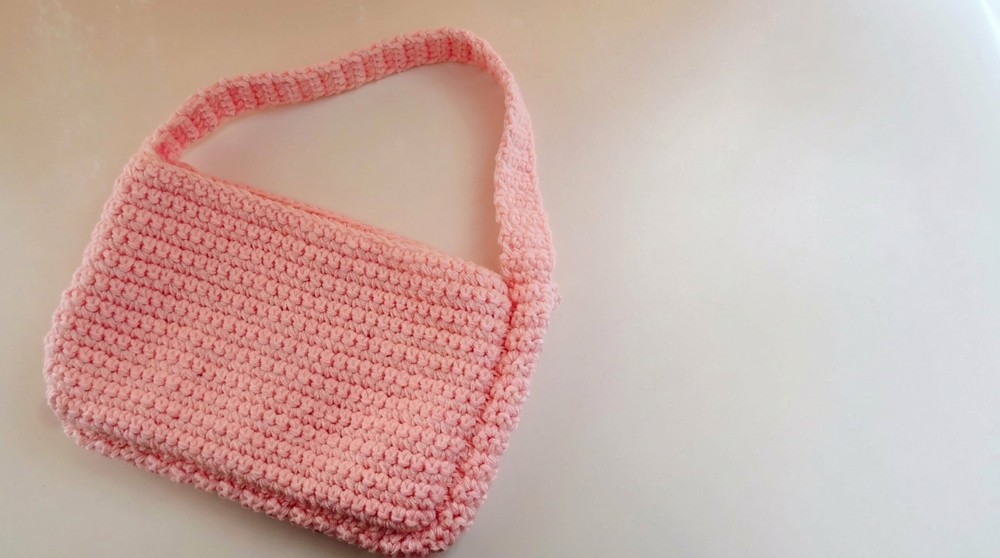
- Pink Yarn: YarnArt Jeans, size 2 (fine weight). This yarn is soft and lightweight, perfect for beginners. Alternatively, any fine weight yarn will work.
- Second Yarn: Thick yarn (size 3 or 4). If you're using stash yarn, make sure it's thicker than the pink yarn to give the bag character and strength.
- Crochet Hook:
- Use a 3.5 mm crochet hook. This size works well to achieve the correct tension with the fine weight yarn.
- Accessories:
- Yarn Needle for sewing and weaving in loose ends.
- Pair of sharp scissors.
Gauge
Gauging ensures your finished bag matches the intended dimensions.
- Gauge: 34 single crochets x 22 rows = approximately 27 cm long by 17 cm wide for each panel.
Finished Size
- Panels Size: Each rectangular panel will measure roughly 27 cm in height and 17 cm in width after completing 22 rows.
- Strap Dimensions: The strap will measure roughly 1 meter long and 4 stitches wide.
This bag is designed to be a simple shoulder carry style but can be customized based on your strap length and preferences.
Objective Overview
The crochet shoulder bag comprises:
- Two identical rectangular panels created using single crochet stitches.
- One long strap that connects both panels and forms the bag handle.
- The entire project is sewn together using the slip stitch method, which is beginner friendly and offers a clean finish.
This project is entirely beginner friendly, so don't worry if this is your first time crocheting.
Step by Step Instructions
Step 1: Making the Slip Knot and Foundation Chain
- Start by making a slip knot:
- Hold the shorter end of your yarn closer to you, loop the yarn to form a knot, then pull the loop onto the hook. Adjust the loop size to fit snugly but not too tight.
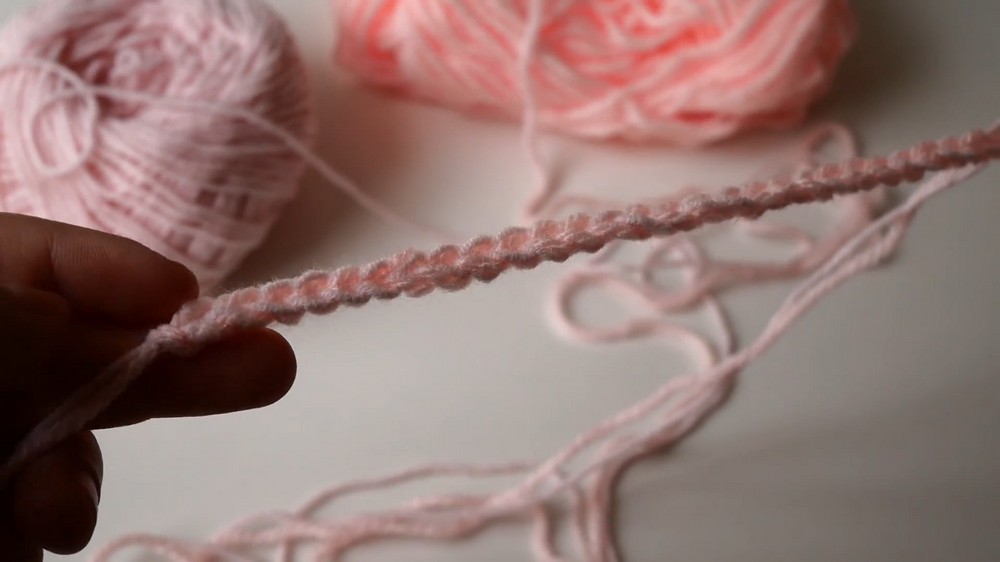
- Create a foundation chain of 35 chains:
- With the crochet hook, yarn over and pull through the loop. Repeat this step until you have 35 chain stitches. This will serve as the base of your panel.
Step 2: Creating Row 1
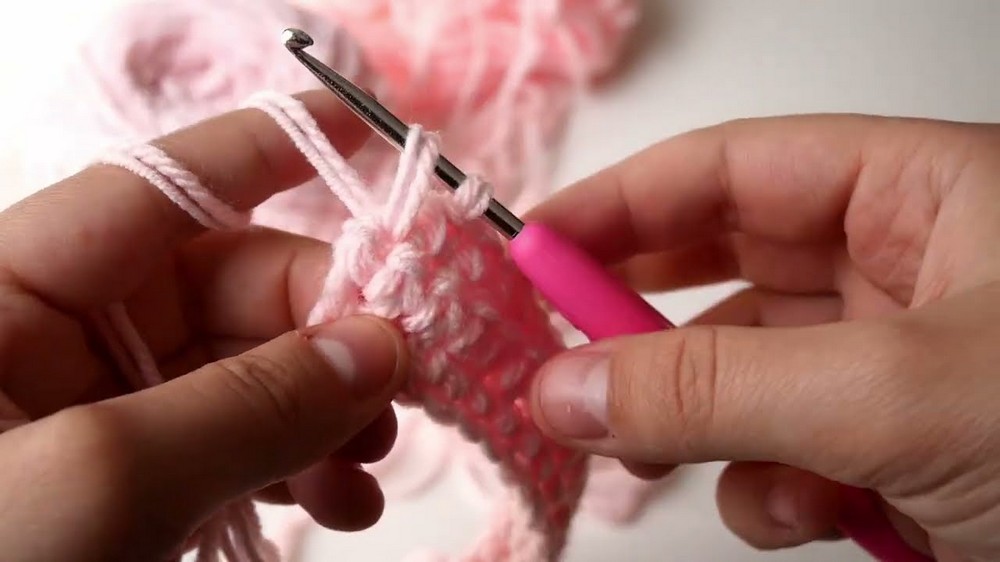
- Turn your foundation chain and insert your hook into the second chain from the hook.
- Yarn over, pull through the stitch (you should now have two loops on the hook).
- Yarn over again and pull through both loops-this creates your first single crochet (SC).
- Continue creating single crochet stitches across the entire chain until you reach the end. You should have 34 single crochet stitches at the end of this first row.
Step 3: Rows 2-22 (Building the Panel)
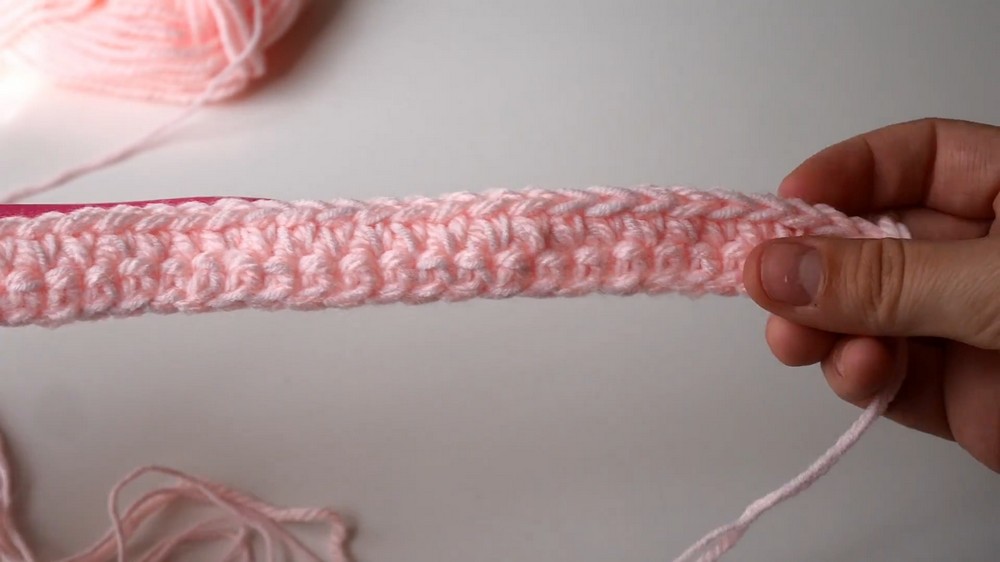
- At the end of Row 1, chain 1 and turn your work.
- Work a single crochet stitch in the first stitch of the row and repeat across the row.
- At the end of each row, chain 1 and turn to start the next row.
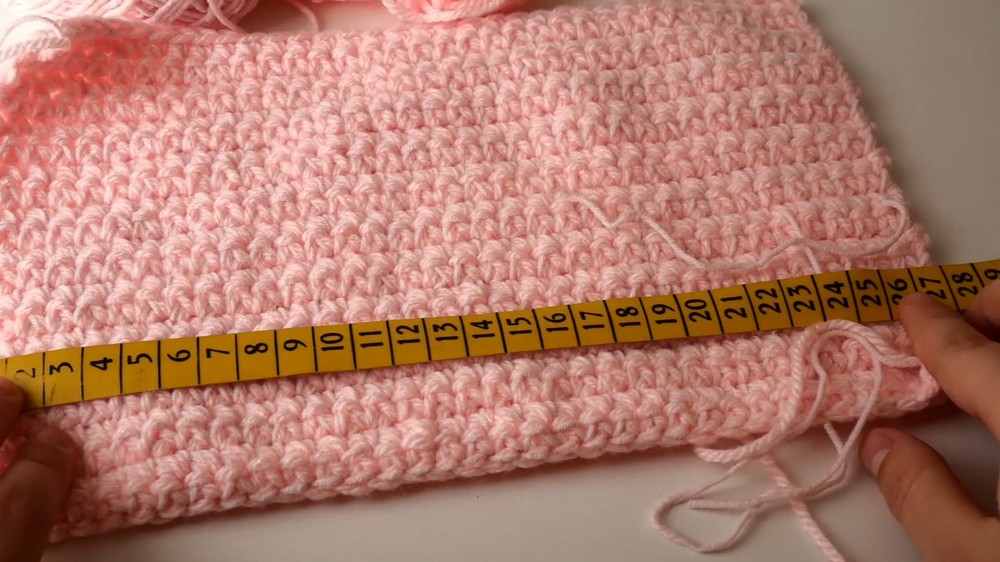
- Continue repeating this process until you have 22 rows in total. Each row will consist of 34 stitches.

Step 4: Making the Second Panel
- Repeat Steps 1-3 to create the second panel. Make sure this panel is identical to the first one.
- Once finished, measure both panels to ensure they are 27 cm tall and 17 cm wide with 22 rows.

Step 5: Make the Strap
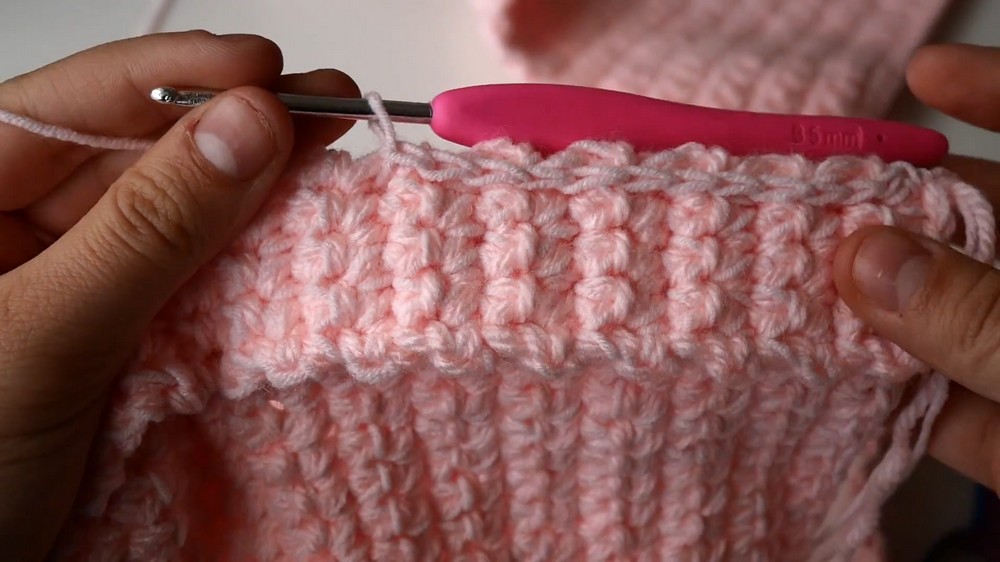
- Start with a slip knot and create a foundation chain of 5 chains.
- Turn and insert your hook into the second chain from the hook, creating a single crochet (SC). Repeat this across the foundation chain (you will now have 4 stitches in this row).
- Chain 1 and turn your work to start the next row. Repeat the same process by making 4 single crochets across.
- Continue this process for 130 rows or until the desired length is reached (approximately 1 meter long).

Step 6: Assemble the Bag
Attaching the Strap to the First Panel
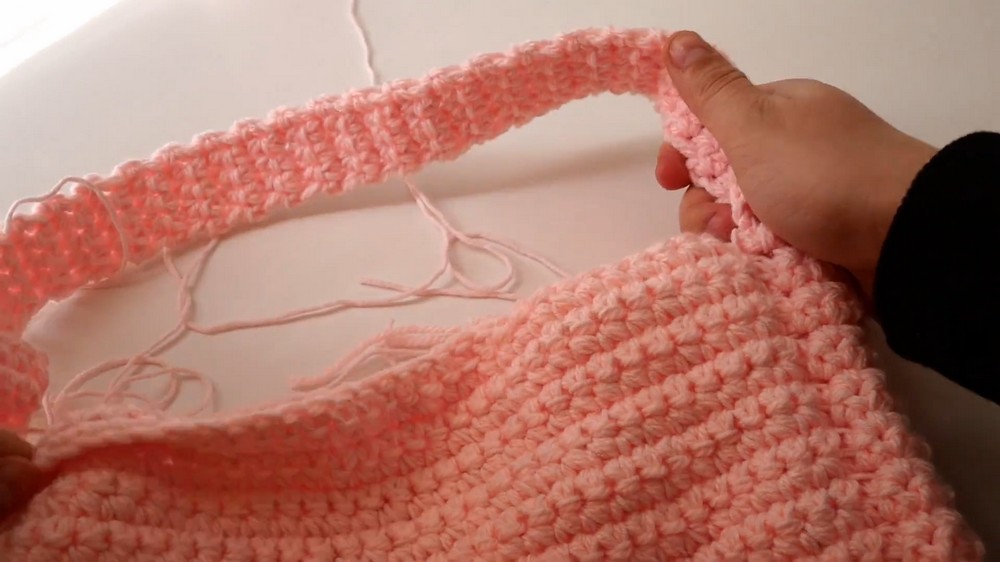
- Lay one panel flat and align it with one end of the strap. Ensure that the edges and rows match neatly.
- Attach your yarn to the corner of the panel and strap using a double knot for security.
- Use the slip stitch method:
- Insert the hook through both the strap and panel edge, yarn over, pull through all loops on the hook (no need to add extra yarn overs as in single crochet).
- Continue slip stitching along the edge until the strap is fully sewn to the first panel.
Attaching the Strap to the Second Panel
- Align the opposite end of the strap with the edge of the second panel.
- Repeat the slip stitch process to securely sew the strap to the panel, ensuring the edges line up evenly.

Special Techniques: Slip Stitch for Joining
How to Perform a Slip Stitch:
- Insert the hook through both the strap and the panel (or corresponding pieces).
- Yarn over and pull through the panel and strap edge.
- Then, slip the first loop on the hook into the second one to complete the slip stitch.
Tip: When slip stitching, keep the loops loose to avoid stretching the project. Loose slip stitches ensure your bag's structure remains unaffected and the seams are flexible.
Step 7: Finishing Touches
- Once all edges are sewn together, weave in any loose ends using a needle.
- Flip the bag inside out for a cleaner hidden seam finish. If you prefer a visible seam for added texture, you can leave it as is.
- Check the final bag to ensure no areas are left unsewn.

Customization Ideas
Here are a few ideas to personalize your bag and make it unique:
- Color Variations: Mix and match yarn colors for the panels and strap. Consider bold contrasts or complementary shades.
- Strap Length: Adjust the strap to your preferred length; shorter for hand carry style and longer for cross body usage.
- Decorations: Add tassels, pom poms, appliqués, or floral crochet motifs for extra charm.
- Lining: Use fabric to line the interior of the bag for added durability and a professional touch.
- Closures: Sew on buttons, snaps, or magnetic closures for extra functionality.
Tips for Beginners
- Count Your Stitches: Always count your stitches at the end of each row to ensure uniformity.
- Avoid Tight Stitching: Loosen your tension when assembling to prevent deforming the bag's shape.
- Practice Slip Stitching: If you're unfamiliar with slip stitching, practice on a small swatch before starting.
Conclusion
This crochet shoulder bag project is perfect for beginners looking to create something useful and stylish. With just single crochet stitches, this bag is simple to make, yet its classic look makes it a great everyday accessory. Whether you're using it for a casual outing or as a handmade gift for someone special, this bag stands out for its simplicity and functionality.
By mastering the basic stitches and following the assembly process, you'll create a polished and durable bag that's sure to impress.
Important Remarks on the Final Look
The final bag has a minimalist, clean design and a seamless finish. The panels and strap come together to form a sturdy and stylish shoulder bag measuring 27 cm x 17 cm with a 1 meter strap. Whether you choose to flip it inside out for hidden seams or leave the textured seams visible, your bag will be a true reflection of your creativity.