
Crochet Small Rabbit Amigurumi Pattern for Delight Tiny Creations
Bring charm to your crochet collection with a free small rabbit amigurumi pattern that's perfect for gifts or personalized accessories.
Tiny details can make the biggest impact, and this lovable mini rabbit proves it perfectly. With its soft texture and charming design, it's more than just a crochet project, it's a heartfelt way to add personality to your everyday items. From adorning your keychains and bags to becoming a thoughtful handmade gift, this versatile pattern blends simplicity with creativity.
Crochet Small Rabbit Amigurumi Pattern Perfect for Easter Decor
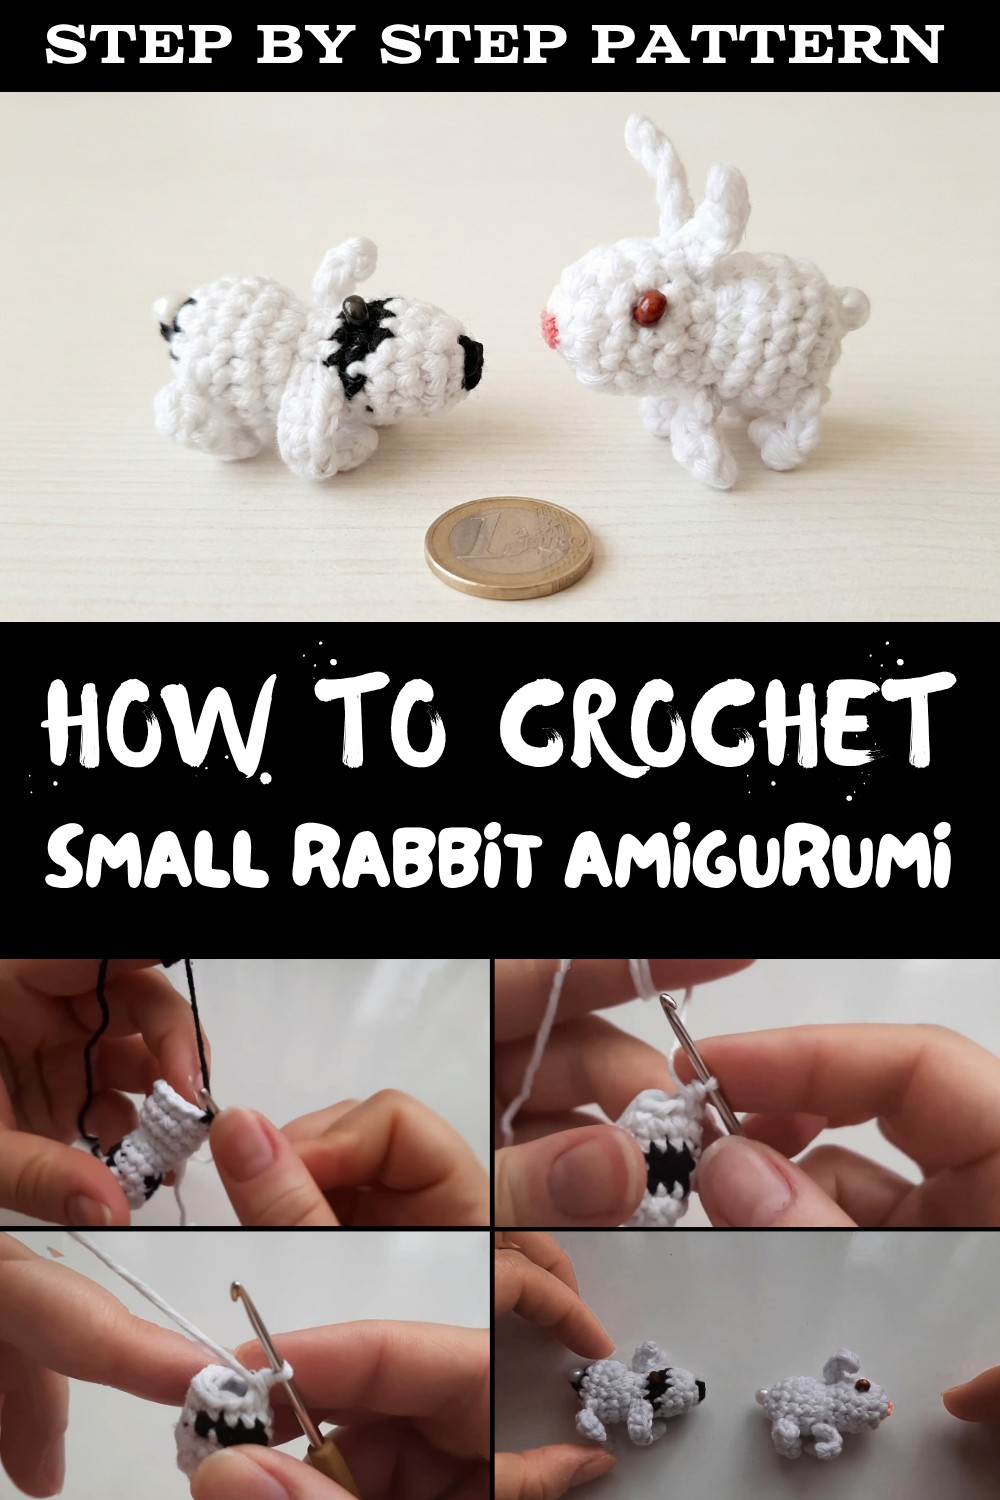
Perfect for all skill levels, this pattern strikes the right balance between an easygoing project and an opportunity to hone your crochet techniques. The design allows for endless personalization to switch up the colors, add embellishments, or even make a family of rabbits for a delightful collection.
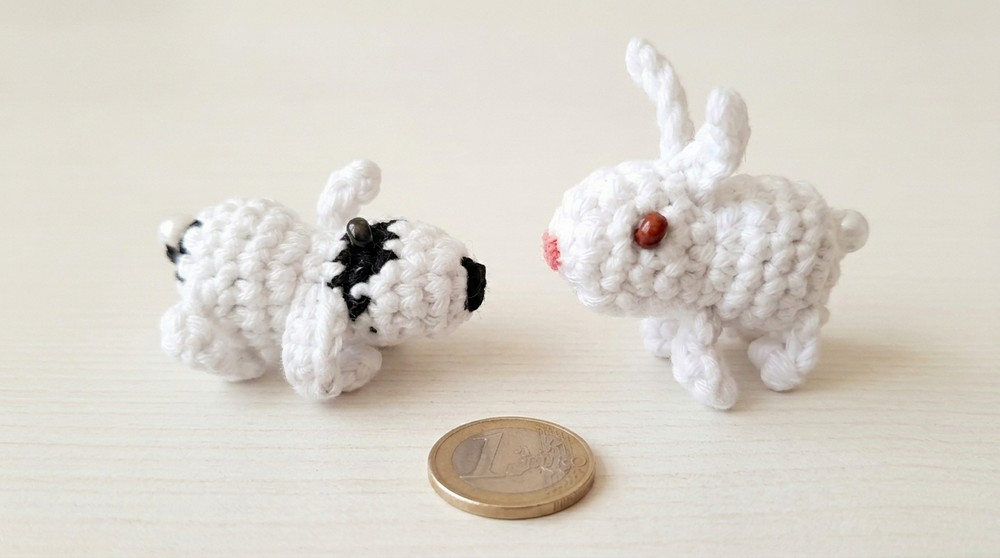
What makes this pattern even more appealing is its practicality. It's quick to make, budget-friendly, and can beautifully repurpose leftover yarn into something meaningful. Beyond the finished product, the process itself is soothing, turning your crochet time into a moment of relaxation and joy.
Special Features:
- Miniature Size: Perfect for use as a keychain or decoration.
- Customizable Colors: Great for using different color schemes to personalize your rabbit.
- Versatile Use: Can be used as a toy accessory, bag charm, or cute giveaway gift.
- Added Details: Beaded tail and embroidered facial features for a unique touch.
Difficulty Level: Beginner-Friendly
While some parts like color changes and embroidery require attention, this project is simple enough for beginners with basic crochet knowledge.
Materials Needed:
- Yarn:
- White yarn for the body and ears.
- Black yarn for accents (color customization is optional).
- Crochet Hook: 2mm.
- Beads:
- Two small beaded eyes (black or desired color).
- One pearl bead for the tail.
- Stuffing: Polyfill.
- Tapestry Needle: For attaching parts and embroidery.
- Scissors
Abbreviations
(Note: US Terms)
- MR: Magic Ring
- SC: Single Crochet
- INC: Increase (2 SC in the same stitch)
- DEC: Decrease (crochet two stitches together)
- SLST: Slip Stitch
- CH: Chain
Step-by-Step Instructions
Step 1: Start the Head and Body Base
- Magic Ring: Begin with a magic ring, leaving a small tail for tightening.
- Work 6 SC into the magic ring. Tighten the ring snugly.
- Round 2: INC in each stitch. (12 SC total)
- Round 3: SC in each stitch (no increases or decreases). Continue for 12 SC.
- (Tip: Insert a stitch marker at the first stitch of every row for accurate counting.)
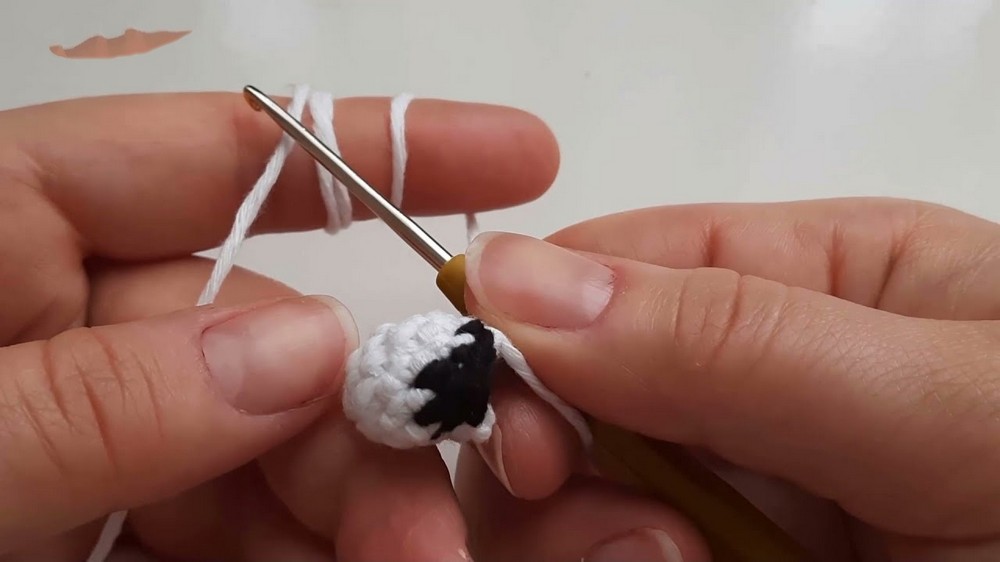
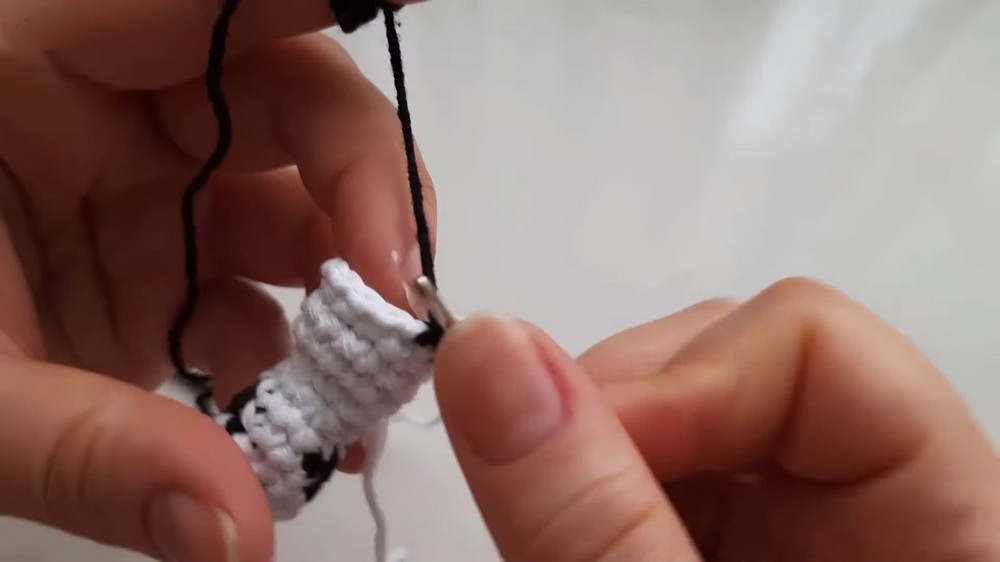
- Round 4: Begin color changing to black (optional). Make 1 SC in the next 3 stitches, change to black yarn by completing the final pull-through with the new color.
- Alternate: 3 SC in black and then return to white. Repeat this pattern as per the design in the video.
Step 2: Shape the Body
- Continue to SC around in white, increasing and decreasing according to the pattern:
- Work one round of 6 INC increases (increase every stitch).
- Follow with 3 rounds of SC.
- Reduce and shape the body by doing 3 DEC decreases in one round.
Step 3: Stuff the Body
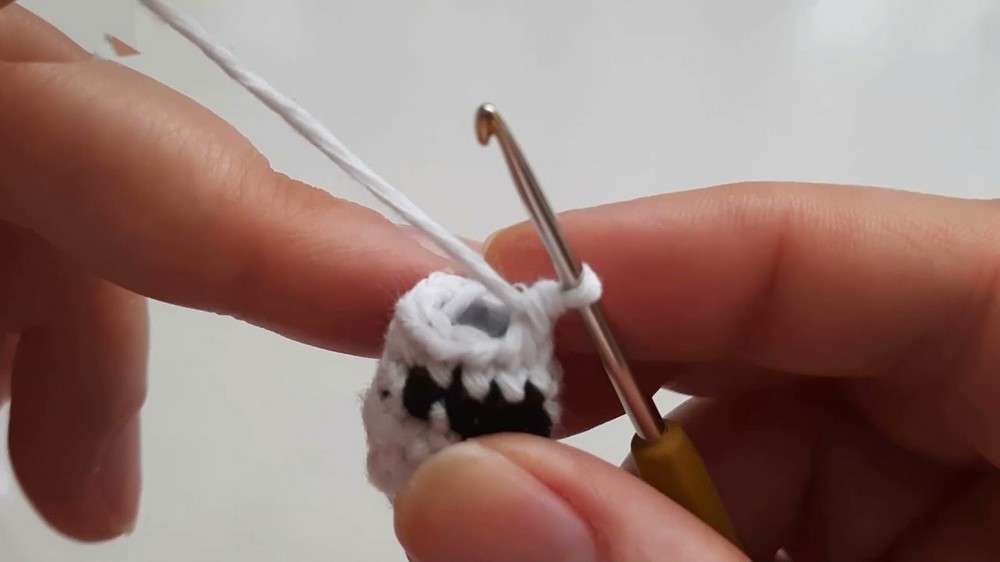
- Before closing the body, lightly stuff it with polyfill. Ensure it is evenly filled for a smooth shape.
Step 4: Close the Body
- After stuffing, work DEC decreases in each stitch until the opening is small enough to close with a tapestry needle.
- Pass the needle through the remaining stitches, pull tightly, and secure the yarn.
Step 5: Create the Tail
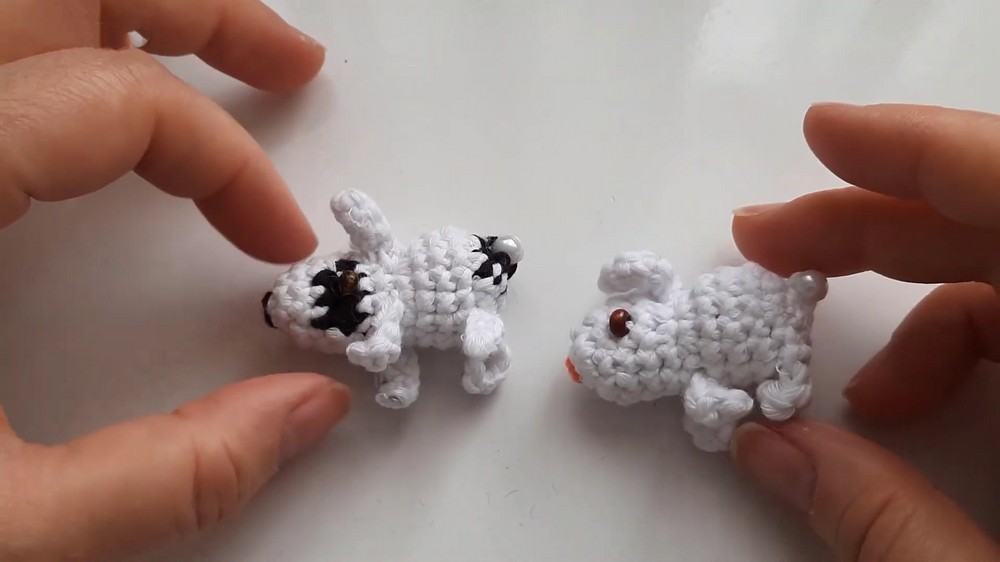
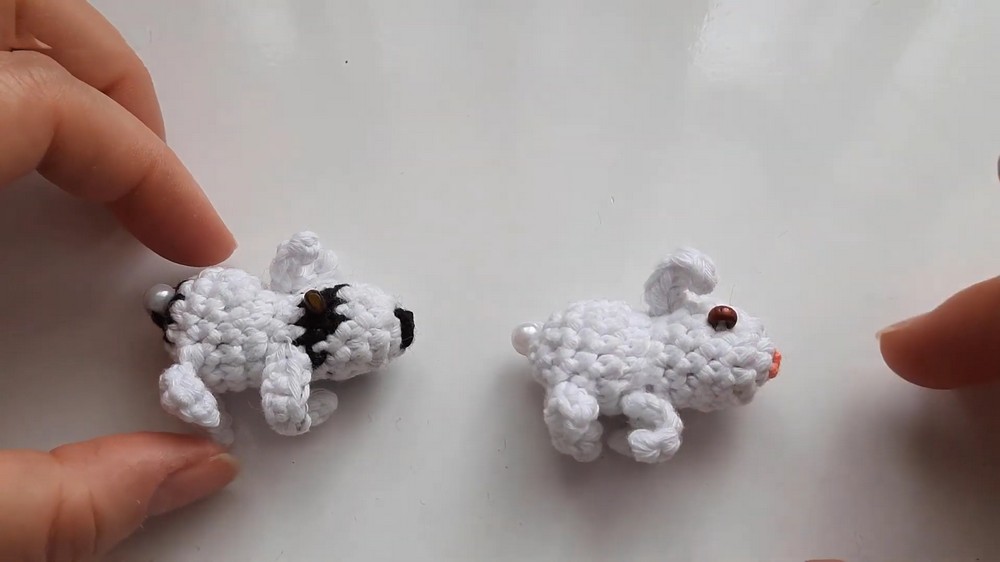
- Attach a small pearl bead to the back to serve as the rabbit's tail. Use the tapestry needle to secure it tightly.
Step 6: Create the Ears
- Ears (Make 2):
- Attach yarn to the top of the head. CH 5.
- Work back along the chain with SC in 4 stitches.
- SLST to the base and FO (fasten off).
- Repeat for the second ear, placing them symmetrically on the head.
Step 7: Add the Limbs
- Legs:
- For the front legs, attach yarn under the head. Work CH 5.
- SC along the chain and connect to the body with a SLST.
- Repeat for the hind legs, ensuring proper placement below the front legs.
Step 8: Attach the Face
- Eyes:
- Sew two small black beads where the eyes would go. Use a needle and thread.
- Nose:
- Embroider a small triangle-shaped nose in black yarn at the center. Add vertical lines below to simulate a mouth if desired.
Tutor's Suggestions:
- Color Options: Experiment with pastel colors for a playful look or add patterns like stripes or polka dots for a unique design.
- Always Count Stitches: This ensures the rabbit maintains its symmetry and shape.
- Take Breaks: Small details like facial embroidery can require concentration, so take your time.
Uses:
- Cute keychain to adorn your bags or purses.
- Personalized, handmade gift for friends and family.
- Adorable addition to amigurumi collections.
Tip:
For an extra charming look on the tail and body, use a glittery bead or yarn with a slight shimmer to catch light beautifully!
Conclusion:
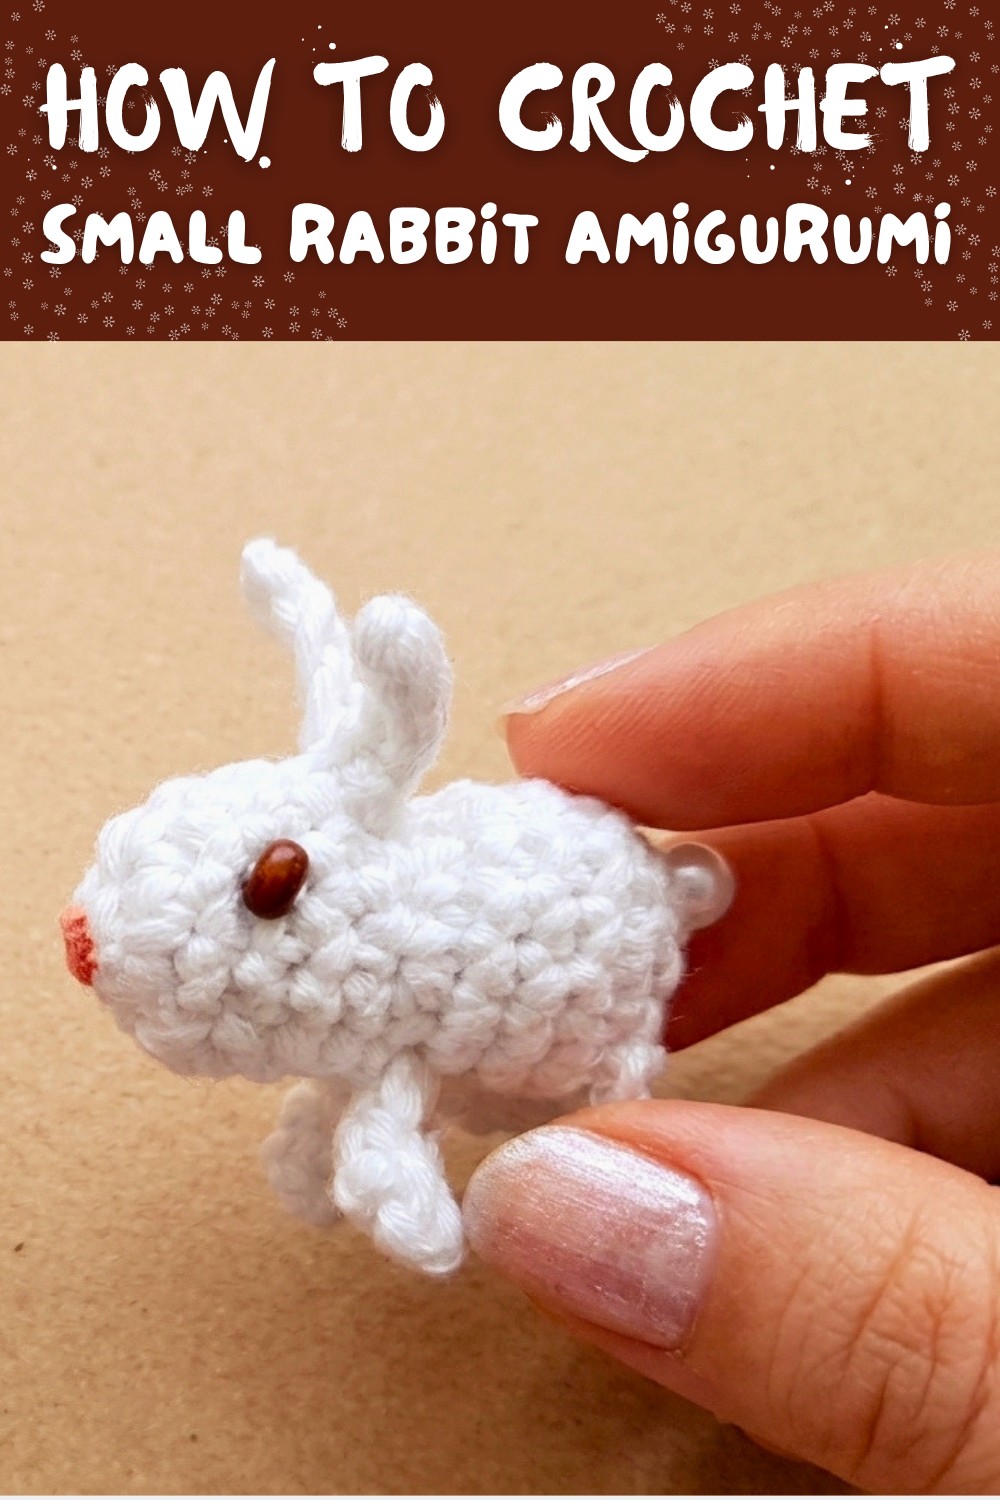
This Mini Crochet Rabbit Amigurumi is a delightful, fun, and customizable project. Its small size and detailed features make it a perfect beginner project while still being enjoyable for advanced crocheters. Whether as a keychain, a gift, or a decorative accessory, this little rabbit is sure to bring joy.