
Crochet Star Tablecloth Free Pattern for Elegant Table Settings
Shine your table with a Crochet Star Tablecloth Pattern that adds charm and creativity, Turning any setting into a cozy and elegant masterpiece.
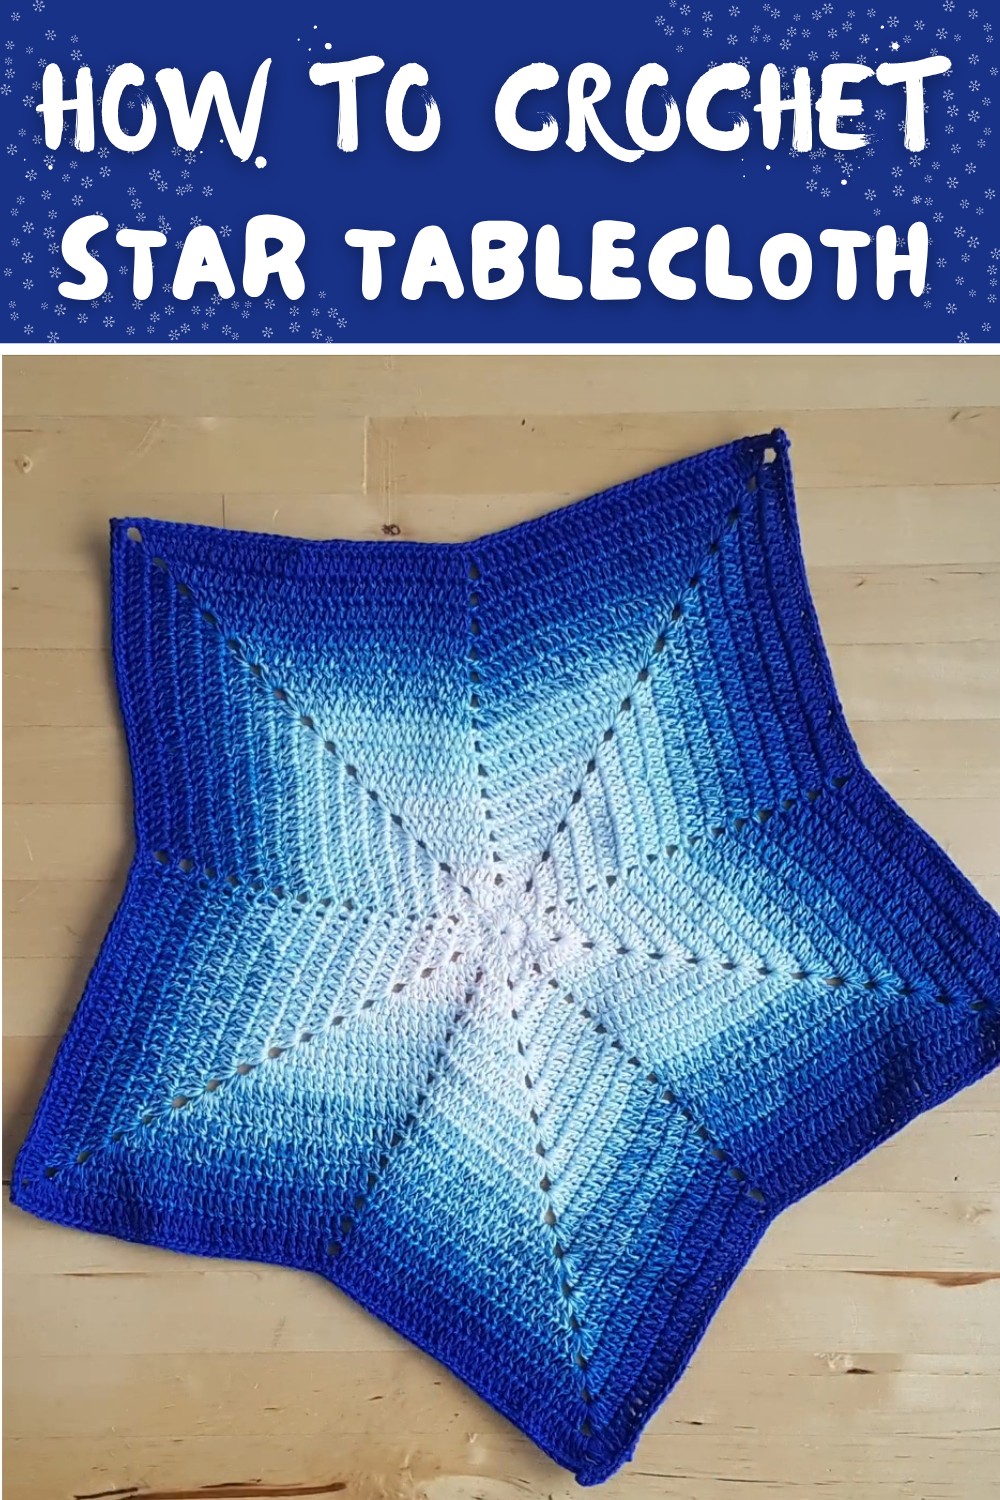
Turning your dining or coffee table into a centerpiece of beauty is possible with an intricately designed tablecloth featuring star motifs. The crochet star tablecloth pattern combines elegance and creativity, offering an opportunity to crochet a piece that is both functional and visually stunning. This project showcases geometric star designs that can be crocheted individually and joined together, making it an exciting and personalized challenge for both beginners and seasoned crocheters.
Free Pattern: Crochet Star Tablecloth for Festive Dining
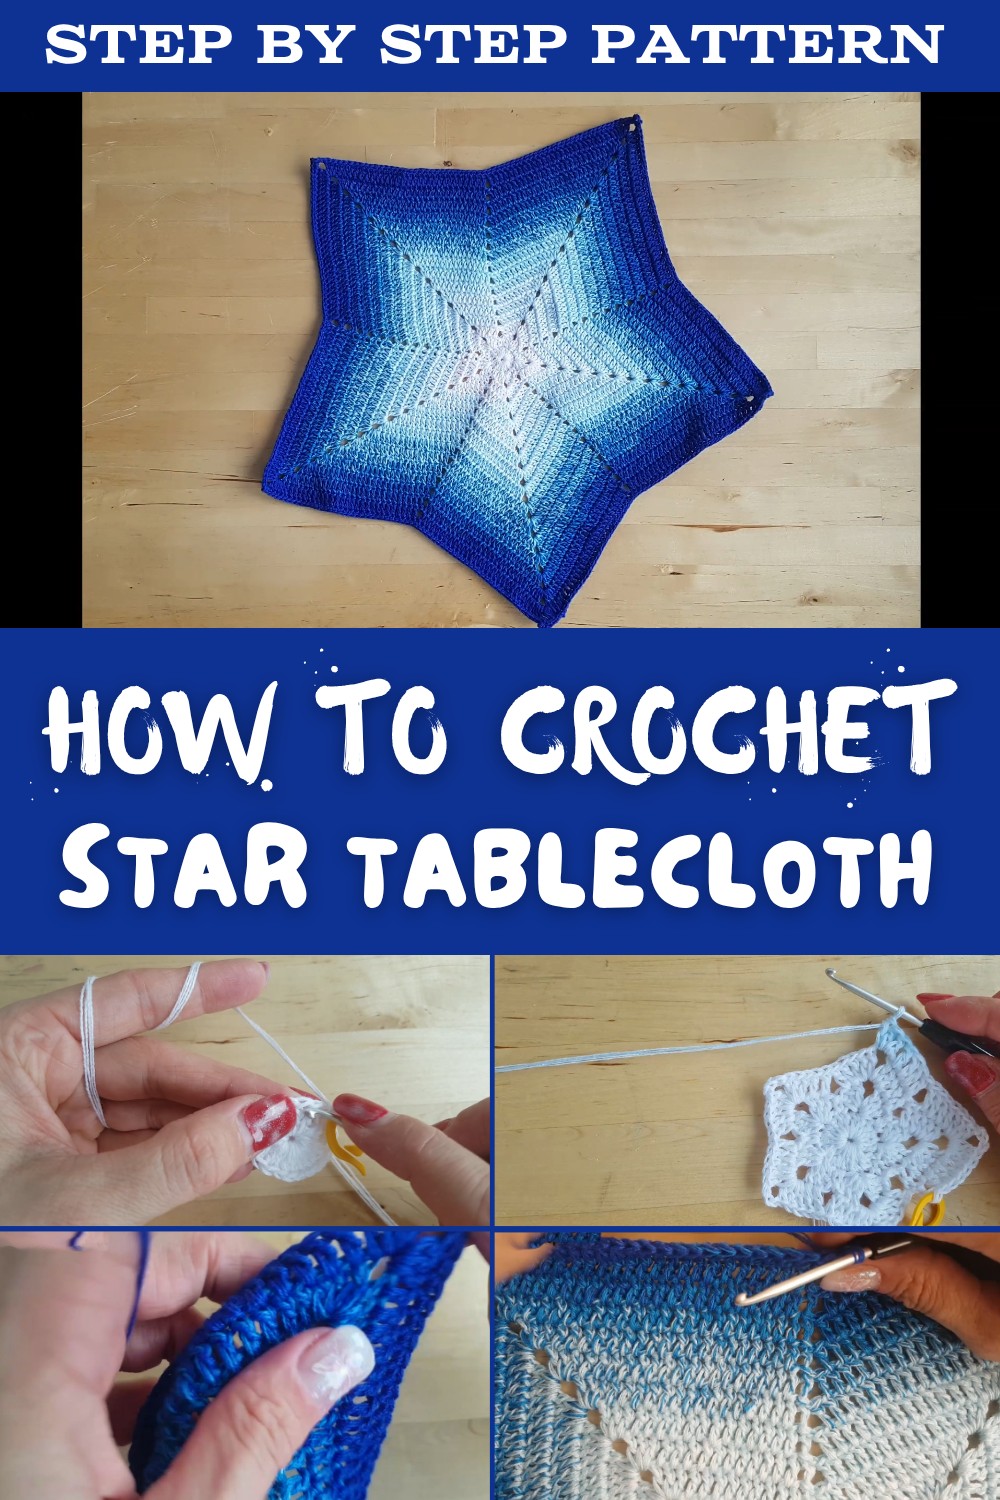
What sets this pattern apart is its versatility, you can choose soft, muted tones for a classic look or bold, vibrant colors to make a striking statement. Beyond its decorative charm, a star tablecloth can protect your table's surface while adding texture and personality to your home décor.
Did you know that star-shaped crochet patterns are often associated with vintage-inspired designs, making them perfect for those who love a timeless aesthetic? Whether displayed during festive celebrations, gifted as a unique handmade present, or used to elevate everyday dining experiences, this pattern is sure to spark admiration and creativity.
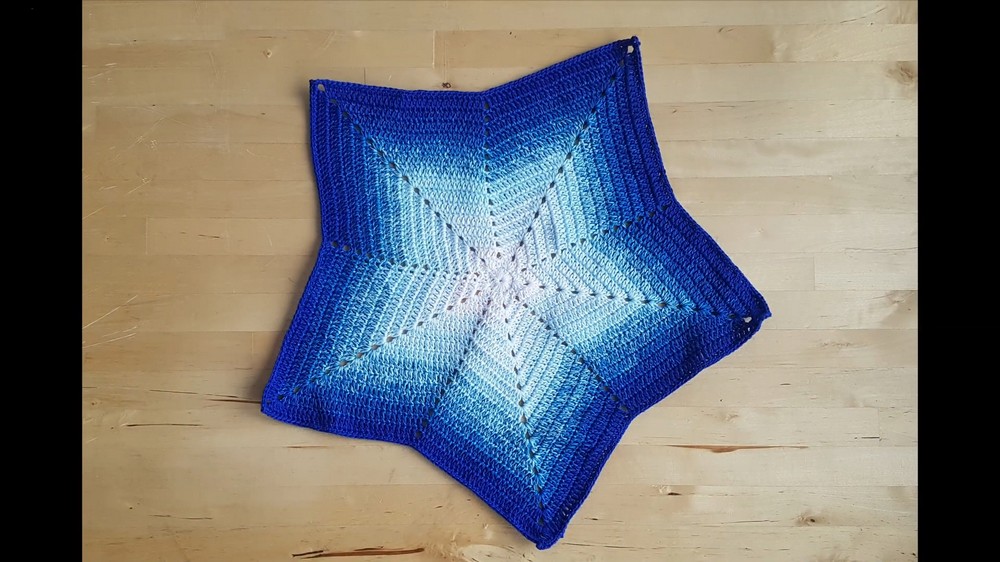
Crochet Five-Pointed Star - Step by Step Pattern
Materials
- Yarn: Lightweight 4-ply cotton or acrylic "Bobbel" cake, or any desired yarn
- For sample: approx. 50g/200m gradient yarn, but any weight can be used (use a smaller or larger ball for your preferred star size)
- Hook: 3.0 mm crochet hook (or size suitable for your yarn)
- Notions:
- Small scissors
- Tapestry/yarn needle
- Stitch markers (optional, but helpful for marking rounds)
- Stitch counter (optional)
Special Techniques & Suggestions
- Beginning Magic Ring/Slip Stitch Ring: For a tidy center.
- You may substitute a magic ring for the small ring made by slip stitches if you prefer.
- Substitute chain stitches for "replacement stick" (standing double crochet) in rounds, as desired.
- Block finished star for crisp edges.
Note: The pattern is highly adaptable for different yarn weights and sizes. You can make this star in one color or let a gradient yarn transition naturally.
Pattern Instructions
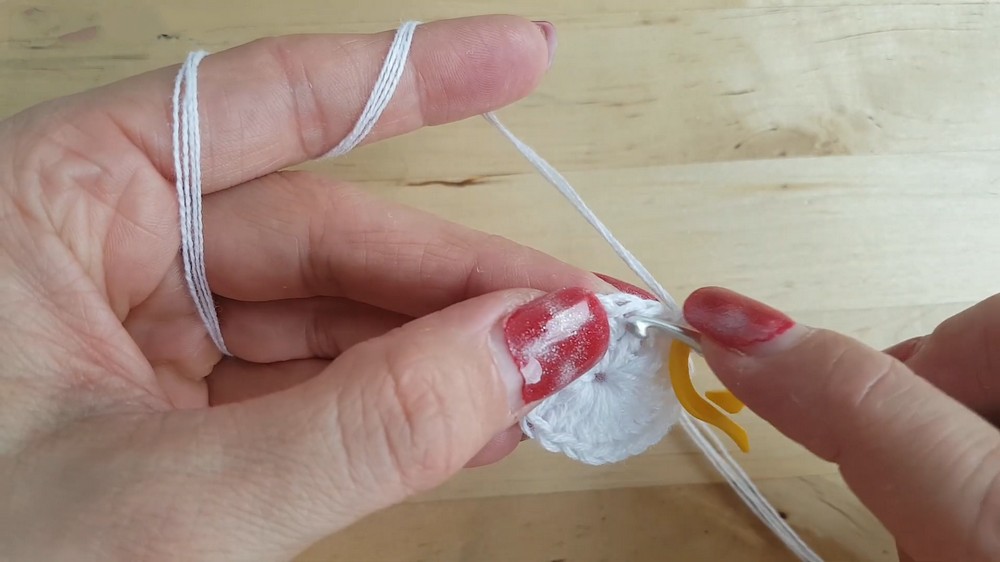
Foundation Ring
- Make a slip knot and place on the hook.
- Chain 4.
- Join into a ring: Insert hook into the first chain, yarn over, and pull a slip stitch through both loops on hook.
Round 1 - Center of the Star
- This round forms the flat center.
- Ch 3 (counts as first dc, or use a standing dc/"replacement stick" if preferred).
- Work 19 double crochet (US dc) into the ring (20 dc including the initial ch-3).
- Join with a slip stitch to the top of initial ch-3 or standing dc.
- If using a stitch marker, place it in this last stitch.
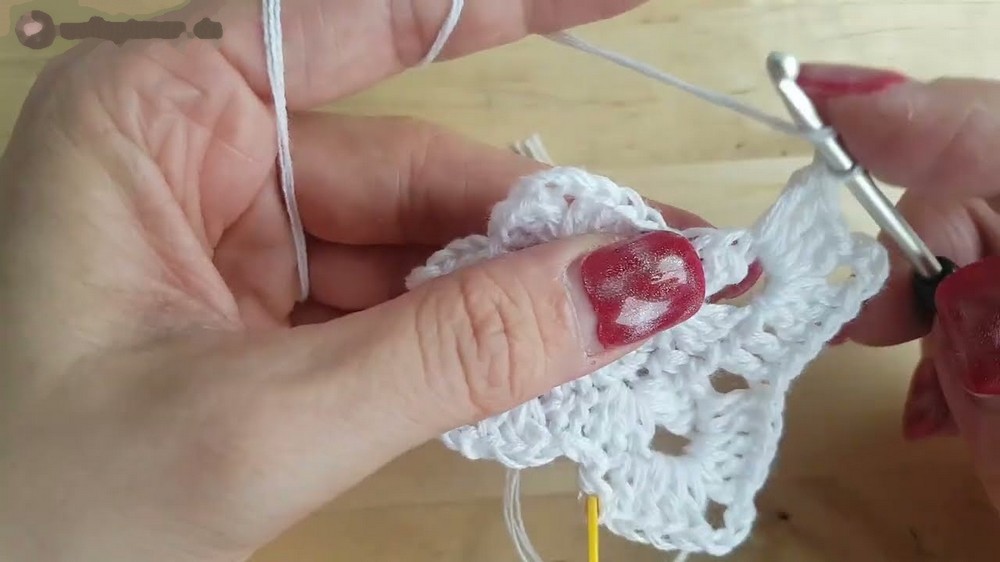
Round 2 - Prepare for Star Points
- Ch 1.
- Into the same st: 1 single crochet (sc).
- (Skip 1 st, 3 dc in next st, ch 3, 3 dc in the same st), skip 1 st, 1 sc in next st: Repeat this 5 times to create the 5 star points.
- After each skipped stitch, work all the increases into a single stitch to form the tip of the point.
- Between points, always skip 1 and work a single crochet.
- After the fifth spike, your round should end with a single crochet.
- Join with slip stitch to the first sc.
Round 3 (and Each Additional Round) - Build the Star Points
You may increase the size of your star by adding more rounds. Each round, the star points are raised and expanded.
- Slip stitch to center of the next group (towards the tip).
- Ch 3 (or make a standing dc) - counts as 1 dc.
- Dc in each st until you reach the tip (the space where you did "ch 3" in previous round):
- In the tip: (3 dc, ch 3, 3 dc) all in the tip (ch-3) space.
- Continue along the side:
- Dc in each st as you move towards the next point.
- Skip bottommost dc and sc between points as before (this keeps each side slanted upwards).
- Repeat for all five points.
- Join round with slip stitch.
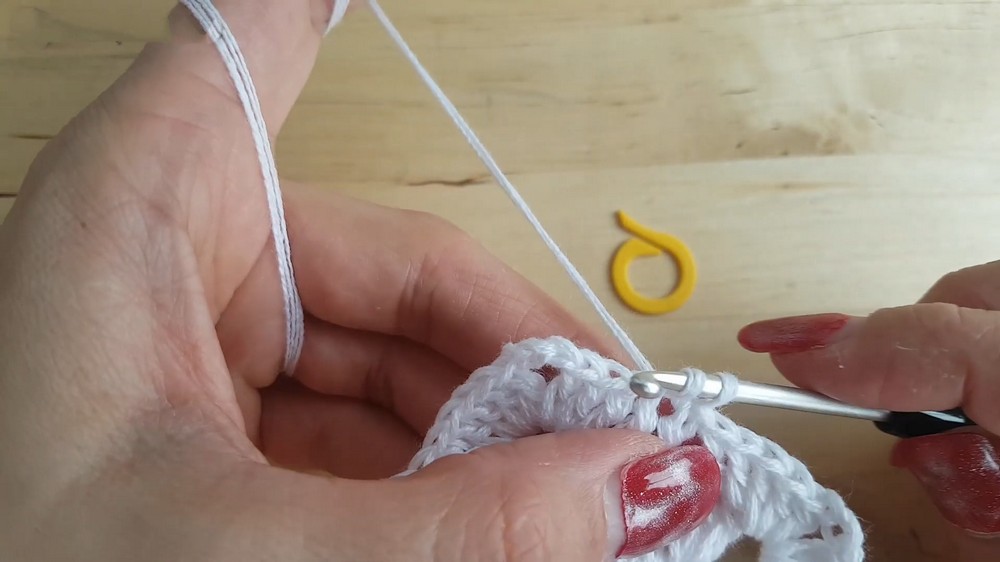
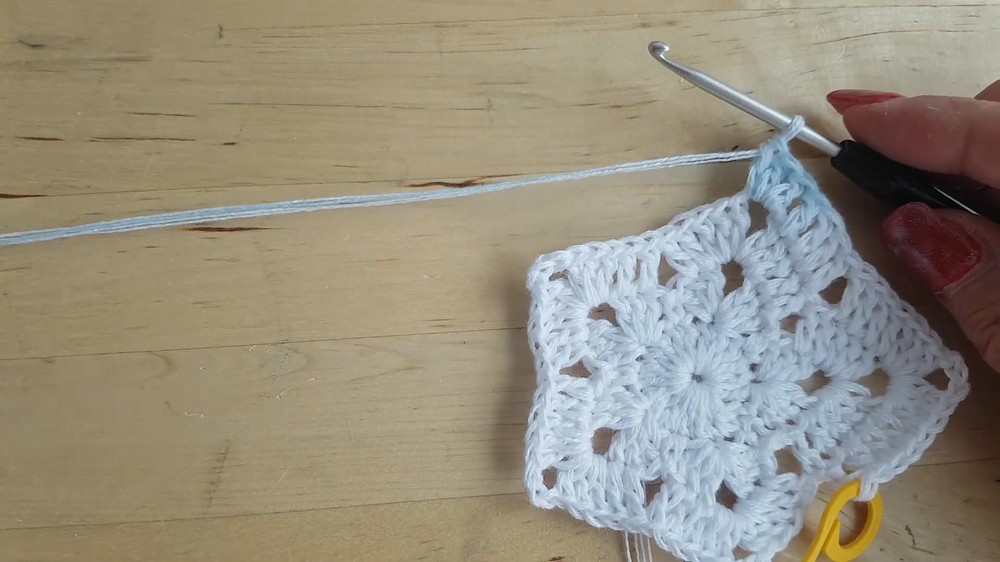
Tips for Subsequent Rounds:
- At the start of each new round, slip stitch across to the second dc of first point, then begin with ch 3 or standing dc as above.
- For a bigger star, simply continue the repeats, always expanding at the tips with (3 dc, ch 3, 3 dc) each round.
- The side section (between two points) increases by one dc each side on each round.
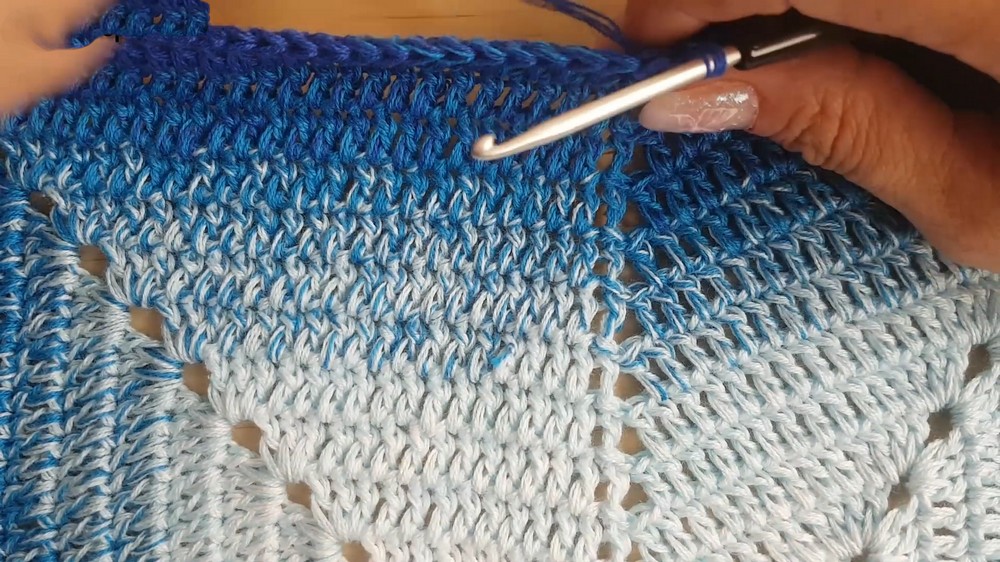
Final Round & Edging (Optional: Picot Edge for Extra Detail):
- On your last desired round:
- Work sc evenly along every stitch.
- At each tip: (work 2 sc, ch 4, 2 sc) in the tip space to create a decorative picot.
- Continue sc along each edge and work the picot at all 5 tips.
- Slip stitch to close the round.
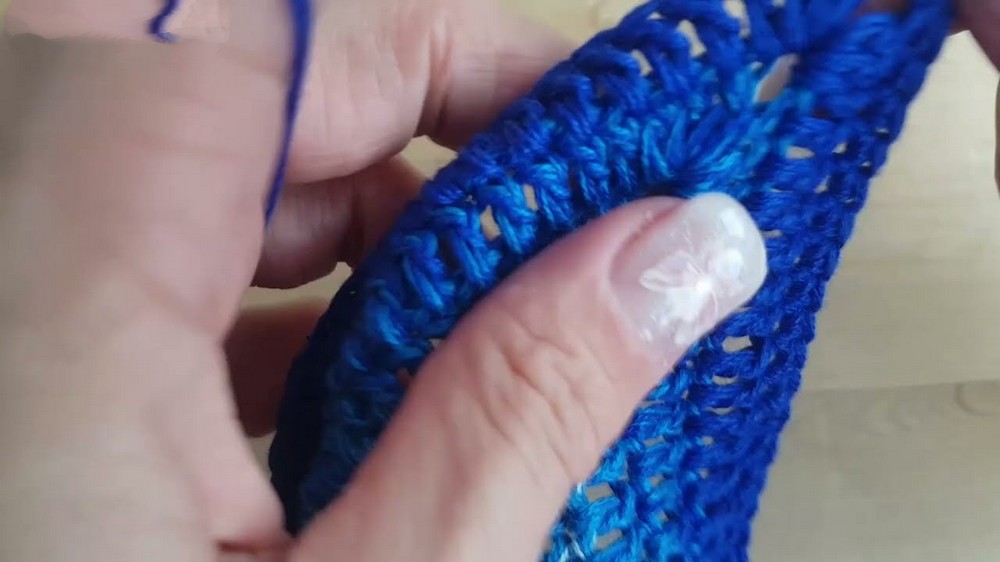
Finishing
- Cut yarn and fasten off, pulling yarn tail through the last loop.
- Weave in all ends securely with a yarn/tapestry needle, threading tails through several stitches on the back of the star.
- Optionally, block the star for best shape and crisp points:
- Pin out damp star on a blocking mat/towel, allowing it to dry flat.
Tips to Maintain Pattern
- Use stitch markers to keep track of rounds (very helpful when star grows large).
- Always skip the bottommost stitches between star points - this "tightens" each valley, making points crisp.
- Pull the slip stitch joins tight for neat edges.
- Count your stitches periodically to ensure symmetry among all points.
- For a two-colored star or rainbow effect, switch yarn at the beginning of any round.
Final Words
Your five-pointed crochet star can be adapted to any size and any yarn weight. It makes a beautiful table decoration, ornament, window hanger, or can serve as a motif for blankets or wall art. Feel free to experiment with color changes and border techniques!