
Rose Bouquet Tablecloth Crochet Pattern for Easy Settings
Enrich your table with a Crochet Rose Bouquet Tablecloth Pattern that combines timeless floral beauty and creativity for a charming and unique centerpiece.
Playful floral charm on a table starts with a crochet rose bouquet tablecloth pattern that turns simple stitches into a blooming centerpiece. This project features detailed rose motifs linked with light, lacy sections, forming a single, elegant cloth that feels both decorative and practical. Working it row by row stays engaging, as each motif adds another "bouquet" to the surface, keeping interest high without becoming overwhelming.
Free Crochet Rose Bouquet Tablecloth Pattern for Elegant Meals
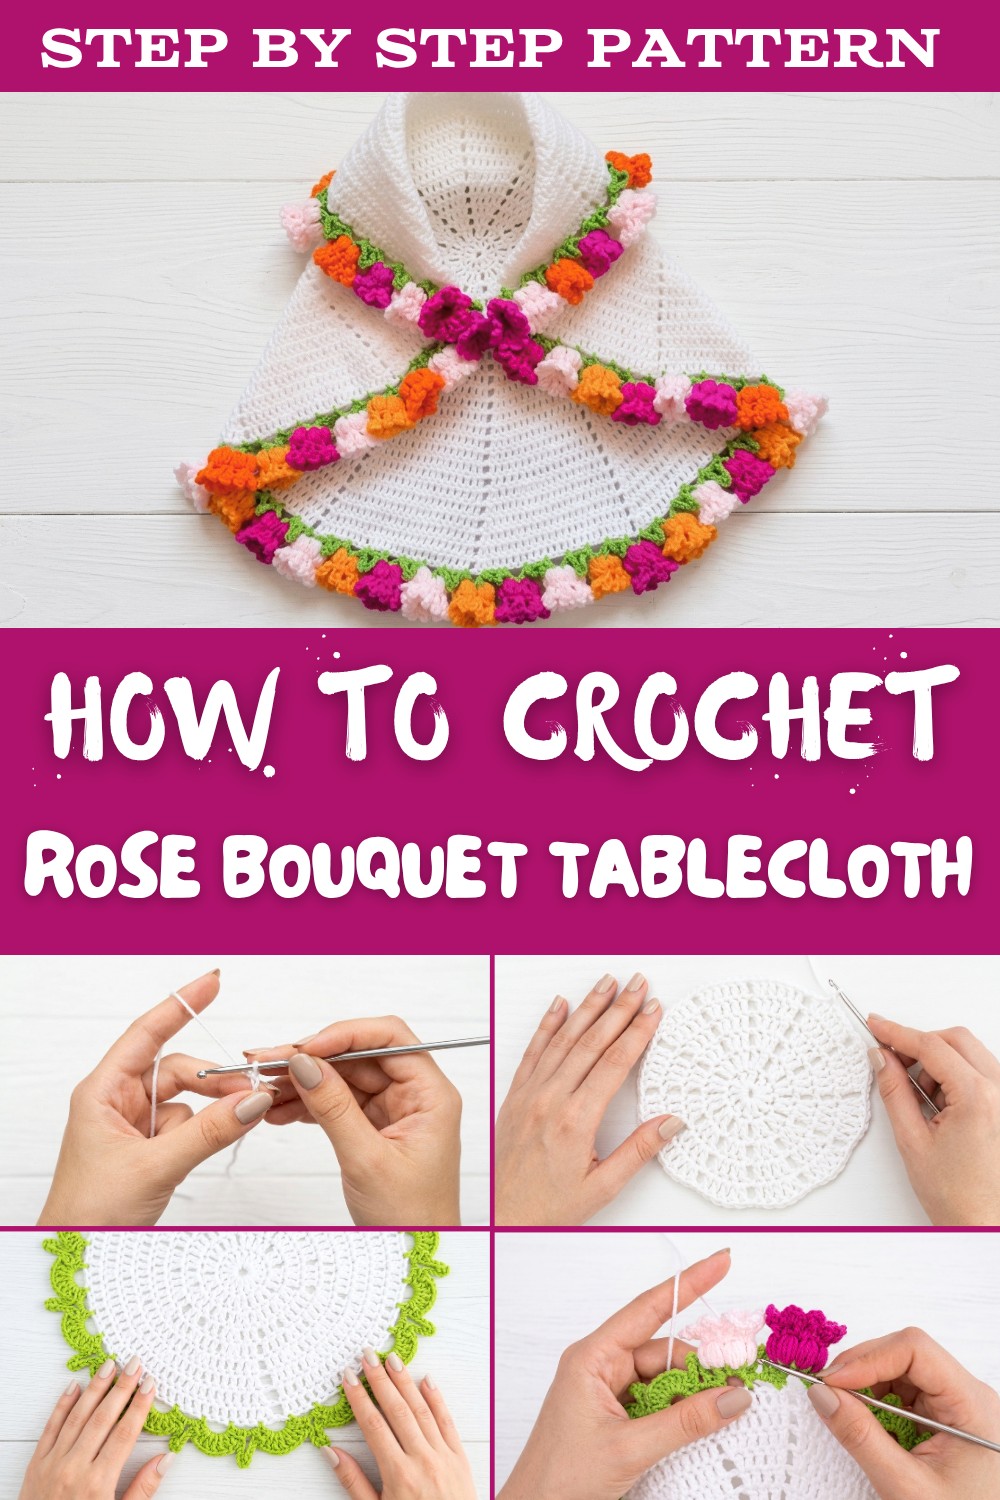
It suits a calm evening project and rewards patience with visible progress. Soft pastels give a romantic, vintage look, while bold shades lean toward modern, artsy décor, making this pattern flexible for different homes. Individual roses can double as coasters or appliqués on napkins and cushions, allowing one cohesive theme across the dining area. The finished tablecloth turns everyday meals into something special, protects the table, and showcases careful handiwork in a subtle, graceful way.

3D Rose Tablecloth / Shawl - Step-by-Step Crochet Pattern
Materials
- Yarn: Medium-thickness yarn (DK or worsted recommended), in white/off-white (main base), and selection of floral shades (yellow, pink, orange, green, etc.) for roses and leaves.
- Crochet Hook: Size 1 (3.5 mm or equivalent)
- Notions: Scissors, tapestry needle (for weaving ends), steam iron (for light blocking, optional)
- Suggested Quantities: Approx. 200-300 g for main color (for medium tablecloth/shawl), scraps for accents.
Special Techniques Used
- Magic ring/crochet circle start (for a neat center).
- 3D Puff Stitch Rose (for floral embellishments).
- Picot Stitch (for pointed details and decorative edges).
- Fan/Motif Formation (shell or fan technique).
- Color Change & Invisible Join (for neat color transitions).
- Blocking (light steam ironing for flat, professional petals).
Pattern Structure
- Base Doily Motif: Worked in the round, increasing for each row; forms the base of the tablecloth or shawl.
- Lacy Green Border: Airy, arch-like rounds using the contrast color.
- 3D Roses: Puff stitch roses worked on the "fan" sections of the lace border.
- Finishing: Weaving ends, blocking lightly, arranging roses neatly.
Step-by-Step Instructions
A. Central Circle Motif
Round 1: Starting Circle
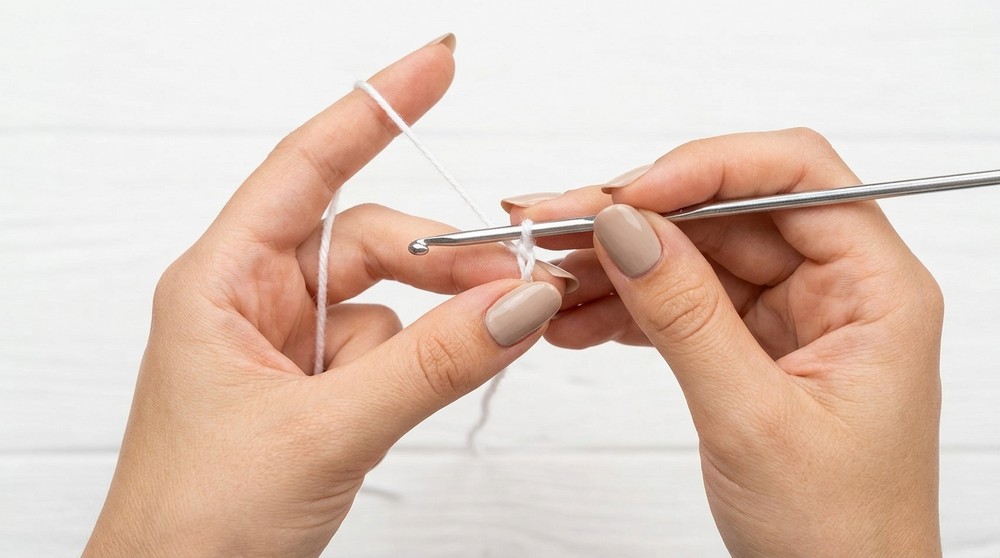
- Begin: Make a slip knot, then ch 5.
- Join to first ch with a sl st to form a loop.
Round 2: (Work All in Loop)
- Ch 3 (counts as dc here and throughout), 11 dc into the loop (12 dc total, including starting ch-3).
- Sl st to top of the beginning ch-3 to close round.
Round 3: V-Stitch Foundation
- Ch 3 (counts as dc), dc in same st, ch 1, (2 dc in next st); repeat * around.
- Continue until you have 12 groups (V-stitches). (Check you have 12 petals/groups at the end.)
- Sl st to join.
Round 4: Expanding Groups
- Ch 3 (dc), dc in same st; ch 1, (2 dc in next ch-1 space); rep around.
- Sl st to join.
General Rule for Next Rounds:
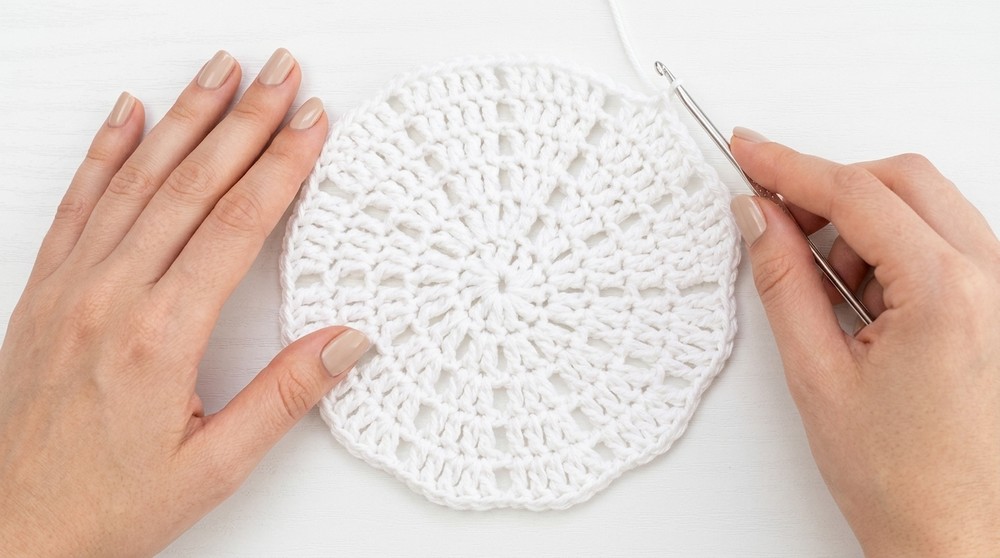
- Each petal will expand by 1 dc every round (first 2, then 3, then 4, etc.), using this method:
Round 5 and onward:
- Ch 3 (counts as first dc).
- *In each previous group of dc: Work one dc into each dc, and in last dc of the group, work an increase (2 dc in last stitch of the group).
- Ch 1 between groups.*
- Sl st to close.
- Continue increasing each group by one dc every round. Repeat pattern until your tablecloth circle reaches the desired diameter.
- For sample: 24 rounds; each group/petal has 24 dc, and diameter reaches about 57 cm.
B. Green Lacy Border
Round 1 (First Green Round):
- Change Color: After closing the last round of the central motif, join green yarn in any ch-1 space.
- Ch 1, sc in same space.
- Ch 4, skip 2 sts, sc in third st; repeat all around.
- Adjust spacing so you have a round of evenly spaced arches (chain-4 loops).

Round 2:
- Move into arch: Sl st into next ch-4 space, ch 1, sc in same space.
- Ch 7, skip 2, sl st into third st (forms a picot).
- Ch 4, sc in the next ch-4 space.
- Repeat combination of sc, ch-7 picot, ch-4, sc in each arch around.
Round 3 (Fan Stitch / Rose Foundation):
- In the next arch, work:
- (sc, ch 3, [dc, ch 1] 5 times in same space, ch 3, sc) forming a large fan.
- Move to next arch: [sc, ch 7, sl st in 3rd chain from hook (forms picot), ch 4, sc in next arch].
- Alternate: On each arch, make a fan, then on the next, make a picot arch. Continue all around.
C. 3D Puff Stitch Rose (Worked Separately for Each Fan)
(You will make a rose in each of the large fan sections on the border. Use any color.)
Roses on Fans:
- Attach yarn in "fan" space, ch 1.
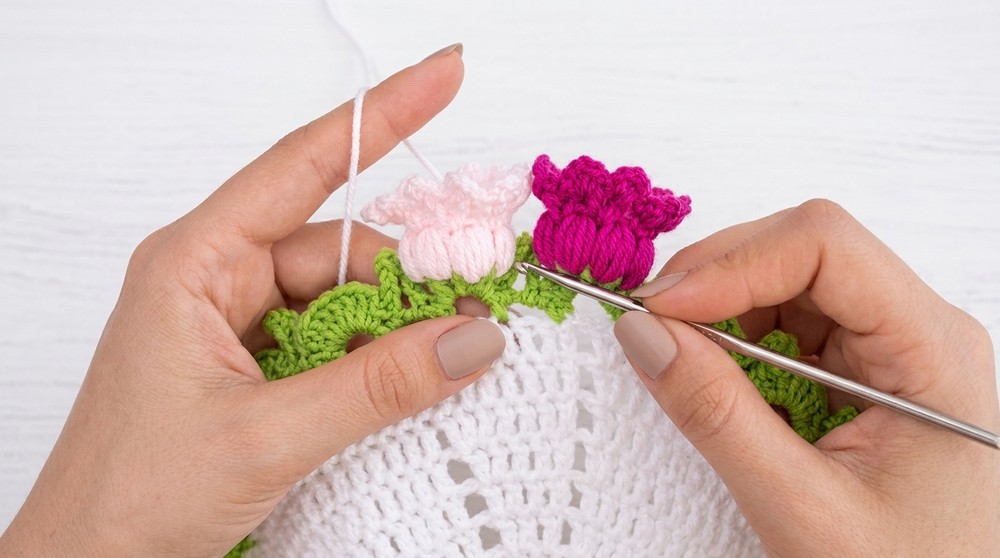
- Ch 2, then [Yarn Over, insert hook, YO, pull up loop] 6 times in same space (6 loops on hook). YO and pull through all loops on hook.
- Ch 1 to secure.
- Repeat puff stitch in each adjacent fan space; work 6 puff stitches per rose/fan.
- After the 6th, sl st to the starting spot. Fasten off, weave tail.
Rounding and Finishing Rose:
- Gently "cup" and twist rose for 3D effect if necessary; sew lightly at base if needed to keep shape.
- Continue working roses of various colors (yellow, pink, orange) on each fan around tablecloth.
D. Finishing
- Hide yarn ends by weaving under stitches with tapestry needle.
- Neatly block tablecloth using a steam iron at low heat (especially the petals) for smooth, flattened finish.
- Ensure all roses and fans are secure.
- If using as a shawl, add ties or decorative buttons, or leave as a circular wrap.

Suggestions & Customizations
- Size: To make a table runner/smaller doily, simply stop adding rounds earlier.
- Roses: Mix and match rose colors for a bouquet look.
- Leaves: Add green leaf appliqués between roses for a more botanical effect.
- Bouquet Centerpiece: Make smaller motifs and assemble as a bouquet for vases.
- Shawl/Wrap: Add more rounds for size, and shape/hard block with pins as desired for best drape.
Pattern Maintenance & Tips
- Keep stitch counts even for best symmetry as you grow rounds.
- Steam-block petals for a crisp, professional finish.
- Sew in all yarn ends thoroughly to avoid unraveling.
- Keep rose petals uncrushed until fully blocked and cooled.
- Try sample swatches before full-size project to test color combos and petal dimension.
Final Words
This intricate, 3D rose tablecloth (or shawl) pattern produces a stunning, classic centerpiece or wearable. The combination of layered flowers, picot lace, and a neat round doily makes it a conversation piece for your home or a gift. With its modular design, the size and color options are endless-let your imagination guide you!