
Crochet Summer Hat Pattern For Sunset Beach Walks
Keep your summer style fresh with this Free Crochet Summer Hat Pattern that build a light hat for beach days and outdoor fun.
Whether you're making it for yourself or someone else, this hat is designed to keep you looking amazing while staying cool under the sun. The Free Crochet Summer Hat Pattern is easy to follow and perfect for all skill levels, making it a wonderful project for anyone who loves simple and creative crochets. Its lightweight and breathable design makes it stand out, offering both style and comfort for hot summer days.
Crochet a Summer Hat Pattern That Looks Vacation Ready
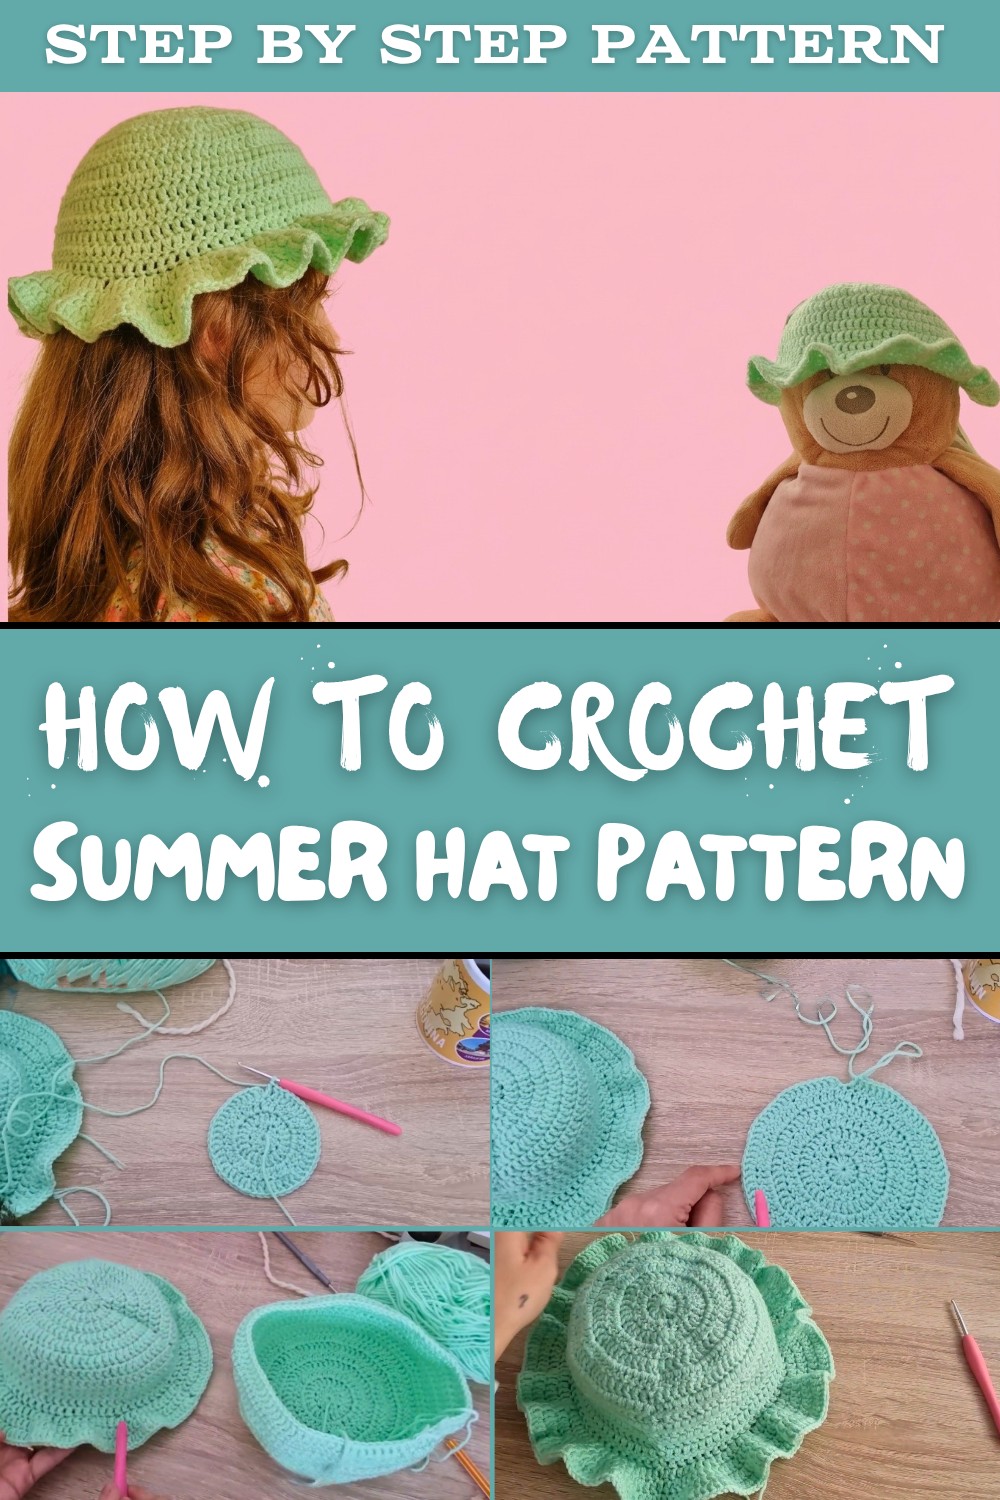
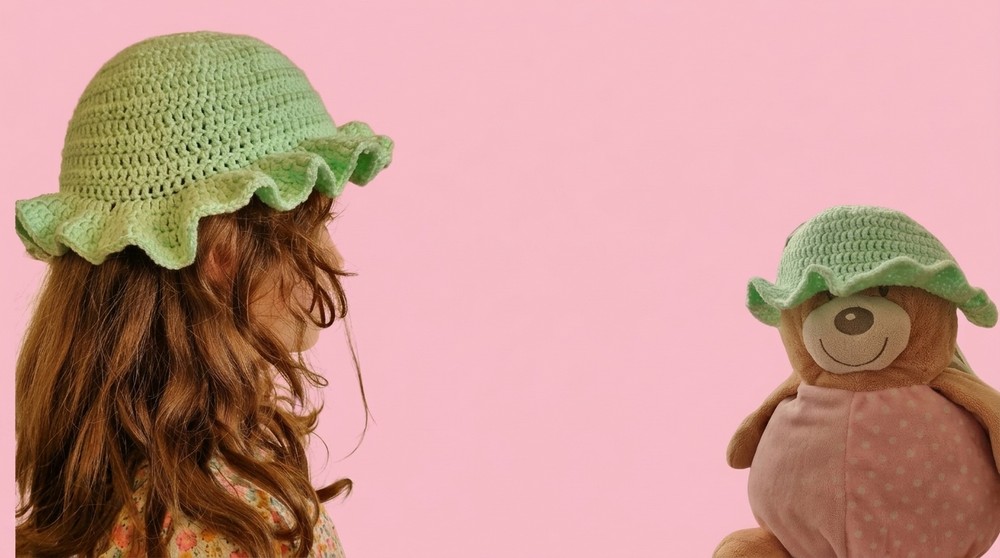
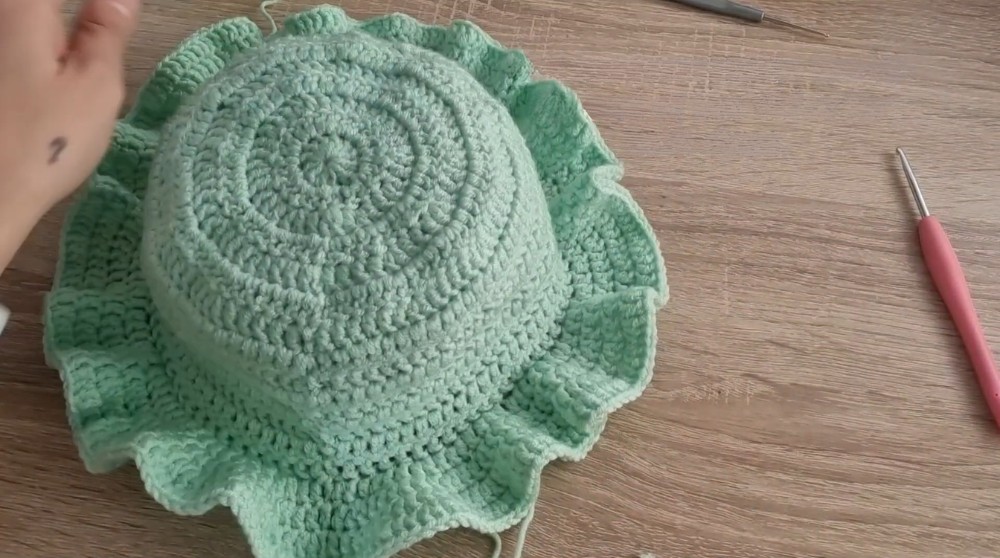
The hat begins with a small magic circle, gradually growing into a smooth and rounded crown using basic double crochet stitches. This part of the pattern is easy to understand, so even beginners can enjoy crocheting without feeling overwhelmed. The hat's best feature is its wavy brim, which gives it a playful and charming look, like rippling water. This unique shape is created through clever increases that are both fun and simple to make. Plus, the open, airy stitch design allows for great ventilation, keeping your head cool all day long.
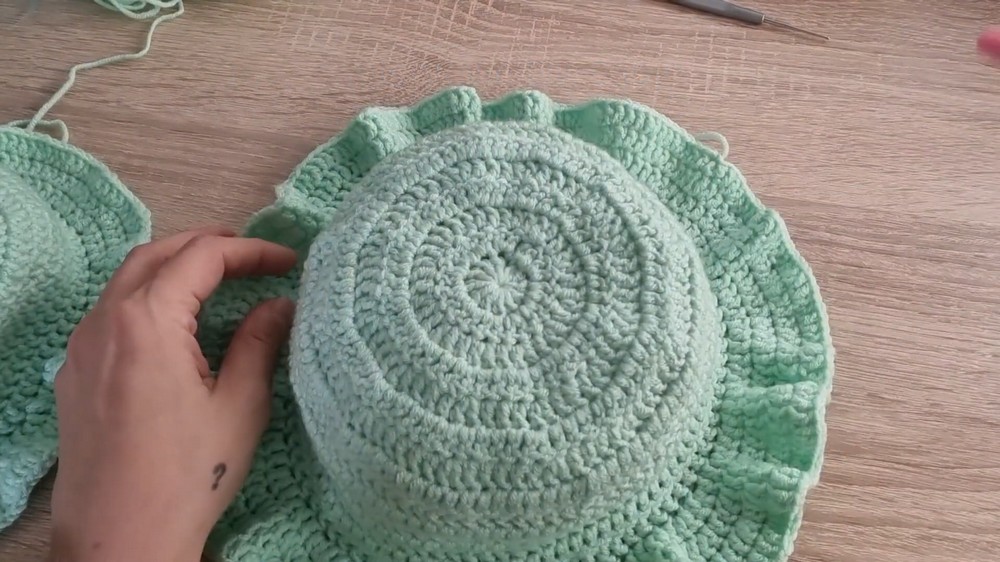
You can get creative with this pattern by choosing your favorite yarn colors. Bright and cheerful tones can make the hat vibrant and fun, while softer shades can give it an elegant and timeless feel. The versatility of the pattern means it can be adjusted for different head sizes, so everyone in the family can have their own personalized summer hat.
Not only is this hat a great accessory for protection against the sun, but it's also a stylish addition to your wardrobe. Whether you're heading to the beach, going on a picnic, or just taking a stroll, this crochet summer hat is the perfect companion for sunny adventures. Try this free pattern and see how easy and enjoyable it is to make something so beautiful and practical.
Crochet Summer Hat Pattern
Materials Required
- Yarn:
- Lightweight (DK or size 3) acrylic or cotton yarn (approximately 150-200 grams).
- Ensure it is soft and suitable for children.
- Crochet Hook Size:
- 3.0 mm crochet hook.
- Additional Tools:
- Scissors.
- Tapestry needle (for weaving in ends).
- Stitch markers (optional, but helpful for managing increases).
Gauge
- Gauge: 4 double crochets = 1 inch (2.5 cm).
- Adjust your crochet hook size if your tension is too loose or tight.
Finished Size
- Circumference: ~20 inches (50.8 cm).
- Height: ~7 inches (17.8 cm).
- Suitable for an average child aged 7-8 years.
Special Techniques Used
- Magic Circle (Magic Ring):
- Form a loop, insert the hook into the loop, pull up a loop, and work the required stitches into the ring. Pull the tail to tighten the loop.
- Slip Stitch (sl st):
- Insert the hook into the stitch, yarn over, and pull through both the stitch and the loop on the hook to close the round.
- Double Crochet (dc):
- Yarn over, insert the hook into the stitch, yarn over again, pull up a loop (3 loops on the hook). Yarn over, pull through the first two loops (2 loops remaining), yarn over, pull through the final two loops.
- Increasing Stitches:
- Work two double crochets in the same stitch to increase the stitch count.
- Working in the Back Loop Only (BLO):
- Instead of inserting the hook under both loops of the stitch, insert it under the loop closest to the back of the fabric. This technique creates texture and accents transitions.
Pattern Instructions
Part 1: Hat Crown
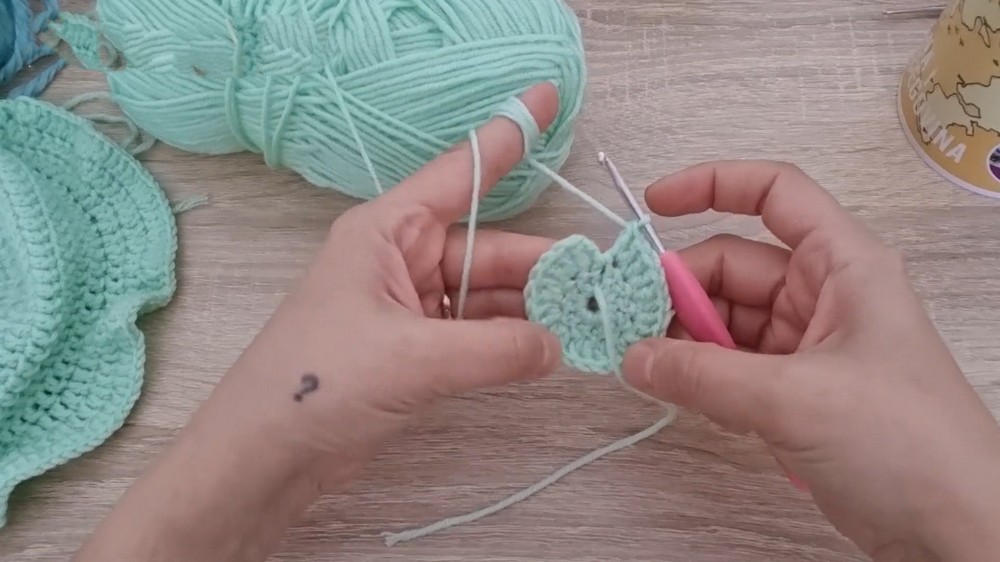
Round 1: Magic Circle
- Start with a magic circle and secure it.
- Work 12 double crochets (dc) into the ring.
- Tighten the circle by pulling on the yarn tail.
- Join with a slip stitch (sl st) into the top of the first dc.
- Stitch count: 12 dc
Round 2: Increasing Round
- Chain 2 (counts as the first dc).
- Work 2 dc into every stitch around.
- Join with a sl st to the top of the chain-2.
- Stitch count: 24 dc
Round 3: Alternating Increase Round
- Chain 2.
- Work 2 dc in the first stitch, and then 1 dc in the next stitch. Repeat (2 dc, 1 dc) around.
- Join with a sl st to the top of the chain 2.
- Stitch count: 36 dc
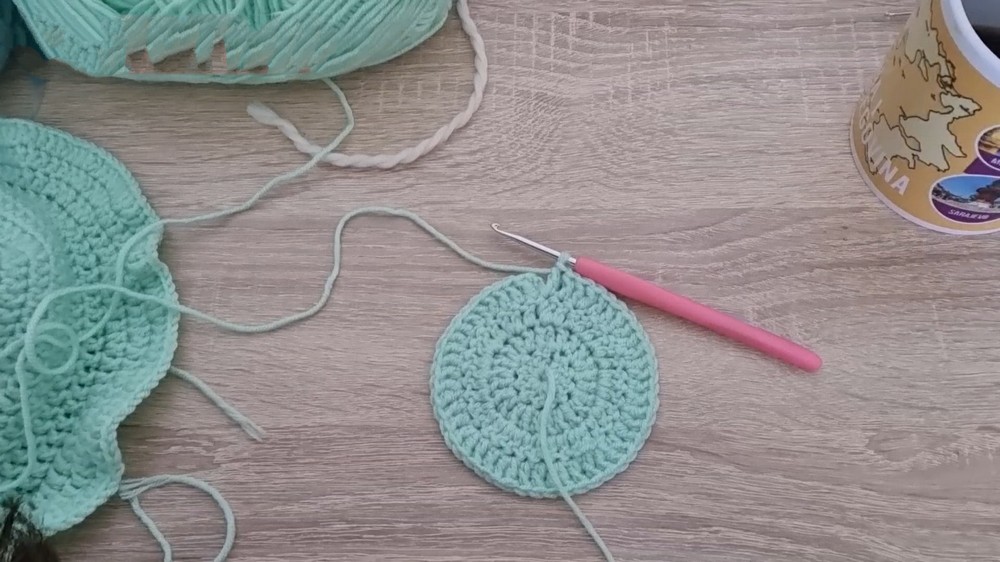
Round 4: Gradual Increase Round
- Chain 2.
- Work 2 dc in the first stitch, and then 1 dc in the next two stitches. Repeat (2 dc, 1 dc, 1 dc) around.
- Join with a sl st to the top of the chain 2.
- Stitch count: 48 dc
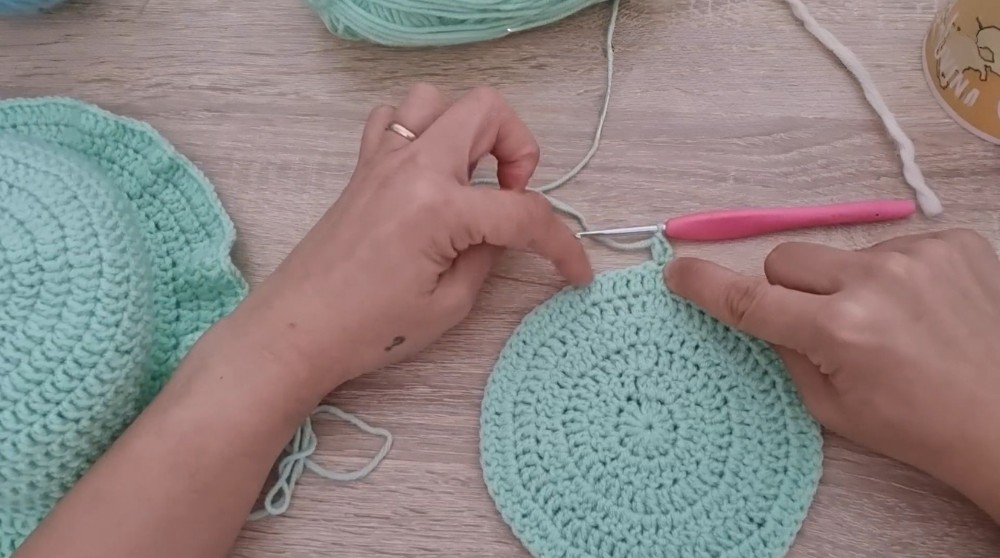
Round 5: Continuing Increases
- Chain 2.
- Work 2 dc in the first stitch, and then 1 dc in the next three stitches. Repeat (2 dc, 1 dc, 1 dc, 1 dc) around.
- Join with a sl st to the top of the chain 2.
- Stitch count: 60 dc

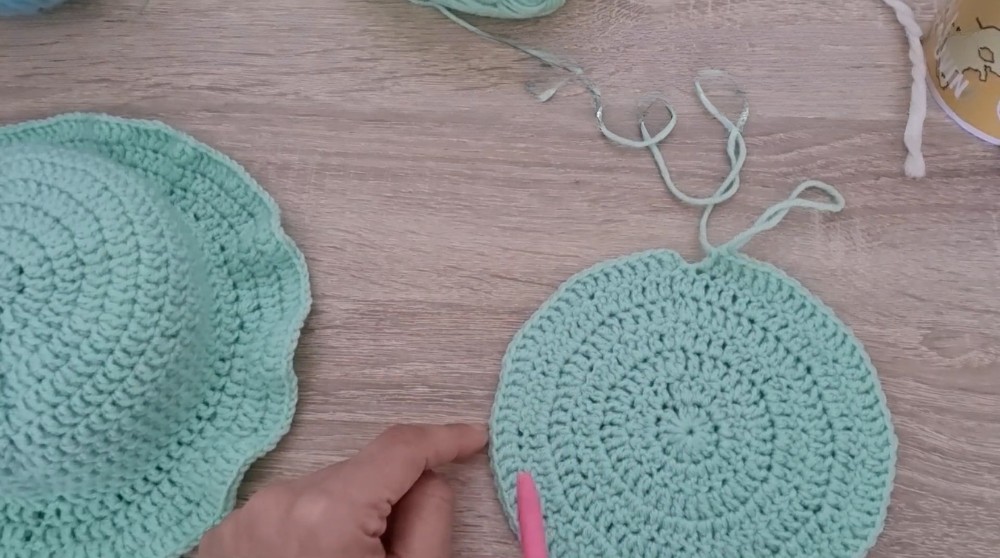
Round 6: Final Increase for Crown
- Chain 2.
- Work 2 dc in the first stitch, and then 1 dc in the next four stitches. Repeat (2 dc, 1 dc x 4) around.
- Join with a sl st to the top of the chain 2.
- Stitch count: 72 dc
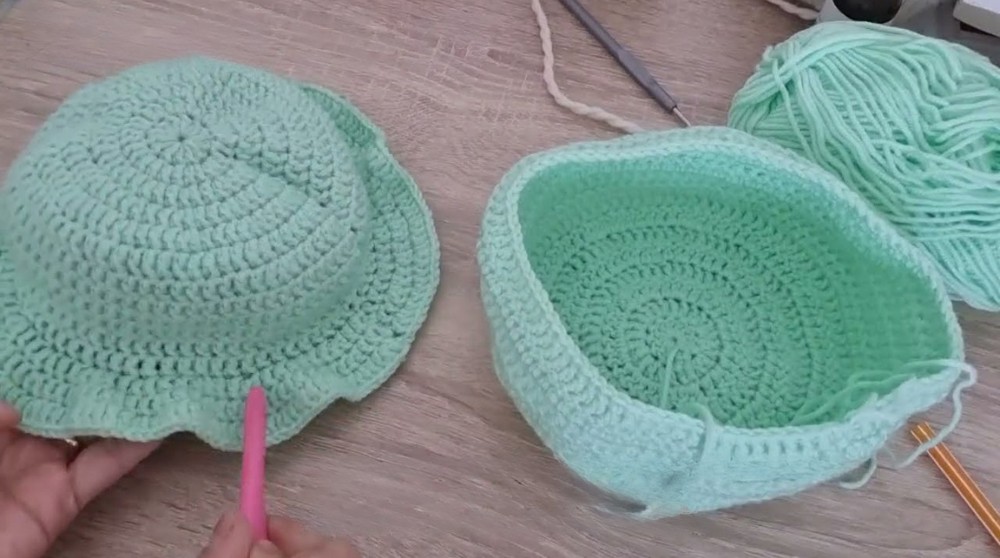
Round 7:
Check if the crown diameter is 6.5-7 inches. If it is smaller, add one more round by increasing 12 stitches evenly. This results in 84 dc in Round 7 using the increase formula: 2 dc, 1 dc x 5.
Part 2: Hat Body
- Chain 2.
- Work 1 dc in each stitch around (no increases).
- Turn your work at the end of each round to help balance the texture and create a smoother look.
- Repeat the round until the hat measures 6 inches (15 cm) from the crown center to the bottom edge.
Part 3: Wavy Brim
The wavy brim effect is achieved by increasing disproportionately while adding texture by working in the back loop only (BLO) for the first wavy row.
Row 1 of Brim: Start Wavy Look
- Chain 2, do not turn.
- Work in the BLO for this round only.
- Alternate 1 dc in the first stitch, 2 dc in the next stitch around (1 dc, 2 dc).
- Join with a sl st to the chain 2.
Row 2-5 of Brim: Continue Wavy Effect
- For all remaining rows, work through both loops.
- Alternate increasing in the following rhythm:
- Round 2: 1 dc, 1 dc, 2 dc (1 dc x 2, 2 dc).
- Round 3: 1 dc x 3, 2 dc (1 dc x 3, 2 dc).
- Round 4: 1 dc x 4, 2 dc (1 dc x 4, 2 dc).
- Round 5: 1 dc x 5, 2 dc (1 dc x 5, 2 dc).
- Each round will expand the wavy brim further.

Finishing the Hat
Final Steps:
- After completing the desired number of wavy brim rows, fasten off your yarn.
- Weave in all remaining loose ends using a tapestry needle.
- Give the hat a light steam or blocking to flatten the brim and set the wavy shape.

Optional Embellishments:
- Add buttons, bows, or ribbons for decoration.
- Crochet a flower or applique to sew onto one side of the hat.
- Use multi colored or variegated yarn for a vibrant look.
Tips for Success:
- Count Your Stitches: Always verify your stitch count at the end of each round, especially during the crown and brim portions, to ensure proper shaping.
- Keep Consistent Tension: Avoid loose stitching, particularly in the crown. Tighter stitches make the hat warmer and more fitted.
- Customization: Adjust the total number of rounds to increase or decrease the hat's height or crown size for different ages. Adjust the wavy brim to your taste by adding or removing rows.

Conclusion
This crochet wavy brim hat is a fun and functional project that allows for plenty of customization. Whether you make it for a child, adult, or even as a gift, the design is timeless and practical. The wavy brim adds a playful touch, making it stand out as a stylish, handmade piece.
Feel free to experiment with different yarns and colors to make it uniquely yours.