
Crochet Sweater Free Pattern That Feels Soft and Beautiful
Shape a cozy and stylish sweater with this Free Crochet Sweater Pattern, perfect for beginners, fun to try, and easy to customize in your favorite colors.
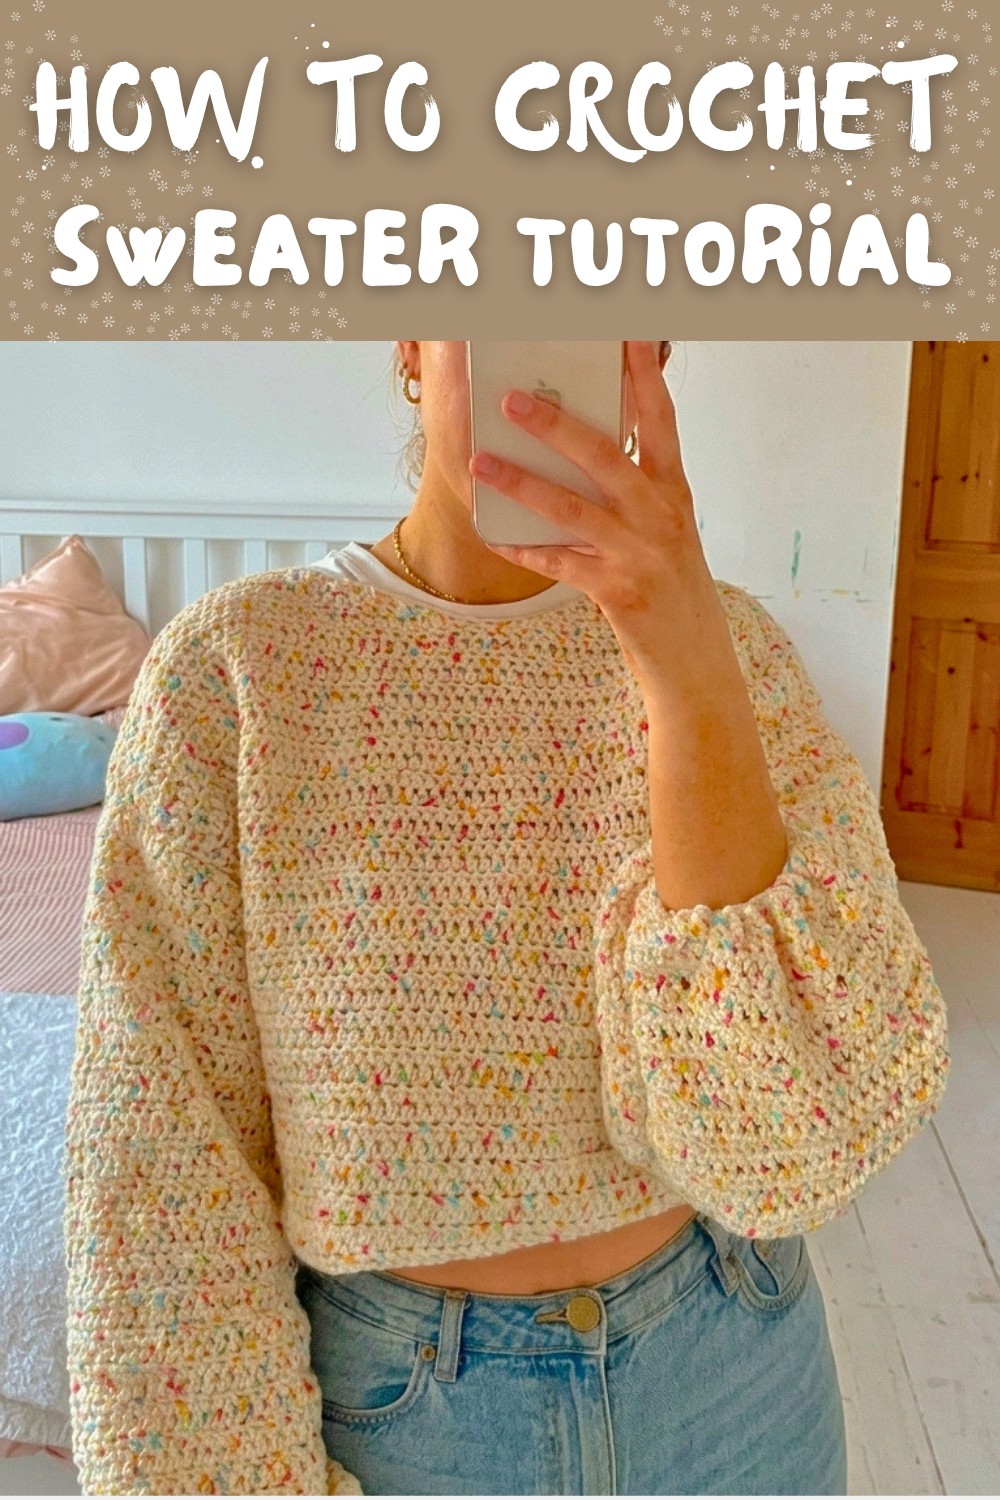
Nothing beats the charm of making your own cozy crochet sweater, and this Sweater Pattern is here to keep things simple, stylish, and oh so comfy. From its soft acrylic yarn to its playful oversized fit, this sweater is all about keeping you warm while looking cool. It feels as snug as a hug and looks as cheerful as a sunny day, especially when made in colorful or pastel shades. The sweater has a loose, comfy vibe that works perfectly for layering over a t shirt or wearing on its own. Whether you go for long sleeves or short ones, it's easy to adjust the look to match your style. Plus, its stretchy neckline and cozy texture make it feel like a favorite you'll want to wear every day.
Crochet Sweater Free Pattern for Family Gatherings and Trips
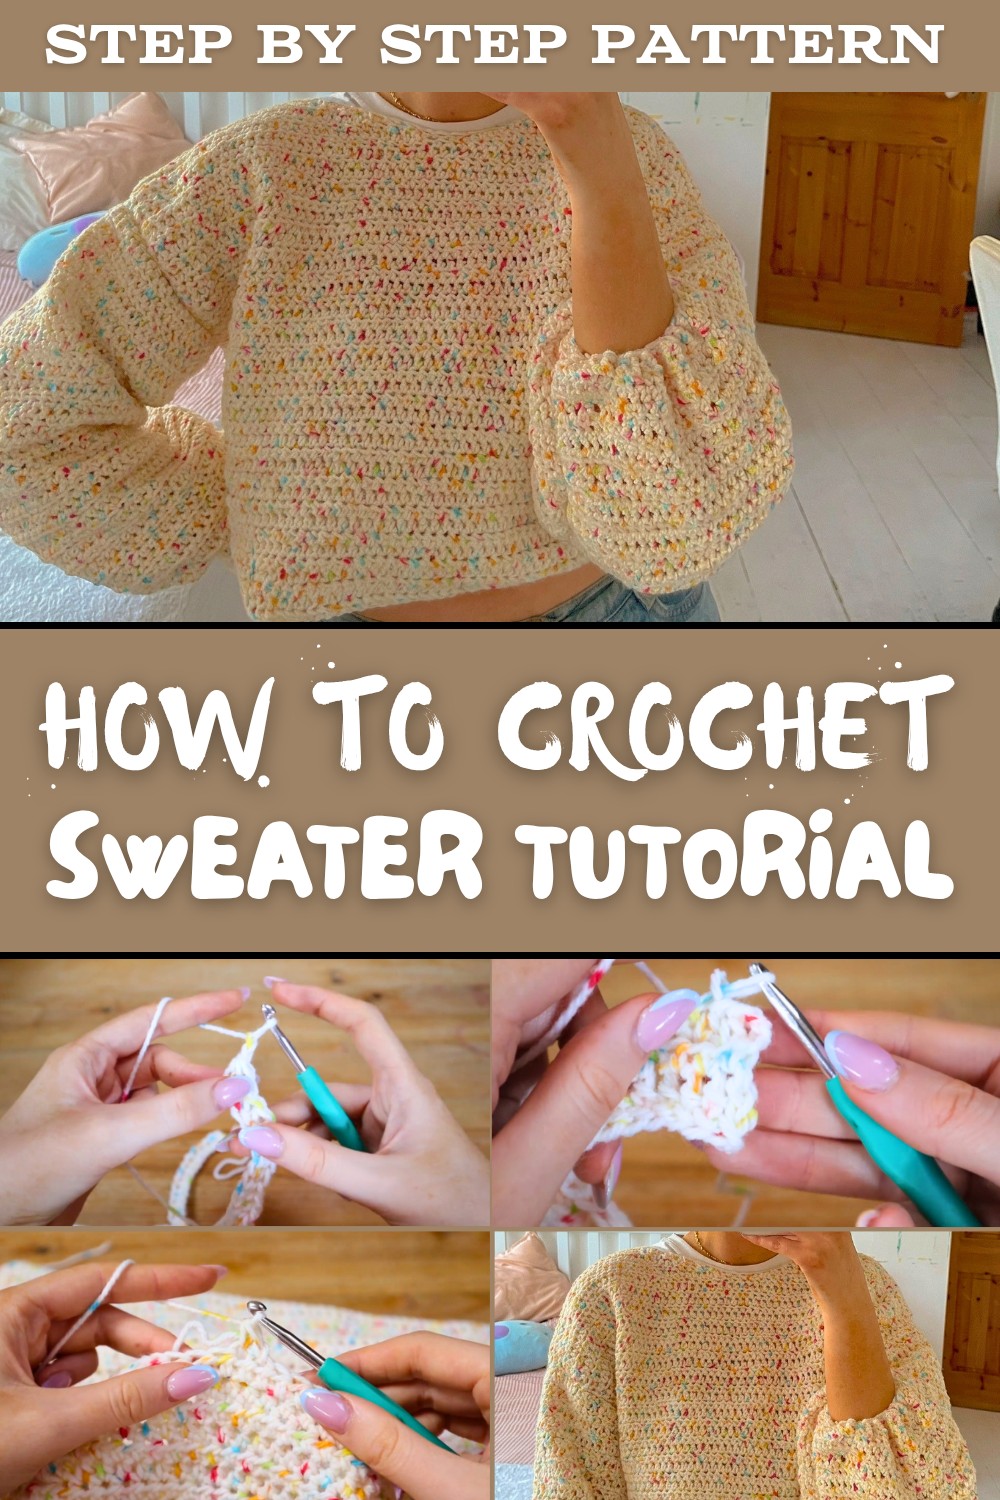
It's super easy to make, even for beginners. Using basic crochet stitches like the half double crochet, you'll be stitching your way to success in no time. It's not just fun to work on, but also gives you the freedom to pick your favorite colors and adjust the size to fit perfectly.
Practicality meets charm here-this sweater isn't just something to wear, it's something to love. Lightweight yet durable, it's perfect for chilly evenings, casual outings, or even as a thoughtful gift. It's proof that something simple can be wonderfully stylish and endlessly useful. Who wouldn't want a sweater that's packed with coziness and love?
Beginner Friendly Crochet Sweater Pattern
Finished Measurements
This pattern makes a loose fitting sweater with the following dimensions:
- Body Width (Bust): Approximately 20.5 inches (flat) or 41 inches circumference.
- Body Height: 16 inches from shoulder to hem.
- Sleeve Length: 16 inches from shoulder to wrist.
Adjust measurements as needed to accommodate your desired look or fit.
Materials Needed
- Yarn:
- Approximately 4-5 balls of worsted weight or Aran weight yarn (e.g., Sirdar Snuggly Yarn - Super Soft Rainbow Drops in Smarty or any acrylic yarn).
- Total yardage: ~1000-1200 yards for average adult size. Adjust based on size or customization.
- Hook Size:
- 5.5 mm crochet hook.
- Notions:
- Scissors.
- Tapestry needle.
- Stitch markers.
- Measuring tape.
- Gauge:
- 7 half double crochets (hdc) = 1 inch.
- 5 rows of hdc = 1 inch.
Adjust hook size for proper gauge if needed.
Crochet Stitches Used
- Slip Knot: To begin the project.
- Chain (ch): Yarn over (YO) and pull through the loop on your hook.
- Half Double Crochet (hdc): YO, insert hook into the stitch, pull up a loop (3 loops on hook), YO and pull through all 3 loops on the hook.
- Foundation Half Double Crochet (fhdc): Combines a chain foundation and a row of hdc in one.
- YO, insert hook into the first chain, pull up a loop (3 loops on hook).
- YO, pull through the first loop only (this creates the chain), then YO and pull through all 3 loops.
- Repeat into the base chain created in Step 2.
- Slip Stitch (sl st): Insert your hook, YO, pull through the stitch and the loop on your hook.
Pattern Instructions
Step 1: Front Panel
- Foundation Row:
- Start with a foundation half double crochet (fhdc) of 68 stitches (~20.5 inches wide) or customize for the width of your sweater.
- Rows 1-39:
- Chain 2 (counts as turning chain), work 1 hdc in each stitch across. Turn at the end of every row. Continue until your work is 13.5 inches tall (~39 rows).
- Create a V Neck:
- Starting with Row 40, you'll begin shaping the neckline.
- To find the center point, divide your stitches in half (34 stitches) and place a stitch marker.
- Work one side of the neck at a time:
- For the first side, work your hdc to two stitches before the center marker. Decrease once (see decrease instructions in Special Techniques). Turn.
- Chain 2 and continue working hdc with a decrease at the beginning of each row for 6 total rows.
- Repeat this process for the second side of the neckline.
- Work 2 extra rows on each side without a decrease to complete shoulder height.
- Starting with Row 40, you'll begin shaping the neckline.


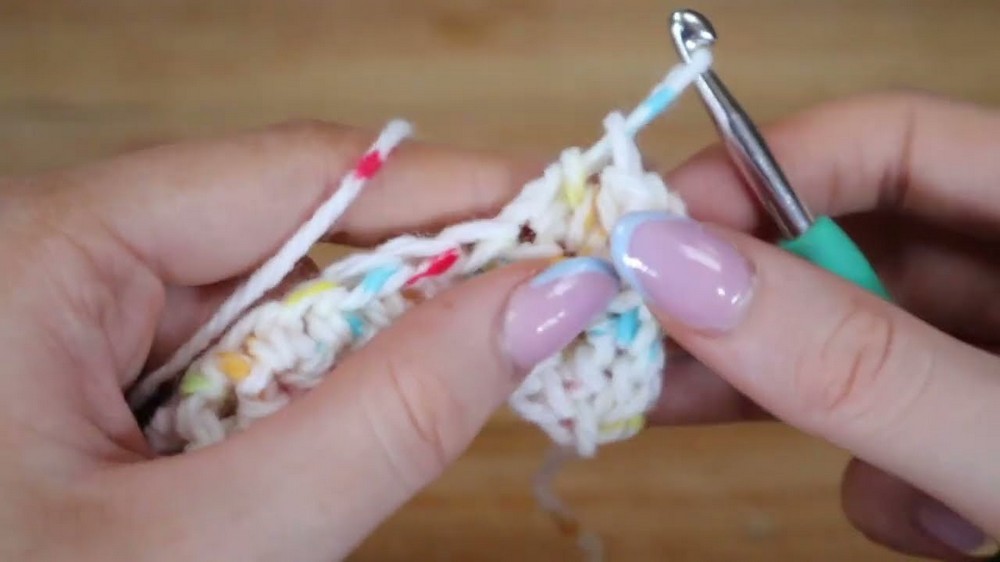
Set the Front Panel aside.

Step 2: Back Panel
- Foundation Row:
- Make the same foundation half double crochet (fhdc) of 68 stitches (~20.5 inches wide).
- Rows 1-42:
- Chain 2 and work 1 hdc across the entire panel to a total height matching the front panel, ~42 rows (~16 inches height). The back panel does not have a neckline-keep rows straight.
- Shoulder Width:
- For the final three rows, work only the outermost 6.5 inches (17 stitches) on either side to form shoulder straps, creating a central neck opening.

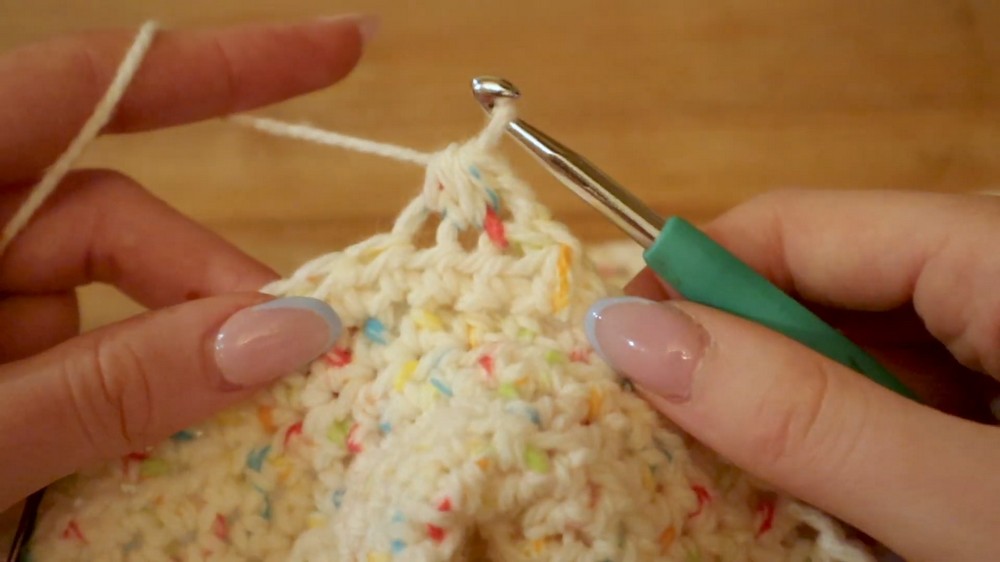
Set the Back Panel aside.
Step 3: Sleeves
- Foundation Chain:
- Begin with 60 fhdc stitches (~17 inches wide).
- Rows 1-45:
- Chain 2, turn, and work 1 hdc in each stitch across for a total sleeve height of 16 inches (~45 rows).
- Repeat for the Second Sleeve.


Step 4: Assembly
1. Join Shoulders:
- Lay the front and back panels flat.
- Align the shoulder areas. Slip stitch or whip stitch the 6.5 inch shoulder straps on each side. Leave the neckline unstitched.
2. Attach Sleeves:
- Fold each sleeve in half, placing a stitch marker at the midpoint.
- Match the midpoint of the sleeve with the shoulder seam.
- Attach the sleeves by slip stitching from the sleeve center outward. Repeat for the opposite sleeve.
3. Seam the Sweater:
- Fold the sweater in half with the right sides facing in.
- Use slip stitches or a whip stitch to join the side seams of the front and back panels, and then continue joining the undersides of the sleeves.
Step 5: Add the Neckline
To create a clean neckline:
- Attach yarn at the back neck seam.
- Chain 1 and work single crochet (sc) stitches evenly around the neckline.
- Slip stitch to the first single crochet and tie off.
Step 6: Finishing the Cuffs
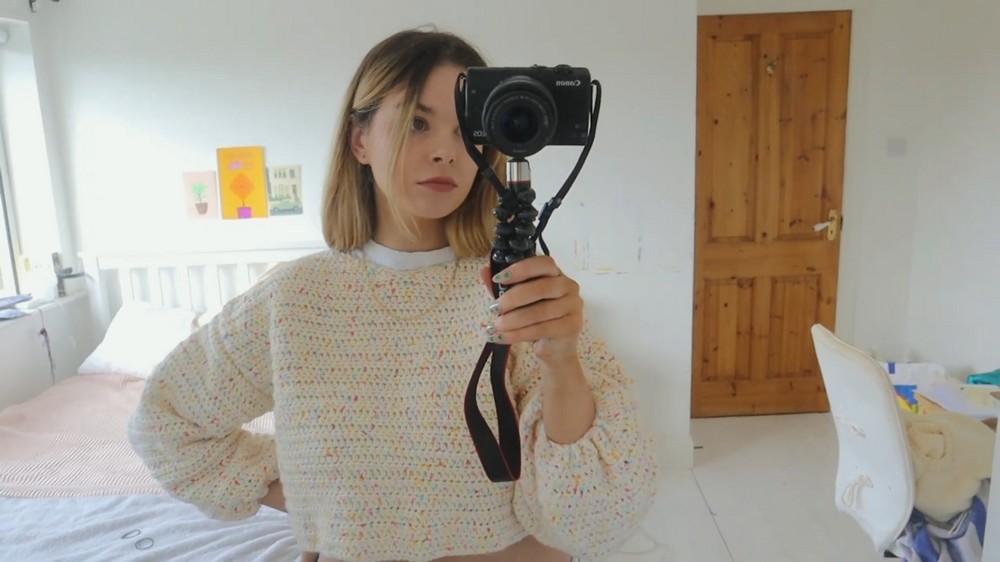
For a subtle puff sleeve effect:
- At the wrist end of each sleeve, attach yarn.
- Slip stitch into every third stitch around the sleeve edge to create a gathered effect.
- Finish with a slip stitch, chain 1, and tie off.
Customization Options
- Change the Length:
- Add extra rows to the body for a longer sweater or add rows to the sleeves for extra coverage.
- Try Different Colors:
- Add stripes, blocks of color, or use variegated yarns for a unique appearance.
- Neckline Variations:
- For a round neck sweater, skip the V neck decreases and keep the front panel straight like the back panel.
Tips for Success
- Count Your Stitches:
- Ensure stitch counts remain consistent across rows to avoid uneven edges.
- Even Joins:
- Use stitch markers to align edges when sewing panels and sleeves together.
- Block Your Panels:
- Lightly blocking your panels before assembly will ensure neat edges for joining.
- Reinforce Seams:
- Add extra stitches at areas of high wear, like underarms.
Conclusion
Congratulations, You've completed your crochet sweater. This pattern is beginner friendly and can act as a foundation for more advanced customization as you develop your crochet skills. Its versatility makes it perfect for everyday wear-layer it over a t shirt or style it with jeans or leggings.
Feel free to modify this pattern to fit your personal style-add decorative elements, experiment with colors, or even try textured stitches.