
Crochet Throw Pillow Cover Free Pattern That Brightens Rooms
Follow this free crochet pattern to make a lovely Throw Pillow Cover that adds a fun and warm touch to any living room or bedroom.
Your living space deserves a touch of charm, warmth, and personality-something that makes it uniquely yours. Think about adding a delightful pop of color and texture with a handmade creation that's as beautiful as it is practical. This free crochet pattern for a Granny Square Throw Pillow Cover gives you the perfect opportunity to bring that vision to life. Whether you want to brighten up a plain couch, add a cozy feel to your bedroom, or create a festive piece for the holidays, this pattern gives you all the tools you need. It's simple enough for beginners to follow and gives you room to play with colors and patterns that match your style.
Crochet Throw Pillow Cover Free Pattern With Unique Color Options
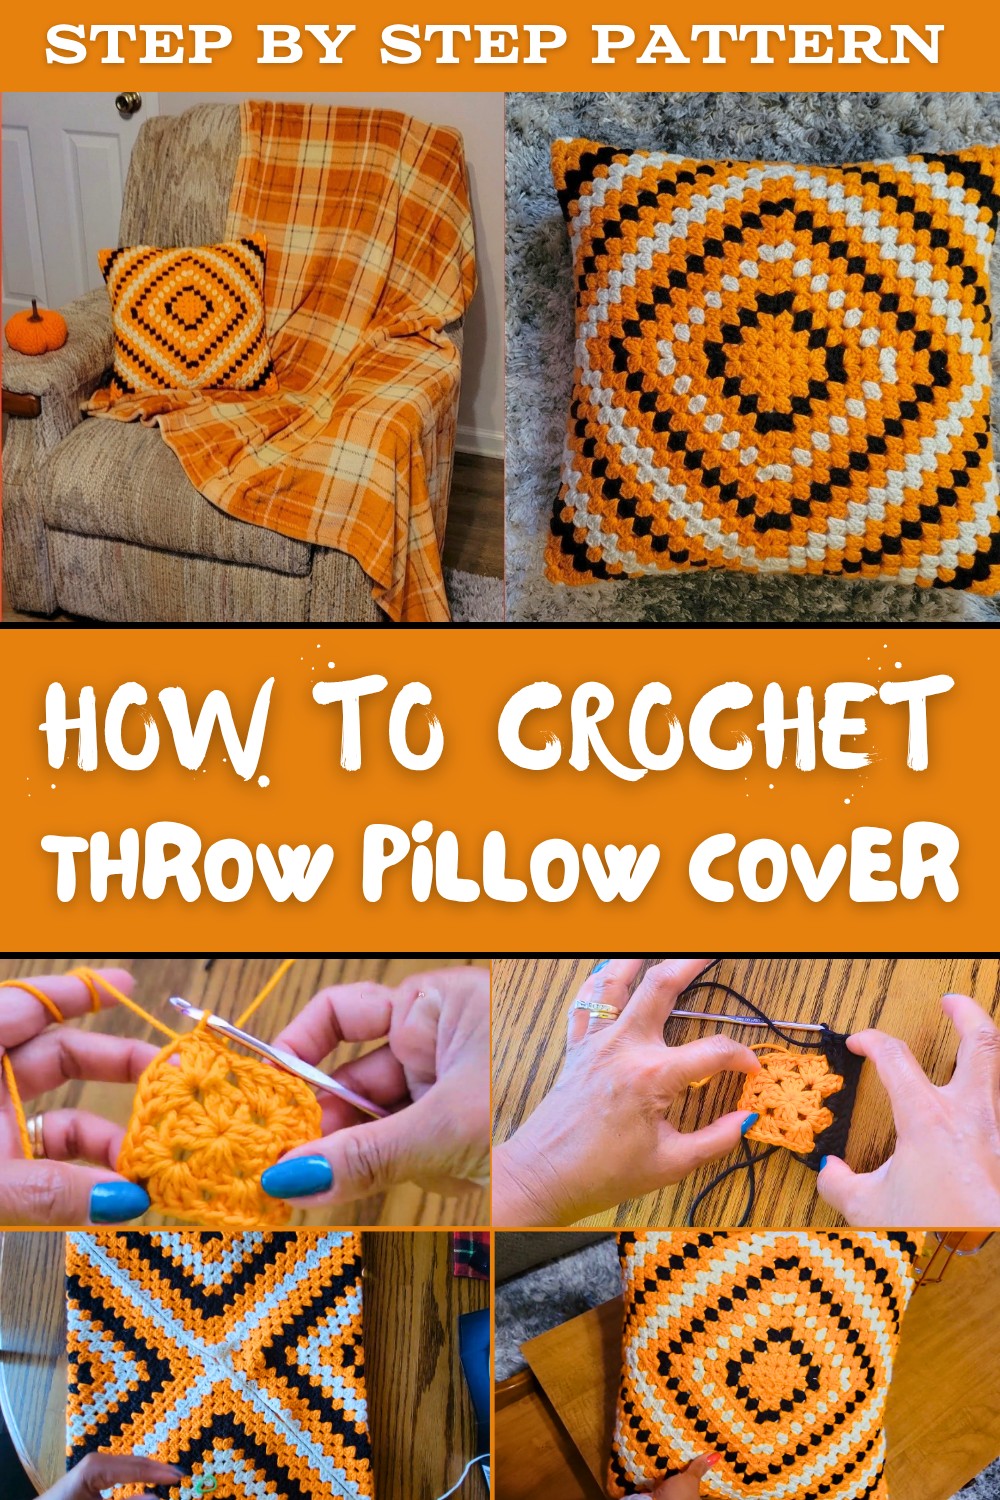
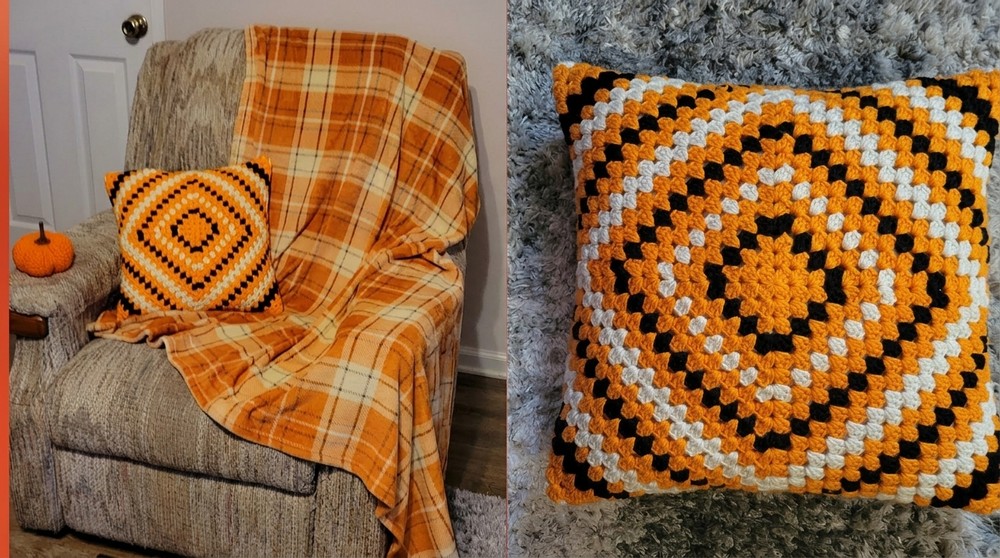
The classic granny square design gives the pillow cover a timeless appeal, while the option to customize colors makes it truly your own. The addition of a zipper closure adds a thoughtful finishing touch, making it easy to clean or switch covers whenever you like. Perfect for all kinds of home decor themes-modern, vintage, or even boho-this adorable project will bring joy every time you look at it.
So why wait? Let your creativity flow and transform your living space into something even more magical. This pattern isn't just a chance to crochet; it's your chance to add beauty, comfort, and a handmade treasure to your home.
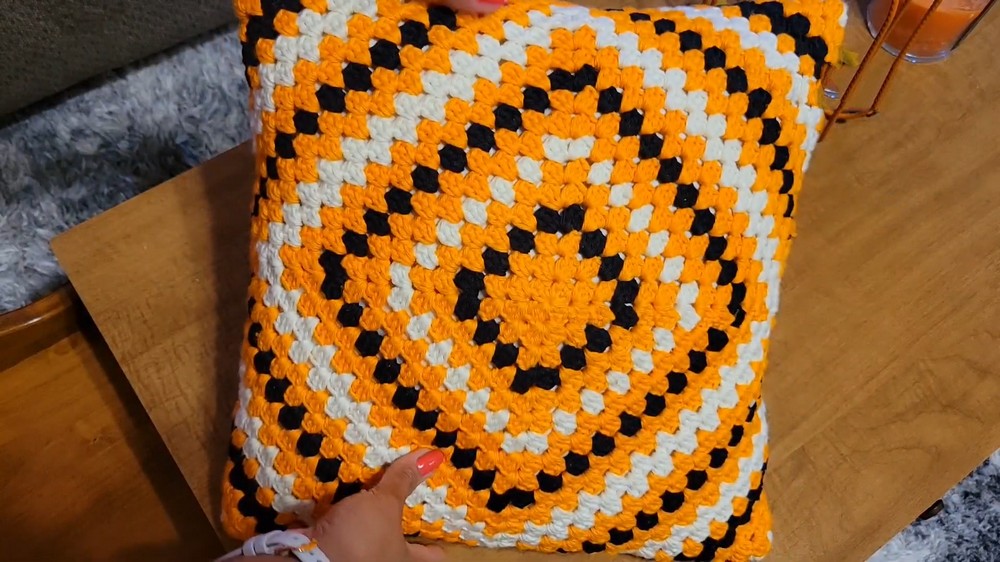
Detailed Step by Step Crochet Throw Pillow Cover Pattern
Finished Size
- Pillow Size: 16 x 16 inches
- Granny Square Dimensions: 15 x 15 inches (meant to stretch slightly to fit a snug 16 x 16 inch pillow insert)
Materials Required
- Yarn: Medium weight yarn (Weight #4). Choose a soft acrylic or cotton yarn in your preferred color combinations.
- Example: Yarn in main color (MC) and multiple contrasting colors (CC) for a vibrant look.
- Crochet Hook: Size 5 mm (H/8).
- Zipper: 20 inches in length (preferably matching the main yarn color).
- Darning Needle: For sewing and weaving in ends.
- Scissors.
- Stitch Markers: To mark corners and join points.
Gauge
- Each granny square center (up to Round 5) measures approximately 4 x 4 inches. Adjust hook size as needed to meet the gauge.
Abbreviations (US Terminology)
- Ch: Chain
- DC: Double Crochet
- Sl St: Slip Stitch
- SP: Space
- St: Stitch
Special Techniques
- Magic Ring: An alternative to starting with a chain 4 ring. This method ensures the center is tightly closed.
- Standing Double Crochet: This creates a neat, seamless start for a new round or color change.
Pattern Instructions
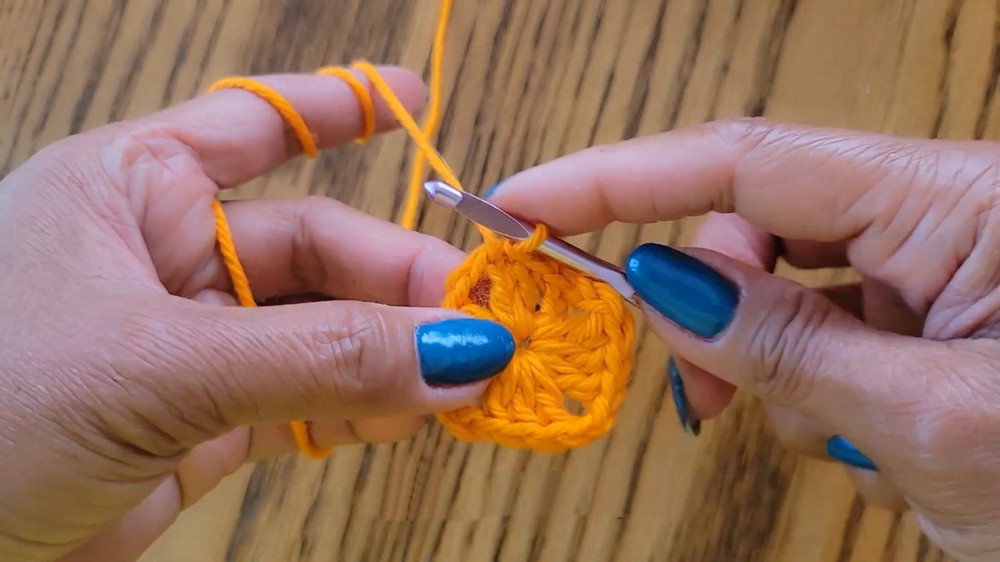
Round 1: Forming the Base
- Start with either a Magic Ring or create a Slip Knot and chain (Ch) 4.
- Slip stitch (Sl St) into the first chain to form a ring.
- Ch 3 (counts as the first DC). Work 2 DC into the ring.
- Ch 2 (forms the first corner).
- Work 3 DC into the ring. Repeat Ch 2, 3 DC two more times to create 4 clusters of 3 DC stitches.
- Ch 2 and Sl St into the top of the starting Ch 3 to close the round.
- Slip stitch into the next DC and again into the Ch 2 corner space. Pull the tail tightly to close the ring.
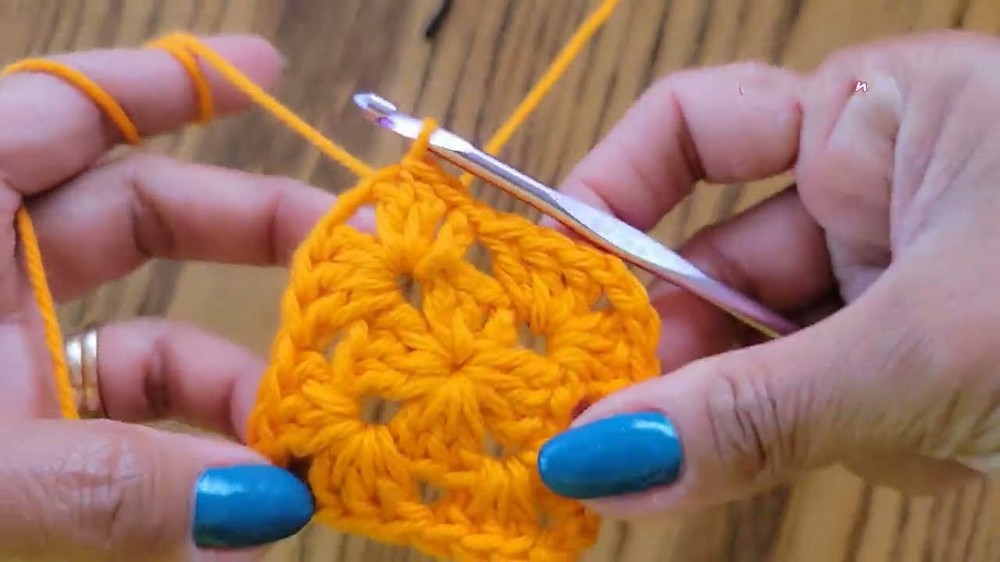
Round 2: Building the Corners
- Ch 3 (counts as the first DC), then work 2 DC into the same Ch 2 space.
- Ch 2 (forms the corner), then work 3 DC into the same Ch 2 space.
- Move to the next Ch 2 corner space. Work 3 DC, Ch 2, 3 DC into the corner space.
- Repeat Step 3 for the remaining two corners.
- Close the round with a Sl St into the top of the starting Ch 3. Slip stitch into the next DC and into the Ch 2 corner space.
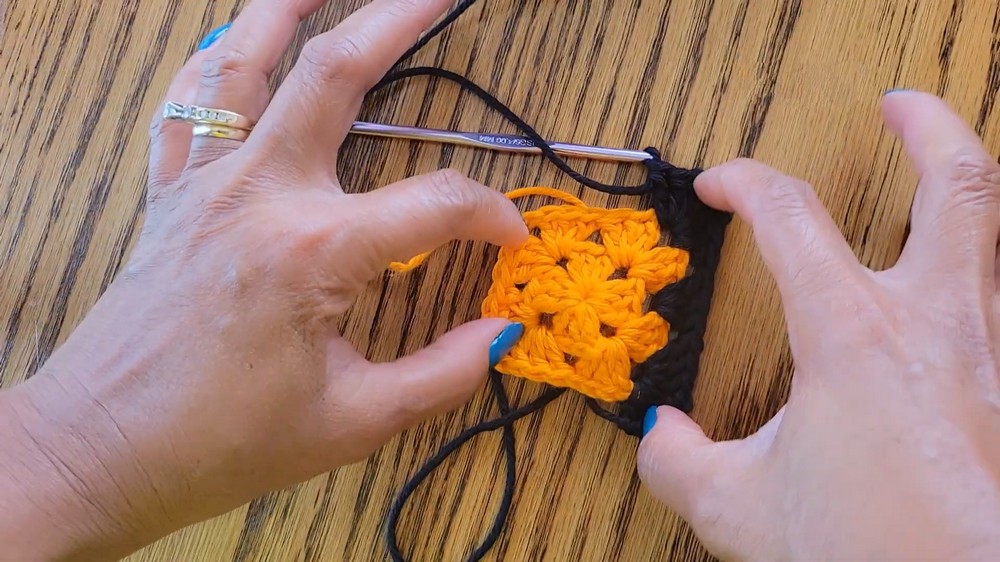
Round 3 (Change Color - Optional): Adding Another Layer
- Change to a new color if desired. Attach yarn with a Standing DC. Work 2 more DC into the same corner space.
- Ch 2, then work 3 DC into the same corner space.
- In the next side space (between two corners), work 3 DC.
- Move to the next corner. Work 3 DC, Ch 2, 3 DC in the corner space.
- Repeat Steps 3-4 around the square.
- Close the round with a Sl St into the top of the Standing DC. Repeat slip stitches to move to the next Ch 2 corner space.
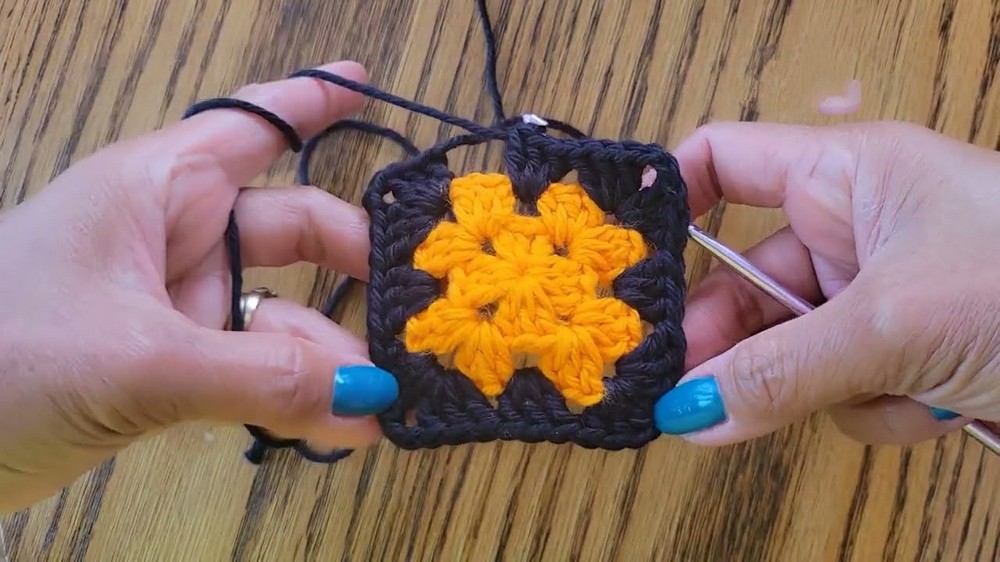
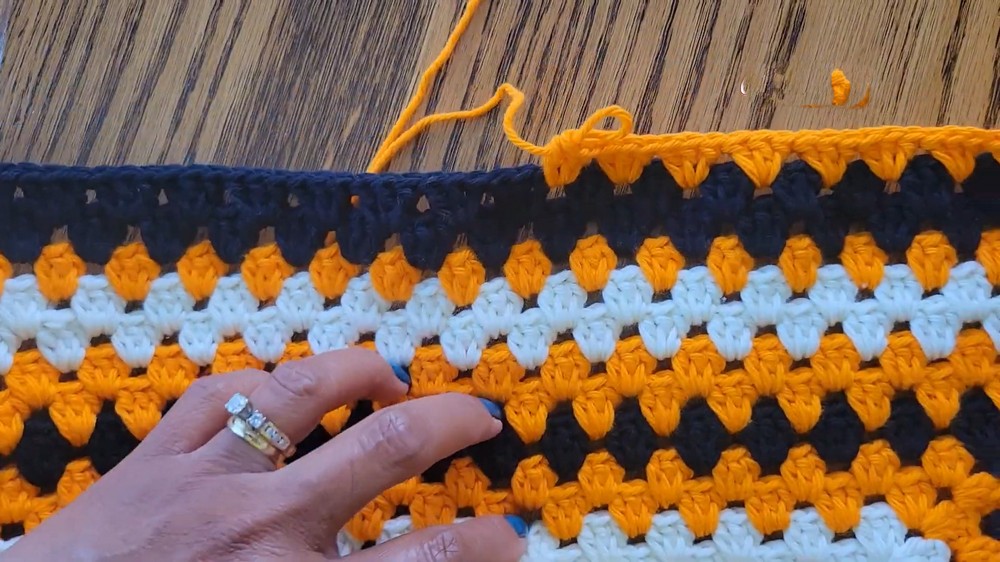
Rounds 4-28: Continue Expansion
- For subsequent rounds, continue the granny square pattern:
- In each corner: 3 DC, Ch 2, 3 DC.
- In each side space: 3 DC.
- Change colors every few rows for a striped or gradient effect, or stick to one color for a classic look.
- Stop after 28 rounds, measuring approximately 15 x 15 inches.
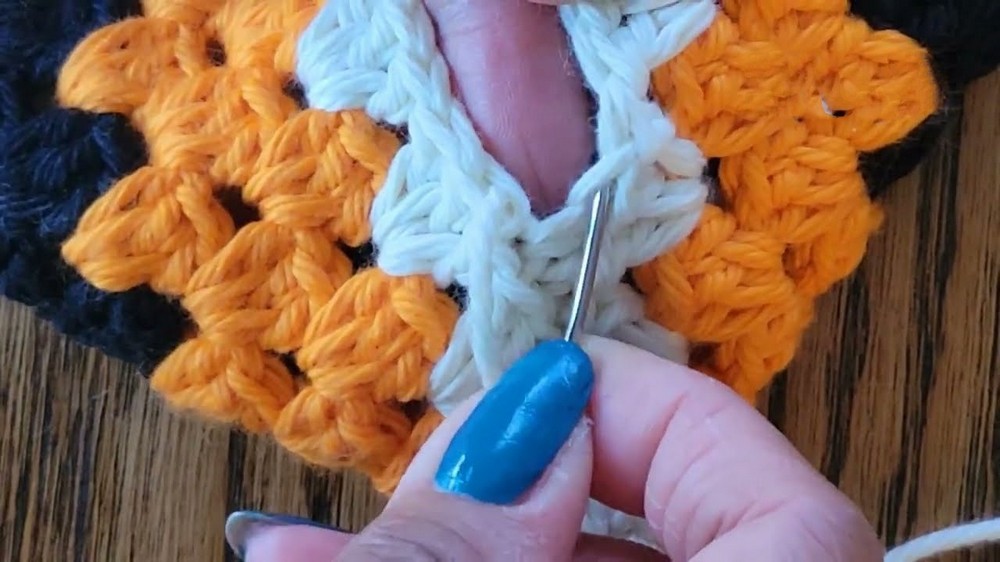
Assembly Instructions
Step 1: Fold the Granny Square
Flip the finished granny square to the wrong side. Fold it in half to measure 15 x 15 inches.
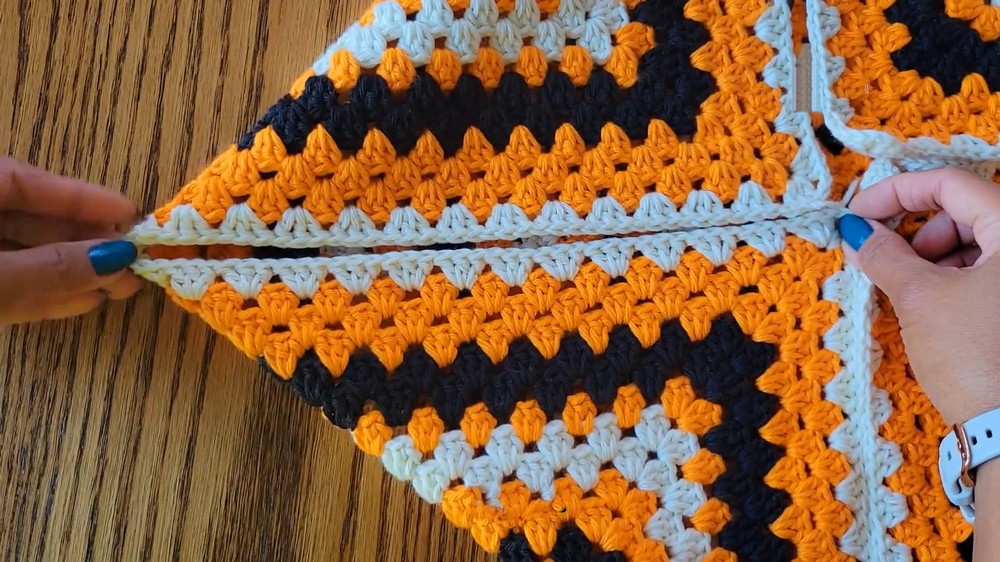
Step 2: Sewing the Pillow Edges
- Use a Darning Needle and yarn in the same color as your square.
- Align the corners and sides evenly on both sides. Secure with stitch markers.
- Begin from one corner, sewing along the edges. Insert the needle into the top stitches of both layers and weave back and forth through the clusters.
- Work across 3 edges, leaving the fourth side open for the zipper.
Step 3: Attaching the Zipper
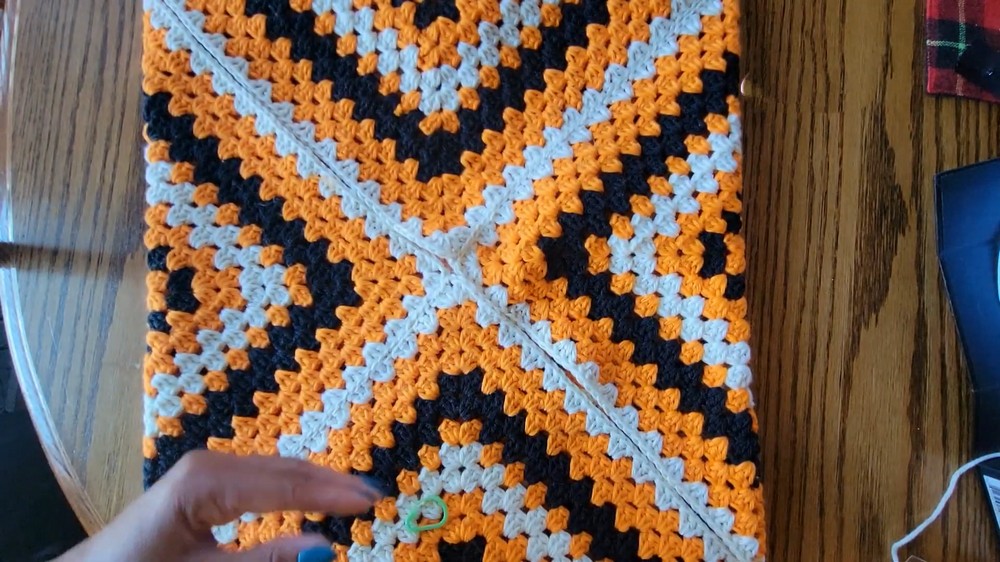
- Choose a zipper that matches the yarn color.
- Align the zipper between the open ends and attach it using a running stitch with a matching thread or the same yarn. Use small, even stitches for a clean finish.
- Zip the pillow cover to check for alignment and ensure smooth operation.
Customization Ideas
- Color Combinations: Use festive colors like red, green, and white for Christmas or pastel hues for a spring look.
- Alternate Yarn Types: Experiment with textured or sparkly yarn for added visual appeal.
- Add Embellishments: Attach pom poms or tassels to the corners for a fun, playful touch.
Tips and Tricks
- Blocking: Before assembling, block the granny square for a neat, even shape.
- Stretch Fit: Ensure the square is slightly smaller than the pillow insert for a snug fit.
- Hiding Tails: Securely weave in yarn ends as you go to prevent unraveling.
Final Look
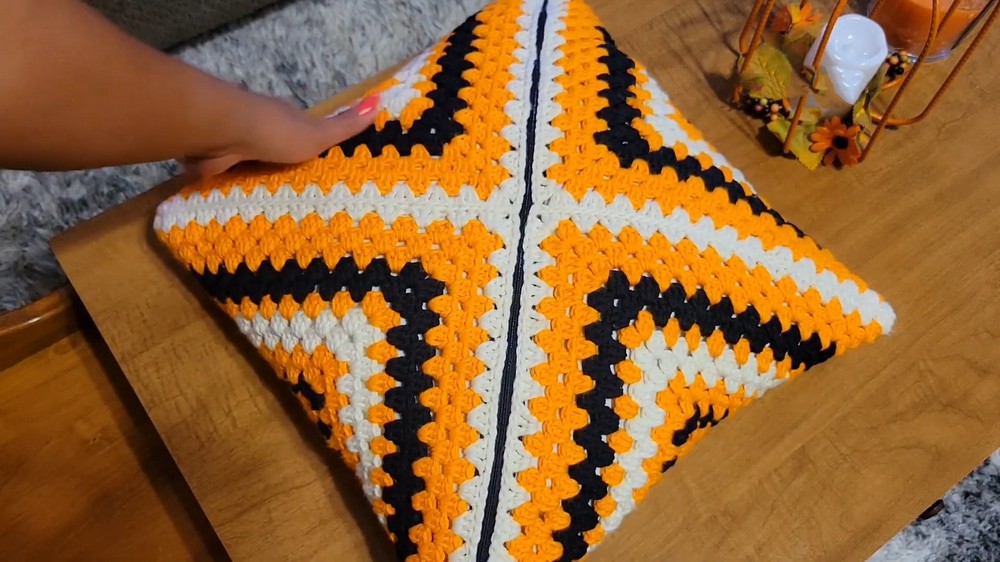
Once your pillow cover is complete, it should fit snugly around a 16 x 16 inch pillow insert. The zipper adds a polished, functional touch, making it easy to clean or change the cover.
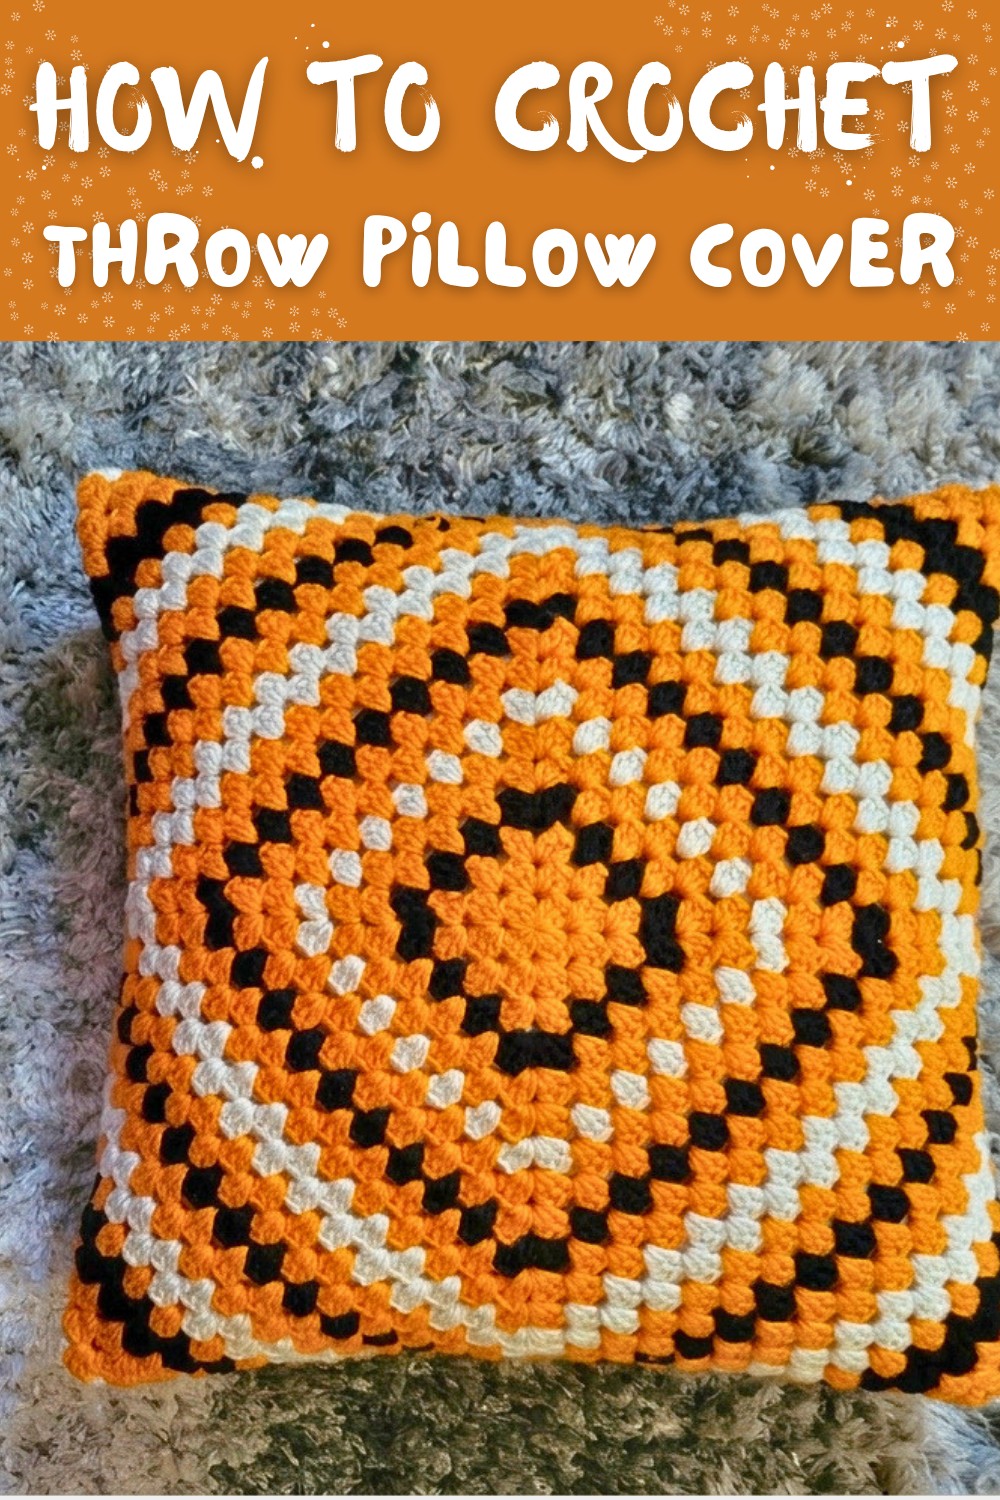
Conclusion and Key Notes
Congratulations on completing your Granny Square Pillow Cover with Zipper. This versatile project is beginner-friendly yet produces a stunning result that you can customize to suit any occasion. Whether it's for your home décor or a thoughtful handmade gift, this pillow cover is sure to impress.
Important Remarks:
- Ensure all yarn tails are securely woven in.
- Make adjustments to the number of granny square rounds if using a smaller or larger pillow insert.
- Experiment with different yarn textures for unique results.