
Crochet Water Bottle Holder Free Pattern Using Textured Waffle Stitch
Stay hydrated with ease using this Free Crochet Water Bottle Holder Pattern with a beginner-friendly design that offers durability, style, and practicality for everyday use.
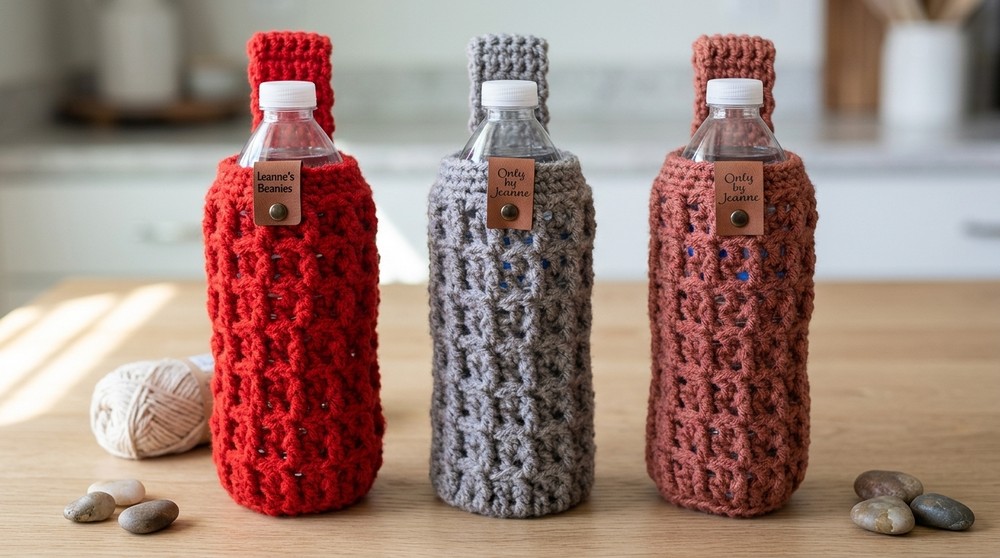
Crocheting a stylish bottle carrier has never been easier or more exciting! This Free Crochet Water Bottle Holder pattern uses the textured and eye-catching waffle stitch, giving it a beautifully intricate look that's surprisingly simple to create. Perfectly designed to stretch and fit standard-sized bottles, this project is both practical and elegant. The monotone color options enhance its clean, modern appearance, but you're free to customize it with any color combination that suits your style. It features a sturdy wrist handle for easy carrying, making it perfect for walks, errands, or gifting.
Water Bottle Holder Free Crochet Pattern

In this design, functionality meets visual appeal, with thoughtful details like the durable structure, the option for a personal leather tag, and the back post stitches that make the pattern truly pop. You'll need basic supplies like soft yarn, a 5mm crochet hook, scissors, and a tapestry needle to begin.
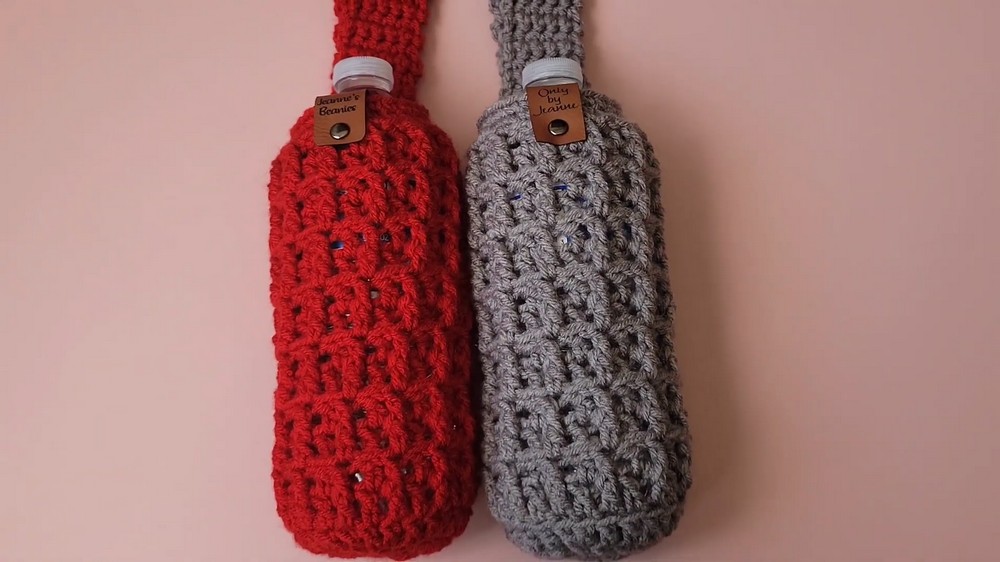
Within just a few steps, you'll learn how to crochet the base, the body with its charming waffle texture, and the handle for maximum practicality. Don't forget, the size can be easily customized by changing the hook size or tweaking the initial stitches! Whether for yourself or as a thoughtful handmade gift, this pattern offers beauty, utility, and simplicity in one package.
Crochet Water Bottle Holder Pattern
Materials Needed
- Yarn:
- Worsted weight (Medium) yarn, size 4.
- Example: Soft and Sleek Low-Pill Fiber from Hobby Lobby in the color "Spice."
- Recommended amount: Less than one skein.
- Crochet Hook:
- 5.0 mm (H-8).
- Tools:
- Scissors.
- Tapestry needle for weaving in ends.
- Measuring tape for handle length.
- Optional Decorative Touch:
- Leather tag for finishing (optional, purchased from Etsy).
- Grommet snap tools for leather tags (optional).
Special Techniques
- Magic Circle (Magic Ring):
Creates an adjustable loop for the base of the holder. - Front Post Double Crochet (FPDC):
A textured stitch where the hook is worked around the front of the stitch below. - Back Post Double Crochet (BPDC):
Similar to FPDC but worked around the back of the stitch below to create texture. - Back Loop Only (BLO):
Working into only the back loop of a stitch to create a visible ridge. - Waffle Stitch:
This stitch alternates FPDC and regular double crochets to give a textured, grid-like appearance.
Gauge
Exact gauge is not crucial for this project. The holder is designed to stretch to fit a standard 16.9 oz (500 ml) water bottle. For a larger or smaller bottle, see customization suggestions below.
Finished Size
- Height (without handle): Approximately 6-7 inches.
- Circumference: Fits an average 16.9 oz plastic water bottle snugly.
- Handle Length: Customizable, 8 inches recommended.
Pattern Instructions
Step 1: Base of the Holder
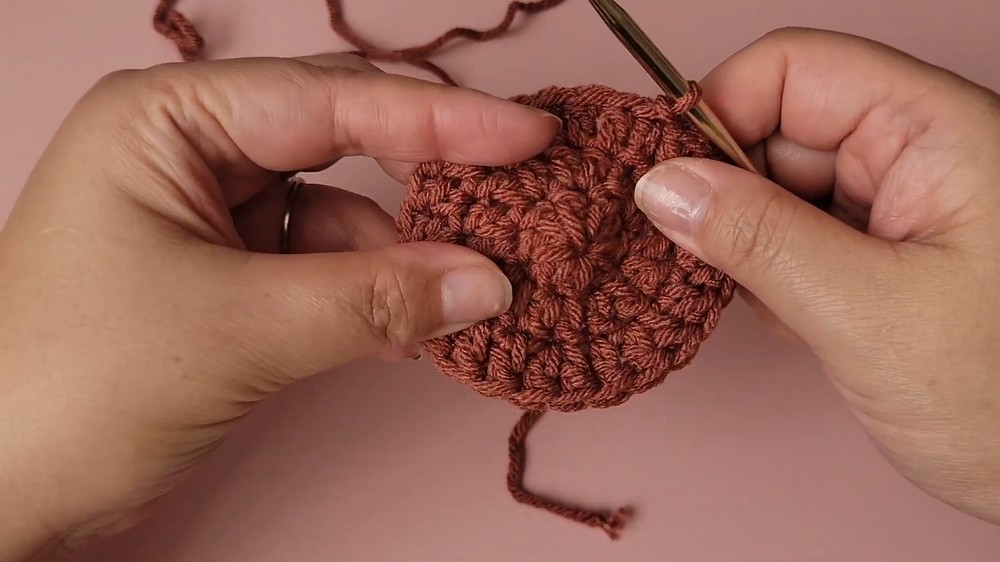
The base is worked in rounds and will form the bottom of your water bottle holder.
- Round 1:
- Begin with a Magic Circle.
- Chain 2 (does not count as a stitch).
- Work 8 Double Crochet (DC) into the magic circle.
- Pull the tail of the magic circle to close tightly.
- Slip Stitch (SL ST) to the top of the first DC. (8 DC).
- Round 2:
- Chain 2 (does not count as a stitch).
- Work 2 DC into each stitch around.
- Slip Stitch to the top of the first DC. (16 DC).
- Round 3:
- Chain 2.
- Work 1 DC into the first stitch and 2 DC into the next stitch (increase).
- Repeat the pattern of 1 DC, 2 DC around.
- Slip Stitch to the first DC. (24 DC).
- Round 4:
- Chain 2.
- Work 1 DC into each stitch around in the Back Loop Only (BLO).
- Slip Stitch to the first DC. (24 DC).
- Note: This creates the ridge at the base of the holder.

Step 2: Body of the Holder
The body is worked in the waffle stitch pattern using a two-row repeat.
- Round 5 (Waffle Stitch Begins):
- Chain 2.
- Work 1 Front Post Double Crochet (FPDC) around the first post in the round below.
- Work 1 DC on top of the next stitch.
- Alternate between FPDC and DC all the way around.
- Slip Stitch to the first DC. (24 stitches total, alternating FPDC and DC).
- Round 6:
- Chain 2.
- Work 1 DC on top of the first stitch.
- Work 1 Back Post Double Crochet (BPDC) around the next post from the previous round.
- Alternate between DC and BPDC all the way around.
- Slip Stitch to the first DC. (24 stitches total, alternating DC and BPDC).
- Repeat Rounds 5 and 6 for the waffle texture:
- Continue alternating rounds of FPDC/DC and DC/BPDC until your piece measures approximately 6-7 inches tall or you've completed 17 rounds total.


Step 3: Top Edging
The top of the holder finishes with single crochets.
- Round 18 (Final Waffle Round):
- Chain 1.
- Work 1 Single Crochet (SC) into the first stitch.
- Then, alternate between 1 Back Post Single Crochet (BPSC) and 1 SC across the entire round.
- Slip Stitch to the first SC.
- Rounds 19-20 (Edging Rows):
- Chain 1.
- Work a regular SC into each stitch around.
- At the end of each row, Slip Stitch to the first SC to close the round.
- Repeat for a total of 2 rows of SC edging.

Step 4: Handle
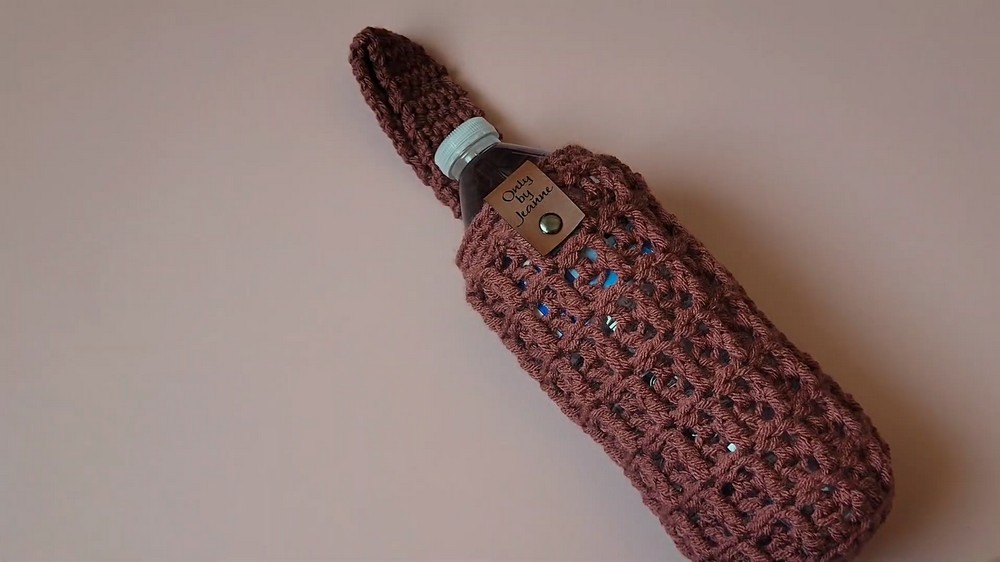
Create the wrist strap for added convenience.
- Row 1 (Start Handle):
- Chain 1.
- Work 5 SCs across the top edge of the holder. (Adjust for preference; see suggestions below).
- Chain 1 and turn.
- Rows 2-X (Handle Length):
- Continue in rows of 5 SCs, chaining 1 and turning at the end of each row, until the handle measures approximately 8 inches.
- Finishing the Handle:
- Cut the yarn, leaving a long tail.
- Use the tapestry needle to sew the handle ends securely to the holder body.
Customization Suggestions
- For Larger Bottle Holders:
- Add more starting stitches to the magic circle (e.g., 9 or 10 DC) and increase evenly in subsequent rows.
- Use a larger hook size (e.g., 5.5 mm or 6 mm) to create a looser fit.
- Handle Width and Length:
- Adjust the number of SC stitches in Row 1 for a wider or narrower handle.
- Crochet fewer or more rows for shorter or longer handles.
- Color Changes:
- For stripes, change yarn colors at the beginning of a round.
- Decorator Touches:
- Add a leather tag or other embellishments to personalize.
Finishing Tips
- Block Your Work: Slightly dampen the piece and shape it to your desired proportions. Allow it to air dry.
- Secure Stitches: Weave in all loose threads carefully to prevent unraveling.
- Test Fit: Insert a water bottle and adjust if necessary.

Final Notes and Remarks
Congratulations on completing your crochet water bottle holder! Not only is this project quick and practical, but it also makes a thoughtful gift. The textured waffle stitch brings an elegant and professional look to your design.
Care Instructions:
- Machine washable (if yarn allows). Air dry to maintain shape.
Thank you for following along! Feel free to revisit this guide whenever you want to create more holders for friends, family, or yourself. Share your finished projects and enjoy the convenience of handmade functionality.