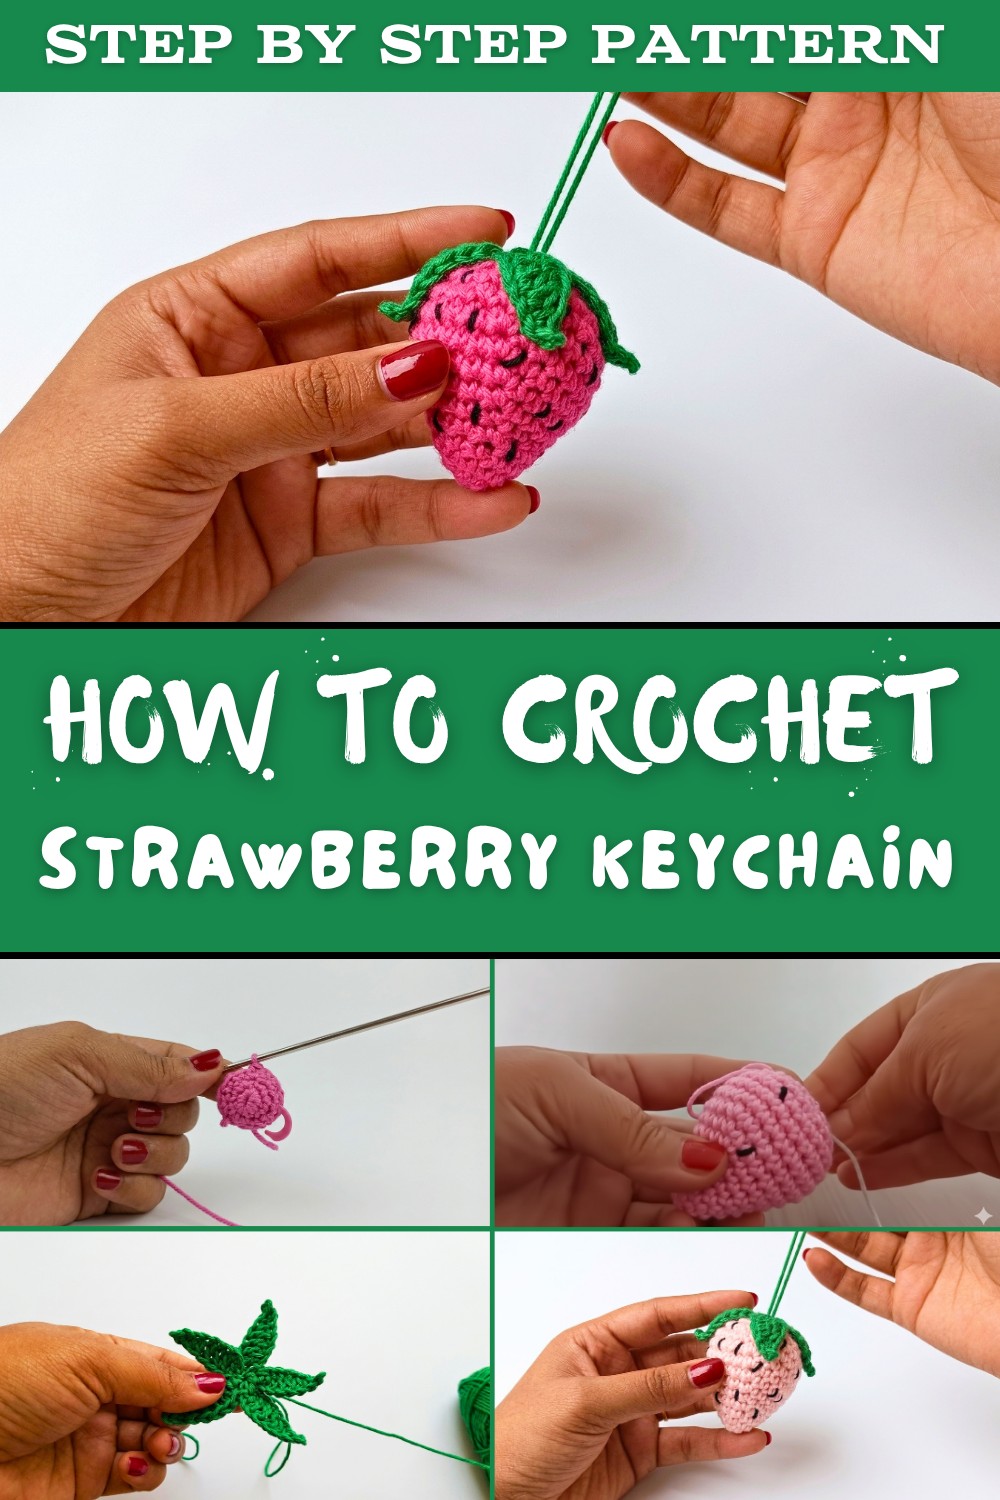
Cute and Easy Crochet Strawberry Keychain Free Pattern
Let your accessories shine with this free crochet strawberry keychain pattern that transforms keys and bags into cheerful favorites.
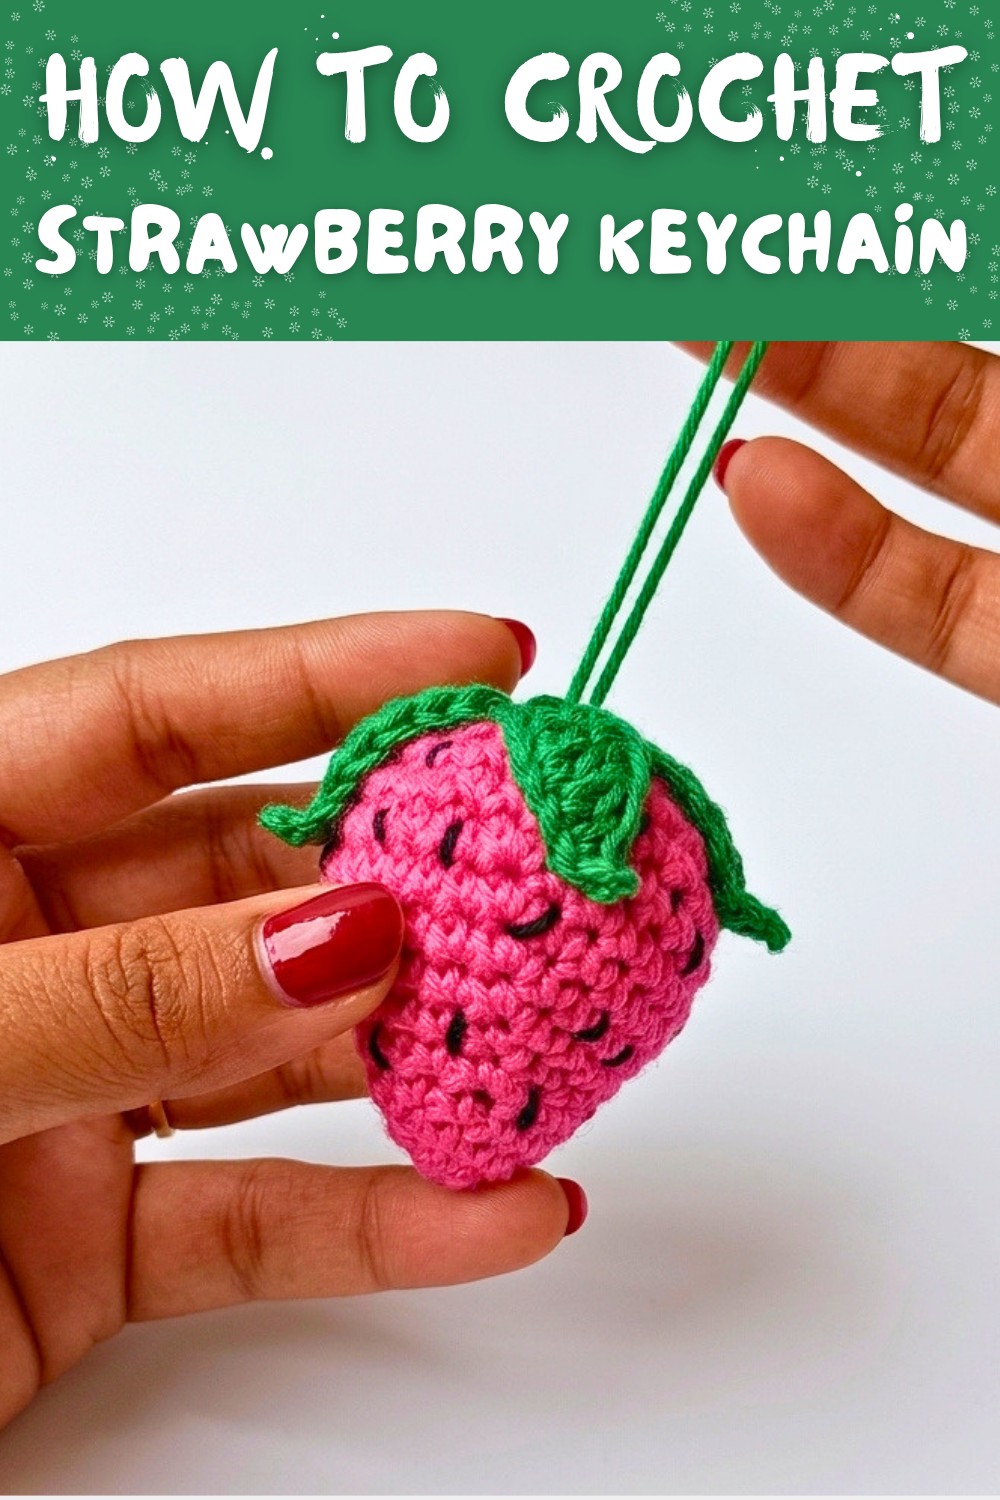
Dress Up Keys with this Strawberry Keychain that is completely free and so fun to make. This tiny, adorable strawberry is perfect for adding a pop of color and personality to your keys, bags, or even school supplies. Shaped like a real strawberry, it features a bright body, green leafy top, and tiny seeds details, making it look super cute and lifelike.
This crochet keychain isn't just pretty-it's also very useful. It helps keep your keys together in one place and makes them easier to find. Plus, it's lightweight and soft, so you can carry it anywhere without worrying about it being heavy or bulky. Whether you're gifting it to a friend or keeping it for yourself, this little strawberry is sure to brighten anyone's day.
Learn How to Crochet a Strawberry Keychain with Free Pattern
One of the best parts about this project is that it's easy to follow and absolutely free. The steps teach you how to crochet in rounds, make decorations using white yarn, sew green leaves for the top, and stuff it with fiberfill to give it a nice, plump shape. Even if you're new to crochet, this pattern is beginner friendly and fun for all skill levels.
The crochet strawberry is extra special because you can customize it. Change the colors to pink, yellow, or even rainbow for a playful twist that matches your own style. You can also make a set of strawberries to use as decorations or gifts for your loved ones.
Start creating your very own Crochet Strawberry Keychain today with this easy, free pattern. It's a small project with big creativity that's perfect for making your keys stand out in the sweetest way.
Crochet Strawberry Keychain Pattern
Materials You'll Need
- Yarn:
- Red Yarn: To create the body of the strawberry.
- Green Yarn: For the leafy top and keychain loop.
- White Yarn: For the decorative embroidery dots.
- Amigurumi cotton yarn is recommended for the best finish. Thick acrylic can also be used but may result in a slightly different texture.
- Hook:
- 2.5 mm crochet hook (recommended for tight stitches).
- Other Accessories:
- Fiberfill stuffing (acrylic fiber) to stuff and shape the strawberry.
- Tapestry needle for embroidery and sewing parts together.
- Stitch marker (optional) to help keep track of rounds.
- Scissors for cutting the yarn.
- Keychain ring or small clasp for attaching the keychain to your desired item.
Gauge
Gauge is not essential for this small project. However, aim to crochet tightly enough that the stuffing doesn't show through the stitches.
Finished Size
- Height: Approximately 8 cm (3.1 inches), including the leaf cap.
- Diameter: Roughly 5-6 cm (2-2.5 inches).
Special Techniques
- Magic Ring (MR): Used to start crocheting in the round with a tightly closed center.
- Increase (Inc): Crochet two stitches into the same stitch.
- Decrease (Dec): Single crochet two stitches together to reduce stitch count.
- Slip stitch (Sl st): Used to close rounds neatly.
- Surface embroidery: Used to create decorative white dots on the strawberry.
Pattern Instructions
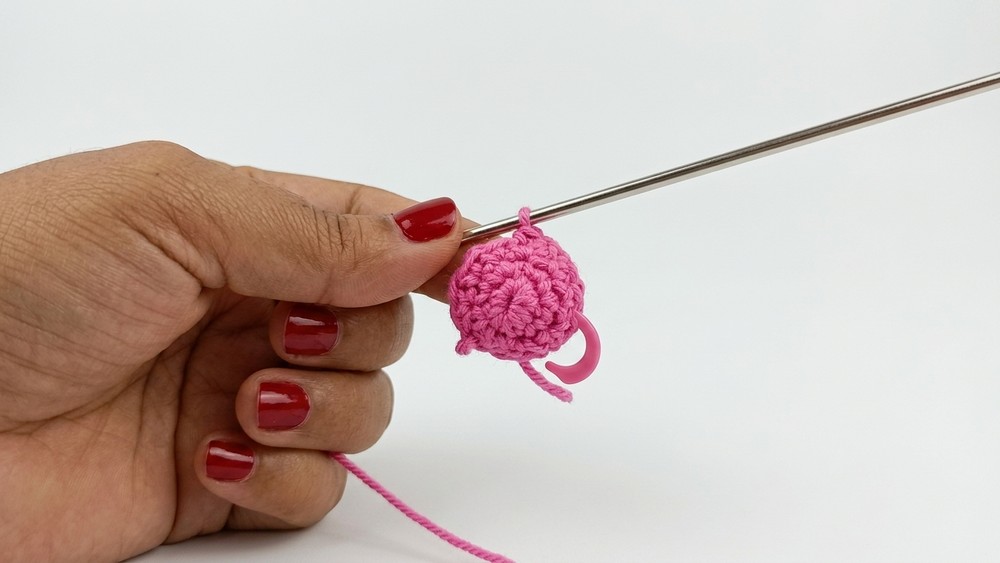
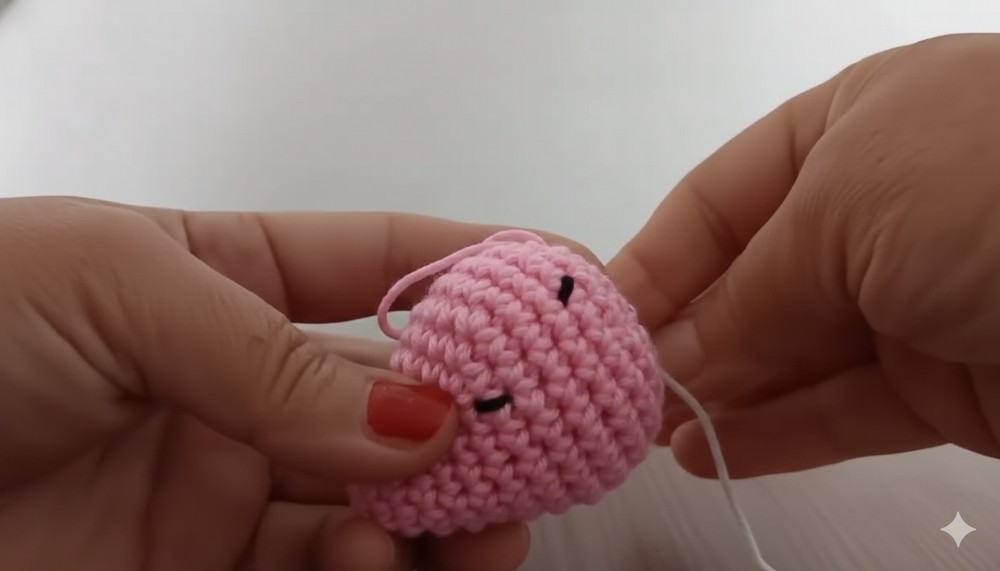
Strawberry Body
The strawberry body is worked in continuous rounds (spiral method).
- Round 1: Begin with a magic ring. Work 6 single crochets (sc) into the magic ring. Pull the tail to close the ring tightly. (6 stitches in total)
- Round 2: Work 1 sc into the first stitch, followed by 2 sc (increase) into the next stitch. Repeat this pattern (1 sc, inc) around the ring. (9 stitches in total)
- Round 3: Crochet 2 sc, then 2 sc into the next stitch (increase). Repeat the pattern (2 sc, inc) around. End with 12 stitches.
- Round 4: Work 3 sc, followed by 2 sc into the next stitch (increase). Repeat around the ring. (15 stitches)
- Round 5: Crochet 4 sc, followed by 2 sc into the next stitch (increase). Continue the pattern (4 sc, inc) around.
- Repeat this increasing pattern in subsequent rounds as follows:
- Round 6: 5 sc, inc around.
- Round 7: 6 sc, inc around. (27 stitches at the end of this round.)
- Rounds 8-9: Work 1 sc in each stitch around, without any increases. These rounds will give a gentle curve to your strawberry.
- Round 10: Begin decreasing to shape the bottom of the strawberry. Work 2 sc, followed by a decrease (2 sc, dec) around.
- Round 11: Continue decreasing with 1 sc, followed by a decrease (1 sc, dec) around.
- After Round 11, cut the yarn, leaving a long tail for sewing.
- Stuff the Strawberry: Insert fiberfill stuffing into the strawberry. Ensure it is firm but not overly stretched, as this could distort the stitches.
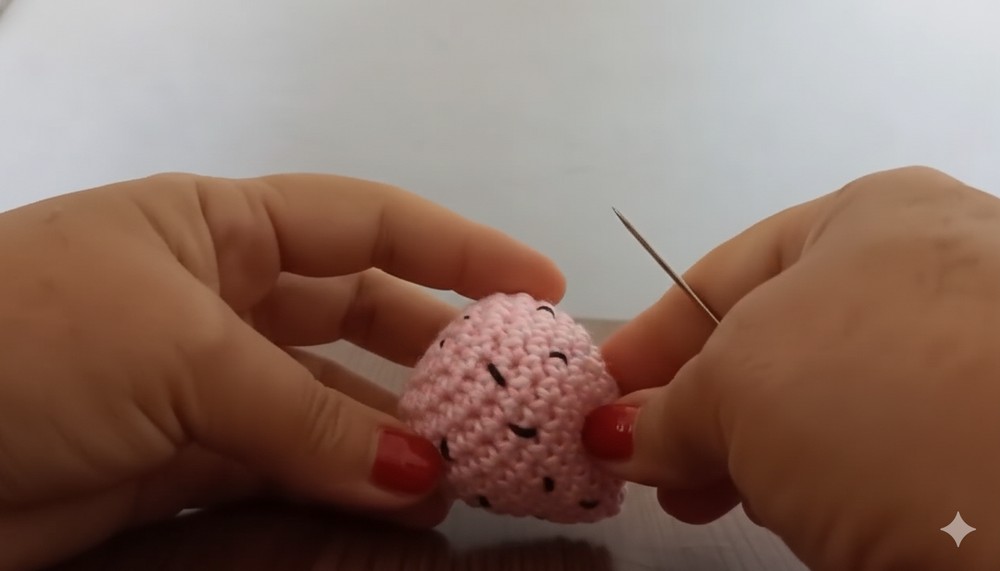
Dots (Embroidery)
- Using yarn and a tapestry needle, create small dots around the strawberry.
- Scatter the dots evenly to mimic the seeds of a real strawberry. Use small, neat stitches so the embroidery adds a charming and subtle detail.
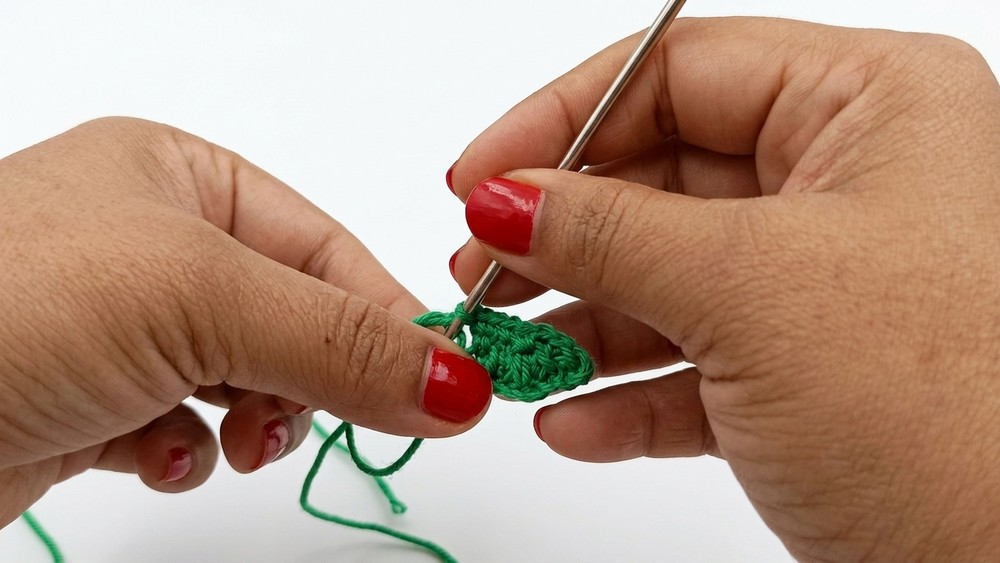
Green Leaf Cap (Top of Strawberry)
The leafy cap is made up of small petals, worked into a magic ring.
- Step 1: Start with a magic ring using green yarn.
- Petals: For each petal:
- Chain 8.
- Work the following stitches starting from the 2nd chain from the hook:
- 1 Slip stitch (Sl st)
- 1 Single crochet (Sc)
- 1 Half double crochet (Hdc)
- 4 Double crochets (Dc)
- After the 4 double crochets, slip stitch back into the base of the magic ring.
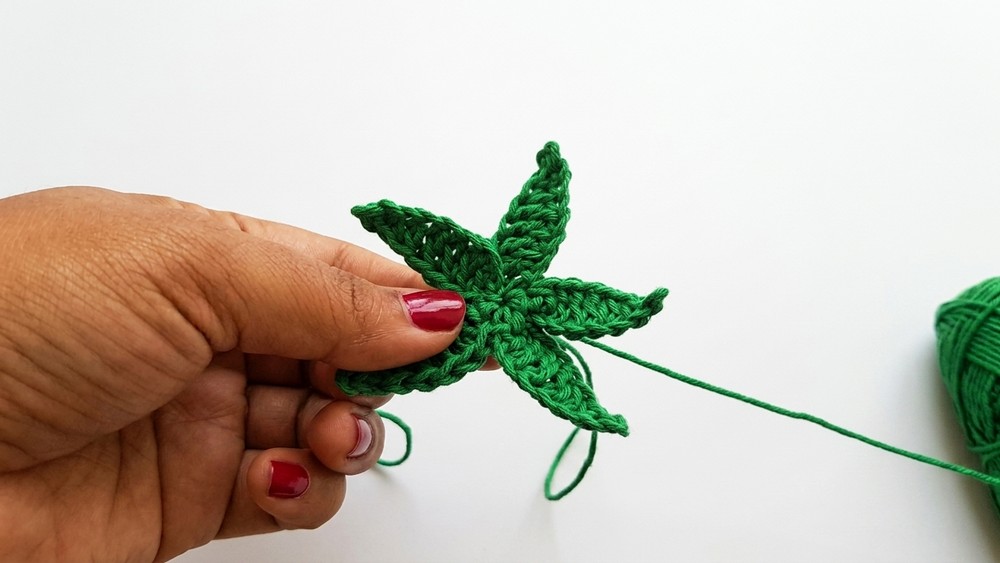
- Repeat this sequence to create 5 petals total around the magic ring.
- Pull the magic ring tight to close the center. Secure and leave a long tail for attaching the leaf cap to the strawberry later.
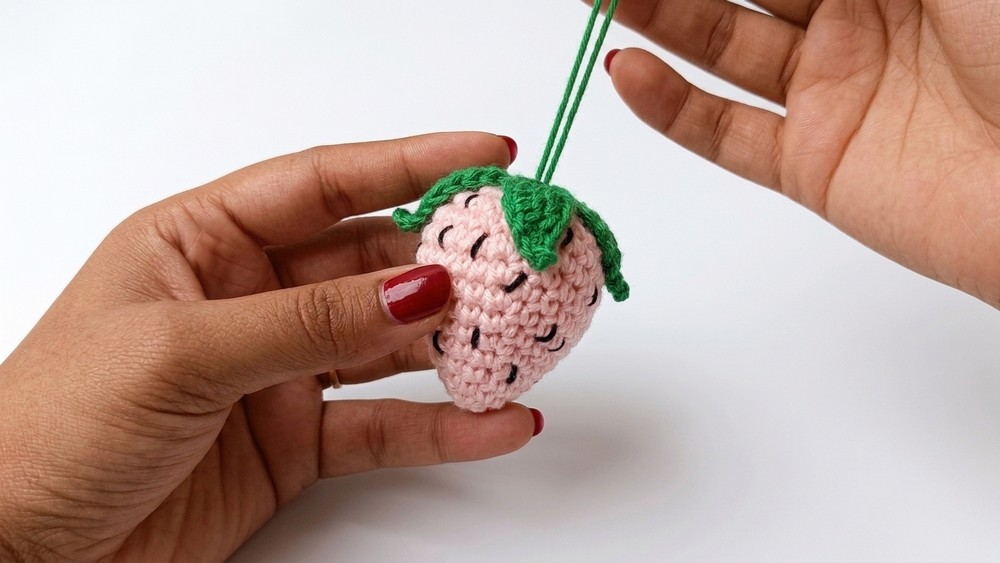
Assembly
- Attaching the Leaf Cap:
- Position the green leaf cap on top of the stuffed strawberry.
- Using a tapestry needle and the long tail from the leaf cap, sew the cap evenly to the top of the strawberry body. Make small, secure stitches.
- Add the Keychain Loop:
- Using the remaining green yarn, create a small loop at the top of the leaf cap. Alternatively, attach a keychain ring or clasp directly to the leaf cap for a finished keychain.
Customization Ideas
- Try using different berry colors such as yellow for a golden strawberry or pink for a whimsical design.
- Instead of white embroidery, use light yellow or add small beads for the dots.
- Add a small face using black embroidery thread or safety eyes for character and personality.
- If using this as a charm for a child's bag, consider firmly securing all parts to ensure durability during frequent use.
Tips for Crocheting
- Tight Stitches: Keep your stitches snug, as this prevents gaps where stuffing might show. Use a smaller hook if necessary.
- Double Check Stitch Counts: Use a stitch marker to mark the beginning of each round and accurately track increases and decreases.
- Avoid Overfilling: While stuffing, make sure the strawberry is firm but not overstretched. Aim for a smooth, rounded shape.
- Secure Ends: Always weave in loose ends securely to ensure the durability of the keychain.
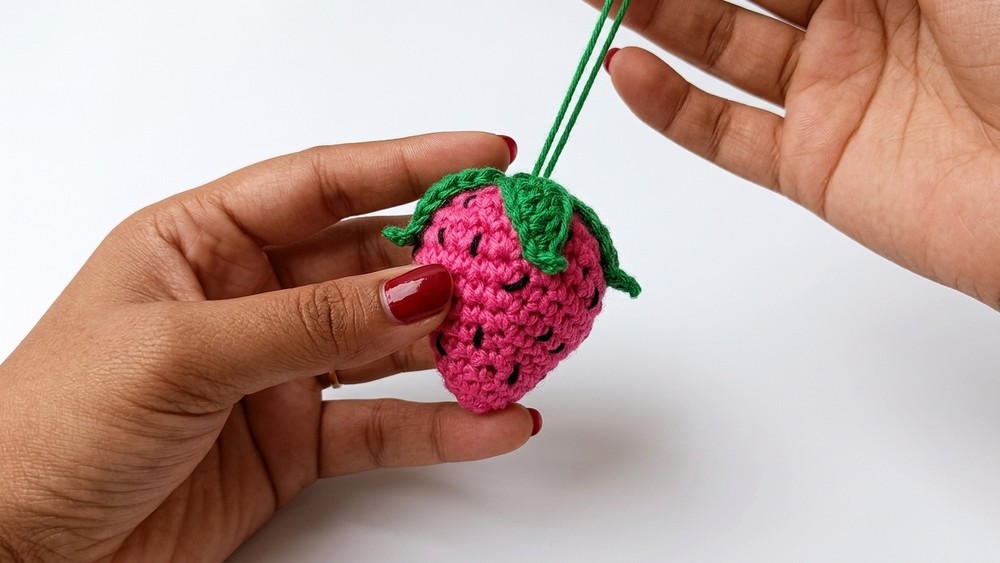
Finishing Touches
Your strawberry keychain is now complete. The red body paired with green leafy accents and delicate white dots makes it a charming and vibrant accessory. Attach it to your bag, purse, or keys, or gift it to someone who loves handmade crochets.
Conclusion and Final Remarks
This crochet strawberry keychain is a delightful and straightforward project that lets you explore various techniques such as magic rings, increases/decreases, and surface embroidery. It's a fantastic choice for creating personalized gifts or charming decorations. With room for customization and creativity, you're likely to enjoy making every single one unique.
Be creative, experiment with colors, and most importantly-have fun crocheting. If you enjoyed this project, consider creating matching keychains with other fruits, like pineapples or cherries, to make charming little collections.