
Cute crochet bag with wooden handle pattern
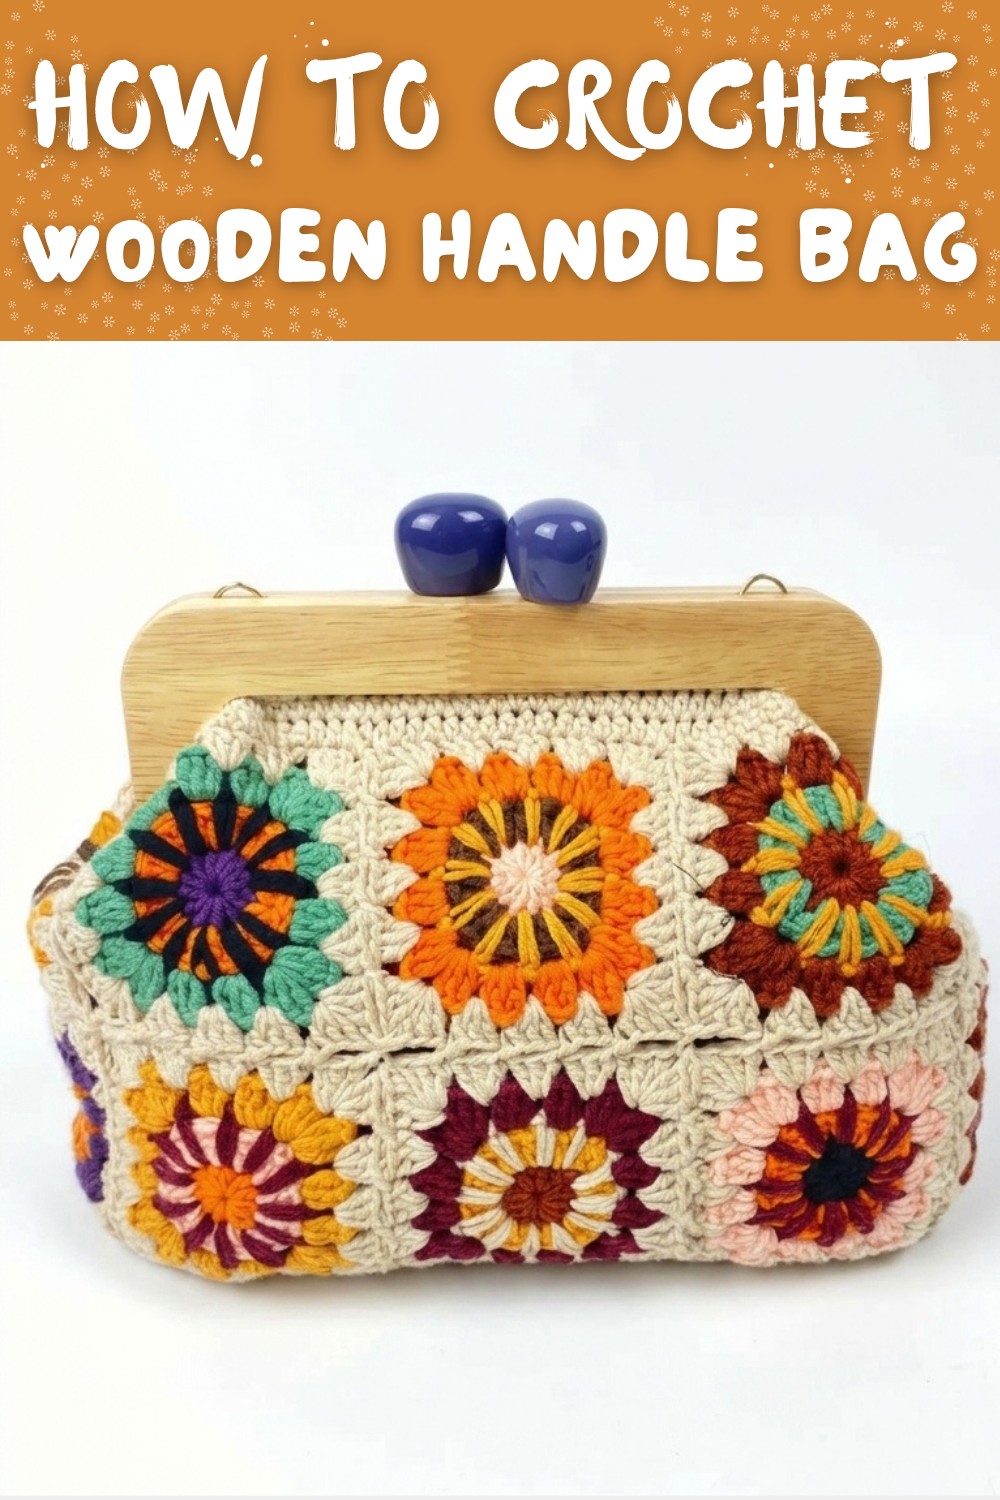
Refine accessory collection with this Free Crochet Wooden Handle Bag Pattern, featuring elegant texture and sturdy charm for stylish outings.
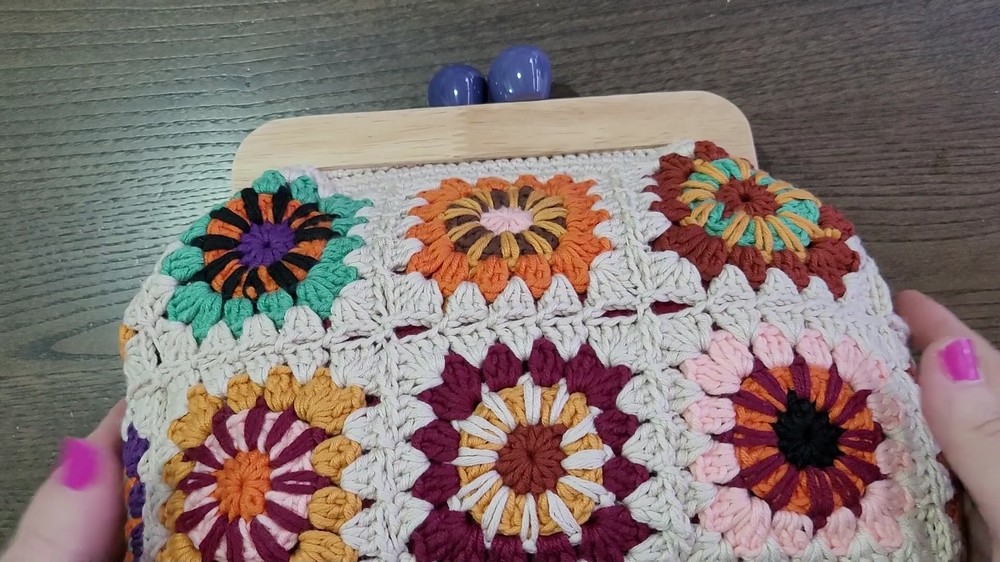
A bag with a natural feel and sturdy look can quickly become a favorite accessory. The blend of smooth wooden handles and crochet yarn offers something both practical and stylish. The crochet wooden handle bag pattern brings this idea to life by guiding you to make a bag that is easy to carry and looks charming. This type of bag works well for taking along everyday items like a phone, wallet, or small notebook. The wooden handles add a strong and comfortable grip, making the bag easy to hold while giving a unique style twist.
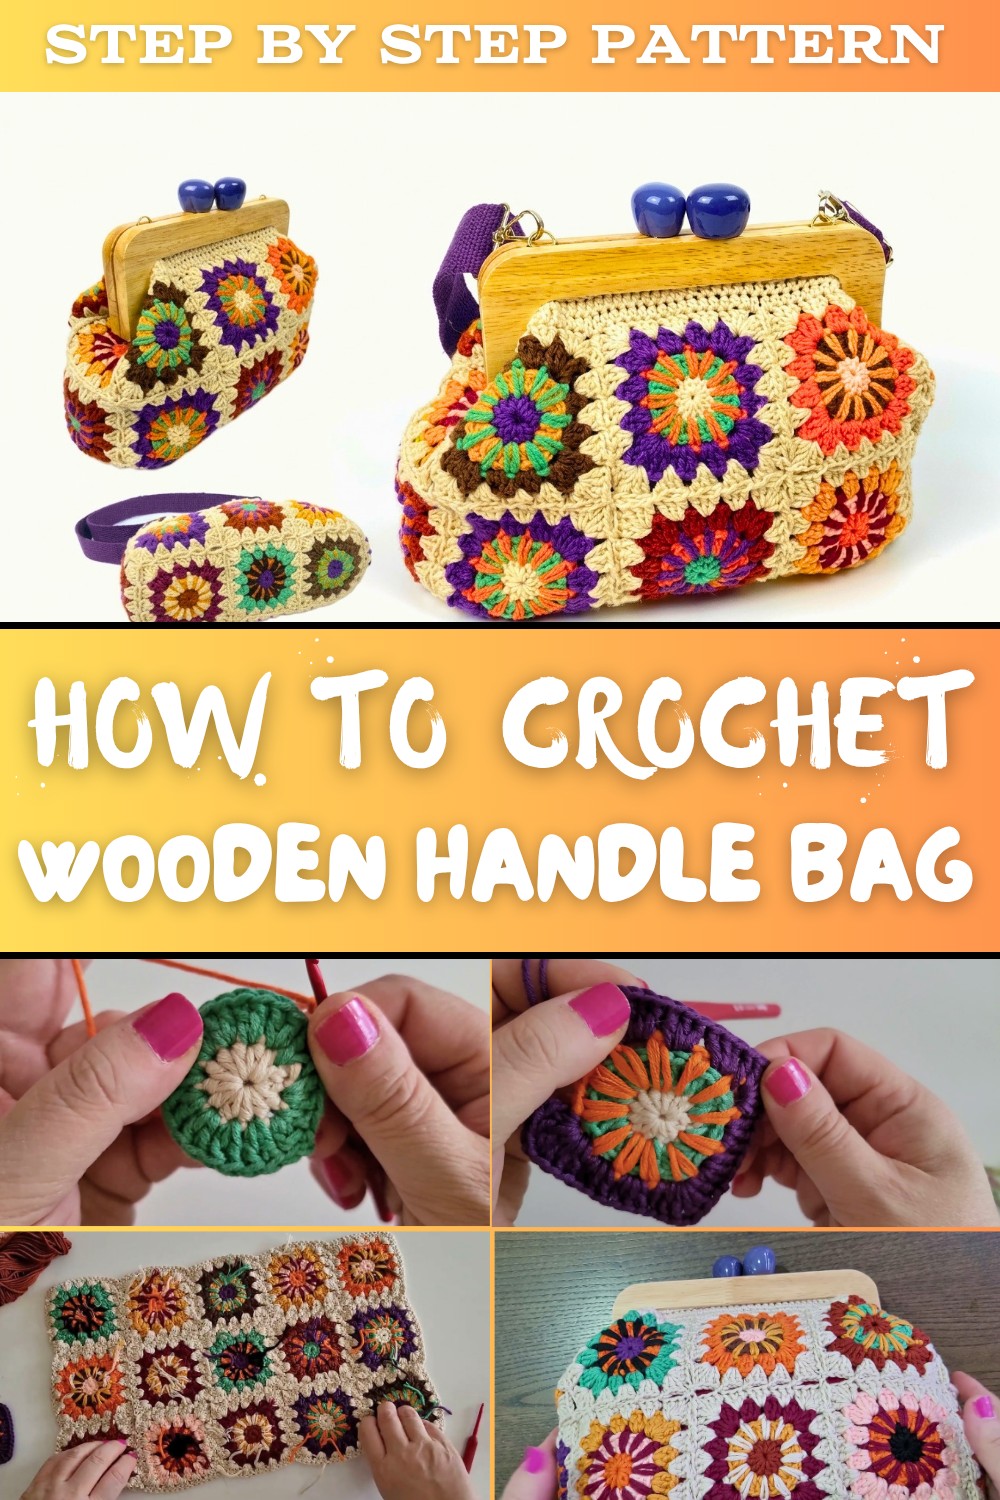
Free Crochet Wooden Handle Bag pattern for daily chic style
Many people new to crochet find this pattern friendly because it uses simple stitches and clear instructions. Choosing colors is part of the fun, allowing you to make a bag that fits your personal taste perfectly. The overall design balances lightness with durability so the bag stays comfortable on your arm without feeling heavy. This accessory pairs well with casual outfits and can also add a touch of warmth to smarter looks. The mixture of natural wood and colorful yarn brings together different textures that catch the eye without being too bold.
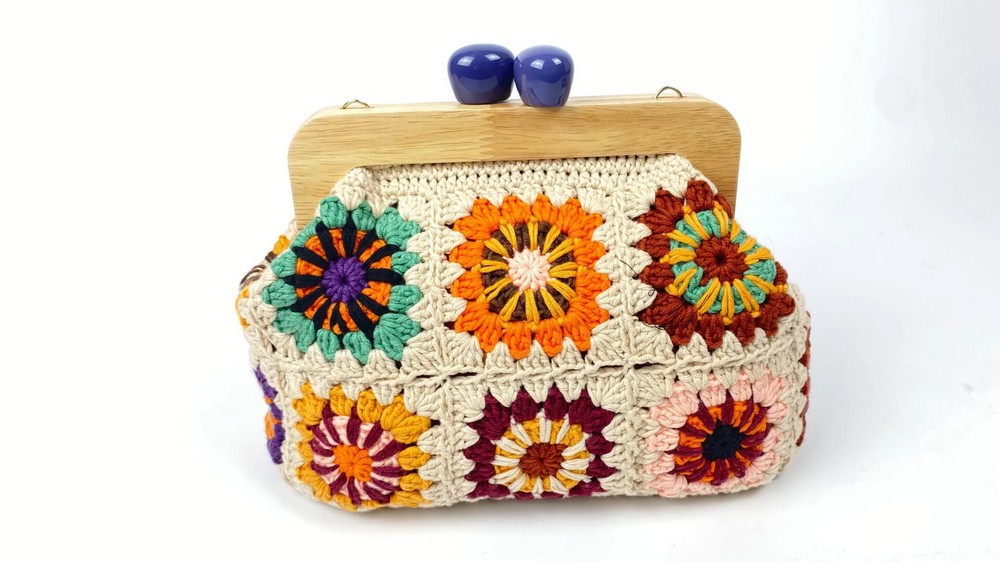
Using a crochet wooden handle bag offers both function and fashion in one neat package. It makes everyday errands or social outings a bit more enjoyable by adding personality to what you carry. This pattern offers an excellent chance to gain new skills while ending up with a useful and attractive item that feels good to use daily.
Colorful Motif Crochet Bag Pattern
Create a charming multi-colored crochet bag featuring square motifs joined together with a neat edge finishing. This beginner-friendly pattern uses simple stitches and stepwise instructions to guide you through making the motifs, assembling the bag, and adding a sturdy edging for longevity. Perfect for creative friends and gift makers!
Getting Ready Before You Crochet
- Select a high-quality, anti-pilling yarn similar to Knit Me's Baby Smile yarn or another soft, durable cotton/acrylic blend suited for bags.
- Choose multiple colors to create vibrant, eye-catching motifs. Prepare at least 5 colors for a multicolor effect or customize according to your taste.
- Use a 3 mm (US C/2) crochet hook or one that matches your yarn's recommended gauge.
- Have stitch markers handy to mark starting points and motif joins.
- Keep scissors, yarn needles, and measuring tape within reach for finishing.
- Maintain a comfortable working environment with good lighting and surface for laying out motifs during assembly.
- Prepare to work in rounds (circles) then join motifs to create the bag shape.
Pattern Overview and Tips
- Bag is constructed from square crochet motifs worked in rounds using a magic ring starting point.
- Motifs are worked in multiple colors with careful color changes between rounds.
- Corners are shaped by adding chain spaces and groups of double crochet stitches to square off motifs.
- Motifs are joined by crochet butting corners and edging stitches.
- Edging around the entire bag top is worked with half double crochet stitches for a smooth, stable finish.
- Yarn carries are hidden during work to keep inside neat and prevent snagging.
- This pattern uses standard US crochet terminology.
- Feel free to adjust size by adding or removing motifs; finished size is flexible.
How the Bag Is Created
- Begin by crocheting individual square motifs from the center out using a magic ring.
- Change colors after certain rounds to create a striped and multicolor effect.
- Shape motifs as squares with corner chains and crochet clusters for sharp angles.
- Join motifs row by row using slip stitches or single crochet, aligning edges carefully.
- Add a border of half double crochet stitches around the top edge to stabilize the bag opening.
- Attach straps or lining as desired (optional, not covered in this pattern).
Skill Level Required
Beginner to Intermediate - basic stitches plus color changes and motif joining experience helpful but guided instructions for all steps included.
Final Dimensions of the Bag
- Width (across front or back panel): about 88.5 cm (35 inches)
- Height (excluding base): approximately 33 cm (13 inches)
- Base thickness (depth): approximately 20 cm (7.9 inches)
Note: Size may vary depending on yarn tension and motif count.
Supplies and Materials Needed
- Fingering or light DK weight yarn in assorted colors (color A, B, C, D, E as preferred)
- Crochet hook size 3 mm (C/2 US) or appropriate for yarn weight
- Yarn needle for weaving ends
- Stitch markers
- Scissors
- Optional: fabric lining and sewing supplies for bag interior
Stitch Gauge and Pattern Density
- Gauge is not critical due to motif assembly but approximate gauge:
- Each motif measures about 11 cm square when worked with 3 mm hook and chosen yarn.
- Motifs maintain consistent stitch spacing for neat joins and square shape.
Common Stitch Abbreviations (US Terms)
- ch = chain
- sl st = slip stitch
- sc = single crochet
- hdc = half double crochet
- dc = double crochet
- MR = magic ring (adjustable ring start)
- st(s) = stitch(es)
Special Techniques Explained
- Magic Ring: Adjustable loop start for work in the round preventing hole in center. Wrap yarn around fingers to make a ring, crochet stitches inside ring, then pull tail to close.
- Motif Join-As-You-Go: Crochet motifs are joined edge to edge using slip stitches or single crochet stitches, forming the bag's panels seamlessly.
- Color Change: Seamlessly switch yarn colors at the end of rounds to create multicolored effects without loose ends.
- Corner Formation: Chain spaces and grouped double crochets are used to create clean corners in motifs for perfect square shape.
Detailed Crochet Instructions
Part 1: Starting the Motif - Magic Ring and First Round
- Using color of your choice, create a Magic Ring (MR).
- Ch 1 or 2 to begin round (counts as first stitch).
- Work 12 half double crochet (hdc) stitches evenly inside the ring.
- Count carefully to ensure exactly 12 hdc around.
- Pull the tail to close the ring tightly. Join with slip stitch to first hdc. Mark this stitch as round start.
In simple terms: This step creates a small circle that forms the core of your square motif and sets the foundation for building out the pattern.
Part 2: Second Round - Increasing and Color Change
- Attach new color yarn (or stay same if preferred).
- Work 2 double crochet (dc) stitches in each stitch from previous round. (Total 24 dc)
- Join with slip stitch to top of first dc.
- Hide yarn tails by weaving under stitches while crocheting next round.
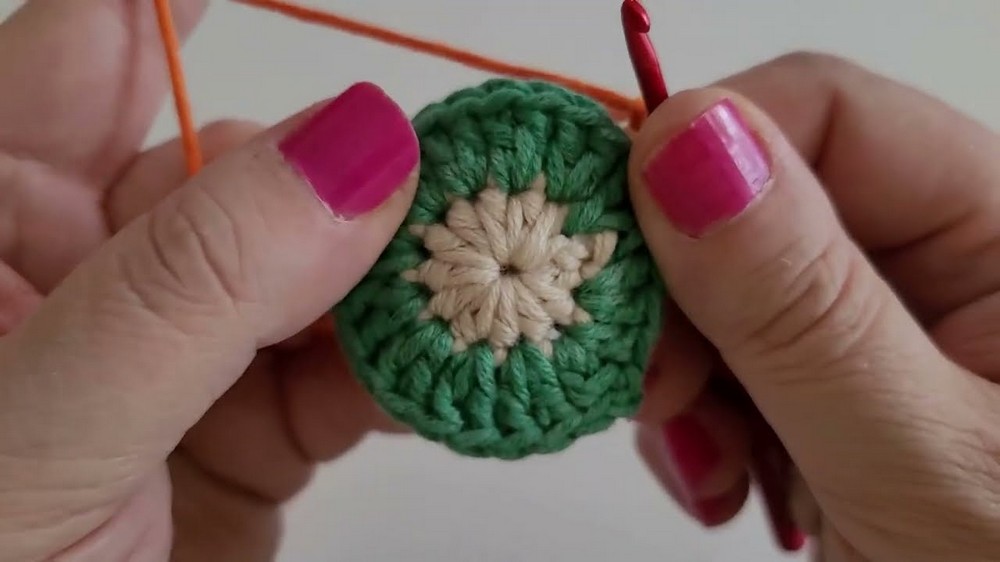
Beginners: Each stitch is doubled to increase the motif size and prepare for shaping the square.
Part 3: Third Round - Creating the Square Corners
- Attach next color yarn if changing.
- To form corners:
- Work 3 dc in next stitch (corner cluster).
- Chain 3 (corner space).
- Work 3 dc in same stitch (corner cluster).
- Skip to next empty space, work 3 dc clusters separated by single chains along edges.
- Repeat corner formation 4 times, once for each square corner.
- You will have 4 corner spaces with chain 3 loops forming the square shape.
- Join with slip stitch to first dc in round.
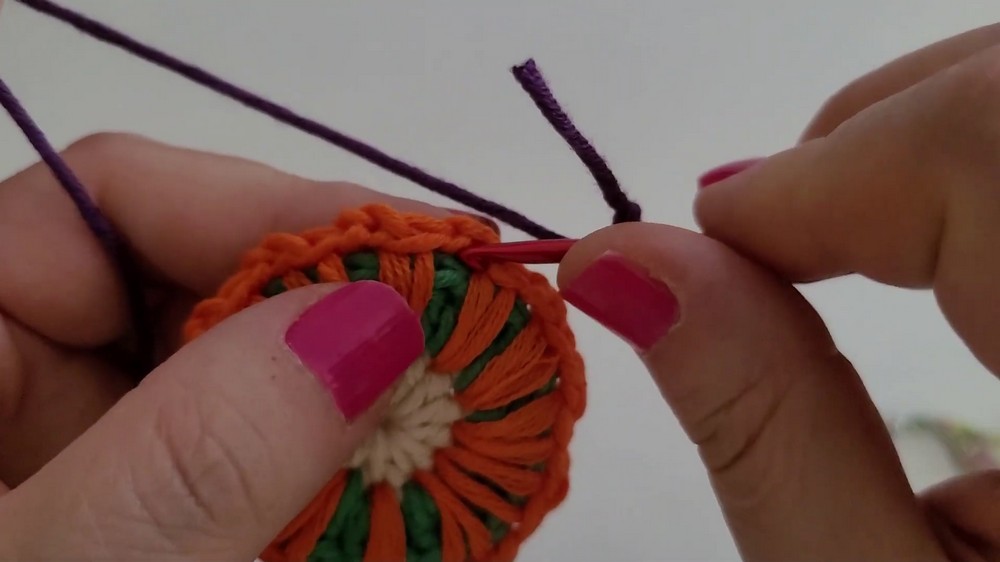
Explanation: This round shapes your motif into a square by making "corners" with chain spaces so the motif lays flat and joins easily.
Part 4: Fourth Round - Filling Edges and Finishing Motif
- Continue working rows of 3 dc clusters separated by single chains along straight edges.
- Reinforce corners with chain 3 spaces and 3 dc clusters.
- Ensure total number of dc clusters per side is consistent for neat join.
- Join round with slip stitch. Fasten off yarn, weave ends.
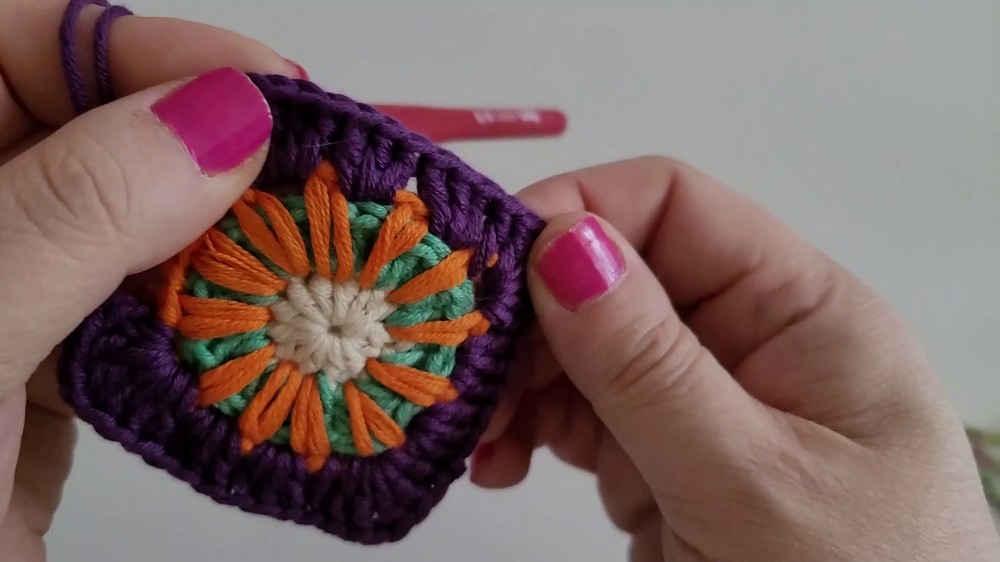
Tip for clarity: This last round completes the motif's square shape and prepares them to be joined side by side.
Part 5: Joining Motifs - Assemble Front and Back Panels
- Arrange motifs in rows and columns: for example, 3 motifs across for front panel.
- Join motifs by crocheting through loops on adjoining edges using slip stitch or single crochet in matching yarn color.
- Work along each edge, joining corners and edges carefully to keep motif pattern aligned.
- Repeat to assemble front, back, base, and sides as desired for bag dimension.
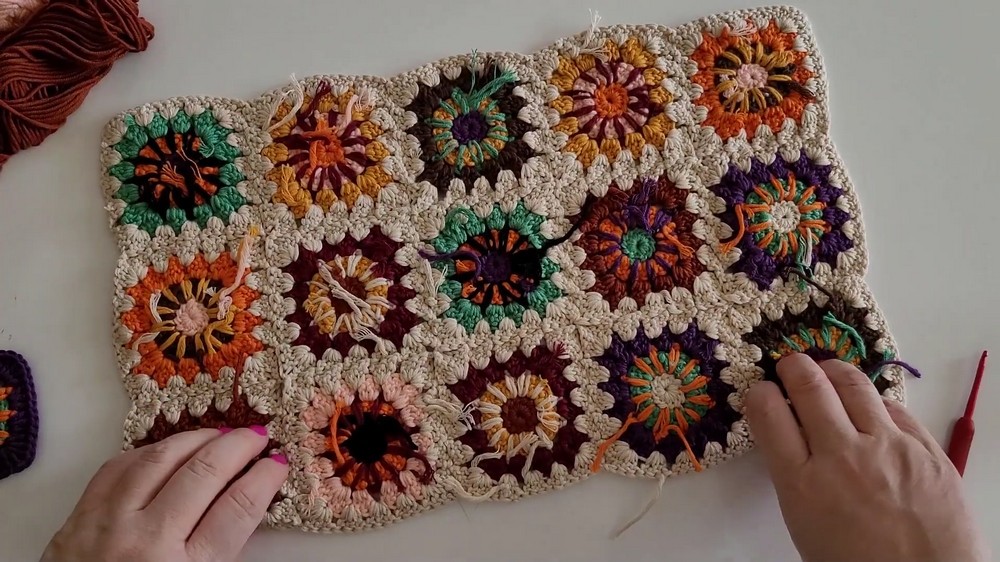
Simple join explanation: Think of it as stitching two squares together edge-to-edge by crocheting in the spaces between the stitches.
Part 6: Edging the Bag's Top Opening
- Attach yarn at one corner of the bag opening.
- Work a round of half double crochet (hdc) stitches evenly around entire top edge.
- Add chain 1 spaces in corners for smooth turning.
- Repeat 3 rows of hdc for sturdy edging.
- Finish last row with slip stitch, fasten off and weave ends.
For beginners: This edging is a simple way to create a neat finish on the bag top and reinforce the opening's shape.
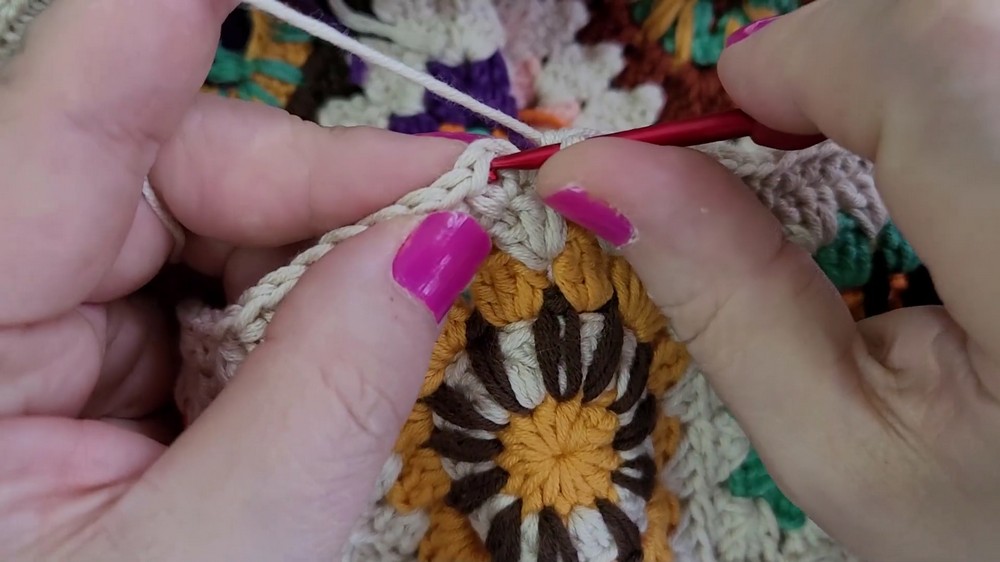
Explaining Key Steps in Simple Language
- Motifs start as small circles made with a special "magic ring" to avoid holes in the center.
- Each round adds stitches to increase size and form a perfect square using groups and chain spaces.
- Multiple motifs in different colors make the bag vibrant and unique.
- Join the little squares together by crocheting along edges, like sewing but with your hook and yarn.
- The bag's opening is finished with easy rows of half double crochet for strength and beauty.
Final Assembly and Care Instructions
- Weave in all loose ends securely using a yarn needle for a tidy look.
- When joining motifs, keep edges flat and tension even to maintain shape.
- You may add a fabric lining for extra durability (optional).
- Lightly block bag to shape if needed by dampening and pinning flat.
- Attach straps or handles as preferred using extra yarn or sewing.
- Handle your bag gently and wash by hand or gentle cycle to preserve color and structure.
Troubleshooting Common Issues
- Motifs curl or don't lie flat: Check tension - stitches too tight cause curling. Use proper hook size and loosen tension.
- Edges look uneven: Count stitches carefully in corner chains and ensure groups of three dc stitches are consistent.
- Joining gaps: Match motifs carefully edge to edge and crochet tightly but not too tight when joining.
- Color changes create loose ends: Weave ends securely and hide yarn tails during work to reduce unraveling.
Other Ideas Using This Motif Technique
- Make coasters or placemats with these square motifs.
- Create a colorful throw blanket by joining many motifs.
- Design a scarf or stole with single rows of joined motifs.
- Craft cushion covers matching your home décor.
- Use motif squares for decorative wall hangings or banners.