
Cute Free Crochet Bear Coaster Pattern Add Warmth to Your Table
Create charm with this Free Crochet Bear Coaster Pattern that's a cute piece that adds warmth to tables while keeping surfaces neat.
One morning, while setting a cup of tea on the table, it felt like something small was missing to protect the surface and add a bit of charm. That's where the Free Crochet Bear Coaster pattern becomes a lovely idea that mixes use and style in one piece. This coaster looks like a cute little bear, with soft yarn texture and simple details that make it eye-catching and fun.
Easy Free Crochet Bear Coaster Pattern for Gift Lovers

It keeps tables safe from heat and stains while adding a warm, cozy touch to the space. Its gentle shape and friendly look fit nicely in kitchens, living rooms, or even as a small gift. The soft material feels nice to touch and brings comfort to everyday use. This simple idea turns an ordinary moment into something more pleasant, giving both beauty and purpose in a way that feels easy, useful, and enjoyable every single day.

Crochet Bear Coaster (Beginner-Friendly)
Skill Level
Beginner - Basic stitches like single crochet, double crochet, and triple crochet are explained in detail, making it easy to follow even for those just starting out.
Gauge
Gauge is not critical for this project. Choose yarn and hook sizes that feel comfortable for you, and ensure the tension creates a fabric that lies flat.
Finished Size
Using 8-ply yarn with a 3.5 mm crochet hook, the coaster will measure approximately 4-5 inches in diameter, excluding the ears.
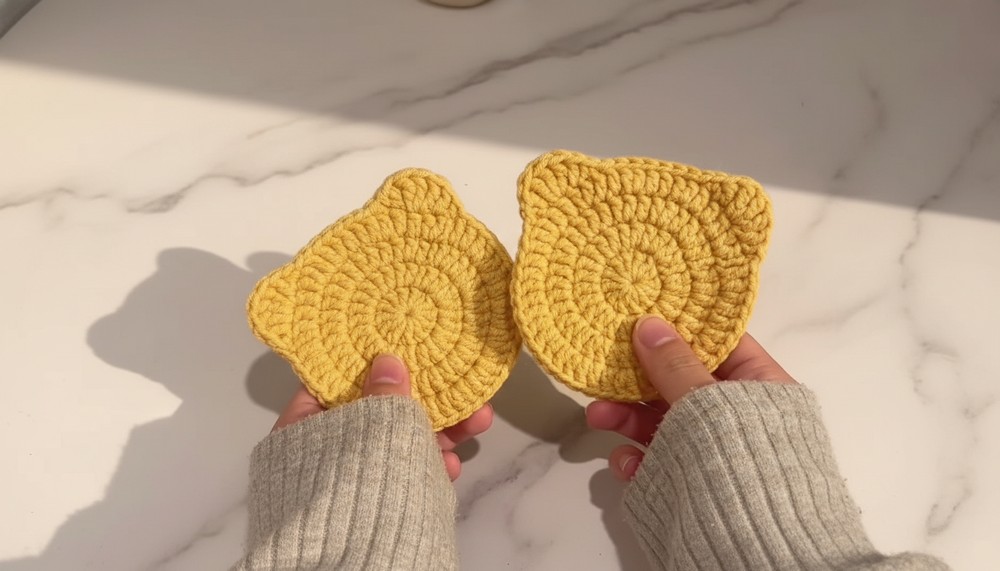
Materials Needed
- Yarn:
- 8-ply yarn in your desired color.
- Optional: Use contrasting yarn for embellishing facial features if desired.
- Hook Size: 3.5 mm or corresponding to your yarn weight.
- Stitch Marker: Helps to mark the first stitch of each round.
- Tapestry Needle: For weaving in ends.
- Scissors: For cutting yarn.
Special Techniques
Magic Ring (Magic Circle):
Used to start a project in the round with a tight center. Full instructions are included in the first steps.
Simple Increases:
Placing two stitches in the same stitch to widen the circle.
Various Stitches:
The pattern uses single crochet (sc), double crochet (dc), and triple crochet (tr), with detailed explanations provided.
Pattern Instructions
Part 1: Circle (Coaster Base)
Round 1:
- Start with a magic ring (instructions below):
- Wrap the yarn around two fingers to create a loop.
- Insert the hook into the loop, grab the working yarn, pull through, and twist the hook clockwise.
- Yarn over, pull through the loop, and adjust to form the magic ring.
- Work 12 double crochet (dc) into the magic ring.
- Loop the working yarn around the hook (yarn over).
- Insert the hook into the magic ring and pull up a loop (3 loops on hook).
- Yarn over, pull through 2 loops (2 loops remain on hook), yarn over again, pull through the last 2 loops.
- Repeat this 12 times into the magic ring, ensuring the tail of the ring is caught under the stitches.
- Pull the tail of the magic ring tightly to close the center.
- Join with a slip stitch to the first stitch of the round to close the circle.

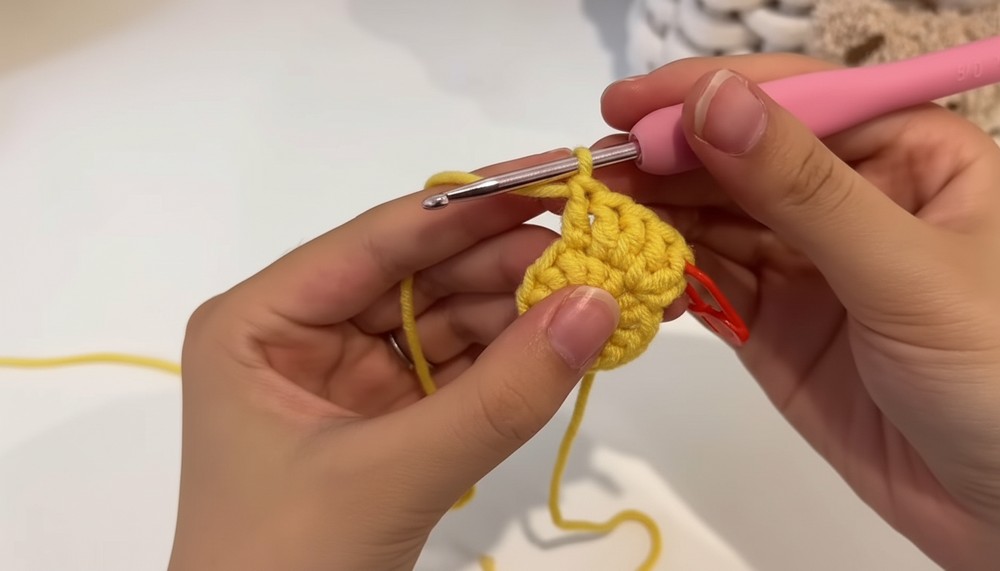
Stitch count: 12 stitches
Round 2:
- Chain 2 (counts as the first dc).
- Starting from the first stitch of the previous round, work 2 dc in each stitch around.
- This is called an increase (2 stitches in the same stitch).
- Join with a slip stitch to the first stitch to close the round.

Stitch count: 24 stitches
Round 3:
- Chain 2 (counts as the first dc).
- Work the following pattern around:
- 1 dc in the first stitch, 2 dc in the next stitch (increase).
- Repeat this sequence until the end of the round.
- Join with a slip stitch to the first stitch to close the round.

Stitch count: 36 stitches
Round 4:
- Chain 2 (counts as the first dc).
- Work the following pattern around:
- 1 dc in each of the next 2 stitches, 2 dc in the next stitch (increase).
- Repeat this sequence until the end of the round.
- Join with a slip stitch to the first stitch to close the round.

Stitch count: 48 stitches
At this point, you should have a flat, circular base that forms the coaster. Continue to Part 2 for the ears.
Part 2: Bear Ears
Making the Ears
The following steps create the bear's ears and give the coaster its unique charm.
First Ear:
- In the next stitch, work a single crochet (sc):
- Insert hook into the stitch, yarn over, pull up a loop (2 loops on hook).
- Yarn over and pull through both loops.
- In the next stitch, work a double crochet (dc):
- Yarn over, insert hook into the stitch, yarn over, pull up a loop (3 loops on hook).
- Yarn over, pull through 2 loops, yarn over, pull through the remaining 2 loops.
- In the next stitch, work three triple crochet (tr):
- Yarn over twice, insert hook into the stitch, yarn over, pull up a loop (4 loops on hook).
- Yarn over, pull through 2 loops, yarn over, pull through 2 loops, yarn over, pull through the last 2 loops.
- Repeat this process two more times in the same stitch.
- In the next stitch, work a double crochet (dc).
- In the next stitch, work a single crochet (sc) to complete the ear.

Transfer to the Next Ear Position:
- Slip stitch into the next 8 stitches of the base circle. This step helps you "jump" to the position for the second ear.
Second Ear:
- Repeat the exact steps from the first ear:
- 1 sc, 1 dc, 3 tr in the same stitch, 1 dc, 1 sc.

Part 3: Finishing Touches
- Slip stitch into the next stitch after completing the second ear.
- Fasten off by cutting the yarn and pulling it through the last loop.
- Weave in all loose ends using a tapestry needle.

Tips for Success
- Adjusting Yarn Weight: Experiment with different weights of yarn for slightly larger or smaller coasters.
- Customization: Add facial features using embroidery or felt to create an even cuter bear coaster.
Conclusion
Congratulations on completing your bear coaster! This beginner-friendly project introduces fundamental crochet techniques while allowing room for creativity and customization. Use it as a functional coaster, a decorative item, or even a cute gift for friends and family.