
Easy Crochet Bow Pouch Pattern with Endless Uses
Turn a simple pouch into something special with this free crochet bow pouch pattern that looks adorable wherever you take it.
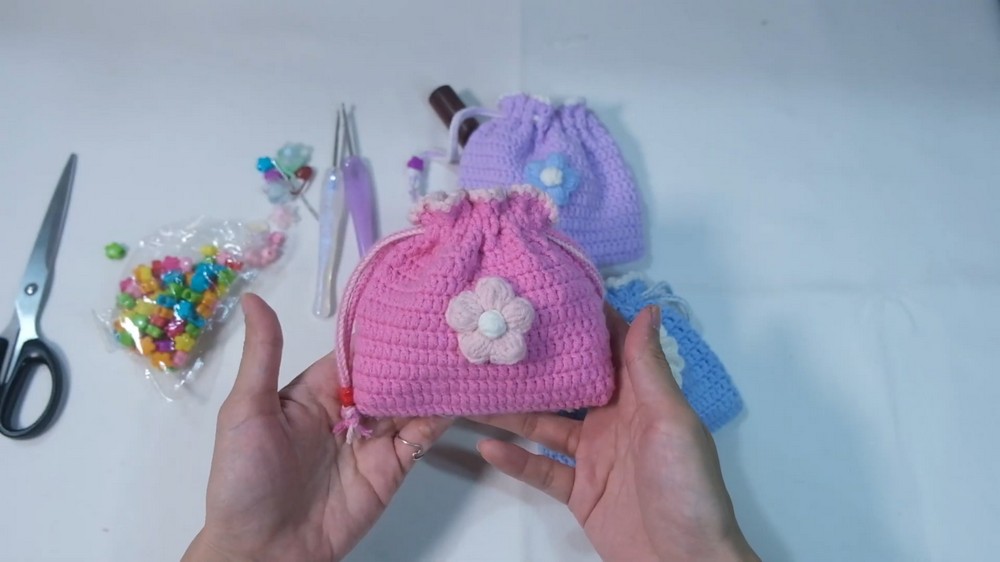
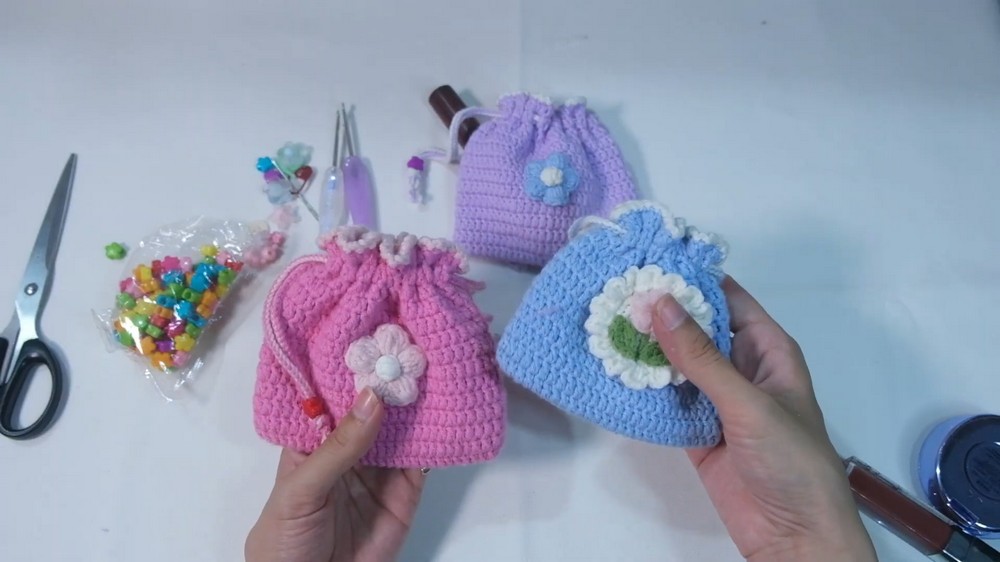
Wow, Just think about having a super cute and handy pouch that you can use every day. The Bow Pouch is not only adorable but also incredibly versatile. This little bag is a perfect mix of style and functionality. Despite its small size, it can hold so many items, From makeup essentials like lipsticks and compact powders to little trinkets like earrings and keys-it works like magic to keep your things organized. The drawstring design makes it easy to open and close, while its compact shape ensures it keeps everything safe and tidy.
Crochet Bow Pouch Free Pattern Perfect for Small Essentials

What makes this pouch truly unique is how easy and quick it is to make. You can try combining colors to make it more vibrant or pair it with decorative charms or handmade flowers to add a lovely personal touch. The unique design means you can effortlessly customize the pouch to your style, whether you prefer soft pastels or bold, bright hues.
One of the best details is the pretty flower accents that you can add to the pouch. These 5 petal crochet flowers enhance its cuteness and turn it into a piece of art you'd love to carry around or gift to others. Plus, the pouch looks neat and feels smooth, thanks to the beautifully crocheted edges and seamless finish. This mini masterpiece is not just a bag-it's an expression of creativity and love. So ready to create your own fantastic little drawstring pouch today. You'll fall in love with its charm and practical design every time you use it.
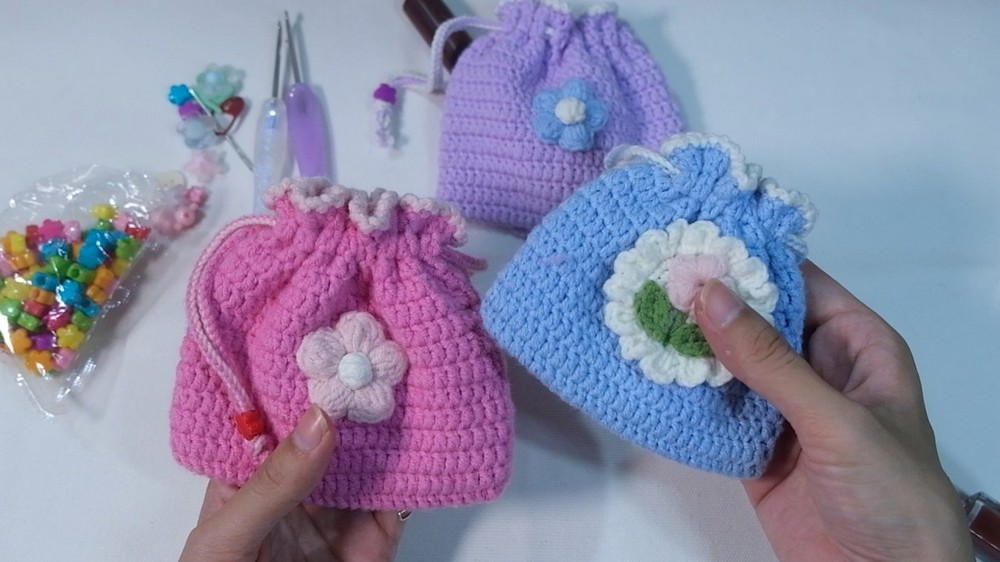
Crochet Bow Pouch Pattern
Finished Size
- Approximately 10 cm in diameter and 12 cm in height, ideal for small items like makeup, stationery, or accessories.
Necessary Materials
- Yarn:
- Main body: Cotton yarn (50g, 4 ply).
- Suggested colors: Lavender (main), white (accent).
- Decorative elements: Scrap yarn (assorted colors for flowers and drawstring).
- Main body: Cotton yarn (50g, 4 ply).
- Crochet Hooks:
- Size 3.0 mm (for the main body).
- Size 2.8 mm or 2.5 mm (optional - for tighter stitches, used for the cord and flowers).
- Other Tools:
- Yarn needle (for sewing edges and hiding loose ends).
- Scissors.
- Stitch markers (for marking certain rows or starting points).
- Optional: jewelry charms for embellishments.
- Gauge:
- 10 m x 4 rows = 4 x 4 cm (with 3.0 mm hook, using double crochet stitches).
Pattern Instructions
1. Creating the Body of the Bag
The body is worked in rounds.
1.Step 1: Foundation Row
- With the main color yarn (e.g., lavender), create a slip knot and tie it snugly around the crochet hook.
- Crochet 31 chains using the 3.0 mm hook.
2.Step 2: First Row
- Skip the first 2 chains and work into the 3rd chain.
- Crochet 28 double crochet (dc) stitches-one stitch into each chain.
- At the last stitch of the row, work 3 double crochet (dc) stitches into the same chain space (this turns the corner).
- Continue along the other side of the chain, placing 27 double crochets (dc) in each chain.
- For the final chain, crochet 2 double crochets (dc) into the same space.
- Join with a slip stitch into the first stitch of the row.


3.Step 3: Subsequent Rows
- Row 2: Start with 2 chain stitches, then complete the round with 60 double crochets (dc).
- Mark the first stitch with a stitch marker at the beginning of each row.
- Continue for 14 rows, repeating the same pattern (i.e., 60 dc per round).
2. Adding the Decorative Border
The border adds elegance and texture using single crochet and slip stitches.
Step 1: Change Color
- Switch to your accent color (e.g., white).
- Insert the hook into the first stitch of the final round of the body.
Step 2: Border
- Crochet 1 chain stitch to secure the new yarn color.
- Work 1 slip stitch and 1 chain stitch alternately into each stitch around the entire circumference of the final row.
- Complete the round with a slip stitch, securing the edge tightly.
- Weave in the loose threads using the yarn needle.

3. Creating the Drawstring
This section combines two colors for an eye catching design.
1.Step 1: Preparation
- Use the accent color (e.g., white) and main color (e.g., lavender). Cut long strands of both yarns.
- Switch to the 2.8 mm hook.
2.Step 2: Braided/Interlocked Stitch
- Hold both yarn strands together and make a slip knot.
- Separate the yarns and proceed with a braided crochet stitch:
- Yarn over white, pull through lavender (repeat until length is achieved).
- Crochet until the cord measures three times the width of the bag opening.
- Cut the yarn and secure the ends by knotting.
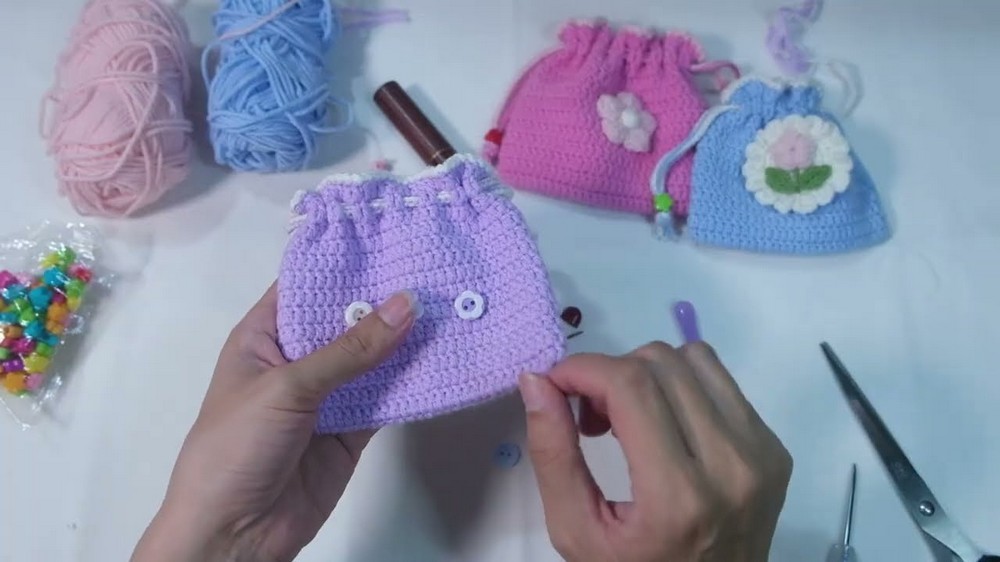
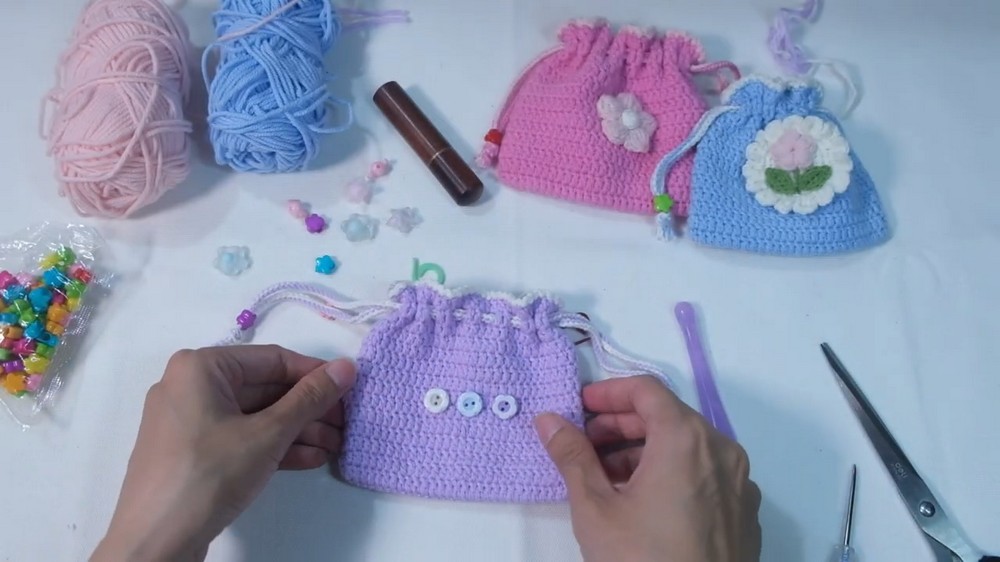
3.Step 3: Assembly
- Use the yarn needle to weave the drawstring through the top border of the bag. Start from round two of the border, skipping two stitches per insertion.
- Once all the way around, tie the ends securely and keep the drawstring functional.
4. Designing and Attaching Decorative Flowers
Flowers are optional but add charm to your project.
1.Step 1: Creating the Flower
- Use scrap yarn (color of choice).
- Start with a magic ring (see special techniques below).
- Crochet 10 single crochet (sc) into the ring. Pull the ring tight, forming a small circle.
- Creating Petals:
- Chain 3.
- In the first stitch, work 2 double crochet (dc) stitches.
- Continue adding another 3 dc stitches to the next stitch.
- Add 1 dc into the following stitch.
- Yarn over, pull through all loops (creating one petal).
- Repeat for 5 petals.
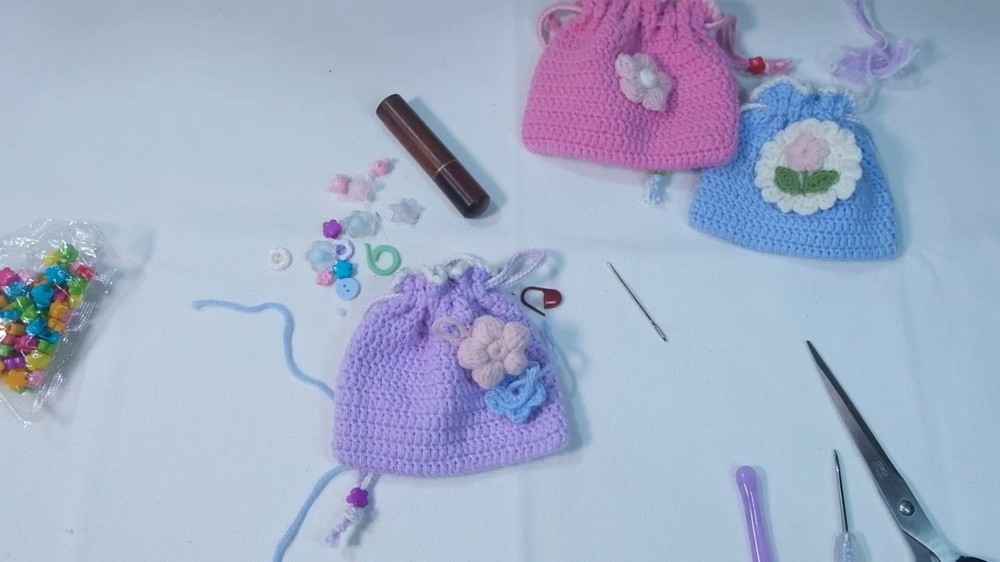
2.Step 2: Forming the Center
- Use contrasting yarn for the flower center.
- Crochet a mini round as the center:
- Magic ring → 1 chain → 3 single crochets (sc) into the ring.
3.Step 3: Assembly
- Use fabric glue or sew with the yarn needle to attach flowers to the bag body. Position symmetrically for a balanced look.
Special Techniques
Magic Ring
- Wrap the yarn around your finger, creating a loop.
- Insert the hook into the loop and pull through.
- Crochet as instructed within the ring, adjusting the loop size by tugging the tail.
Slip Stitch
Used for edges and decorative borders. Insert the hook into the designated stitch, yarn over, and pull directly through both loops.
Tips and Customization Ideas
- Sizing: Adjust the number of rows for a taller bag or the initial chain count for a wider bag.
- Color Blocking: Use contrasting colors for stripes or alternate rows for a cheery look.
- Embellishments: Experiment with buttons, beads, or charms.
- Gift Wrapping: Create miniature drawstring bags as eco friendly gift wrappers.
Conclusion
The mini drawstring bag project combines functionality and creativity, offering a practical yet personal crocheting experience. The pattern emphasizes easy to follow instructions, making it perfect for first timers or seasoned crocheters looking for a quick, gratifying project. Its charm lies in the decorative choices, allowing customization to suit any aesthetic preference.

Important Remarks
- Ensure your stitches remain consistent for a clean outlook. Loose ends should be secured tightly, and weaving ensures durability.
- Experiment with different yarn thicknesses or crochet hooks for a varied texture.
Final Look
Once completed, the bag sports a whimsical look with its pastel colors, neat finishing, and charming flower details. It is ideal for storing little treasures or gifting someone a handmade delight.