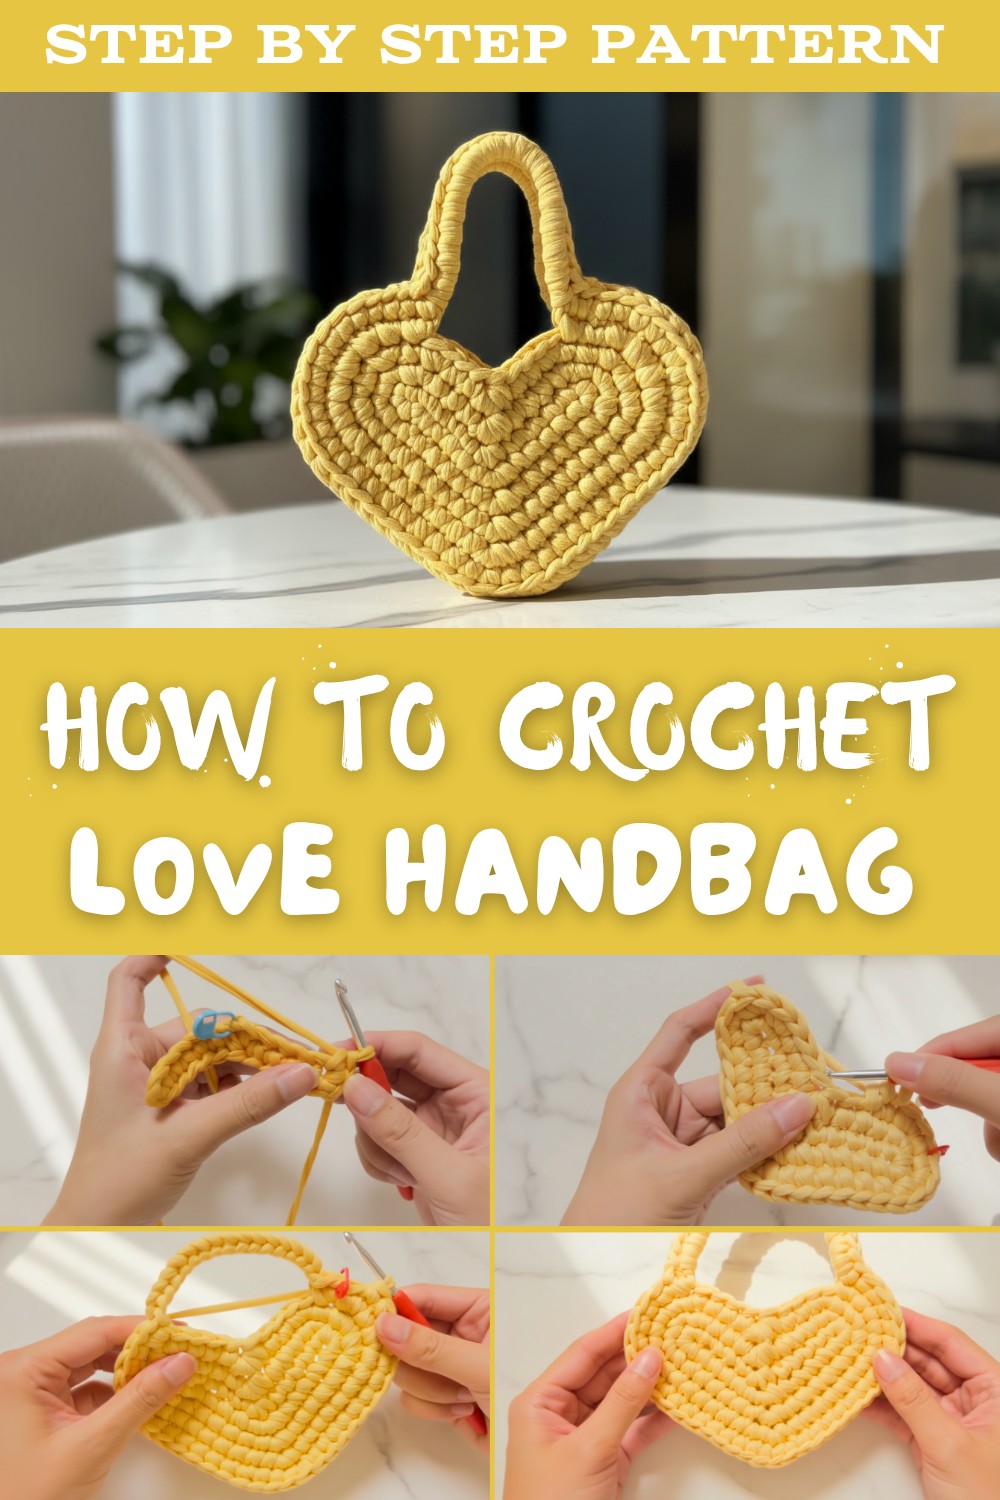
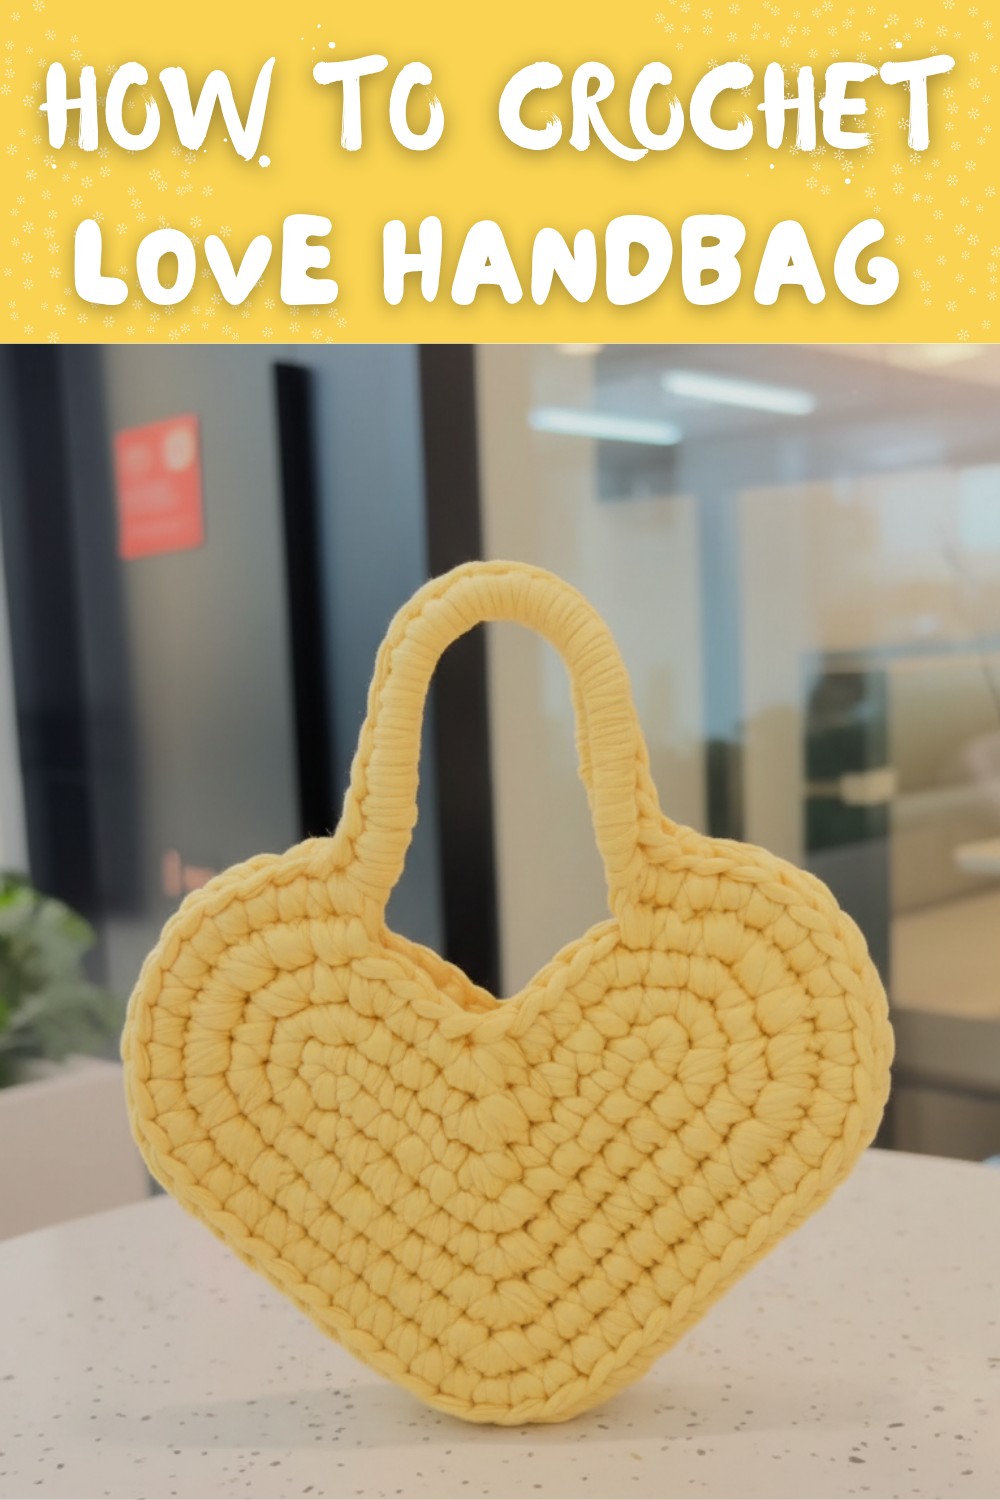
How to Crochet Love Handbag Free Pattern with a Heart Shape
Use this Free Crochet Love Handbag Pattern to crochet a soft, heart-shaped bag with easy steps, perfect for carrying small essentials in style.
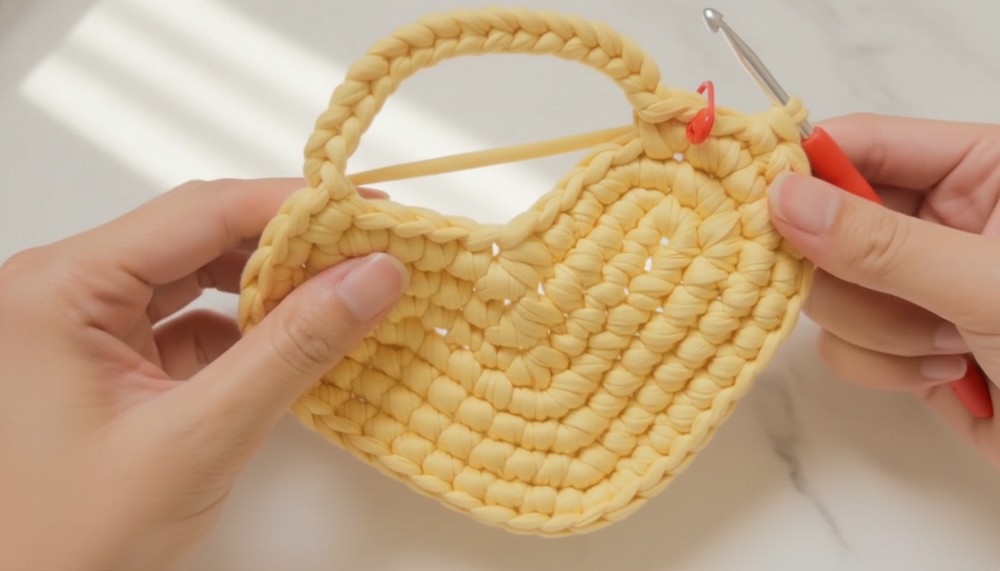
This sweet little handbag looks like a soft heart that you can hold in your hand or wear across your body. In this Free Crochet Love Handbag pattern, the bag is made step by step with simple short stitches, starting from a small heart base that slowly grows round by round. The teacher in the video shows how to use one or two strands of yarn and explains which hook size to use, like 4.5 mm for single thread and 6.5 mm for double thread, so the learner can follow easily.
Free Crochet Love Handbag Pattern in Just a Few Steps
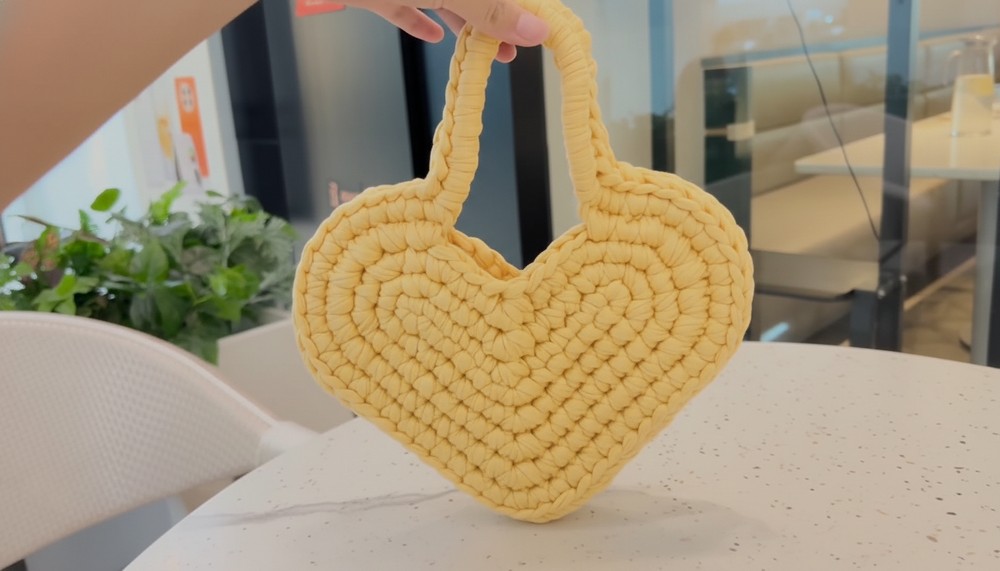
The heart shape has a pointed bottom and a pretty curved top, giving the bag a cute and romantic look that is perfect for dates, walks, or small gifts. A simple handle is created with chain stitches and then filled with single crochets, making it strong enough to use as a crossbody strap or a small hand strap.
The bag is small but useful, just right for keys, a phone, or a little money. In the end, two heart pieces are joined together, forming one lovely, neat handbag that looks beautiful, handmade, and full of love.
Crochet Pattern: Love Handbag
Finished Size
Approximately 6-8 inches wide and 6-7 inches tall when crocheted with double strands and a 6.5mm hook. If crocheted with a single strand and 4.5mm hook, the size will be smaller.
Materials
- Yarn:
- Cloth and wire yarn, sufficient for two love-shaped panels.
- For sturdier bags, use thicker yarn or double-stranded yarn.
- Hooks:
- 4.5 mm for single-strand crochet.
- 6.5 mm for double-strand crochet.
- Other Supplies:
- Stitch markers (to mark critical points and avoid losing count).
- Scissors for cutting yarn.
- Tapestry needle for weaving in ends and sewing the pieces together.
Skill Level
Intermediate. This project requires familiarity with single crochet, spiral rounds, slip stitches, and stitch increases.
Key Abbreviations (US Terminology)
| Abbreviation | Meaning |
|---|---|
| CH | Chain |
| SC | Single Crochet |
| SL ST | Slip Stitch |
| ST(s) | Stitch(es) |
| INC | Increase (2 stitches in the same stitch) |
| Marker | Stitch marker used for tracking key positions |
Special Techniques
- Spiral Crochet:
- This project uses spiral rounds, where stitches are worked continuously without joining rounds.
- Symmetry for Love Shape:
- Mark the turning points carefully; the left and right curves of the heart must be balanced.
Step-by-Step Instructions
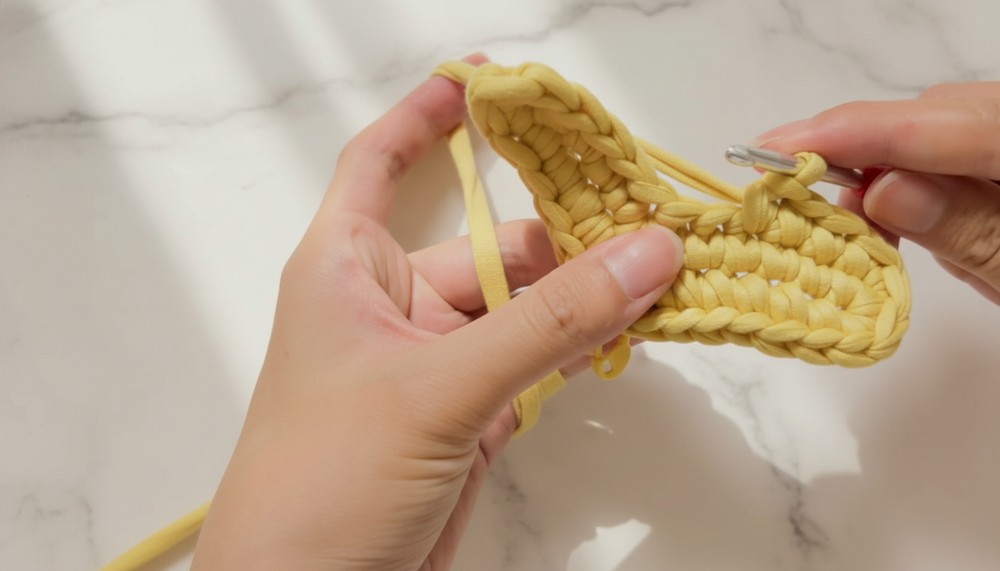
Step 1: Start with a Chain Foundation
- Make a slip knot and place it on your hook.
- Crochet 13 CH stitches.
- Marking:
- Place a stitch marker in the 7th ST to mark the center point of the chain.

Step 2: Round 1 (Base of the Heart)
- SC Across:
- Work 5 SC starting from the 2nd CH from the hook.
- Crochet the Curve:
- At the 6th CH, work 3 SC into the same stitch (increase).
- SC Back Across:
- Continue working 5 SC into the following CHs.
- Sharp Corner (Heart's Point):
- At the marked 7th stitch, work 3 SC into the same stitch (this creates the pointed bottom of the heart).
- Place a marker in the central SC of the 3 SC increase you just made.
- Finish the Round:
- Work 5 SC down the opposite side.
- At the final CH, work 3 SC into the same stitch (the symmetrical right curve of the heart).
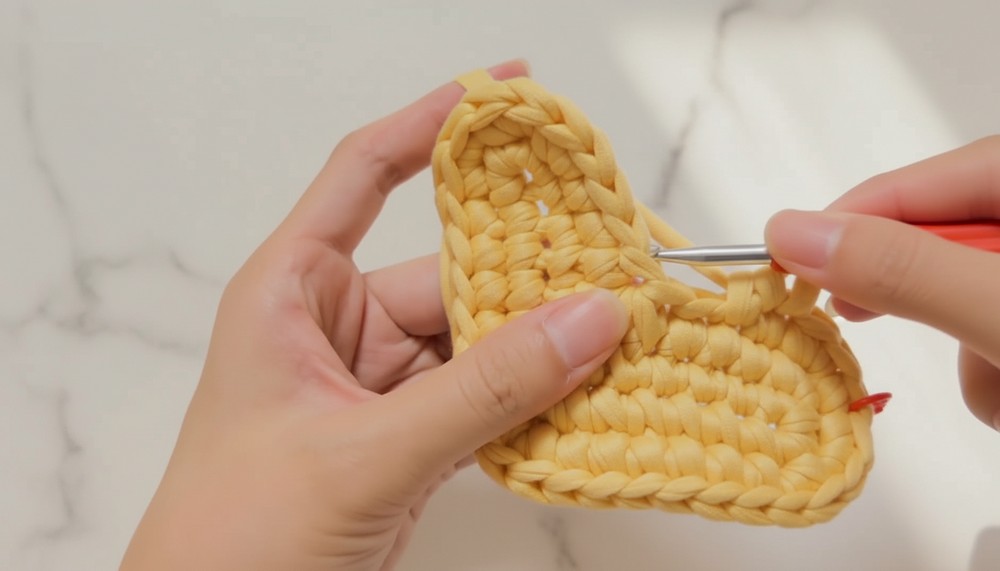
Step 3: Continue the Spiral (Rounds 2-4)
- Round 2:
- Begin with 2 SC in the first stitch (increase). Place a stitch marker in the first SC of the round.
- Work 3 SC, then 3 SC in the same stitch for the corner curve.
- Continue along the side with 3 SC. At the curve inflection point, work 3 SC into the same ST.
- Work 6 SC across the top side, then 3 SC in the marked ST.
- Finish with 6 SC.
- Round 3:
- Work [1 SC, 1 INC] in every repeating section along the round.
- The pointed sections (curve inflection points) must have 3 SC in one ST for symmetry.
- Round 4:
- Work at the handle placement:
- Skip 9 STs in the middle of the round to form the gap (handle space).
- Crochet 18 CH and anchor it to the opposite side with SC.
- Work at the handle placement:
Step 4: Handle Section
- In the large gap formed by the 18 CH, work 18 SC evenly into the loop space.
- Adjust the number of SC stitches as needed to fill the gap completely and evenly.
Step 5: Back Panel
- Crochet a second identical heart panel following Steps 1-4. Ensure all stitch counts match to create symmetrical panels.
Step 6: Joining the Panels
- Place the two panels wrong sides together. Align the edges carefully.
- Join with SL ST:
- Work slip stitches evenly across the edge of the two panels to secure them together.
- Leave the top edge (near the handle area) open for access.

Finishing
- Weave in Loose Ends:
- Use a tapestry needle to neatly weave all yarn tails into the bag's seams.
- Blocking (Optional):
- Lightly block the bag to help shape the heart curves and edges.
Customization Suggestions
- Color: Use different colors or variegated yarn to make the bag more vibrant and fun.
- Straps:
- Replace the crochet strap with metal chains or leather straps for a more professional finish.
- Add adjustable strap loops to make the bag versatile.
- Decorations: Attach beads, ribbons, or embroidery to make the bag unique.
Tips
- Stitch Markers: Always place markers on curve inflection points to ensure precise symmetry.
- Tension and Sizing: Maintain consistent tension throughout to avoid uneven sides.
- Handle Adjustment: Adjust the chain count of the handle if you want the strap to be longer or shorter.
Final Words
Congratulations! You've completed your adorable love-shaped handbag. Its compact yet stylish design makes it perfect as a gift or a personal accessory. Experiment with colors, straps, and decorations to make personalized variations.