
Easy Crochet Earrings Free Pattern for Handmade Fashion
Try this simple free crochet earrings pattern to design beautiful matching jewelry that keeps your daily look feeling extra cheerful and creative.
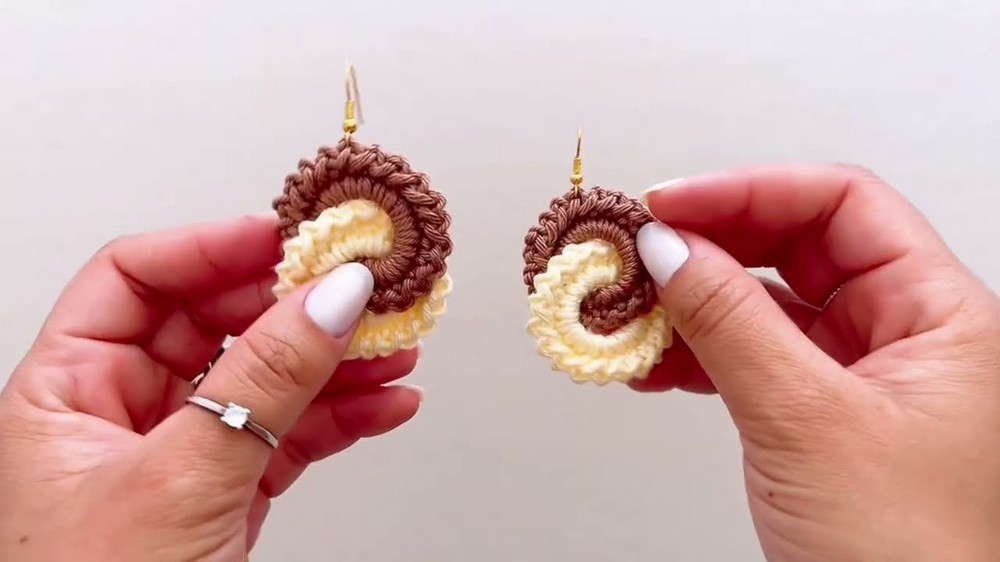
Looking for something stylish, easy, and super fun to wear? These Crochet Earrings are the perfect choice to add charm to your look. Lightweight and colorful, they are not only comfortable to wear all day but also a beautiful way to show off your creativity. The design features two elegant circles that fit together perfectly and can be made in any color combination you love. These earrings are quick to make because they use very few materials. They are budget friendly and beginner friendly, so anyone can give them a try, even if crochet is completely new to you.
Free Crochet Earrings Pattern That Turn Simple Looks Into Favorites
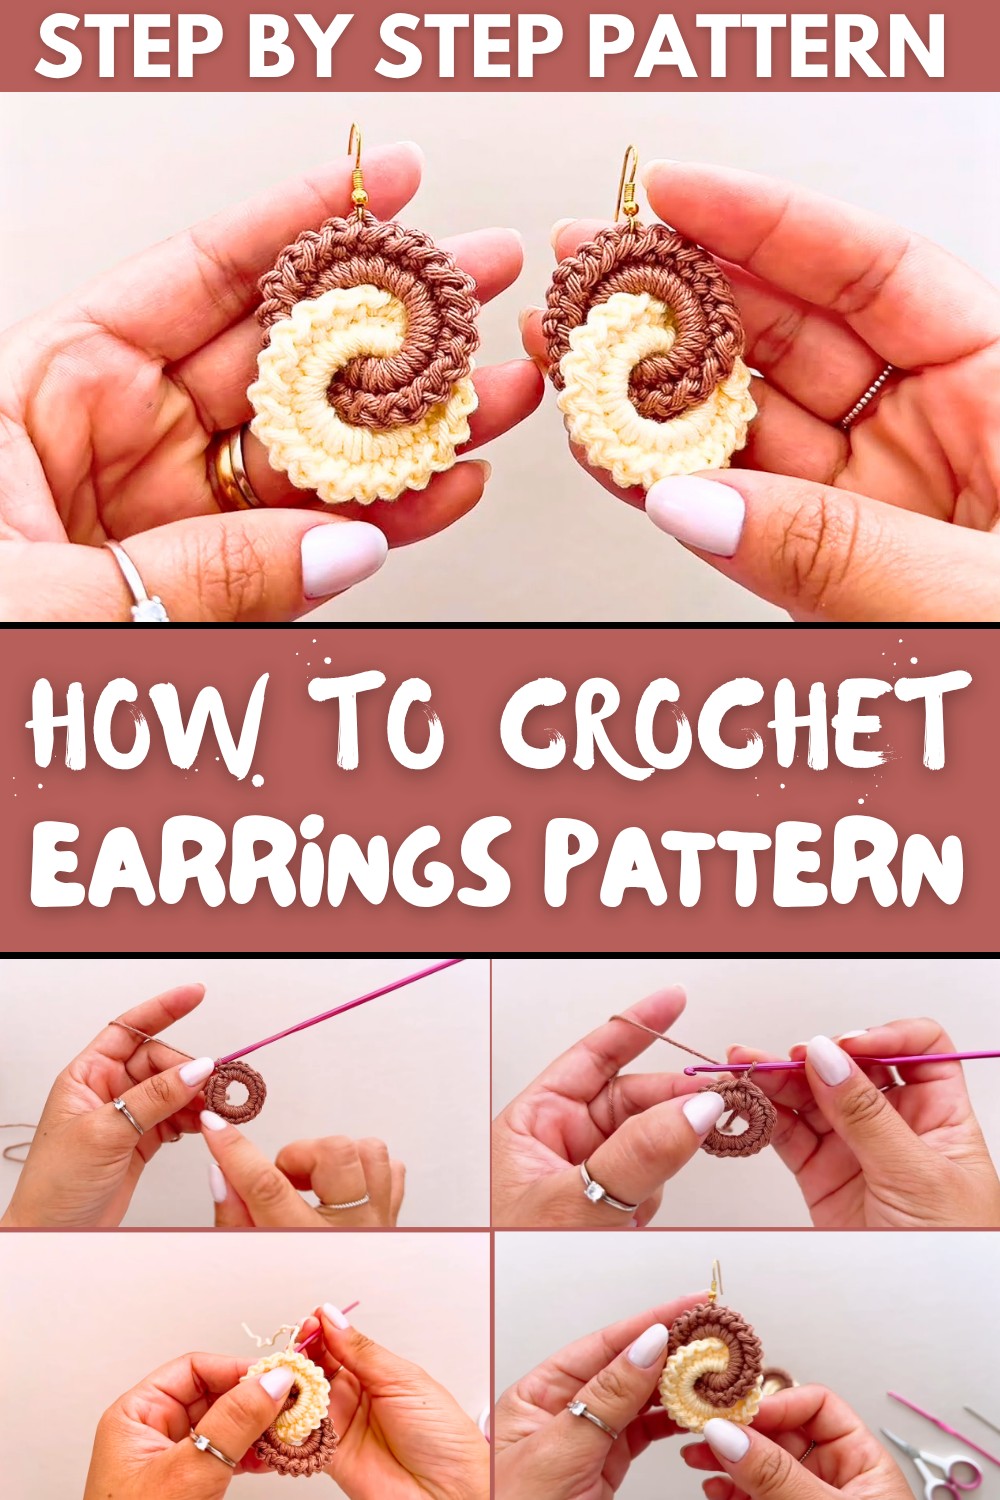
What makes these earrings stand out is their unique style and handmade touch. They're great for casual outings, but they also work beautifully for celebrations or special moments. You can easily match them with your favorite outfits or gift them to someone who will appreciate your effort and thoughtfulness.
Perfect as a charming addition to your jewelry box or as a thoughtful present, these earrings are a must try for anyone looking to do something fun and quick. The end result is a soft, lightweight pair of earrings full of life, style, and meaning. Let the simple beauty of these earrings make your day brighter.
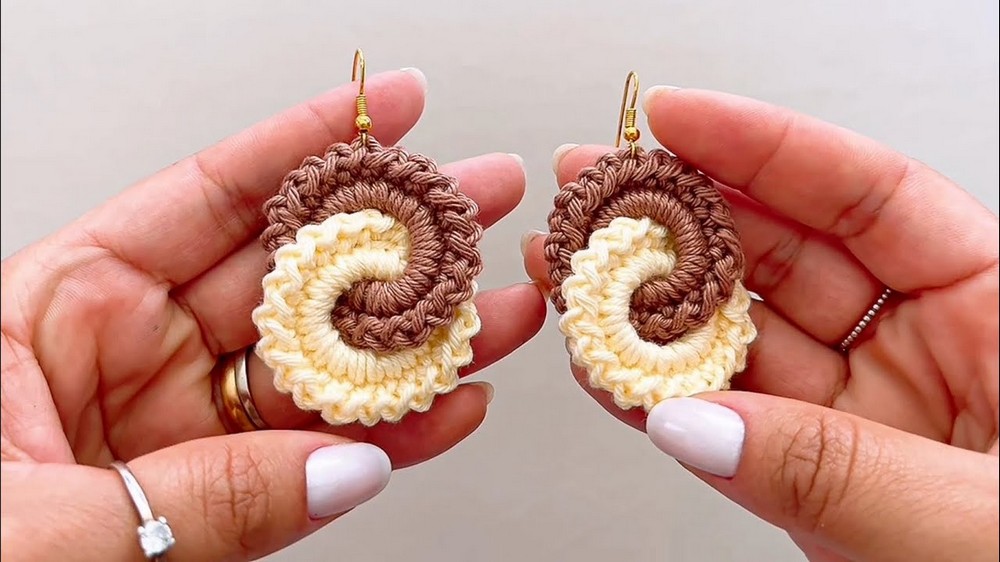
Crochet Earrings Pattern
Finished Size
- Outer Ring (Brown): Approximately 2 inches in diameter
- Inner Circle (Cream/Yellow): Slightly smaller, around 1.5 inches in diameter
Materials Needed
- Yarn:
- Amigurumi Yarn from the Círculo brand (100% cotton).
- Colors used:
- Brown (for the outer circle)
- Cream/Yellow (for the inner circle)
- Crochet hook: 2.5mm
- Tapestry needle (for weaving in ends and finishing touches)
- Scissors
- Earring hooks: 1 pair
- Optional: Stitch marker (for marking rounds while crocheting)
Gauge
Although gauge is not critical for this project, the stitches should be tight enough to hold the shape of the earring. If in doubt, use a smaller hook than usual to keep the stitches compact.
Pattern Notes
- The pattern involves two interconnected circular components: an outer large circle (brown) and a smaller inner circle (cream).
- Each circle is worked in the round.
- All techniques used in this project involve basic crochet stitches, such as chains and slip stitches.
- For beginners, remember tension consistency is key to keep your work neat and uniform.
Special Techniques
- Slip Knot: Used to start your work.
- Magic/Slip Circle: Circle formation at the beginning of rounds.
- Single Crochet: For a seamless look throughout.
- Slip Stitch: Used to join rounds and enhance neatness at borders.
- Weaving Ends: Ensures durability and clean edges.

Step by Step Pattern
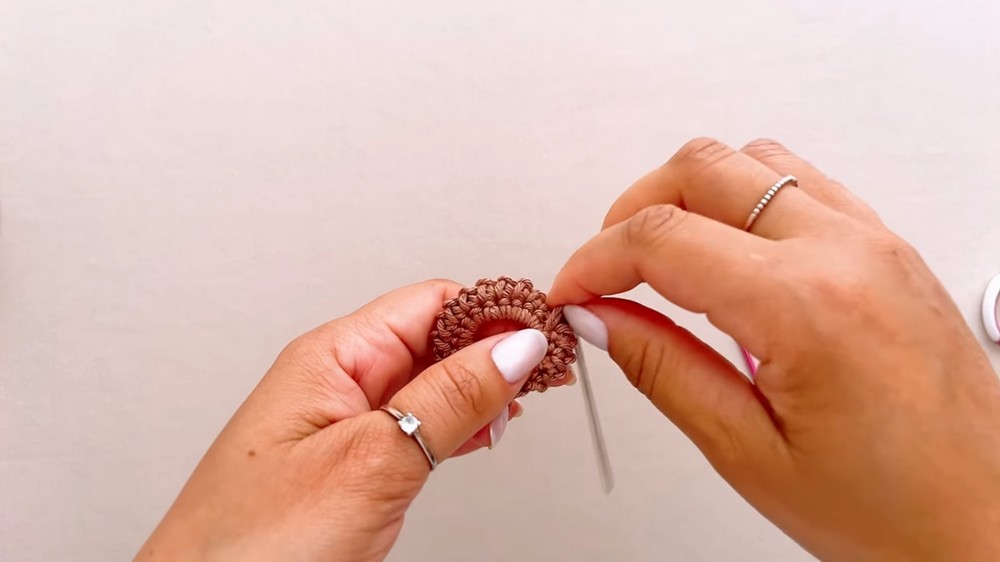
Outer Circle (Brown Ring)
- Start with a Slip Knot:
Create a slip knot and place it onto the crochet hook. - Foundation Chain:
Chain 12.
(This chain will form the base of the circular outer ring.) - Forming a Circle:
Insert your hook into the very first chain stitch, ensuring all chains are facing the same direction. Slip stitch into the first chain to create a loop/circle. - Round 1 (Single Crochet):
Work 20 single crochet stitches inside the loop, crocheting over the yarn tail to secure it while hiding it.
Tip: If your 20 stitches don't fill the circle completely, add an extra stitch or two. Just mark the final count, so you can use the same for the other earring. - Close the Round:
Slip stitch into the first single crochet stitch to join the round. - Decorative Edge (Slip Stitches):
- Chain 1.
- Slip stitch into the next stitch, chain 1 - repeat around the entire circle.
- Once you reach the beginning of the round, slip stitch to finish and secure.
- Fasten Off and Finish:
Cut the yarn, leaving a 3 to 4 inch tail. Fasten off.
Pull the yarn to the back of the piece using a tapestry needle and weave it in neatly.


Inner Circle (Cream/Yellow Ring)
- Start with a Slip Knot:
Create another slip knot and slide it onto the crochet hook. - Foundation Chain:
Chain 10 for the inner circle.
(The inner circle is slightly smaller than the outer ring for a lovely layered effect.) - Join to Create a Loop:
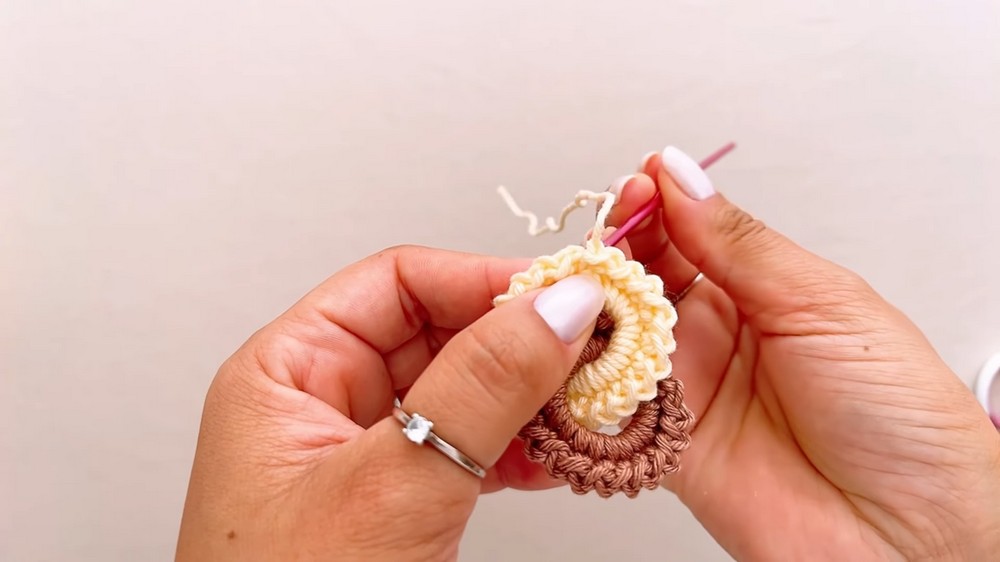
Insert the hook into the first chain stitch and slip stitch to form a smaller circle. - Connecting the Circles:
Place the first (brown) ring in front of you. Pass your new (cream/yellow) loop through the center of the brown loop. This will interlock the circles. - Work Round 1 with Single Crochet:
Work 20 single crochet stitches into the cream loop while ensuring the loops are securely nested. Crochet over the starting tail as you work.
Tip: Like before, maintain stitch count consistency between both earrings, ensuring the shape and size match. - Decorative Edge (Slip Stitches):
- Chain 1.
- Slip stitch into the next stitch, chain 1 - repeat for the entire circle.
- Once you meet the starting point, slip stitch to complete.
- Fasten Off and Finish:
Cut the yarn, leaving enough length to weave in the ends.
Secure and weave all ends at the back of the earring.
Finishing Touches
- Align the Circles:
Position both circles so that the cream/yellow circle sits snugly within the brown (outer) ring.
Rotate them as needed to align the joints or any uneven sections neatly at the back. - Attach the Earring Hook:
- Use the point where the two rings overlap as a central guideline for your hook.
- Open the earring hook gently and slide it through one of the top stitches of the brown ring.
- Secure the hook in place by gently closing it with pliers.
- Repeat for the Second Earring:
Follow the same steps to ensure both earrings are identical in size, stitch count, and alignment.

Tips and Customization
- Color Variations: Experiment with different yarn colors to create fun and vibrant combinations. Bright or metallic threads can make your earrings stand out even more.
- Add Beads: Incorporate small beads into the yarn or attach them on the decorative edge for an elegant touch.
- Make Larger Earrings: To create bigger earrings, simply increase the stitch count for the foundation chain and work additional rounds.
- Thread Options: If you prefer a more lightweight look, replace the Amigurumi cotton yarn with thinner crochet threads.

Conclusion
This beautiful crochet earring pattern is perfect for beginners and seasoned crocheters who want a quick, satisfying project. These earrings are not only lovely but also highly customizable, making them wonderful as gifts or unique additions to your accessory collection.
They are lightweight, comfortable, and thoughtfully designed to pair well with any outfit. With only basic materials and simple techniques, you can create a polished, professional looking accessory in no time.
Don't forget to embrace creativity-customize colors and designs to make each pair special. Whether you're looking to add charm to your jewelry box or crochet a thoughtful handmade gift, this project will undoubtedly spark joy.