
Free Crochet Earrings Pattern That is Ideal Stylish Party Looks
Refresh your accessory collection with this Free Crochet Earrings Pattern and make beautiful earrings that bring charm to every look.
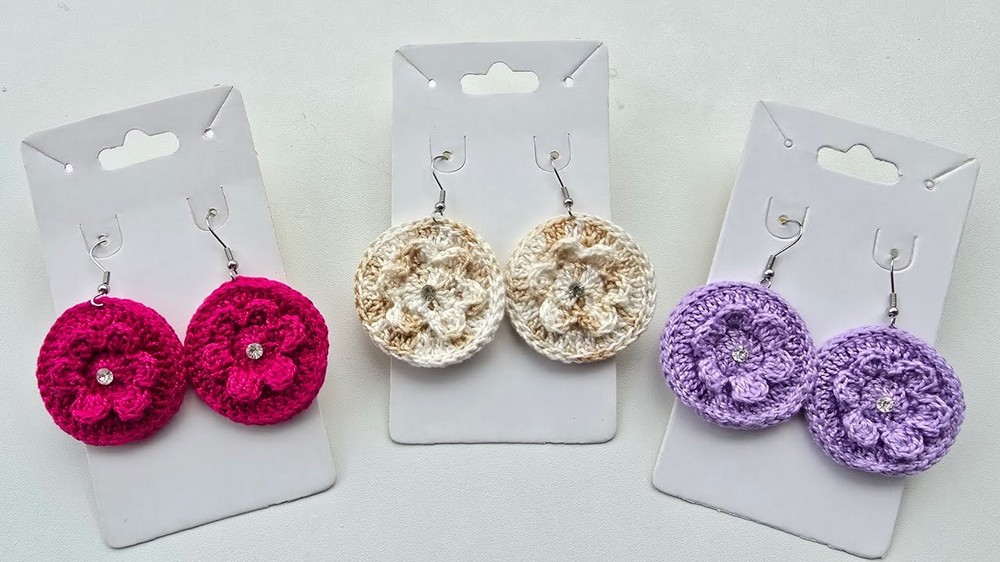
Crochet earrings are a beautiful and creative accessory, full of charm and individuality. They are lightweight, colorful, and easy to make, transforming a simple thread into an elegant piece of jewelry. In the pattern you will learn how to create stunning crochet earrings that are not only quick to make but also highly practical and versatile. The flower design in these earrings is one of their most attractive features, adding softness and femininity to the piece. With a circular base, the layered petals feature delicate detailing, making them look professional and carefully crocheted.
Free Crochet Earrings Pattern for Simple Elegant Style

A unique aspect of these earrings is the additional decoration at the center of the flower. You can add a strass stone or a pearl to bring sparkle and elegance to the piece. This small touch makes the earrings perfect not only for casual wear but even for special occasions. The silicone glue used during the process gives extra firmness to the earrings, ensuring they are sturdy without adding extra hardening materials.
These earrings are not only beautiful but also practical. They are a great way to start learning crochet or to relax while creating something unique and meaningful. You can make them in various colors-like pink, lilac, or neutral tones-matching different moods or outfits. Handmade crochet earrings carry this special charm, reminding us of the beauty and thoughtfulness in items crocheted with love and care.
Crochet Earrings Step by Step Pattern
Materials Required
- Thread: Cléia thread or any thin crochet thread of your preference.
- Crochet Hook: 1.5 mm crochet hook.
- Scissors: For cutting excess thread.
- Tapestry Needle: For weaving in loose ends during finishing.
- Glue: Silicone glue and Tech Bond glue for attaching decorations and securing the earrings.
- Decorations: Strass or half pearl for the center of the flower.
- Earring Base: An "anzol" (hook style base) or other types of earring hardware.
- Alicates (pliers): To secure the earring hardware.
Special Techniques
- Magic Ring: Used to start the base of the earrings.
- Slip Stitch: For joining the rounds and edges.
- Crochet stitches used: Chain stitch (ch), single crochet (sc), double crochet (dc), slip stitch (sl st).
- Creating Puffed Petals: Working various stitches into one loop to create the petal shape.

Step by Step Instructions
Part One: Base of the Earring
- Create the Magic Ring:
- Wrap the thread around two fingers to form a loop.
- Insert the hook through the loop, yarn over, and pull through.
- Yarn over again and pull through the loop to secure the ring.
- Start the Foundation Round (Round 1):
- Chain 3 (acts as the first double crochet stitch).
- Work 11 double crochet stitches into the ring. Including the chain 3, you will have a total of 12 stitches.
- Pull the thread to close the magic ring tightly.
- Finish the round with a slip stitch into the top of the chain 3.

Part Two: Second Round - Expanding the Base
- Increase Stitches:
- Chain 3.
- In the same stitch at the base, work one double crochet (dc).
- Continue to work 2 double crochets into each stitch around the circle (this is called an increase in crochet).
- At the end of the round, you should have 24 double crochet stitches.
- Finish the round with a slip stitch into the top of the chain 3.

Part Three: Third Round - Building the Shape
- Increase Gradually:
- Chain 3 (acts as the first double crochet).
- In the next stitch, work 2 double crochets into the same stitch (this is an increase).
- Follow the sequence: 1 double crochet (dc), 2 double crochets (dc) in the next stitch, and repeat it.
- At the end of this round, there should be a total of 36 stitches.
- Finish the round with a slip stitch into the top of the chain 3.
- Cut the thread and pull it through to fasten off.
- Finish the round by securing the thread:
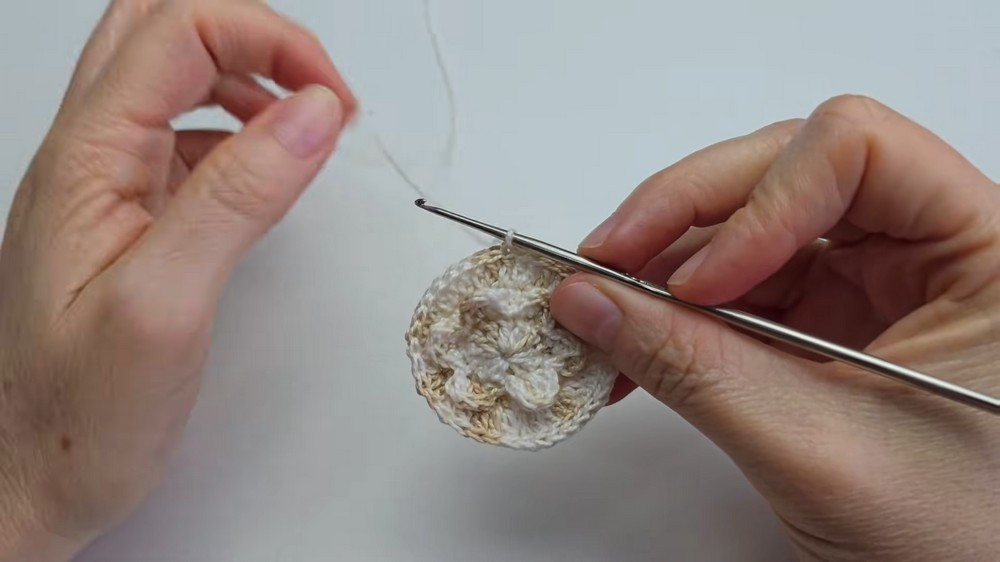
- Use the tapestry needle to weave the end through the back loops of the stitches to secure the final round.

Part Four: Adding the Flower (Petal Round)
- Working Petals on Front Loops:
- Begin a new magic ring and work the initial round as instructed for the base.
- On the second round, instead of working into both loops, pass the crochet hook only through the front loop of the stitches.
- Start each petal as follows:
- Slip Stitch: Insert the hook into the front loop and pull through.
- Chain 1 - this creates the base for the petal.
- Single Crochet: Work 1 single crochet in the same front loop.
- Double Crochet: Work 3 double crochets in the same front loop.
- Single Crochet: Finish the petal with 1 single crochet in the same loop.
- Move to the next front loop and repeat this process until you have 6 petals.
- Finish the Flower:
- After the last petal, use a slip stitch to secure the round in the first chain. Cut the thread and fasten off.
Part Five: Back Loops
- Working on Back Loops:
- The remaining back loops from the second round will now be used.
- Insert the hook into the first back loop and secure the thread with a slip stitch.
- Chain 3 (counts as a double crochet) and work 2 double crochets in each back loop all the way around.
- At the end of this round, you will have 24 double crochets. Finish with a slip stitch into the third chain.
- Add Another Round:
- Chain 3.
- Work 1 double crochet in the next stitch.
- In the next stitch, work 2 double crochets in the same stitch (increase).
- Follow the sequence: 1 double crochet, 2 double crochets in the next stitch, all the way around.
- At the end of this round, you will have 36 stitches.
- Do not cut the thread yet.
Part Six: Joining Both Pieces
- Joining Front and Back:
- Place the front side of one piece facing the front side of the other piece (avesso com avesso, wrong side to wrong side).
- Create the Seam:
- Insert the hook into the front loop of the first stitch of the back piece and into the front loop of the corresponding stitch in the front piece.
- Work a slip stitch to join the two layers.
- Continue this process around until the pieces are almost joined.
- Optional Step: Glue for Firmness
- Before completing the seam, apply a small amount of silicone glue to the center of the design. Avoid applying the glue on the outer edges to ensure a clean finish.
- This step makes the earrings more durable and firm.
- Finish Joining:
- Once glued, continue securing the seam with slip stitches until the two pieces are fully joined.
- Cut the thread and use the tapestry needle to weave in the loose ends.
Final Steps: Adding Decorations and Hardware
- Attach Decorations:
- Use Tech Bond glue to secure a strass or half pearl to the center of the flower. Let it dry completely before proceeding.
- Add Earring Hardware:
- Take the earring hook (anzol) and attach it to the desired point on the design by passing it through some sturdy loops on the top edge.
- Use pliers to tighten and secure the hardware, ensuring it is firmly in place.
Finishing the Pattern
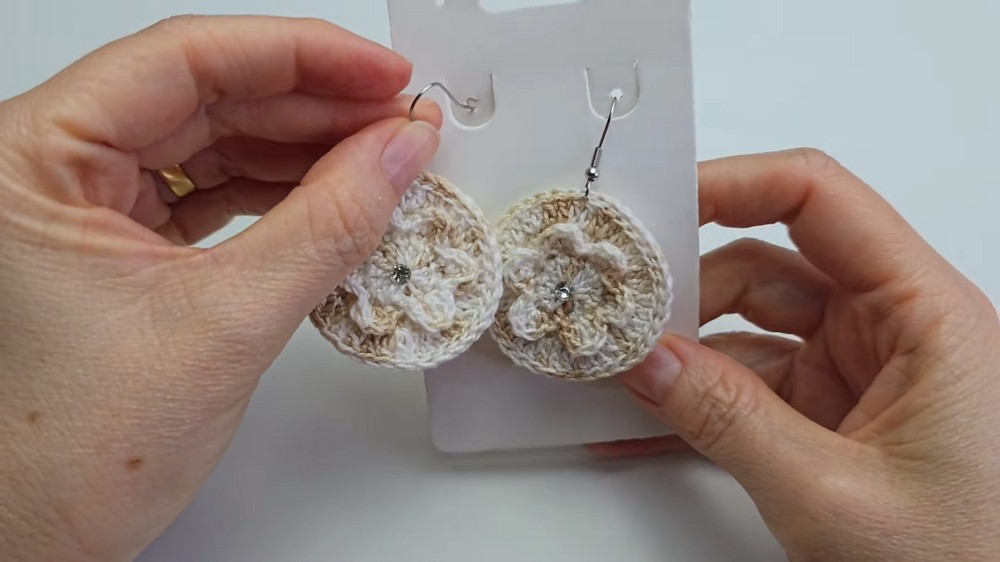
- Once the earrings are complete, check for any loose threads and weave them securely into the design.
- Flatten the earrings gently to ensure uniformity in shape, especially if they are slightly curled during the creation process.
- Allow the glue to dry completely for maximum durability.
Final Words
Congratulations on completing your stunning crochet earrings. These lightweight and beautiful accessories are perfect as gifts, personal jewelry, or sellable items. Their minimal material cost and ease of crocheting make them ideal for beginners and seasoned crocheters alike. Experiment with different thread colors and decorative embellishments to create unique designs.

Tips to Maintain the Pattern
- Thread Choice: Use high quality crochet thread to ensure durability.
- Tension Control: Work with even tension throughout to maintain uniform stitches and avoid any distortions in the shape.
- Storage: Store earrings in a dry, clean area to prevent damage to the flower design and glue.
- Cleaning: If needed, gently clean the earrings using a soft cloth. Avoid using water on glued parts.
- Practice: If new to crocheting, practice the magic ring and petal making technique on spare yarn before starting the project.

Enjoy crocheting your delicate and elegant crochet earrings.