
Easy Free Crochet Mesh Scrunchie Pattern for Everyday Hair
Style your hair with a fun, airy accessory using this FREE Crochet Mesh Scrunchie Pattern, perfect for casual looks, gifts, or adding a handmade touch.
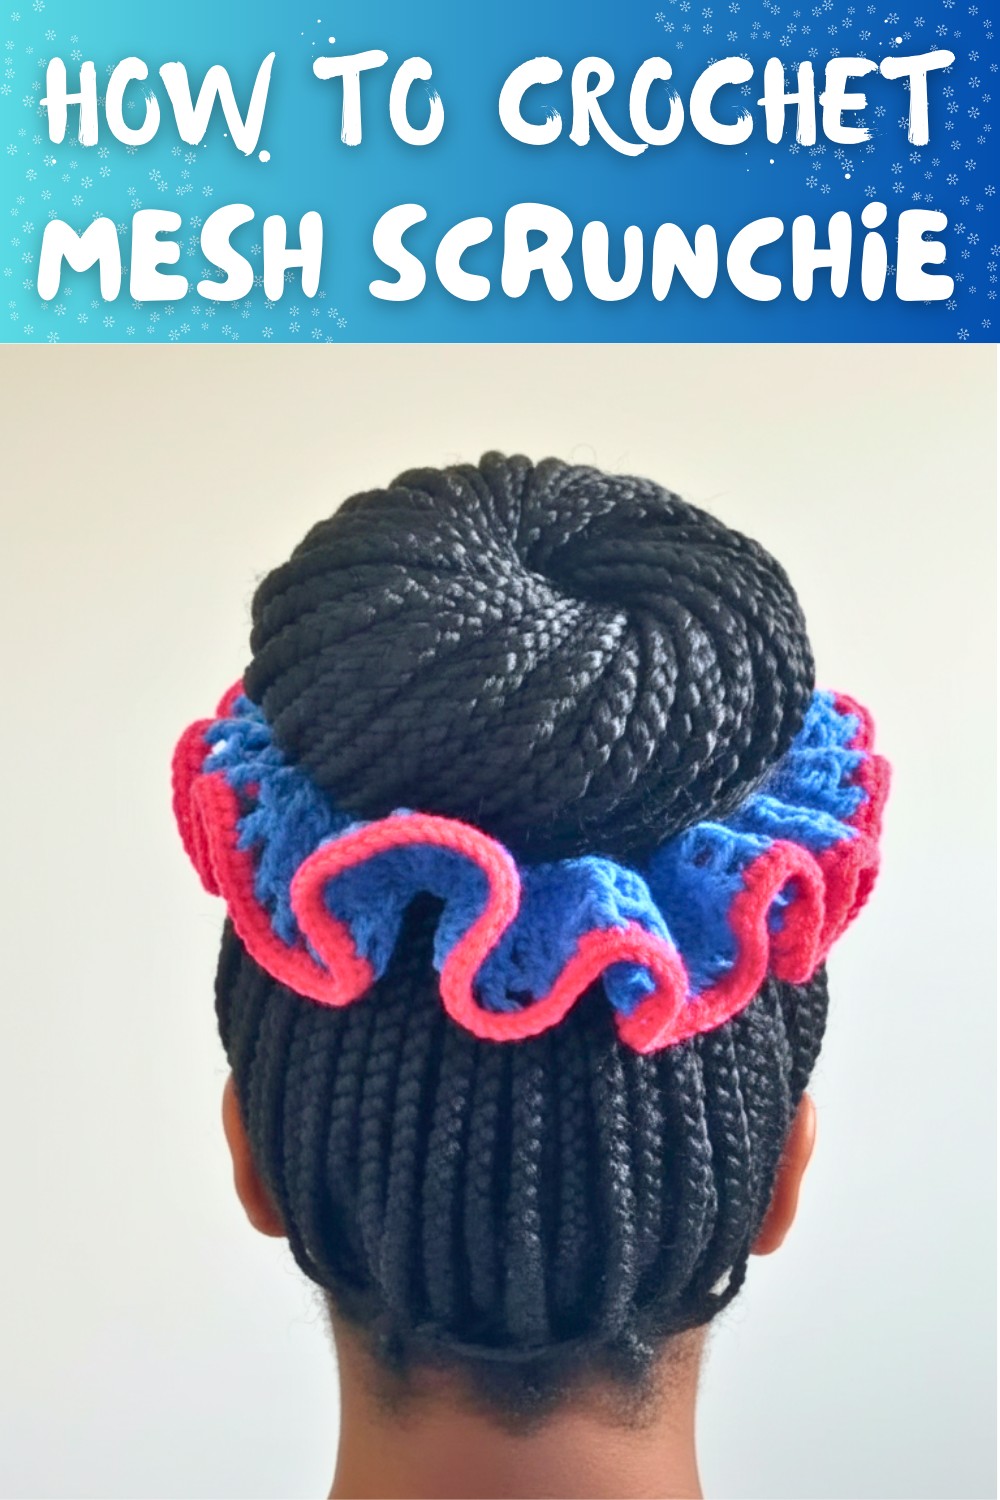
Making accessories that combine practicality with style always feels rewarding. Perfect for messy buns, polished ponytails, or even as a wrist accessory, a mesh scrunchie is versatile and chic. Using this Free Crochet Mesh Scrunchie Pattern, you'll create a breathable and stretchy hairpiece that effortlessly elevates any look. Featuring an openwork design, it's ideal for customizing with vibrant colors for bold expressions or neutral tones for understated elegance.
Fun Free Crochet Mesh Scrunchie Pattern You'll Love to Wear
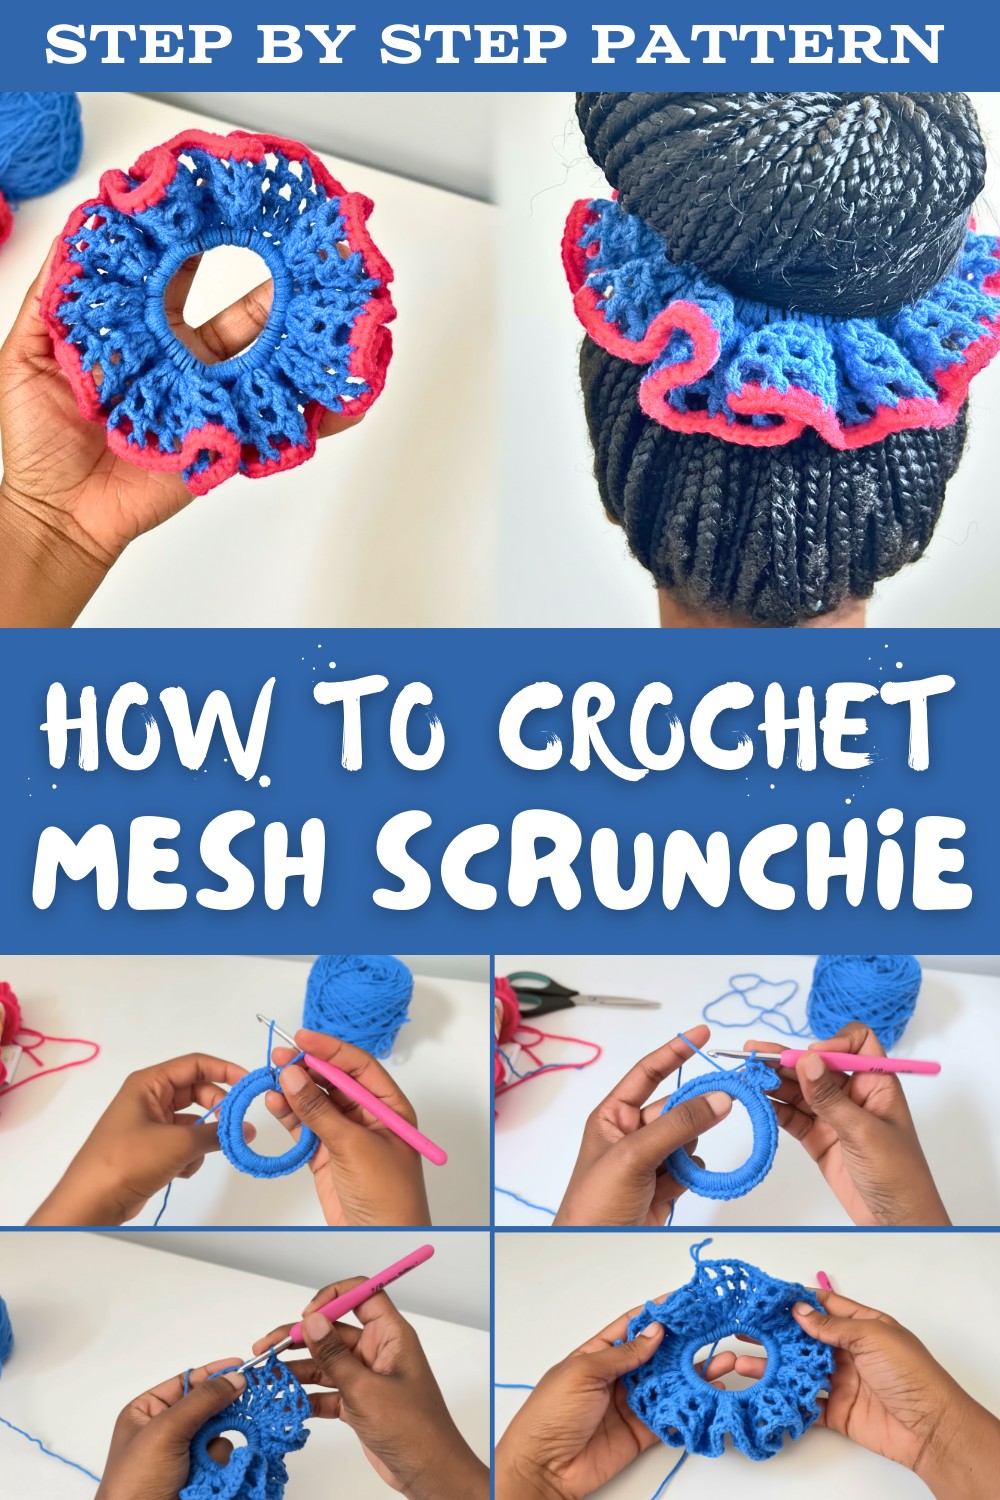
Beyond styling, these scrunchies serve a sustainable purpose by utilizing leftover yarn, turning scraps into something useful and beautiful. Lightweight yet durable, they're perfect for daily wear or adding flair to special occasions.
Functional, fashionable, and eco-friendly, this crochet pattern offers a creative way to level up your hair game while reducing waste. A simple project that doubles as a thoughtful handmade accessory.

Crochet Mesh Scrunchie Pattern
Materials Needed
- Yarn:
- Any DK-weight yarn of your preferred color.
- Two colors: Main Yarn (e.g., blue) for the mesh section, and Contrast Yarn (e.g., raspberry) for the ribbed border.
- Crochet Hook:
- Size 4 mm hook recommended. You may adjust your hook size within the range of 3.5 mm to 4 mm, depending on your tension.
- Hair Tie:
- A plain elastic hair tie as the base.
- Other Materials:
- Scissors or yarn nipper.
- Tapestry needle for sewing in ends.
Gauge
Gauge is not critical for this pattern, but ensure your stitches fit snugly around the hair tie. If your stitches are too loose or stretched, you may need to adjust the tension or choose a smaller hook size.
Finished Size
- The finished scrunchie measures approximately 4-5 inches in diameter (depending on the number of rounds and size of the hair tie used).
Pattern Instructions
Step 1: Covering the Hair Tie (Base Round)
Start with a Slip Knot:
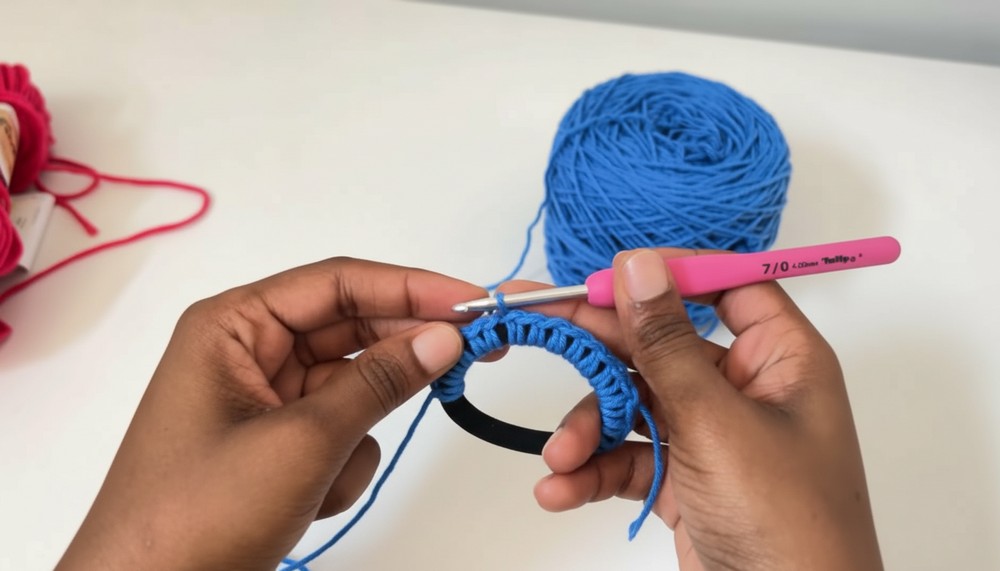
- Create a slip knot on your hook. Insert your crochet hook into the elastic hair tie and pull the loop tight to secure it.
Single Crochets Around the Hair Tie:
- Crochet single crochets (sc) around the hair tie to completely cover it.
- Tip: Do not make stitches too tight as the hair tie needs room to stretch and retain flexibility.
- Work 35-45 sc around the tie, depending on the size of your hair tie and density preferred.
- Once the tie is fully covered, pull the yarn tail gently to secure the stitches.
Slip Stitch to Join:
- Locate the first sc of the round and insert your hook into it.
- Slip Stitch (sl st) to close the round.
Fasten Off:
- Chain 1, pull the yarn tight, and trim the end if needed.

Step 2: Mesh Pattern (Rounds)
Round 1: Mesh Foundation
- Start in the space where you did the slip stitch in the previous round.
- Work 1 single crochet into the front loop of the stitch below.
- In the same space:
- Work 1 more single crochet, followed by 2 chains.
- Work 1 double crochet into the same space.
- Chain 2 and move to the next stitch.
Pattern for the Round:
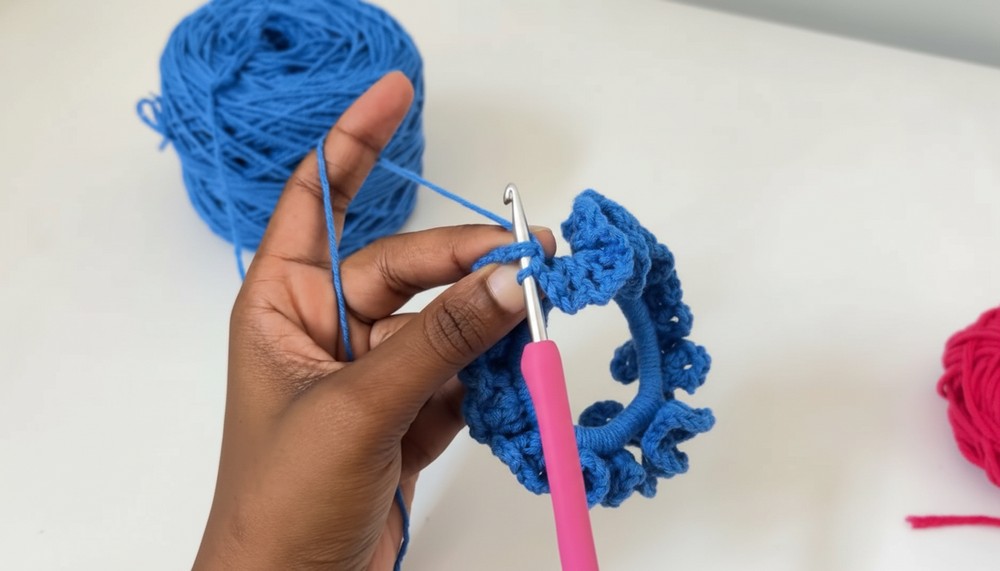
- In each stitch:
- Work 2 double crochets, separated by 2 chains.
- Continue this sequence until the end of the round.
Closing the Round:
- After your last chain 2, locate the top loop of the first single crochet.
- Insert your hook, sl st to close the round, and fasten off with 1 chain.
Round 2: Build the Mesh
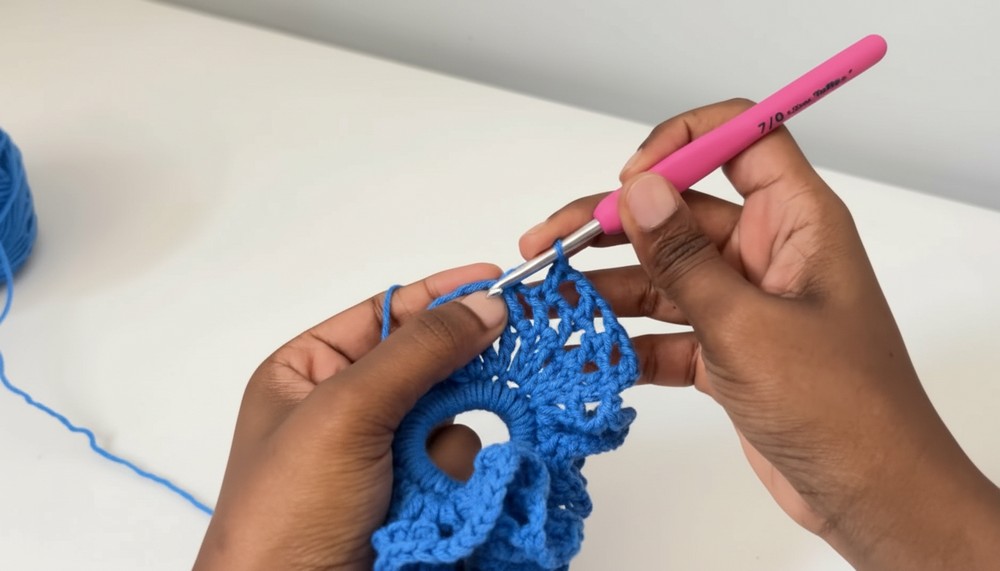
- Start in the slip stitch space where you just finished the previous round.
- Work 2 single crochets (sc), one stacked on top of the other, forming your first double crochet.
- Chain 2.
- In the loop formed by the double crochet from the prior round, work 1 double crochet followed by 2 chains.
- Move to the next loop and repeat the pattern:
- 1 double crochet, chain 2, followed by another double crochet in the next stitch loop.

Round 3: Final Mesh Round
- Continue the same pattern as the previous round:
- 2 double crochets, separated by 2 chains, over each loop from the previous round.
- After the last chain 2, close the round with a sl st into the top loop of the first sc.
Step 3: Ribbing (Border Round)
Add Contrast Yarn:
- Create a slip knot with your contrast yarn.
- Insert your hook into any double crochet loop from the last mesh round.

Work a Single Crochet Border:
- Begin with 1 sc into the double crochet loop.
- Over the chain-2 spaces, work 2 sc.
- In the next loop, work 1 sc into the double crochet.
Continue the Pattern:
- Alternate between 2 sc in chain spaces and 1 sc in double crochet loops around.
Closing the Round:
- Pull the yarn tail tight at the end.
- Use a slip stitch to secure the border.

Step 4: Finishing
Weave In Ends:
- Take your tapestry needle and sew in all loose yarn ends securely at the back of the scrunchie.
- Trim excess yarn.
Tips
- Customize Ruffles: Add extra rounds to make the scrunchie fuller, or reduce rounds for a more minimalist look.
- Color Combinations: Experiment with different yarn colors for unique combinations or seasonal themes.
- Gauge Check: Ensure your stitches around the hair tie are evenly spaced to maintain the scrunchie's shape.
- Adjust Stitch Count: If you prefer a scrunchie with more ruffles, increase single crochets in the base round (e.g., 50-60 sc).
Conclusion
Congratulations! You've completed your elegant mesh crochet scrunchie. This versatile accessory can be made with different colors, sizes, and textures for various occasions. Whether gifting to friends or adding a handmade touch to your outfit, this scrunchie is sure to impress.
Important Remarks
- Ensure all yarn ends are tightly woven in for durability.
- Adjust the number of rounds and stitches to suit the look and fit you desire.
- Share your finished scrunchies on social media-you're welcome to tag the creator for appreciation and ideas for new projects.