
Easy Free Crochet Short Sleeve Crop Top Pattern for Summer
Learn how to design a stylish and comfy short sleeve crop top with simple instructions, perfect for adding charm to your everyday outfits effortlessly.
A stylish and lightweight crop top with short sleeves brings a fresh and modern touch to your wardrobe. Made with soft and breathable crochet, it's both comfortable and beautiful, perfect for casual outings or sunny days spent outdoors. Its unique pattern showcases delicate details that add charm, making it a great match with jeans, skirts, or shorts for an effortless and relaxed style.
Free Crochet Short Sleeve Crop Top Pattern with Step-by-Step Guide
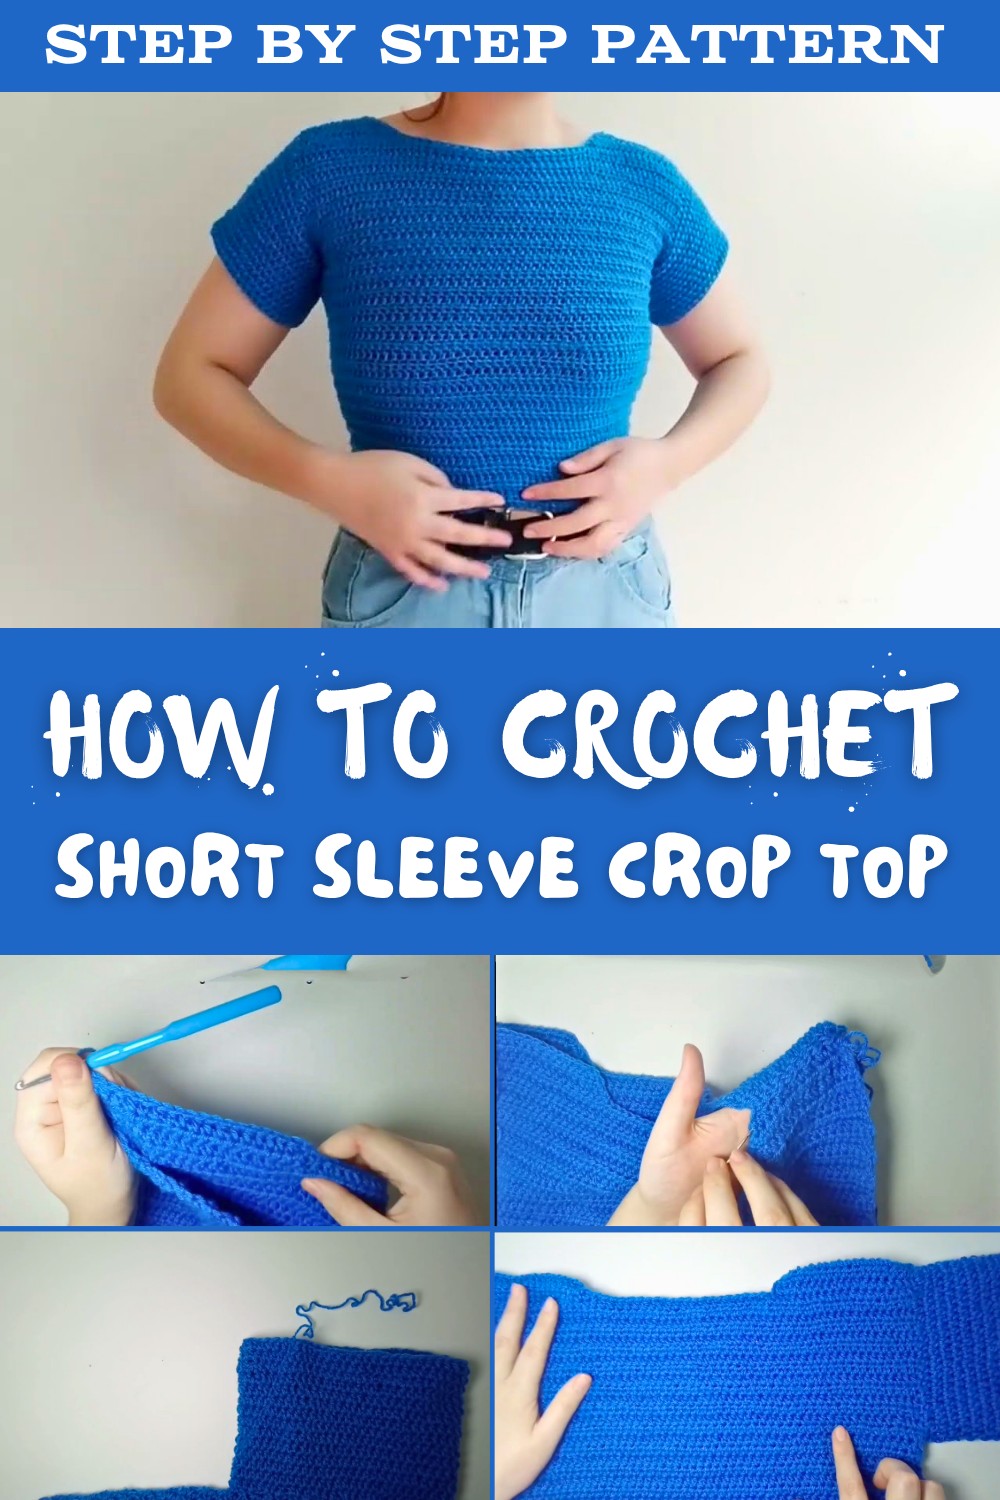
The short sleeves provide just the right amount of coverage, while the cropped length adds a trendy and youthful vibe, making it ideal for warm weather or layering under jackets and cardigans. What sets this crop top apart is its versatility and timeless appeal, allowing you to crochet something functional and fashionable at the same time. With clear and simple instructions, it's an enjoyable project for beginners and experienced crocheters alike, giving you a fun way to make something stylish and practical.
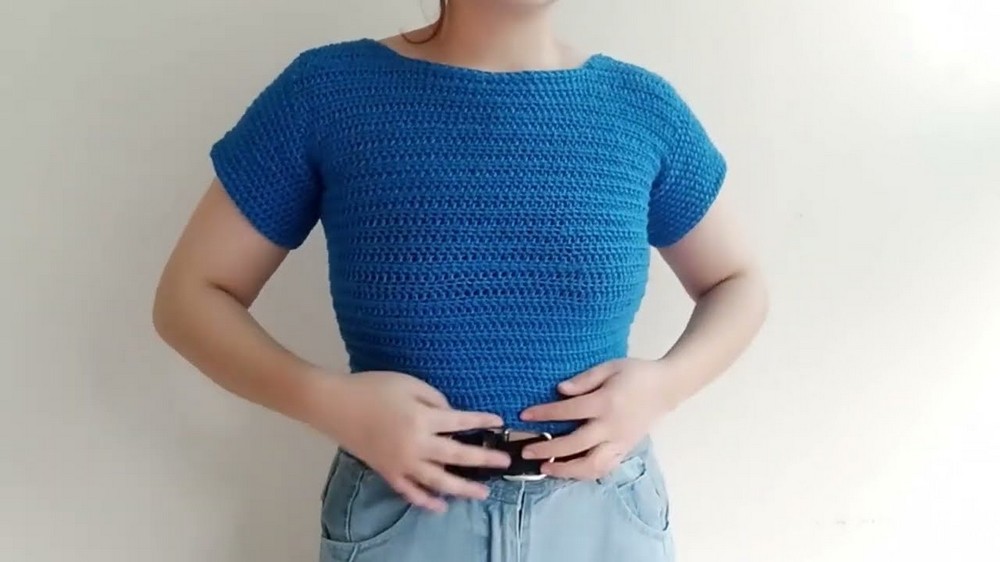
Short Sleeve Crochet Crop Top Pattern
Skill Level: Intermediate
Materials
- Yarn: ~160g Double Knit (DK/8 ply) yarn (cotton/acrylic blend recommended for comfort and drape)
- Hook: 4mm (US G-6) crochet hook
- Tapestry or darning needle: For seaming and weaving in ends
- Scissors
Optional:
- Stitch markers (to mark armholes, shoulders, or rows)
- Measuring tape (for adjusting fit)
Key Abbreviations (US Terms)
| Abbreviation | Meaning |
|---|---|
| ch | Chain |
| sl st | Slip Stitch |
| hdc | Half Double Crochet |
| hdc2tog | Half Double Crochet Decrease |
| st(s) | Stitch(es) |
| RS | Right Side |
| WS | Wrong Side |
| rep | Repeat |
Special Notes
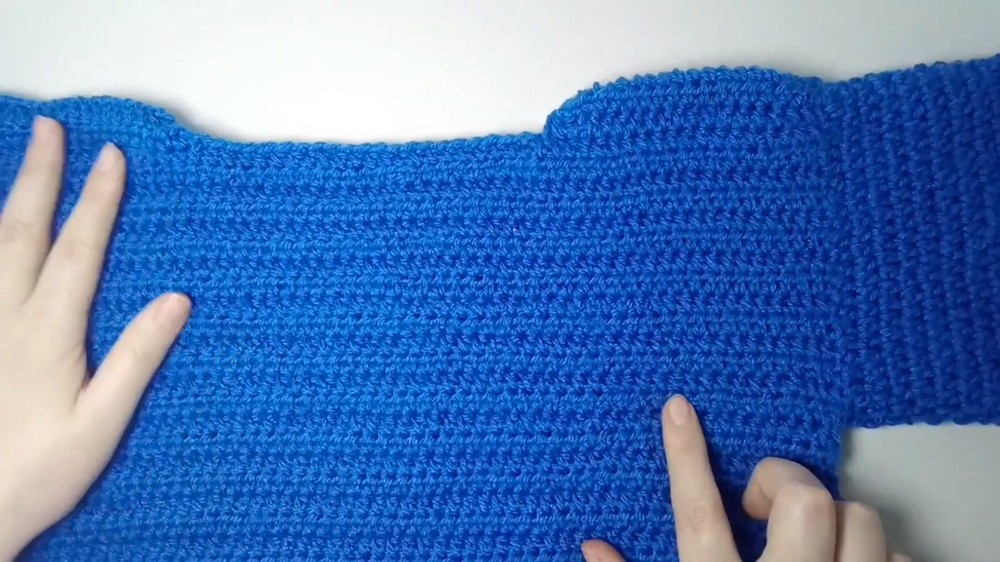
- The pattern is worked in two rectangular panels (front and back), which are seamed together at the shoulders and sides, leaving space for armholes.
- The sleeves are worked in rounds directly onto the armhole openings.
- Fit is easily customizable by increasing or decreasing the foundation chain or the number of rows.
- Sample is approximately 34-35 cm wide (unstretched) using 60 chains. Adjust as needed.
- Use stitch markers as necessary to keep track of decreases and armhole openings.
The Pattern
Front Panel
- Foundation Chain:
Ch 60 (or desired width in multiples of 1 for custom sizing). - Row 1:
Ch 1 more (turning chain), turn. Hdc in 2nd ch from hook and in each ch across. (60 sts)
Tip: The actual number of stitches should match your initial chain count. - Rows 2-44:
Ch 1, turn. Hdc in each st across.
Continue until you complete 44 rows total.
Shaping the Neckline and Shoulders
- Row 45 (RS):
Ch 1, turn. Hdc in next 17 sts. Hdc2tog over next 2 sts. (Left shoulder shaping; 18 sts) - Row 46 (WS):
Ch 1, turn. Hdc2tog in first 2 sts, then hdc in each st across. (17 sts) - Row 47 (RS):
Ch 1, turn. Hdc in each st until last 2 sts, hdc2tog over last 2 sts. Fasten off, leaving a long tail for seaming. (16 sts) - Repeat for Right Shoulder:
- Attach yarn to the other edge of Row 44 (opposite side).
- Repeat rows 45-47 for the right shoulder. Fasten off, leaving a long tail.

Back Panel
- Repeat the entire process for the back panel:
- Ch 60, work 44 rows of hdc.
- Shape shoulders as per rows 45-47 above.

Seaming
- Shoulder Seams:
- Use darning needle and long tails to sew each front shoulder to its corresponding back shoulder, stitch by stitch.
- Side Seams:
- Lay the panels with WS facing out, align carefully.
- Seam up each side, working from the bottom edge up.
- Sew through 28 rows only (leave last 16 rows unseamed for each armhole).
- Weave in all remaining tails on WS.
Sleeves (Work on Right Side)
- Turn your top right side out.
- Join yarn at the bottom of the armhole opening with a sl st.
Sleeve Rounds:
- Each round is the same:
- Round 1: Ch 1, evenly hdc around armhole opening. (Aim for ~36-40 hdc, distributed evenly; do not let stitches bunch or gap)
- Sl st to join.
- Rounds 2-14: Ch 1, hdc in each st around, sl st to join.
- Adjust sleeve length as desired (add more or fewer rounds).

- Fasten off and weave in ends.
- Repeat for second sleeve.
Conclusion
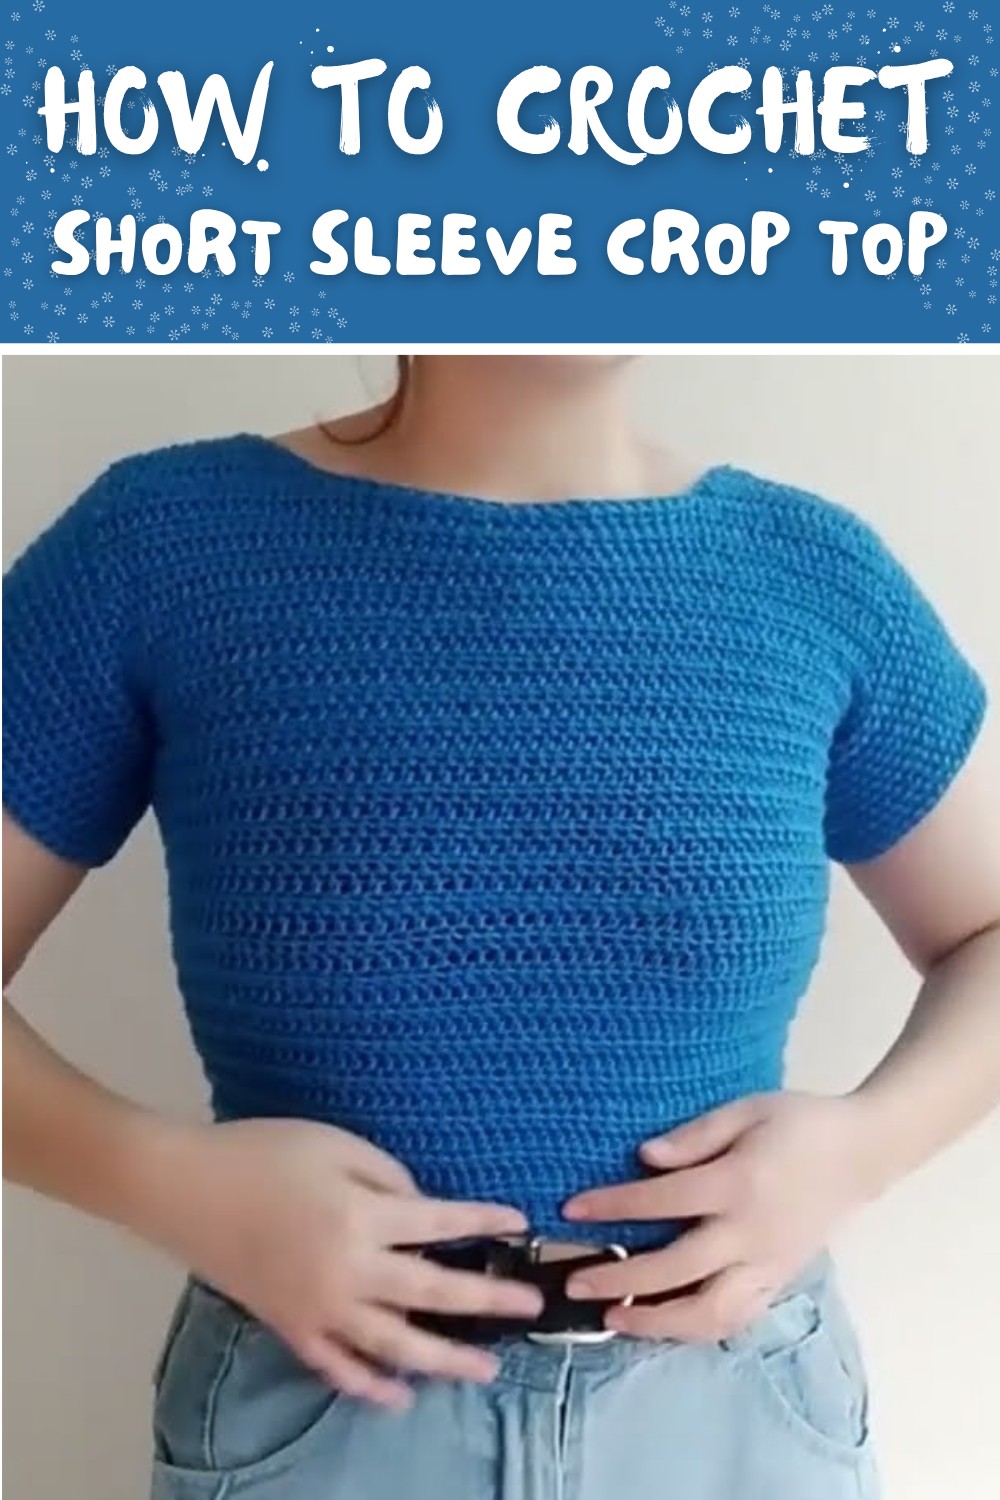
This short sleeve crochet crop top pattern is versatile, beginner-friendly (with some shaping), and ideal for warm weather. The panels create a boxy, modern fit, and adjustments are easy for both width and length. Seam neatly for best results, and use invisible seaming techniques for the shoulders and sides to create a professional finish.
Pattern Correction & Tips
- Row Counts: Always count your stitches after the decrease rows to ensure shoulder shaping is symmetrical.
- Seaming: Whip stitch or mattress stitch recommended for flatness and strength.
- Custom Sizing:
- Width: Adjust foundation chain.
- Length: Add or subtract hdc rows.
- Armhole/Sleeve: Vary the number of rows left unseamed for a looser or more fitted sleeve.
- Blocking: Lightly block panels before seaming for a more even finish.
Final Tips
- Try On as You Go: If adjusting for your specific size or desired fit, try on the panels before final seaming.
- Finishing: Weaving in ends securely and blocking after all seaming and sleeve work is complete will significantly improve the drape and look of your crop top.
- Stitch Consistency: Crocheting at an even tension, especially in the foundation chain and first row, ensures a neat edge.