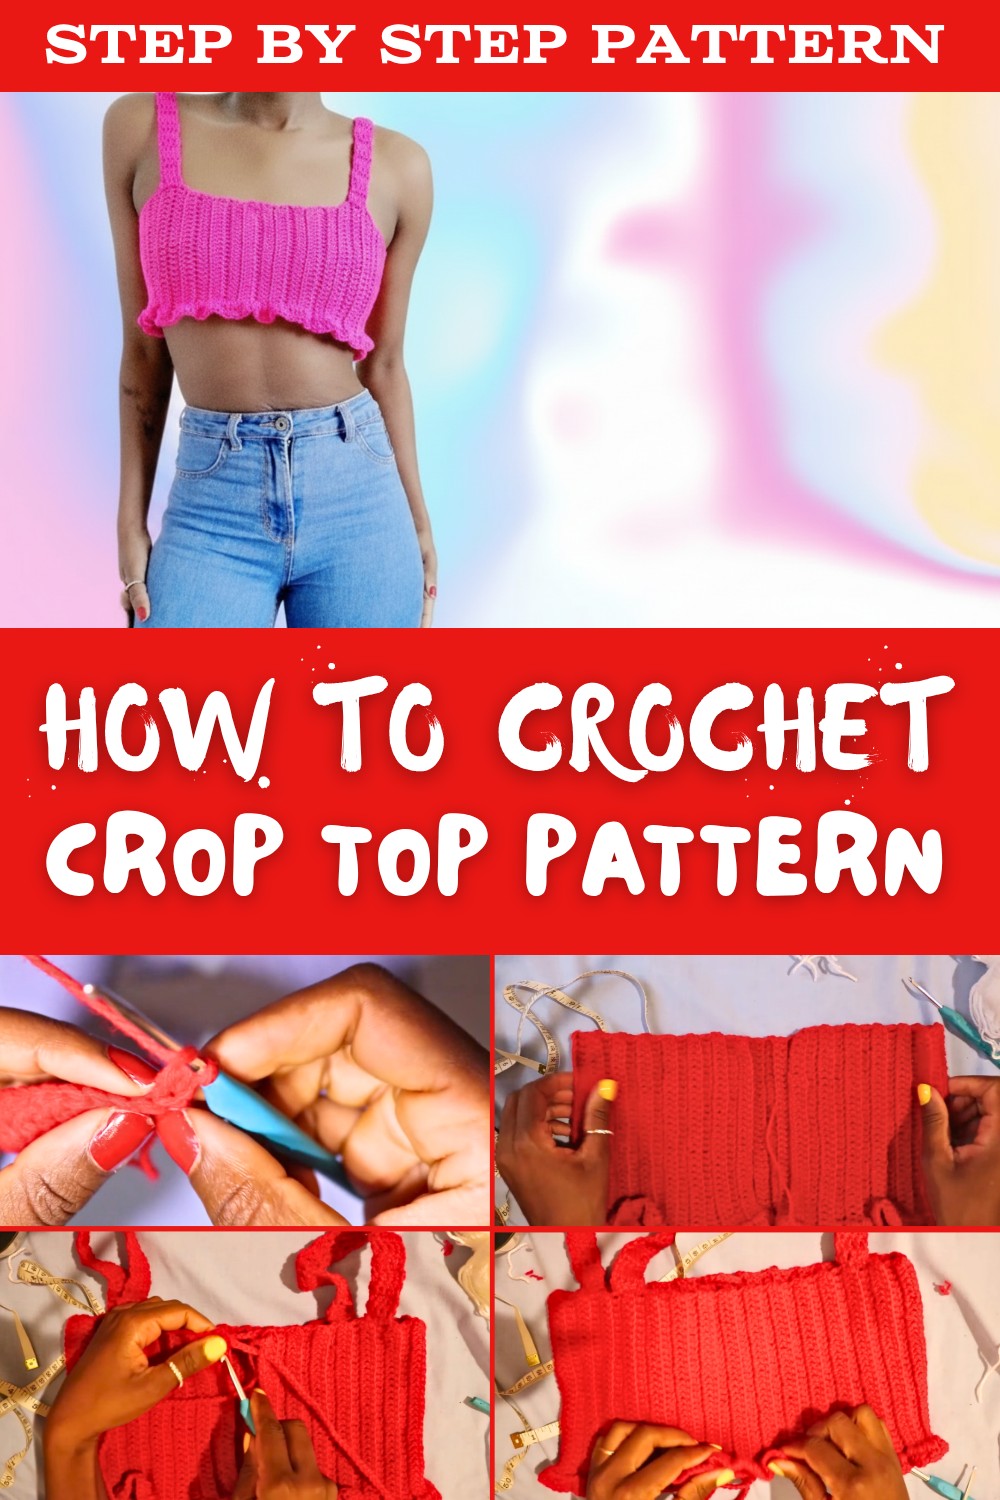
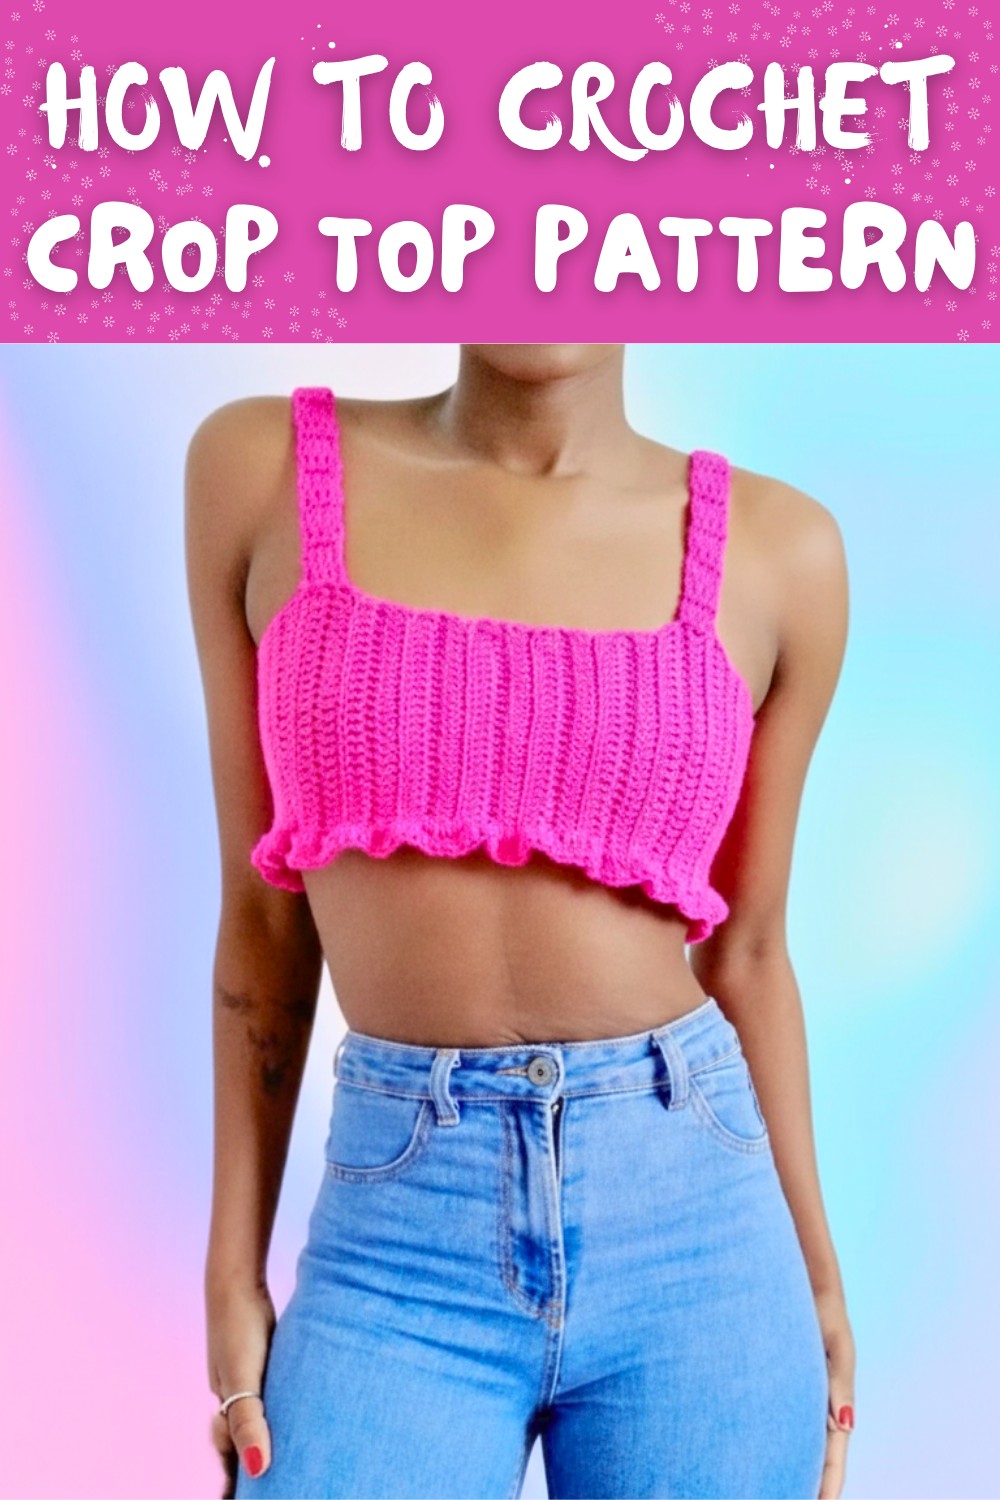
Free Crochet Crop Top Pattern – Easy to Customize
Turn your wardrobe with this free crochet crop top pattern to create a breezy, stylish & unique design that's perfect for sunny days.
Wearing something so light, beautiful, and stylish that it feels like a gentle breeze on a warm day. A crochet crop top brings this charm to life, combining elegance with comfort in every stitch. Perfect for warm weather or layering, it's designed to enhance your outfit with its intricate, handmade look. The pattern allows you to create a flattering piece that showcases the delicate crochet design while highlighting your individuality.
Easy Free Crochet Crop Top Pattern for Summer Wear
Its appearance is airy, textured, and versatile, making it ideal for casual outings, beach days, or even paired with jackets for cooler nights. You can adjust the size, color, and details to suit your preferences, turning it into a unique fashion statement.
Beyond its beauty, it's also practical and easy to make, a project that results in something truly wearable. The crochet crop top blends creativity with functionality, turning a simple idea into stunning handmade apparel.
Beginner-Friendly Crochet Top Pattern
1. Materials List
Yarn
- Type: Medium-weight yarn (Category 4), 100% acrylic.
- Suggested yarn: Radian or similar soft but durable yarn.
- Colors: Choose any color that suits your style-solid or multi-colored yarn works well.
Hook
- Crochet Hook Size: 3mm (small hook recommended for neat stitches).
Additional Tools
- Scissors: For trimming yarn ends.
- Measuring tape: To measure desired width, length, and strap placement.
- Stitch markers or scrap yarn (optional): To mark sections like the center or strap placements.
2. Skill Level
Beginner
This pattern uses basic crochet stitches, making it perfect for beginners while allowing customization for intermediate crocheters.
3. Key Abbreviations
US Crochet Terminology is used throughout the pattern.
- ch: Chain
- dc: Double Crochet
- sc: Single Crochet
- sl st: Slip Stitch
4. Finished Size
- Small Size (US): Fits a bust measuring 64 cm / 25 inches around.
- Adjust the starting chains and ruffle rows to expand or shrink the size based on your measurements.
5. Special Notes
- Take accurate measurements of:
- Bust circumference (width of the top).
- Length from the top of the chest to the shoulder, doubled for straps.
- For a longer design, simply increase the starting chain length, ensuring it matches the desired coverage.
- This pattern features a back-loop-only technique for the main body and ruffles to create texture.
6. Step-by-Step Pattern Instructions
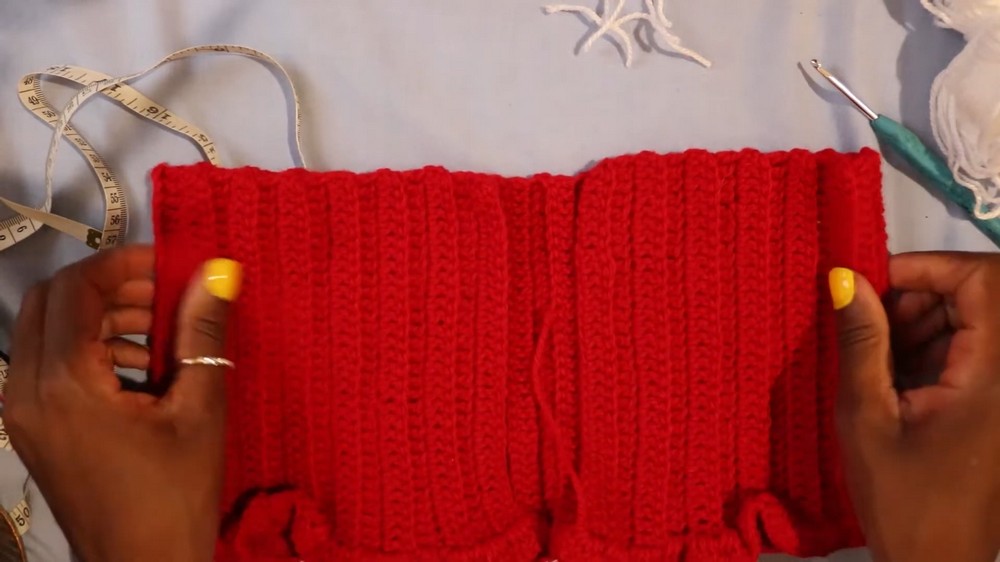
Step A: Body of the Top
- Foundation Chain:
- Use the measuring tape to determine your width.
- Chain the width in centimeters/inches you measured (e.g., for 16 cm length for a small size, measured in half bust width).
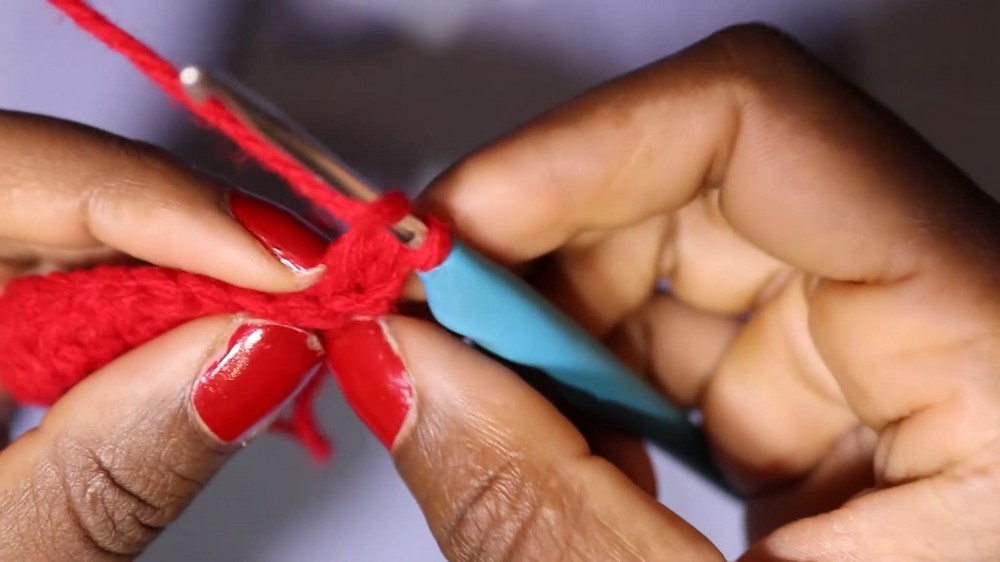
- Row 1:
- Ch 3 (counts as 1 dc).
- Dc into the third chain from the hook and each chain across the row.
- At the end of the row, ch 1, turn your work.
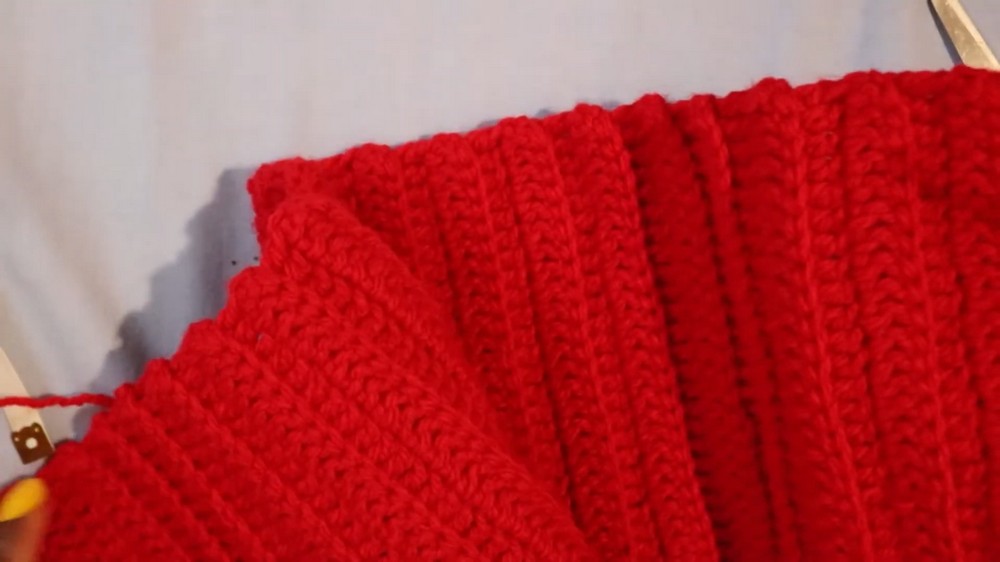
- Row 2 Onwards:
- Work dc in the back loops only of each stitch. This creates a textured ribbing effect.
- At the end of each row, ch 1, turn your work, and repeat back-loop-only dc stitches.
- Length:
- Repeat rows until the top reaches the desired coverage from the chest to the waist. For reference, 16 cm (or 6-7 inches) suits short crop tops.
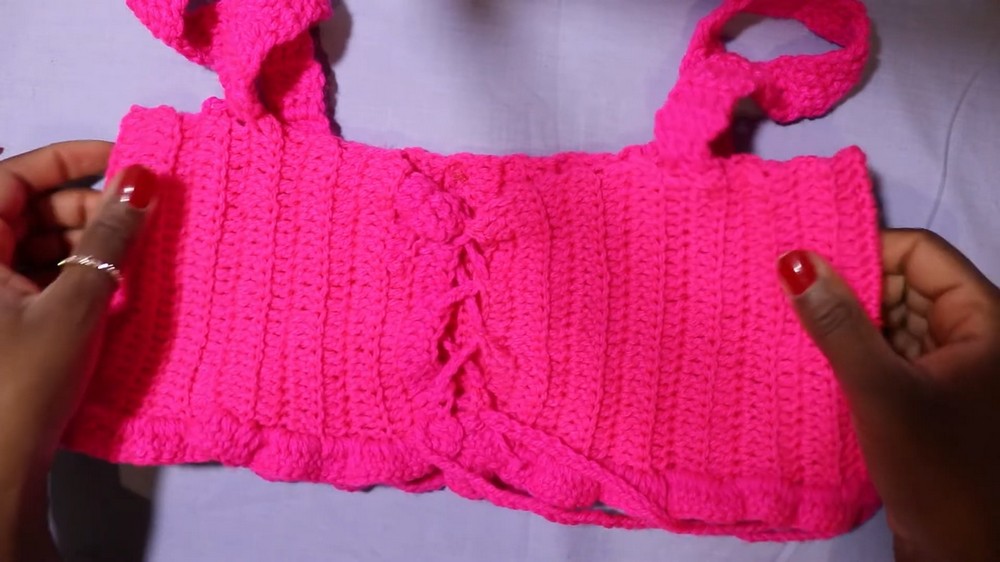
Step B: Ruffled Edge
Add ruffled stitches to the bottom of the top for the decorative finishing.
- Starting the Ruffles:
- At the end of the last row of the body, chain 4 (or 3 depending on preference).
- Ruffle Formation:
- Work 4 dc into the same stitch (this creates a cluster for the ruffle).
- Move to the next stitch and repeat: 4 dc into the same stitch.
- Repeat Across:
- Continue working ruffles in each stitch across the bottom edge.
- Adjust the ruffles to be tighter or wider based on your preference. If you want longer ruffles, use treble crochet (tr) instead of dc.
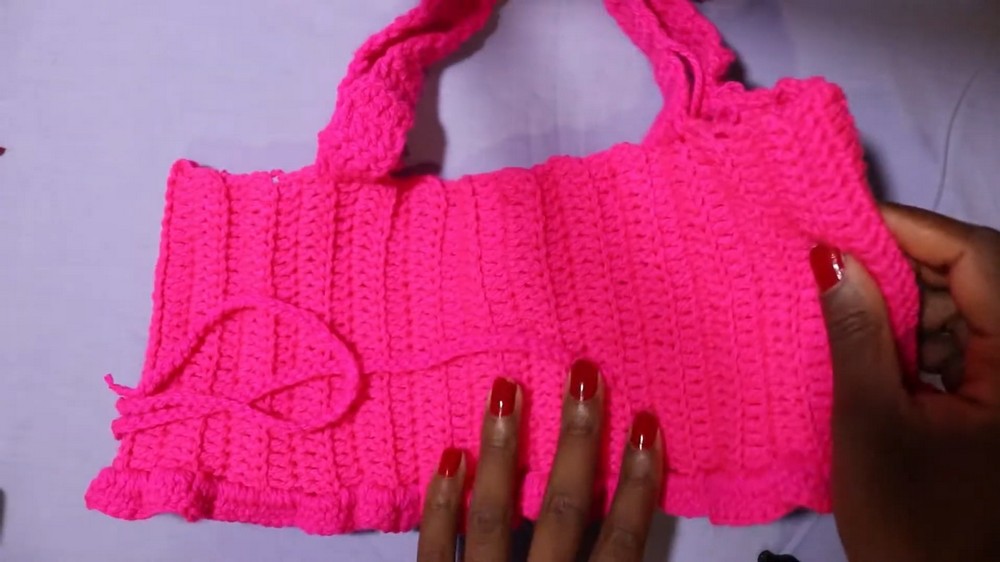
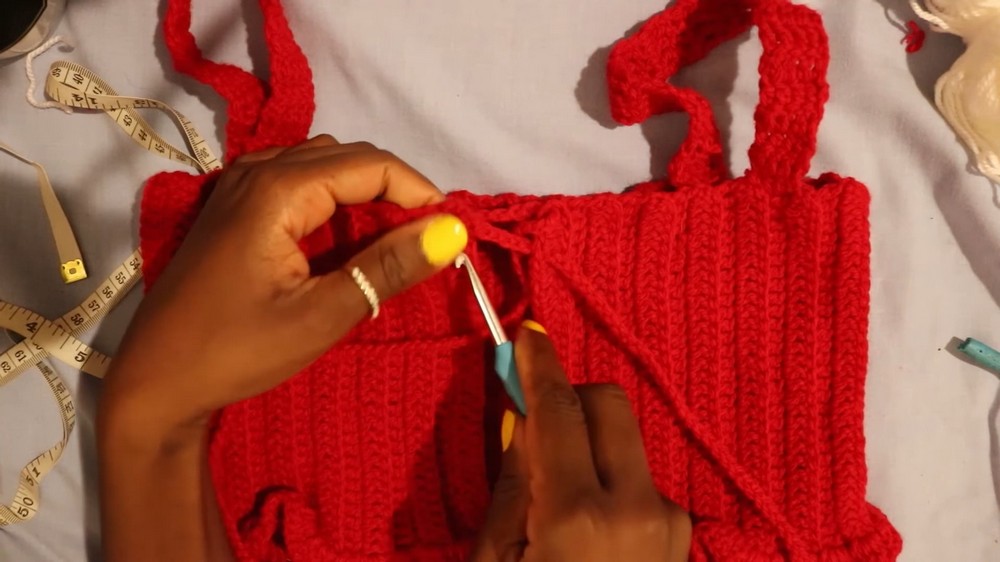
Step C: Straps
The straps are worked directly onto the top, reducing seam lines and ensuring neat finishing.
- Mark Placement:
- Identify strap placement by marking the center stitch on both sides of the top (from the front and back).
- Foundation for Strap:
- Attach yarn at the marked center stitch (either front or back). Ch 100 (for a long strap) or adjust length to your measurement.
- Finish Strap:
- Optionally, work sc all the way back along the chain for thicker straps.
- Slip stitch into the stitch at the starting point to secure the strap.

Step D: Edging Straps and Top
Finish the edges and straps to reinforce the design.
- Neatly single crochet along the top edge to create a smooth finish.
- Slip stitch into corner points to secure both ends of straps firmly.
7. Tips for Customization
- Sizing Adjustments:
- Add or subtract foundation chains to match width for larger or smaller sizes.
- Ruffles:
- Increase or decrease the number of stitches in ruffles for tighter or looser edges.
- If you prefer, skip ruffles for a simpler design.
- Strap Variations:
- Create halter-style straps by joining them at the back of the neck instead of the top edge.
- Colors:
- Use multi-color yarns or alternate colors for body, ruffles, and straps for a bold style.
8. Conclusion
Your Beginner-Friendly Crochet Top is now complete! This design is perfect for showcasing your crochet skills while offering customization for both practical wear and warm weather. Whether you're dressing up for summer or layering it for cooler seasons, this versatile top has endless possibilities.
Pattern Corrections
- Always count stitches carefully while creating ruffles to maintain consistent texture.
- Ensure straps are securely attached to prevent tension or stretching during wear.
Final Remarks
Your crochet top is not only functional but also fashionable. Don't hesitate to experiment with features like ruffles, strap designs, or color placements to make this piece truly your own!