
Easy Free Crochet Striped Beanie Pattern For Style
Find the perfect winter accessory with this free and easy crochet striped beanie pattern, ready for your own creative twist and unique colors.
It started with a chilly breeze and a pile of leftover yarn staring back at me, begging to be transformed into something warm and practical. That's when this free easy crochet striped beanie pattern came to life, combining cozy vibes with a pop of playful stripes. The result? A snug, warm hat that fits like a dream and adds just the right amount of personality to your cold weather wardrobe. This beanie is like the perfect winter friend, it's versatile, fun, and always ready to keep you warm. Its soft, rounded shape hugs your head comfortably, while the stretchy ribbed brim ensures it stays in place, even on windy days. And the stripes? Oh, the stripes, They're just the excuse you need to dig through your yarn stash and mix up some bold combos, or keep things classic with something more subtle.
Free Crochet Beanie Pattern to Add Fun Stripes to Winter
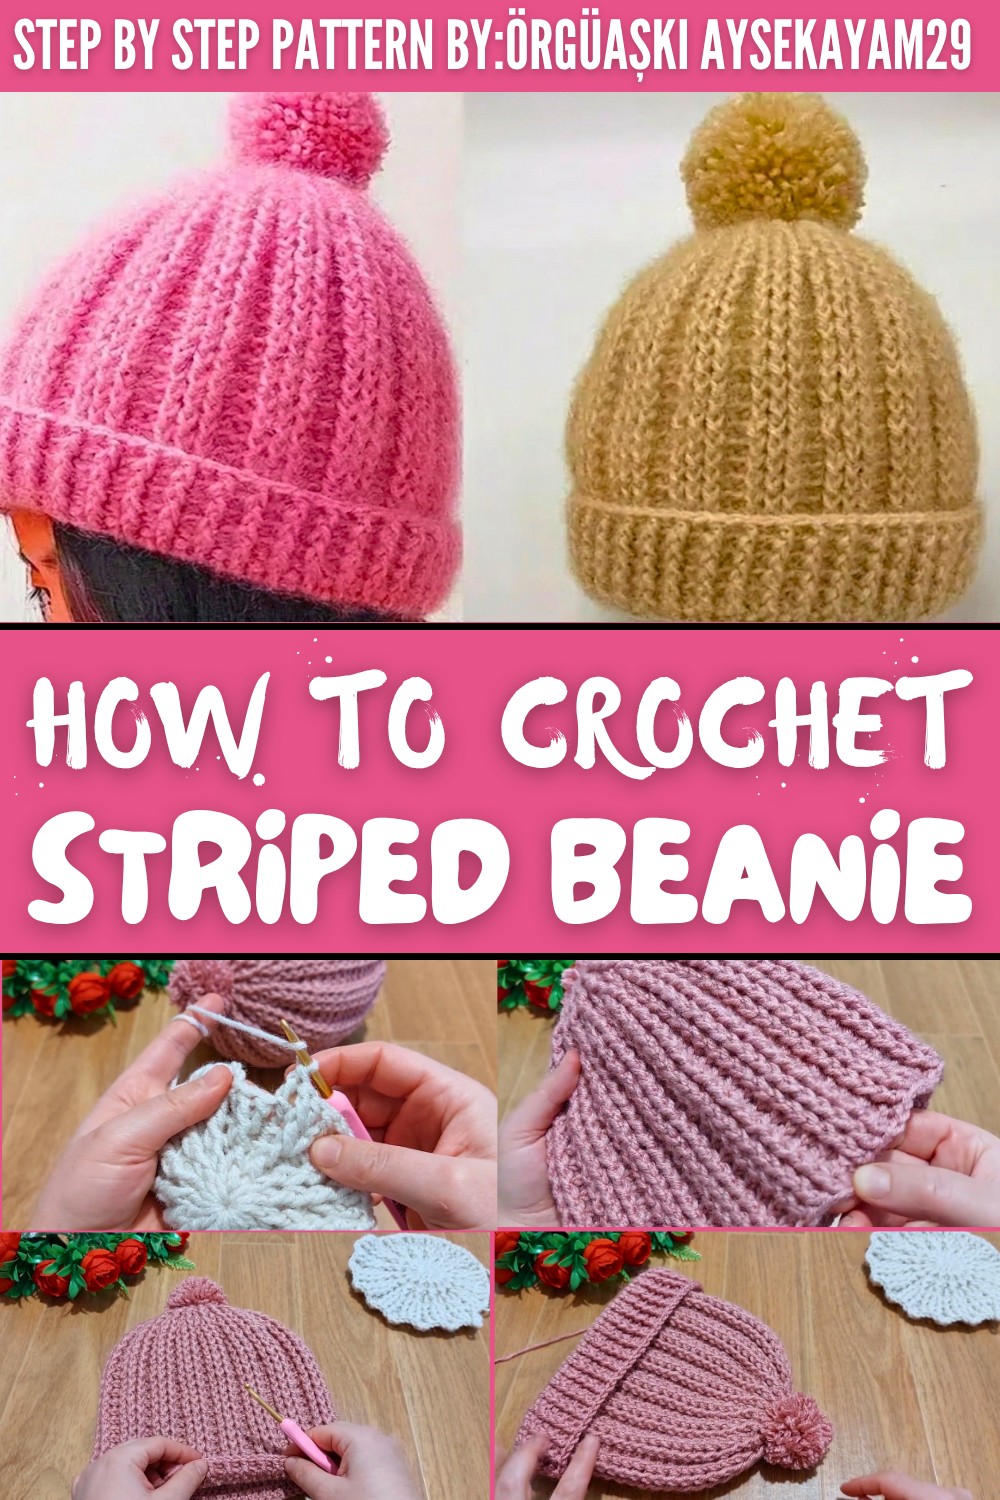
Whether you're making this for yourself or someone special, it's easy to customize the sizing. From toddlers to adults, this pattern works for everyone and can be adjusted for a snug or slouchy fit. The secret to its lovely texture comes from the way it's worked from the top down in smooth, continuous rounds. Using simple stitches like double crochet, along with front and back post stitches for the ribbed brim, it comes together quickly without overcomplicating things.
Soft and stretchy medium weight yarns, like a wool acrylic blend give the stitches great texture and warmth without feeling too heavy. This makes the beanie a perfect one size fits all gift for birthdays, holidays, or just to brighten someone's winter. With every stripe, you'll infuse a bit of personality and color, turning an ordinary beanie into something special.
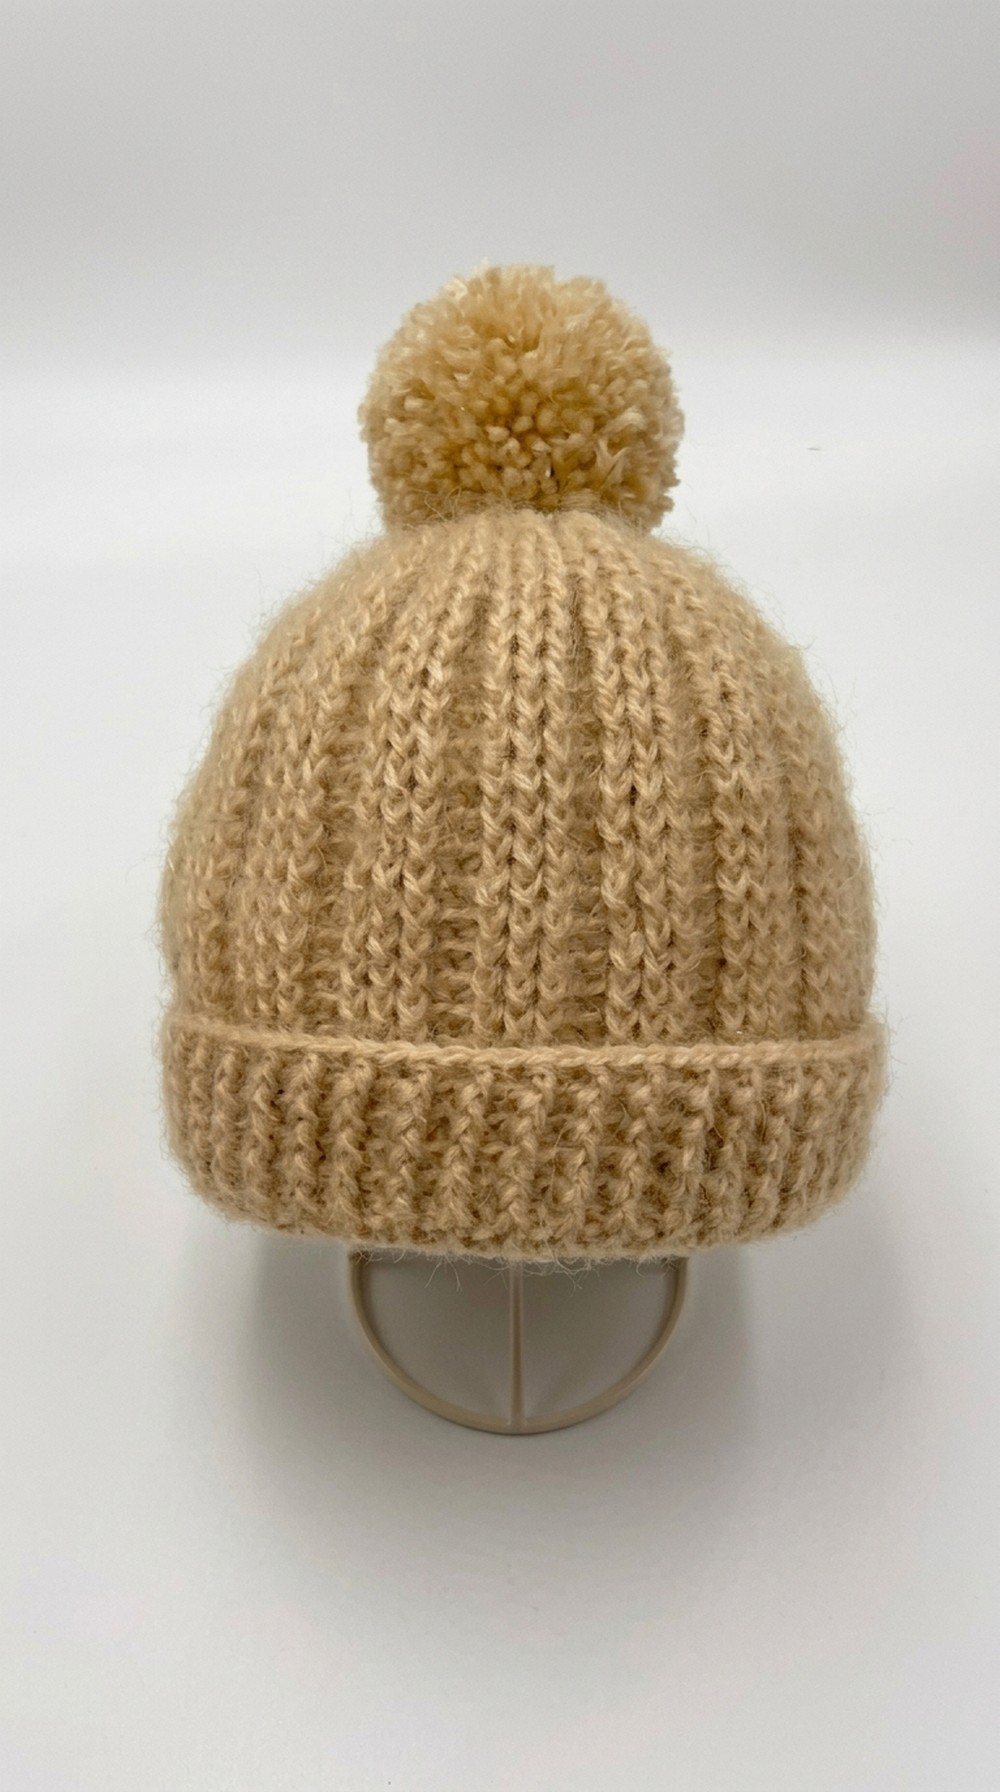
Free Crochet Striped Beanie Pattern
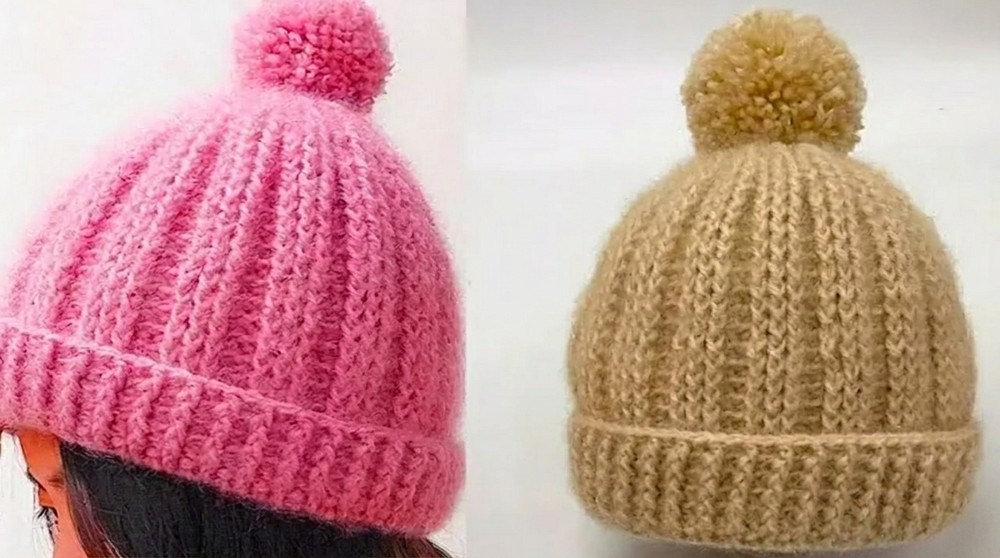
This crochet beanie pattern uses a 4mm hook and medium weight wool blend yarn (such as Alize Superlana Midi). The pattern is worked in rounds using double crochet stitches and front/back post stitches to create a beautifully textured fabric with an elastic brim and a pom pom accent. Follow these detailed instructions to create a stunning and cozy beanie,
Materials Needed
- Yarn: Medium weight wool blend yarn (e.g., Alize Superlana Midi, color #599 or your choice of color)
- Hook Size: 4mm crochet hook
- Pom Pom Maker Tool (or alternative methods like hand wrapping with cardboard or using a fork)
- Scissors
- Yarn Needle (for weaving in yarn tails)
Gauge
Although the gauge is not critical in crocheting this beanie, aim for consistently tight and neat stitches for the best results.
Finished Measurements
- Circumference: Approximately 19-20 cm around the band with stretch.
- Length: Approx. 19 cm from crown to base after working the total rounds.
Stitch Abbreviations
- ch: Chain
- sl st: Slip stitch
- dc: Double crochet
- fpdc: Front post double crochet
- bpdc: Back post double crochet
- sc: Single crochet
Special Stitches
Elastic Stitch (Ribbing): Alternating front post double crochet (fpdc) and back post double crochet (bpdc) stitches form the elastic texture for the brim.
Step by Step Instructions
1. Foundation
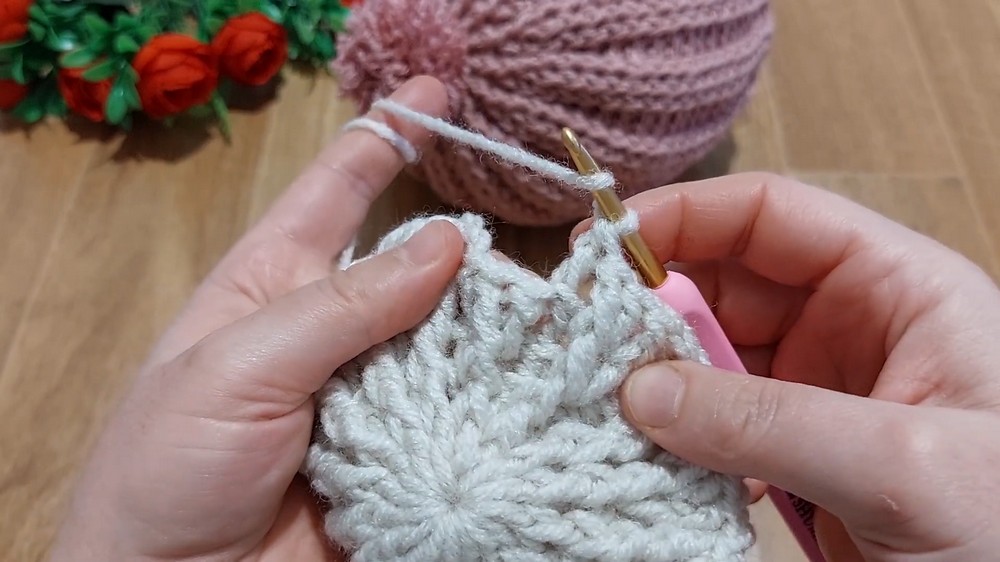
- Create a magic ring.
- Chain 3 (counts as the first stitch).
- Work 15 double crochets (dc) into the magic ring.
- You should now have 16 stitches in total (including the chain).
- Pull the magic ring tight and join with a sl st to the top of the 3rd chain.
2. Second Round
- Chain 3.
- For every stitch, work:
- 1 front post double crochet (fpdc), and
- 1 regular double crochet (dc) into the same stitch as the previous round.
- By the end of the round, you will have 32 stitches total.

3. Third Round
- Chain 3.
- Alternate stitches as follows:
- fpdc: Work into the fpdc stitches from the previous round.
- bpdc: Work into the regular dc stitches from the previous round.
- Continue the alternating pattern until you complete the row. You should have 32 total stitches.
4. Fourth Round
- Chain 3.
- Increase the number of stitches in this round:
- Work 2 fpdc into each fpdc from the previous round.
- Work 1 bpdc into each bpdc from the previous round.
- At the end of the round, you should have 48 stitches.
5. Fifth Round
- Chain 3.
- To increase further in this round:
- Work the first fpdc segment as 1 fpdc only.
- In the second fpdc stitch, work 2 fpdc into the same stitch.
- Keep the bpdc stitches as singles, working 1 bpdc per stitch.
- This round concludes with 64 stitches total.
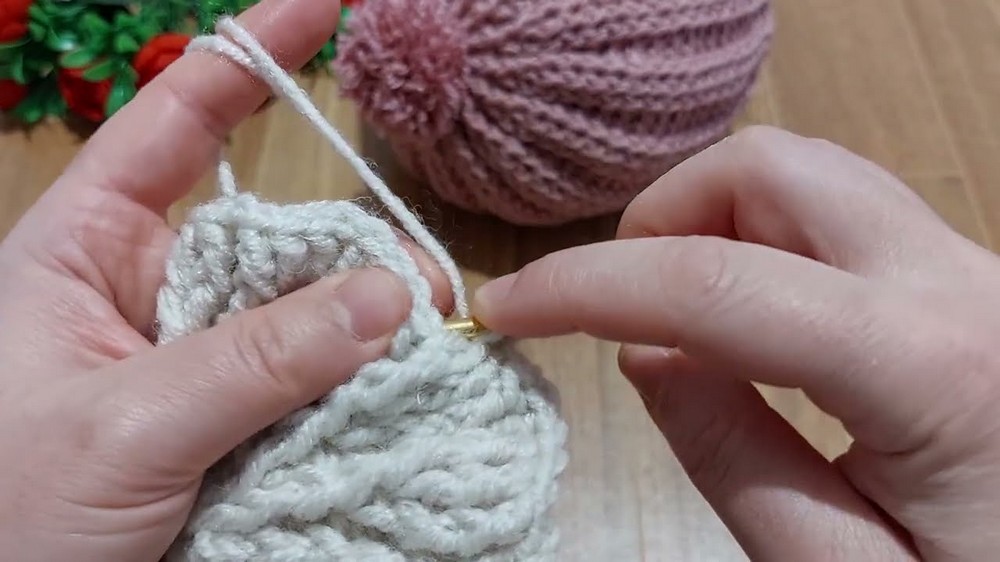
6. Sixth Round
- Chain 3.
- Maintain 3 fpdc stitches per segment (no increases for this part).
- Increase the bpdc sections by working 2 bpdc stitches into each bpdc stitch from the previous round.
- At the end of the round, you'll have 80 stitches total.
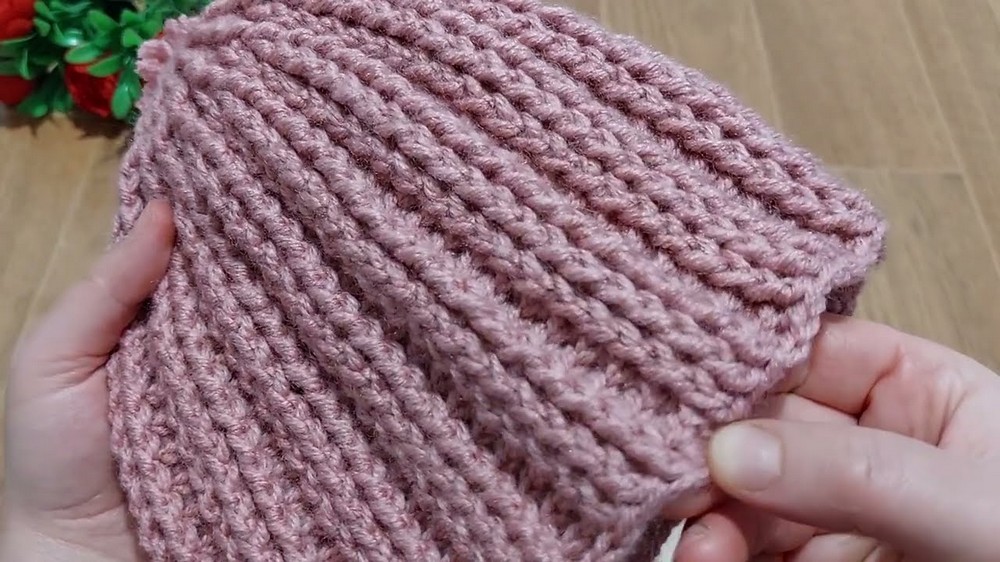
7. Body of the Beanie
- Continue with 80 total stitches per round, maintaining the alternating texture pattern with:
- 3 fpdc stitches per segment, and
- 2 bpdc stitches per segment.
- Work in this pattern until you reach 23 total rows or until the length from the crown reaches approximately 19 cm.
- You may adjust the total number of rows depending on your desired fit and style.
8. Border / Ribbing
Once the body of the beanie is complete, transition to the brim, which features a ribbed pattern for elasticity.
Transition Row
- Work 1 row of single crochet (sc) around all stitches. Insert sc into each fpdc and bpdc stitch from the previous row.

Next Row
- Work 1 row of double crochet (dc) into every sc stitch from the transition row.
Ribbing
- Alternate stitches to create a ribbing texture:
- fpdc: Work fpdc over fpdc stitches from the previous row.
- bpdc: Work bpdc over bpdc stitches from the previous row.
- Continue this ribbing pattern for 5 total rows.
- Customization Tip: Adjust the number of ribbing rows based on your preferred brim width (e.g., 4 rows for narrow brim, 6 rows for wider brim).
- Fasten off and weave in any remaining tails for a neat finish.
9. Pom Pom Instructions
Complete your project with a delightful pom pom.
Making the Pom Pom
- Use a pom pom maker tool or alternative:
- Wrap your yarn evenly around both wings of the tool until the plastic parts of the tool are completely covered.
- For a thicker, fuller pom pom, make additional passes while wrapping.
- Cut the yarn edges:
- Using sharp scissors, carefully cut along the middle groove of the tool.
- Tie the pom pom tightly:
- Cut a long strand of yarn and thread it through the middle, tying a strong knot in the center to secure the yarn pieces.
- Ensure the knot is tight to avoid the pom pom coming apart.
- Trim:
- Use scissors to trim any uneven edges or loose strands for a smooth, round pom pom shape.
Attaching the Pom Pom
- Use the long ties from the pom pom to attach it securely to the center top of the beanie.
- Thread the ties through the crown using a yarn needle and knot tightly inside the beanie to prevent it from loosening.

Final Assembly
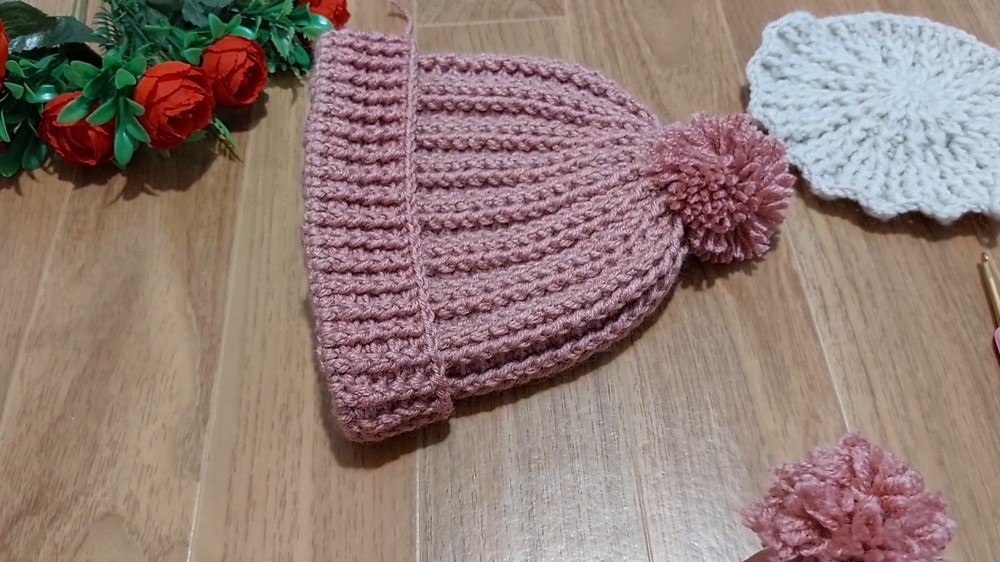
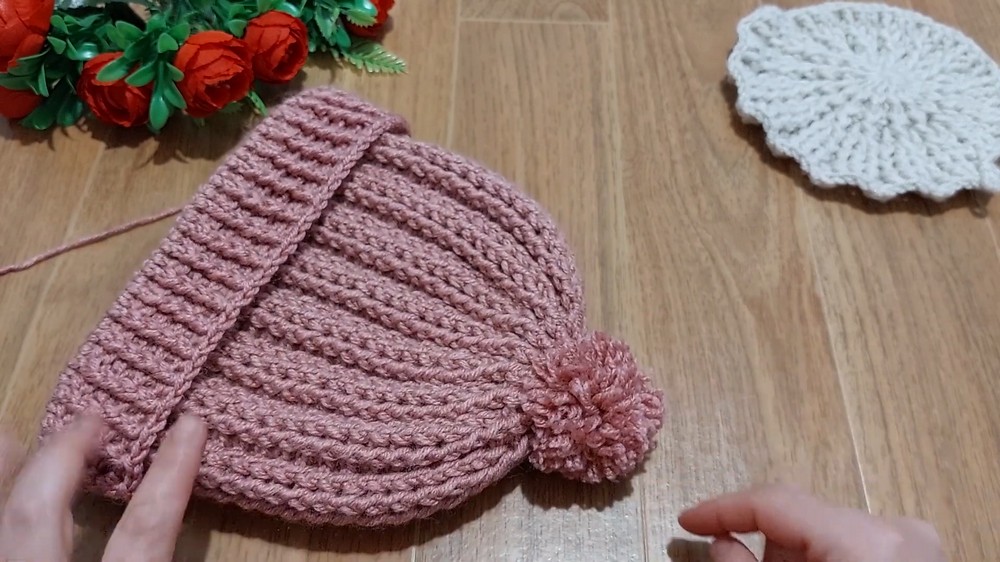
Your beanie is complete once the pom pom is attached.
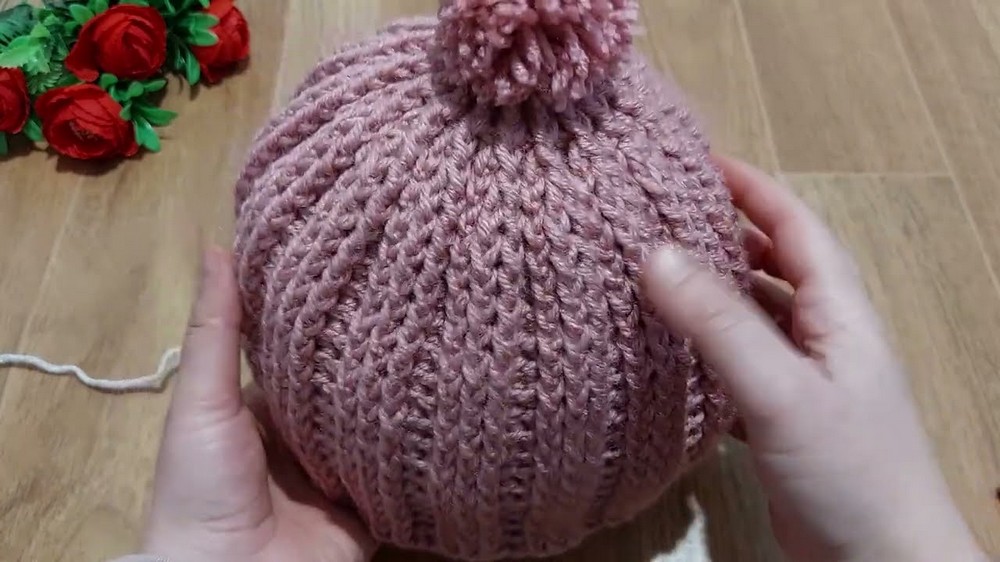
Check for any loose ends or uneven strands before wearing or gifting. Trim excess and adjust the pom pom or brim as needed.
Conclusion
Congratulations, You've completed a beautiful and cozy pom pom beanie. This versatile design is perfect for chilly days or as a wonderful handmade gift.
Feel free to customize your yarn colors, brim width, or pom pom size to fit your style preferences.