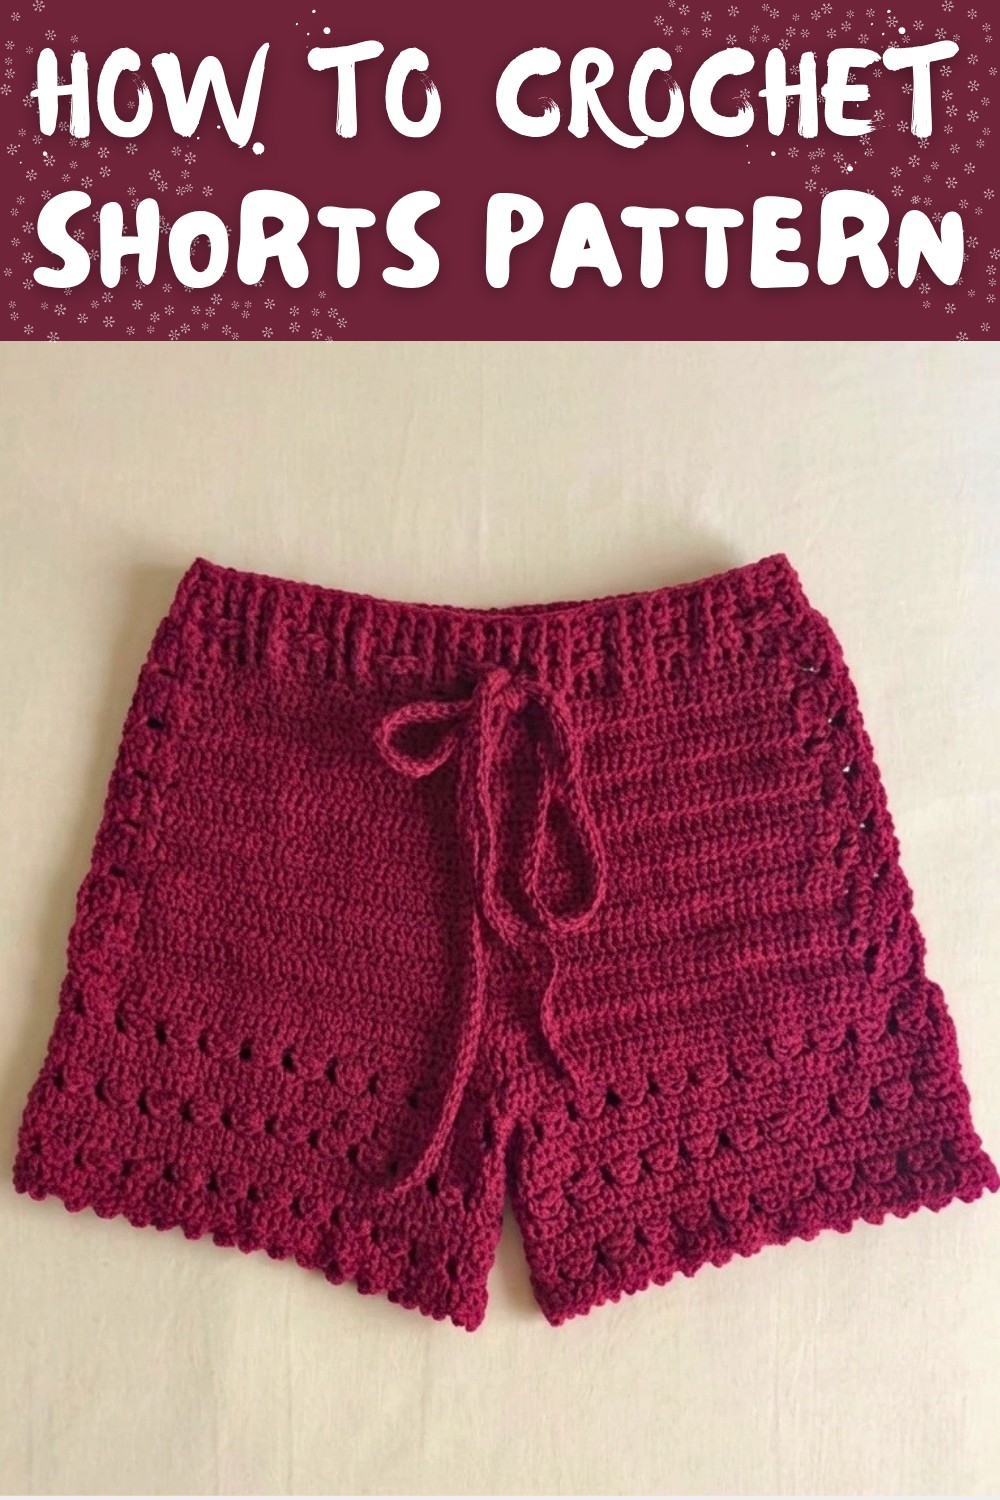
Fun & Feminine Free Crochet Shorts Pattern to Make This Season
Try this free crochet shorts pattern for a simple and cozy summer project that's easy to customize with your favorite colors and sizes.
There's something special about making clothes by hand, especially when they're as cute and versatile as these crochet shorts. Perfect for warm days at the park or casual outings, these shorts balance comfort and style with their soft texture, cozy fit, and playful accents. Featuring a stretchy ribbed waistband, a lovely textured stitch, and a touch of decorative edging, they're as fun to make as they are to wear. The shape is thoughtfully constructed with practicality in mind. Starting from the waistband, the project is worked downward in two panels with shaping at the center for a better fit. A small gusset adds comfort and ease for active wear, while the leg openings allow for a variety of edging styles.
Stylish Free Crochet Shorts Pattern for Summer
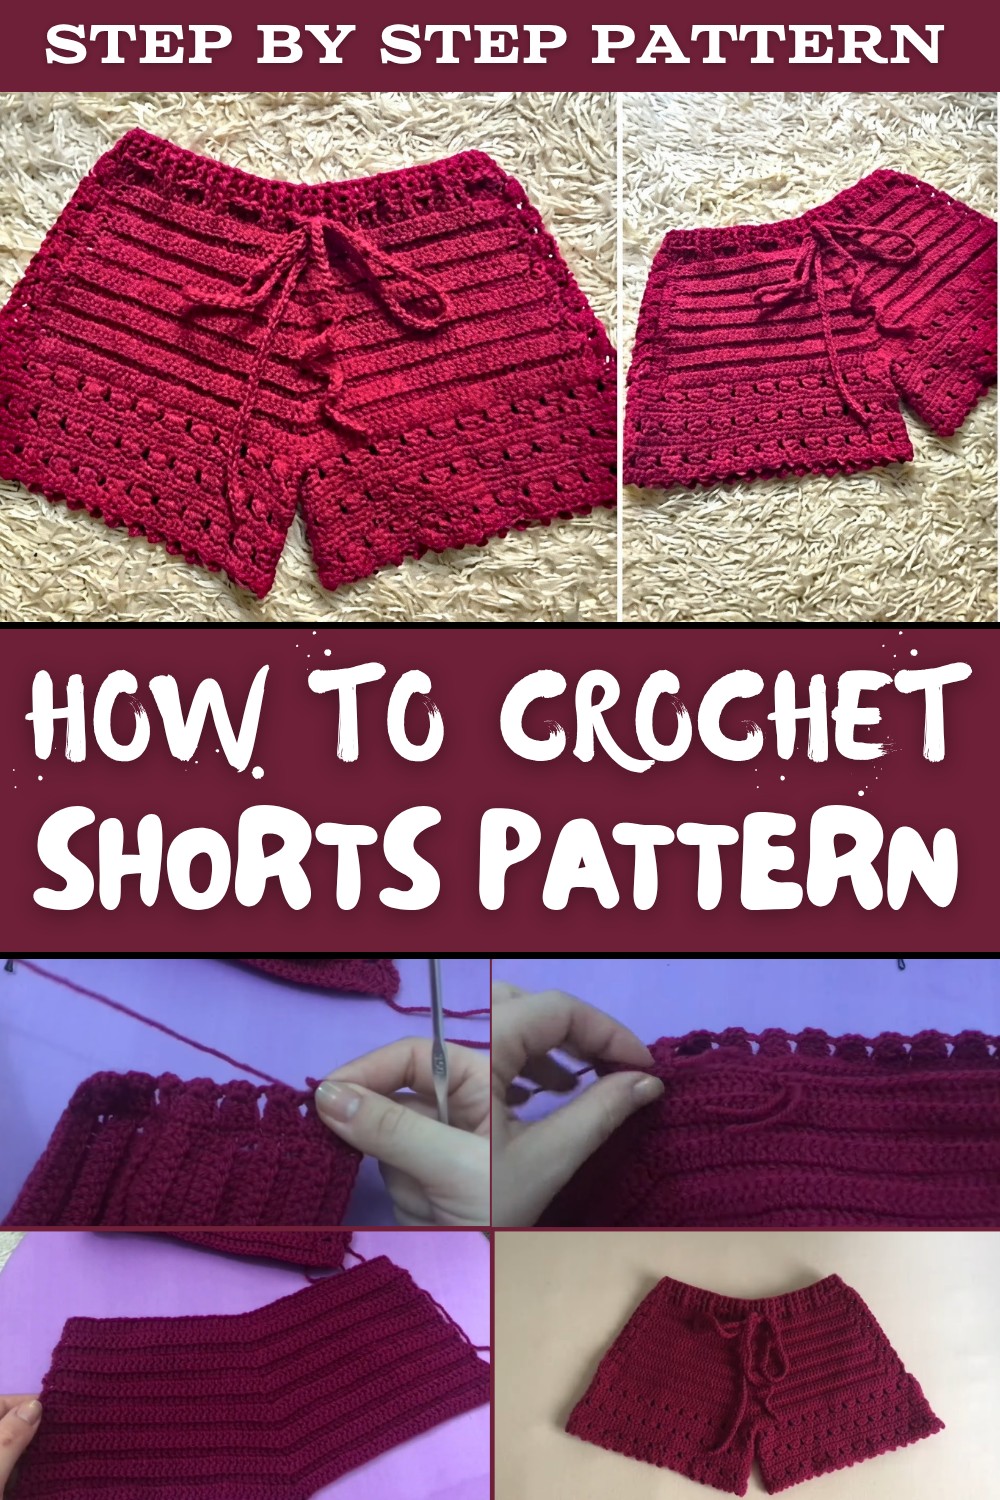
Whether you prefer classic simplicity or whimsical trims, you can customize these however you like. They're made for kids aged 6 to 8, but adjusting the size is as easy as adding or removing rows or increasing the foundation chain. Winding down those sunny afternoons working on this project can be just as enjoyable as the moment when you finally pull the ends through and hold up a perfectly finished pair of shorts.
Whether it's for a child's summer wardrobe, a homemade gift, or just for the joy of trying something new, these crochet shorts are certain to win heartwarming smiles. Add your personal touches with bright colors, stripes, or even some fun appliqués to make them even more delightful.

Crochet Shorts Pattern
Quick Overview of the Pattern
Foundational Structure
- Worked in two main panel sections from the waistband downward.
- Includes shaping for the center rise.
Textured Stitch Pattern
- Features front/back loops and extended puff like single crochet clusters to match the companion sweater.
Construction & Edging
- Includes decorative side joinings, a custom crotch gusset, textured leg borders, and a classic relief ribbed waistband with a crochet cord.
Skill Level
Intermediate
Materials
- Yarn: Ören Bayan Star yarn (1 skein / approximately 100g needed).
- Hook: Size appropriate for the selected yarn.
- Notions: Tapestry needle (for weaving ends), scissors, and 1-2 locking stitch markers.
Measurements & Sizing
- Target Size: Suitable for ages 6-7 years (can fit ages 7-8 depending on child's measurements).
- Row Count: Main rise consists of 14 pattern rows before attaching the edges and assembling the legs.
- Gauge: Gauge depends on individual tension; adjust foundational row width to match desired size.
Stitch Abbreviations
- ch: chain
- st(s): stitch(es)
- sl st: slip stitch
- sc: single crochet
- dc: double crochet
- BLO: back loop only
- FPdc: front post double crochet
- BPdc: back post double crochet
Special Stitches
Textured Cluster Stitch
- Pull up extended loops over 4 consecutive stitches (without yarn overs).
- Pull the yarn through the first 4 loops.
- Yarn over, pull through the remaining 2 loops on the hook.
- Work 3 single crochets into the space under the cluster structure.
Pattern Instructions
Part 1: Main Panel Construction (Make 2)
Foundation Chain & Setup Row
- Make a foundation chain of 53 chains.
- Chain an additional 3 chains (turning space).
- Yarn over, insert hook into the 4th chain from the hook, and place 1 double crochet (dc).
- Work as follows:
- 1 dc in each chain stitch until the center mark (first 26 stitches).
- Place a stitch marker in the 27th stitch (center).
- Work 1 dc in each chain stitch for the remaining 26 stitches.
- Stitch count: 53 double crochets in total.
Row 2 (Increase Row Back Loop Only)
- Chain 3, turn your work (turning chain does not count as a stitch).
- Work 1 dc in the BLO (back loop only) into the first stitch (this creates an end of row increase).
- Work as follows:
- 1 dc in BLO of each stitch up to the marked center stitch.
- Remove the stitch marker and place 3 dc in BLO into the marked stitch.
- Put the stitch marker into the 2nd dc of the 3 dc group (to mark the new center).
- 1 dc in BLO of each stitch until the end of the row.
- Make sure to end with 1 dc in BLO in the turning chain.
- Stitch count: 55 double crochets.

Row 3 (Non Increase Row Back Loop Only)
- Chain 3, turn your work (turning chain does not count as a stitch).
- Work as follows:
- 1 dc in BLO in the first stitch.
- 1 dc in BLO in each stitch across until the marked center stitch.
- In the marked stitch, work 1 dc (BLO) only (no increase). Move the marker to this stitch.
- Continue working 1 dc in BLO across the row, including the final stitch base.
- Stitch count: Remains the same as the previous row.
Rows 4-14
- Alternate Row 2 (Increase Row) and Row 3 (Non Increase Row).
- Continue until 14 rows are completed.
- After completing 14 rows, check your work:
- The panel should have an even shape with symmetrical increases on each side of the center mark.
Part 2: Decorative Side Border & Joining
Single Crochet Base Border
- At the end of Row 14, chain 1 to turn and begin working along the vertical side edge of the panel.
- Work as follows:
- Place 1 single crochet (sc) into the top of each dc row.
- Place 1 sc into the middle space of each dc row, creating an even edge of single crochets.

Textured Oya Cluster Border
- Chain 1 and turn the work.
- Begin the Textured Cluster Stitch as follows:
- Extend the loop on your hook slightly.
- Insert the hook into the next stitch, pull up a loop, and lengthen the loop to match the extended loop on your hook.
- Repeat this process for 4 consecutive stitches until there are 5 loops on the hook.
- Pull the working yarn through the first 4 loops together, then yarn over and pull through the remaining 2 loops.
- Insert your hook under the cluster loops just formed and work 3 single crochets directly around/inside the cluster.
- Repeat the process across the edge until the end of the row.
- Finish with 1 double crochet into the final stitch.

Criss Cross Lacing Connection
- Chain 5.
- Use a zigzag lacing connection to attach the side border across to the second main panel:
- Chain 2, single crochet into the center space between clusters on the opposite panel.
- Chain 2, single crochet into the matching space on the original panel.
- Repeat until the sides are securely joined.

Part 3: Crotch Gusset & Leg Division
Crotch Gusset
- Attach the yarn to the bottom center point, where the center increases were worked.
- Work a single crochet (sc) base row across the leg lower edge, stopping at the marked crotch center point.
- At the center stitch:
- Work 1 sc, then chain 4 chains.
- Yarn over and insert the hook into the base of this same center stitch.
- Work 1 extended double crochet (4 steps) into the base of the stitch.
- Chain 4 and repeat the extended double crochet, forming two open loops for the left and right leg openings.
- Continue working 1 sc across the remaining stitches to the opposite end of the leg edge.
Leg Division
- Chain 5 at the leg opening and slip stitch to join, creating the active leg loop.
- Repeat the full Part 4: Leg Edgings instructions below on both legs.
Part 4: Leg Edgings (Work for Each Leg)
Leg Round 1: Textured Cluster Round
- Turn the work so the right side is facing outward.
- Begin the Textured Cluster Stitch and work continuously around the leg opening, including through the crotch gusset loops.
- In each crotch loop space, work 4 clusters.
- After completing the round, make sure both legs have an identical cluster count.
- Join using a slip stitch.
Leg Rounds 2 and Onward: Single Crochet and Cluster Rounds
- For Round 2, chain 1 and turn the work inside out.
- Work 1 sc in each sc and space across the entire opening.
- For Round 3, turn the work right side out again and repeat the textured cluster pattern around the circumference.
- Alternate single crochet and cluster rounds. Work a total of 3 cluster rounds for the desired length.
Leg Finish Round: Picot Edging
- On the single crochet round after the 3rd cluster row, start the picot edging:
- Work 3 single crochets.
- Chain 3, insert the hook into the front two loops of the previous single crochet, and place 1 slip stitch to create a picot.
- Repeat (3 sc, ch 3, slip stitch) around the leg opening.
- Trim and fasten off.
- Repeat for the second leg.
Part 5: Ribbed Waistband & Tie Cord
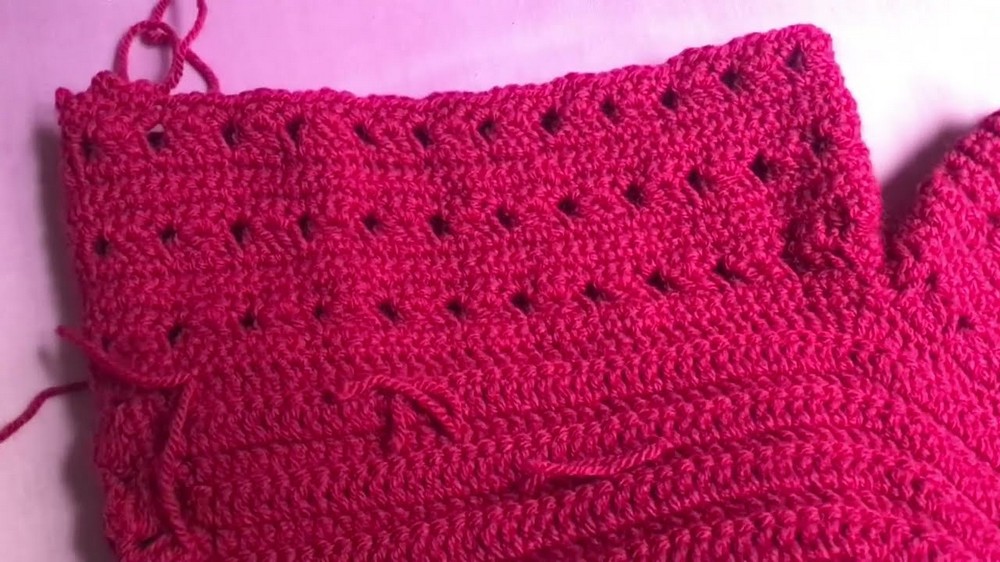
Ribbed Waistband
- Attach the yarn to the upper edge of the waistband.
- Chain 2, then work double crochet (dc) evenly across the waistband circumference. Join with a slip stitch.
- Chain 2, then alternate:
- Work 1 Front Post Double Crochet (FPdc) around the post of the next stitch.
- Work 1 Back Post Double Crochet (BPdc) around the post of the following stitch.
- Repeat FPdc, BPdc ribbing for a total of 3 rounds (or until the desired thickness is achieved). Fasten off.
Tie Cord
- Using two strands of yarn held together, make a long foundation chain to the length needed for a bow tie.
- Knot each end and trim any excess yarn.
- Weave the cord through the spaces in the FPdc/BPdc waistband.

Finishing
- Weave in all ends with a tapestry needle.
- Block the finished garment if needed for proper shaping.
Conclusion
These beautiful crochet shorts feature a textured stitch pattern, gusset construction for comfort, decorative edges, and a flexible ribbed waistband. They're perfect for matching with the companion sweater or as a standalone project for gifting or personal use.