
Eco-Friendly Crochet Market Bag – Free Pattern You’ll Love
Handmade beauty shines in this free crochet market bag pattern that gently carries your fruits books and simple daily needs while adding charm to every use.
Upgrade Your Shopping Game with this Free Crochet Market Bag Pattern. This easy to make and stylish bag is the perfect mix of beauty and functionality. Designed to be strong, eco friendly, and reusable, it's an ideal choice for carrying everything from fresh groceries and books to your everyday essentials. Whether you're going to the market, the beach, or simply running errands, this bag is here to add a touch of charm to your day.
The beauty of this bag lies in its simple yet elegant design. Its sturdy base is worked in tight half double crochets, making it durable enough to hold heavy items, while its beautiful lacy sides give it an airy and lightweight feel. The customizable handles mean you can personalize the bag's style to suit your needs, whether it's a shoulder length strap or a manageable hand strap.
Free Pattern to Crochet a Market Bag You'll Use Every Day
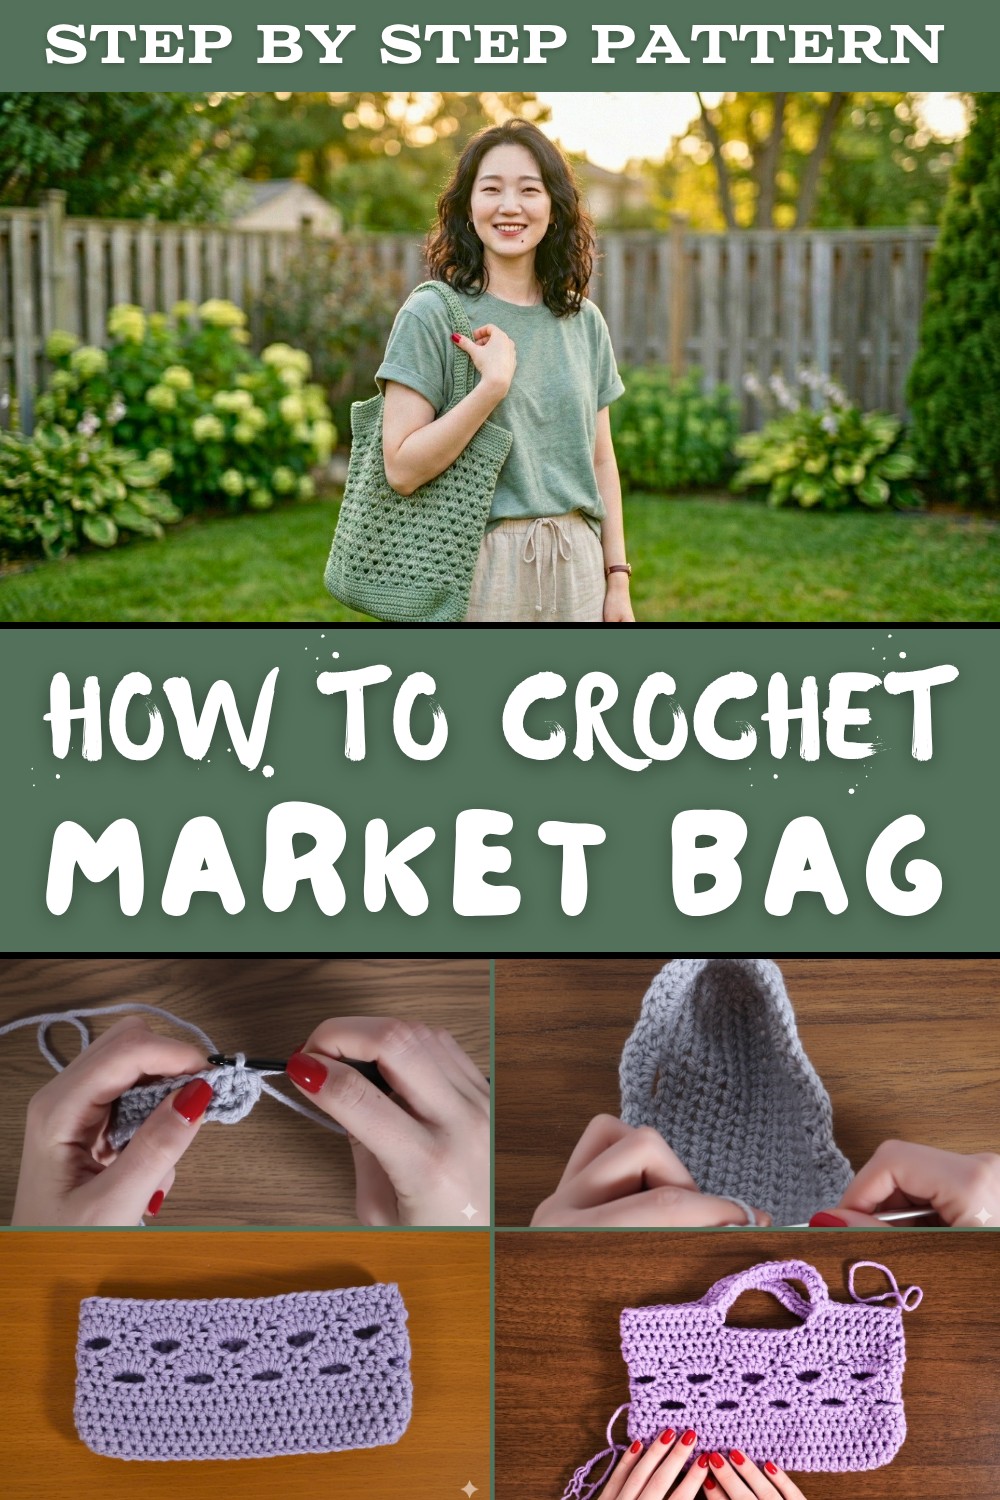
The real uniqueness of this pattern comes from its versatility. You can adjust the bag's size by changing the starting chain, giving you the freedom to create exactly what you need. Plus, the neutral tones of Yarn Bee Sweet Divinity in Amber Waves elevate its look, but you can experiment with any yarn to add your unique flair.
Crocheted with a 3 mm hook for tighter stitches, this bag is sturdy, trendy, and long lasting. It is not just a project-it's a statement piece that combines practicality with style. Say goodbye to boring shopping bags and hello to a creative, eco friendly alternative that you'll want to use every day. Whether you're a beginner or a seasoned crocheter, this pattern is easy and engaging to follow, so grab your hooks and make your very own crochet market bag.

Crochet Market Bag Pattern
Materials Needed
- Yarn: Yarn Bee Sweet Divinity in Amber Waves (available at Hobby Lobby)
- Weight: Medium (4)
- Yardage: 243 yards per ball
- Quantity: 2 skeins (approximately 486 yards in total)
- Hook: 3 mm crochet hook (recommended for tighter stitches; yarn calls for 4.5 mm)
- Additional Supplies:
- Scissors
- Yarn needle for weaving in ends
Abbreviations
- Ch: Chain
- HDC: Half Double Crochet
- DC: Double Crochet
- Sl st: Slip Stitch
- YO: Yarn Over
Gauge and Notes
- The bag begins at the base and works upward. Adjust starting chains for your preferred bag size.
- Keep tension consistent for even stitches.
- The demonstration includes 66 chains for the base, but you may increase or decrease depending on your desired width.
- The pattern includes sections worked in the round. Use stitch markers if needed to track rounds.
Instructions
Step 1: Base of the Bag
- Starting Chain: Create a foundation chain of 66 stitches (or adjust for desired width).
- Row 1:
- YO, insert the hook into the second chain from the hook. YO and pull through (3 loops on hook). YO and pull through all 3 loops to complete an HDC.
- Place 2 more HDCs into the same chain to form 3 HDCs in one chain.
- Work 1 HDC into each subsequent chain across the row until you reach the last chain.
- In the last chain, place 3 HDCs.
- Turn your work, and begin working down the opposite side of the foundation chain.
- Place 1 HDC into each chain across until you return to the starting point.
- Sl st into the first HDC to complete the round. You are now working in the round.
- Rows 2-8:
- For each row, follow this pattern:
- Place 1 HDC into each stitch across until you reach the tip (the second of the 3 HDC stitches from the previous round).
- Place 3 HDCs into the tip stitch to ensure the base widens evenly.
- Continue working around in the round.
- At the end of each round, sl st to join before proceeding to the next row.
- For each row, follow this pattern:
- Rows 9-12:
- Work 1 HDC into each stitch without increasing. This allows the base to curl upward, forming the sides of the bag.


Step 2: Lace Pattern
- Round 13 (Set Up Round):
- HDC 3 stitches.
- Ch 3, skip 3 stitches, and place 3 HDCs into the next 3 stitches.
- Repeat this pattern (HDC 3, Ch 3, skip 3) around the row.
- If the stitches do not align perfectly at the end, adjust by either skipping fewer/more stitches or placing HDCs slightly closer.
- Round 14:
- Sl st loosely into the first chain space from the previous row.
- Place 1 HDC into the next stitch.
- In each ch 3 space, work 5 DCs. Skip the next stitch and place 1 HDC in the following stitch.
- Repeat this pattern of alternating 5 DCs into chain spaces and HDCs into regular stitches around.15:
- Place 1 HDC in each stitch across, chaining 3 between sections to continue the lacework from Round 13.
- Follow the alternating rows of HDC Ch/HDC DC lace repeats for desired bag height.
- Alternate Rounds 13 and 14 for the pattern until achieving the desired height.

Step 3: Top Edge
- Create Handles:
- Divide the top into thirds (adjust based on bag width). Place HDCs evenly across the first third of stitches.
- Chain a desired number (e.g., 60 for long handles, fewer for shorter handles). Attach the chain where the second third begins using a sl st.
- Work HDCs across the second third. Repeat the handle making process by chaining and slip stitching to the final third.
- Reinforce Handles:
- For the next round, work HDCs directly into the chain spaces created by the handles.
- Distribute stitches evenly (e.g., if your handle has 60 chains, place 60 HDCs across).
- Final Rounds:
- Work 2-3 rows of HDC evenly around the top edge to reinforce the structure and stabilize the handles.

Finishing the Bag
- Weave in Ends:
- Using a yarn needle, weave in all loose ends securely.
- Block the Bag (Optional):
- To achieve proper shape and measurements, gently block the bag. Use a steamer or damp towels as needed.
Tips for Maintaining Your Bag
- Wash gently by hand or on a delicate machine cycle. Use cold water and mild detergent.
- Lay flat to dry to preserve shape.
- If the bag stretches over time, gently block it back into shape.

Final Thoughts
Congratulations on completing your crochet market bag. This project is perfect for casual trips to the farmer's market or as an everyday tote. The combination of a sturdy base with airy lacework makes it both functional and aesthetically pleasing. Don't hesitate to adapt the pattern size to suit your storage needs, and enjoy bringing your creativity to life with each use.