Effortless Free Crochet Cropped Top Pattern for Beginners
Follow this free crochet cropped top tutorial for an airy, comfortable, and chic wardrobe staple, perfect for sunny days or layering in every season.
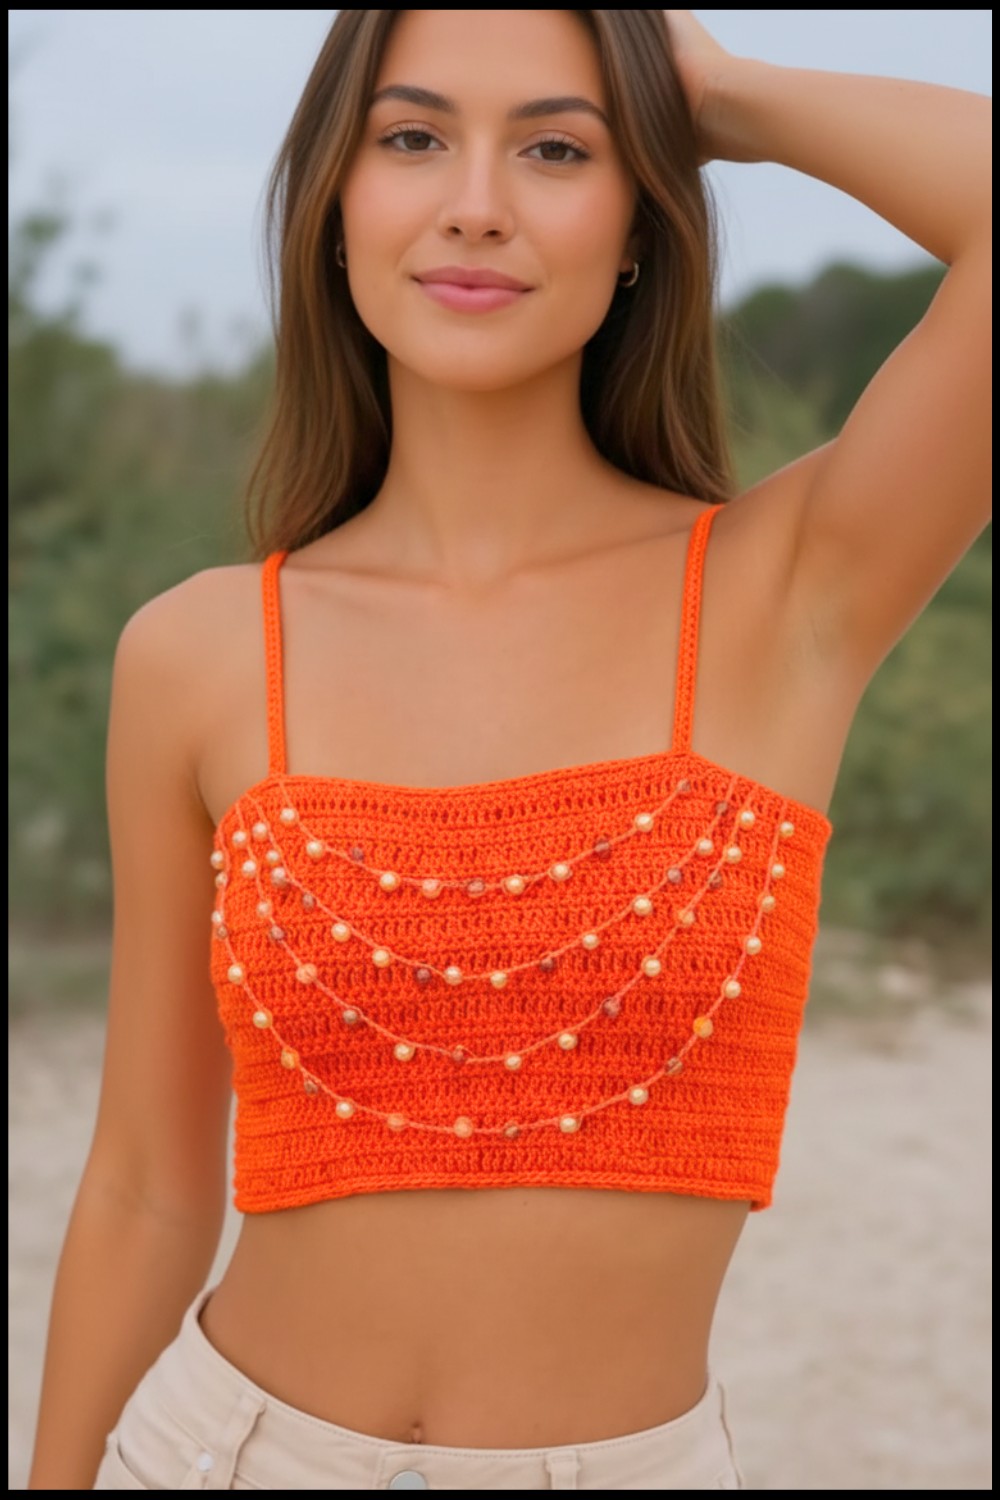
A lightweight and stylish cropped top adds charm to any outfit, making it a versatile choice for casual days or special events. This free crochet cropped top pattern focuses on simplicity, offering instructions that are perfect for beginners and advanced crocheters alike. Designed with breathable stitches, this top sits beautifully on the body, giving you a flattering fit and a trendy look. The pattern uses soft cotton yarn to ensure comfort, while the cropped design pairs perfectly with high-waisted pants, skirts, or shorts.
Free Cropped Top Crochet Pattern for Every Occasion

Its beauty lies in the delicate texture and airy look of the fabric, making it ideal for warm weather. Whether worn as a beach cover-up or layered for cooler days, this crochet top stands out as a fashionable and functional piece. The open-back or adjustable straps, common in patterns like this, provide a customizable fit, ensuring it suits different shapes and sizes.

Rhinestone Braided Backless Cropped Top Pattern
With clear instructions and minimal effort required, this pattern lets you create a stunning wardrobe staple without hassle. It's the perfect project for anyone looking to enhance their crochet skills while making something trendy, comfortable, and unique.
Skill Level
Intermediate
Finished Size
- Base Dimension: Approximately 15 cm tall (adjusted as needed).
- Straps: Self-adjusting via back braid.
Materials Needed
- Yarn:
- Anne Yarn (Category 2) in your preferred color.
- Cord Yarn for the rhinestone application.
- Crochet Hooks:
- 2.5 mm hook for the main design.
- 1.25 mm fine hook for applying beads/rhinestones.
- Embellishments:
- Beads, pearls, or rhinestones (optional).
- Adjust quantities based on desired coverage.
- Scissors: For cutting yarn.
- Fabric Glue or Liquid Silicone Glue: For securing ends and decorative elements.
- Stitch Markers: For marking critical points during strap placement.
Gauge
Gauge is not critical as the design is adjustable. However, for guidance:
- 10x10 cm swatch = 22 stitches × 26 rows (in single or double crochet).
Customization Ideas
- Use metallic thread or glitter yarn to add sheen to the base design.
- Arrange rhinestones in a specific pattern or cluster for a more pronounced effect.
- Replace the braided back closure with ribbon or fabric straps for a different style.
- Vary the strap thickness by working half double crochet (hdc) or double crochet (dc) stitches instead of single crochet (sc).
Key Abbreviations
- ch: Chain
- sc: Single crochet
- dc: Double crochet
- sl st: Slip stitch
- st(s): Stitch(es)
- rep: Repeat
Pattern Instructions
1. Foundation Cord
- Using 2.5 mm hook and Anne yarn, crochet a foundation chain of 140 chains.
- Beginning in the 4th chain from the hook, crochet 1 dc in each chain across the row.
- You will now have 136 dc in the row.

2. Base Body
Row 1: Single Crochet Row
- Turn your work.
- Crochet 1 sc in each dc of the previous row.
Rows 2-End
- Alternate between rows of sc and dc, turning the work at the end of each row.
- Continue until the base measures 15 cm in length.
- Example: Complete ~19 rows (1 row of sc, 1 row of dc alternated).

Tip: Adjust the total number of rows for a longer or shorter cropped top.
3. Strap Construction
Placement of Markers
- After completing the base, fold the piece horizontally and locate the center.
- Place a marker at the center stitch.
- From the center marker, count 14 stitches to the right and place a marker on the 15th stitch.
- Repeat on the left side of the center marker.
- This will divide the piece into 14 sts on either side for the body with markers for strap placement.

Creating the First Strap
- Work sc in each base stitch until reaching the right marker.
- Chain 160 chains to create the strap.
- Optional: For thicker straps, you may use hdc or dc for the strap construction.
- Beginning in the 3rd chain from the hook, crochet 1 sc in each chain back to the base.
- Continue working sc in each base stitch to the second marker (center).

Creating the Second Strap
- At the second marker, chain 160 chains again to create the second strap.
- Follow the same technique to complete the sc back along the chain.
- Work sc in remaining base stitches until the end of the row.

4. Bordering the Edges
- At the base of the cropped top, work a round of sc around the entire piece to create a smooth edge:
- At corners, work 3 sc in the same stitch to ensure a rounded, neat finish.
- For rows with dc, work 2 sc per row edge.
- For rows with sc, work 1 sc per row edge.
5. Rhinestone and Bead Application
Preparation for Beads
- Switch to the 1.25 mm hook and load your embellishments (beads, rhinestones, pearls) onto the yarn.
- Use a needle if needed to thread the yarn through beads.
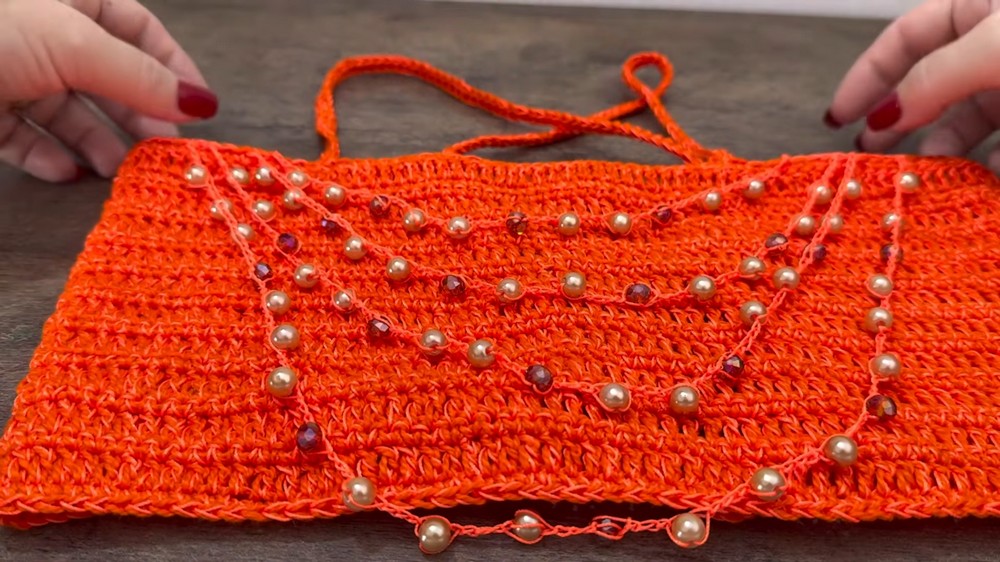
Attaching Beads
- Start from 4 stitches below the strap, working in the middle of the base.
- Make 1 sc in the base stitch, then ch 3.
- Slide the first bead onto the yarn and secure it:
- Insert the hook into the bead, pull the yarn through, and secure with a chain stitch.
- Repeat [ch 3, attach bead/pearl, sc in base stitch] until desired coverage is achieved.
Tips:
- Space the beads evenly by adjusting the number of chains between them (e.g., ch 3 for closer embellishments, ch 5 for wider spacing).
- Add more layers if desired by working back-and-forth rows with bead placement.
6. Braided Back Closure
- Use the same Anne yarn or cord yarn to create a long chain (approximately 300 chains, depending on tension).
- Weave the chain through the spaces along the back of the cropped piece in a crisscross pattern, mimicking a shoelace.
- Tie the ends of the chain into a neat bow to secure.
Finishing Touches
- Weave in Ends:
- Use the yarn needle to weave in all loose ends securely.
- Add a small drop of fabric glue to ensure knots are secure.
- Block the Piece:
- Lightly block the completed cropped top to smoothen stitches and set the shape.
- Final Adjustments:
- Ensure the rhinestones and beads are evenly spaced and securely attached.
- Adjust the straps and back closure for a perfect fit.
Conclusion
Your Rhinestone Braided Backless Cropped Top is complete! This elegant, self-adjusting design offers versatility and glamour with its sparkling rhinestones and braided back closure. Perfect for casual or dressy occasions, this timeless piece is sure to impress.

Important Remarks
- For thicker beads or embellishments, use a stronger crochet thread with a sturdy hook.
- Always reinforce ends and embellishments, especially if gifting or selling the piece.
- Experiment with colors and bead arrangements for unique creations!