
Free Crochet Amigurumi Turtle Pattern That’s Full of Surprises
Create a cute crochet turtle with a hidden storage shell that's fun to make and perfect for holding small treasures, gifts, or adding a playful touch to your space.
Once upon a time, there was a turtle so charming that it didn't just carry its home on its back, it carried treasures too. That's the magic of the Free Crochet Amigurumi Turtle. This playful little creation is not only cute but has a clever secret, it can hide your favorite trinkets or jewelry inside its shell. With its adorable round shape, textured shell, and sweet little legs and tail, this turtle has all the personality you could ask for. The shell also doubles as a small, functional storage basket, making this project both whimsical and useful.
Free Crochet Amigurumi Turtle Pattern with a Secret Gift Spot Inside
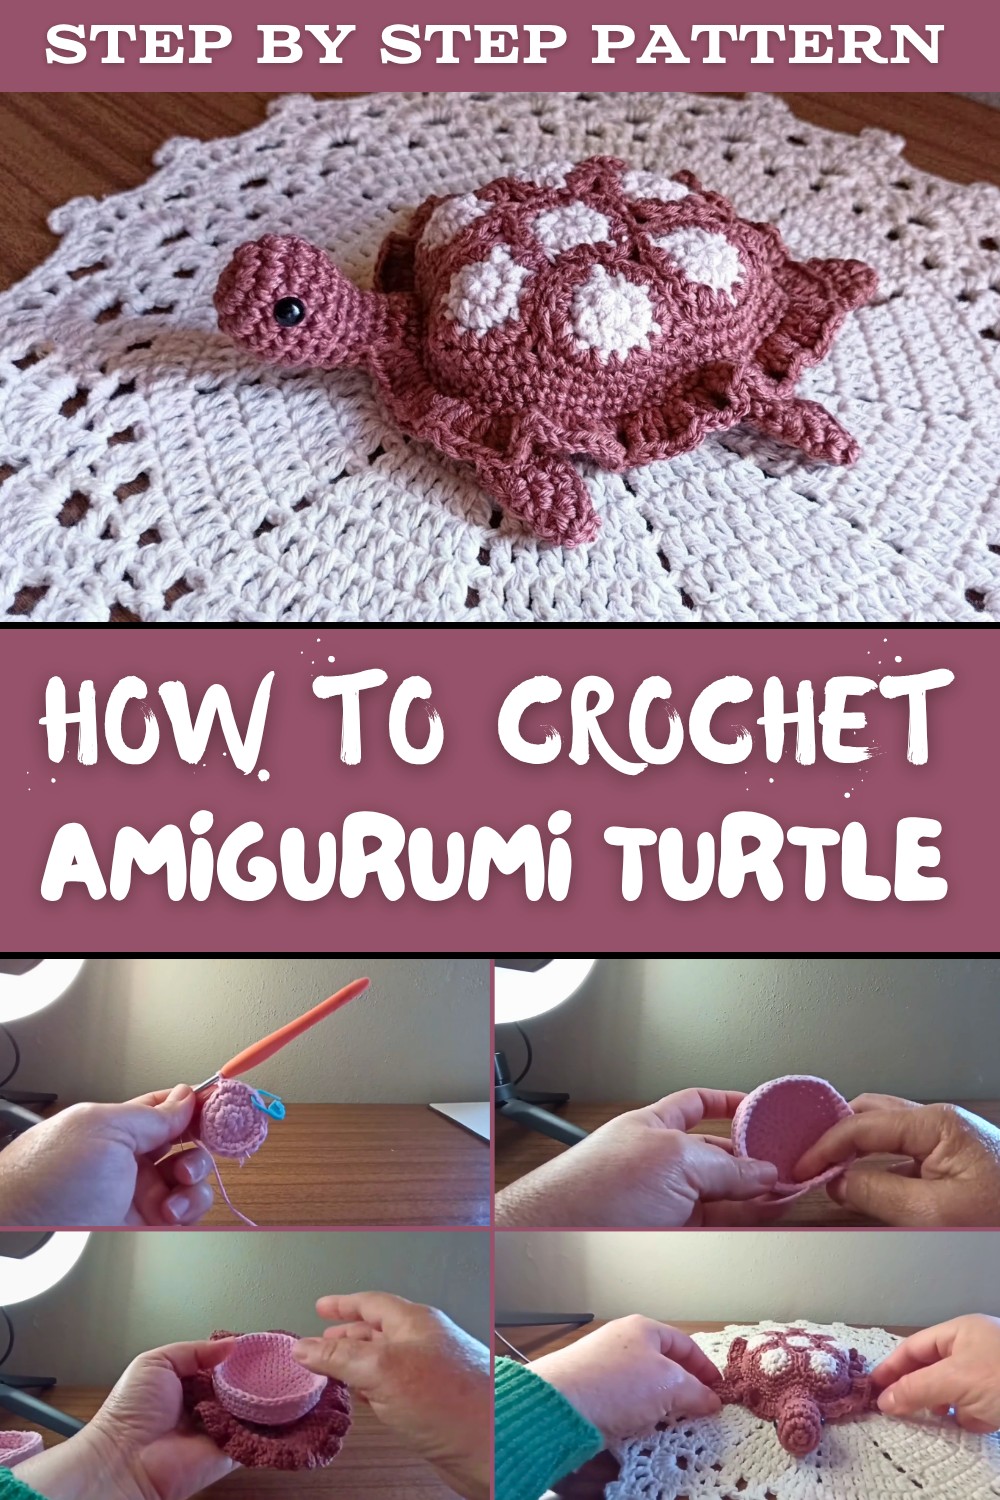
This is a great choice for crocheters who love working with soft shapes and bringing adorable creatures to life. The turtle is made in separate parts, including its shell, body, head, legs, and tail, which are then assembled together. The shell features a circle-based structure with textured stitches that give it a beautiful tiled pattern. Using durable size 6 twine for the basket base ensures it holds its shape, while softer yarns are perfect for creating the turtle's body and give it a cuddly, smooth finish. Combining these textures creates a well rounded design that has both form and function.
This little turtle makes a thoughtful and creative gift or as a fun treat for yourself. It can sit on a child's dresser, brighten up a workspace, or be used as a charming storage solution for small keepsakes, coins, or jewelry. With countless ways to personalize, you can choose earthy greens and browns for a natural look, soft pastels for a dreamy vibe, or bold colors for something playful. This project invites endless creativity and is sure to bring joy to anyone who meets this special little turtle.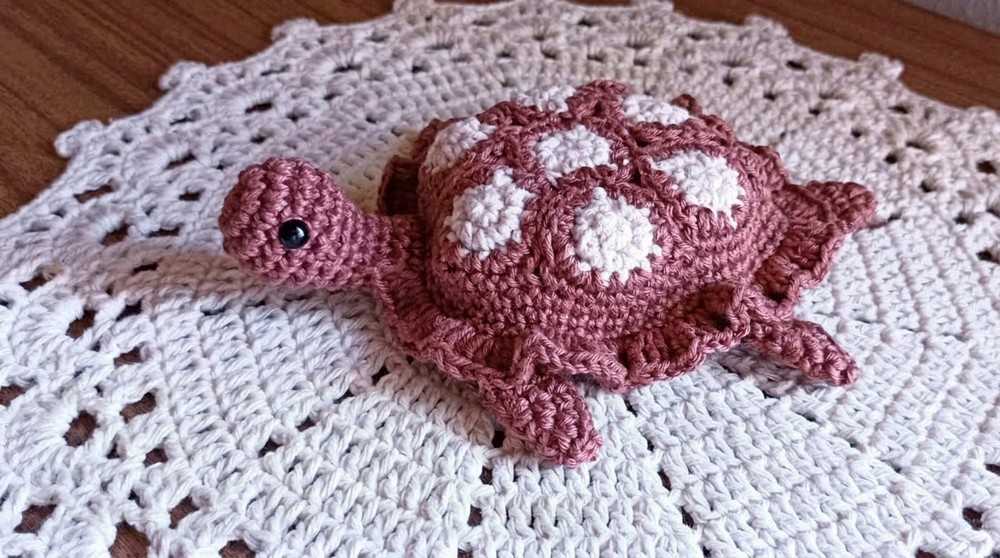
Amigurumi Turtle Jewelry Box Pattern
This pattern guides you step-by-step to create an adorable Amigurumi turtle jewelry box (or trinket storage basket). Using soft Amigurumi yarn for the turtle details and durable size 6 twine for the basket, this project is perfect for intermediate crocheters who love combining form and function.
Materials Needed
Yarn:
- Amigurumi yarn: Brown and beige for the turtle's shell, head, tail, and legs.
- Size 6 twine (barbante yarn): For the storage basket (bottom).
Hooks:
- 2.5mm crochet hook: For Amigurumi yarn.
- 3mm crochet hook: For twine basket.
Other Supplies:
- Safety eyes: 8mm for the turtle's face.
- Craft wire: Thin wire (e.g., gauge 8) to support the basket edges and ensure durability.
- Craft glue: For optional assembly and neat finishing touches.
- Tapestry needle: For sewing and finishing details.
- Polyester fiberfill: Light stuffing for the turtle's head and tail.
- Scissors: For cutting yarn ends.
- Stitch marker: To mark the beginning of rounds for better tracking.
1. Shell (Top Part)
The top shell consists of 7 crocheted circles (worked in rounds) sewn together to create a flower-like design.
Instructions for Shell Circles:
- Round 1:
Start with a magic ring. Work 6 single crochet (sc) into the ring. Pull tight to close. (6 sts) - Round 2:
Work 2 sc in each stitch around (increase in every stitch). (12 sts) - Round 3:
(1 sc, 1 inc) - repeat around. (18 sts)
Make:
- 4 circles with tails left for sewing.
- 3 circles with ends fastened off.
Shell Assembly:
- Place 1 circle in the center.
- Surround the center circle with the remaining 6 circles, sewing them together along their sides. Use the yarn tails for sewing. (Attach the lateral edges with only 2 stitches at a time on the wrong side). You will end up with a joined circular flower shape.
- Hide thread ends securely inside the shell after sewing.
Adding Shell Border
- Join the brown yarn. To create the border, insert your hook and skip over the gaps between individual circles.
- Work 3 rows of single crochet (sc) continuously around the edge to form a neat finish.
- For the final edging: Work 3 double crochet (dc) in each stitch around the shell border to create a textured finish.
Important Tip: Leave 4 stitches unworked at the front of the shell border for attaching the turtle head later.
2. Basket (Bottom Part)
Instructions for Basket Base:
- Round 1:
Begin with a magic ring (incorporate thin wire inside). Work 6 sc into the ring. Pull tightly to close. (6 sts) - Round 2:
Work 2 sc in each stitch around (increase in every stitch). (12 sts) - Round 3:
(1 sc, 1 inc) - repeat around. (18 sts) - Round 4:
(2 sc, inc) - repeat around. (24 sts) - Round 5:
(3 sc, inc) - repeat around. (30 sts) - Round 6:
(4 sc, inc) - repeat around. (36 sts) - Round 7:
(5 sc, inc) - repeat around. (42 sts)


Body Assembly
- Back Loops Only:
In Round 8, work sc in the back loops only. Continue working regular sc in the next 2 rounds to build the basket's height. - Fasten Off:
Carefully fasten off the yarn. Use the wire to strengthen and shape the basket edge.

Note: Repeat these instructions to create another basket base, which will serve as the lid. Include an additional Round 8 (6 sc, inc) for the lid to ensure it fits snugly atop the basket base.
Attach Lid and Basket:
To assemble the box: Use craft glue (or sew) and position the shell lid atop the basket base.

Let the glue dry fully before continuing.
3. Head
The turtle's head is worked in rounds, stuffed lightly, and attached to the shell.
- Rounds 1-3:
Begin with a magic ring, working increases up to 18 stitches total:- Round 1: 6 sc in magic ring. (6 sts)
- Round 2: Increase in every stitch. (12 sts)
- Round 3: (1 sc, inc) repeat around. (18 sts)
- Rounds 4-6:
Work sc evenly without increases, but perform one decrease at the end of each round until you reach 10 stitches. - Round 7:
(1 sc, 1 dec) repeat around. (10 sts) - Eyes:
Insert 8mm safety eyes between Round 4 and Round 5. - Final Rounds:
Add light stuffing to the head and work 3 even rows before decreasing every stitch to close it off. Fasten off and leave a tail for sewing.

4. Legs and Tail
Legs (Make 4):
- Round 1:
Begin with a magic ring. Work 6 sc into the ring. (6 sts) - Round 2:
Increase in every stitch. (12 sts) - Round 3:
(1 sc, inc) repeat around. (18 sts) - Fold and Sew:
Fold the completed piece in half and sew the bottom edge together using leftover yarn tails. Attach each leg to the shell base.
Tail:
- Round 1:
Start with a magic ring with 4 sc. (4 sts) - Rounds 2-5:
Work increases in every round (1 inc per row, e.g., (1 sc, inc) in Round 2) until you have 8 stitches total. - Attach:
Sew the tail to the back edge of the shell base.
Assembly & Final Touches
- Attach Turtle Parts:
Sew the head to the shell lid at the front edge. Attach the legs to the sides of the shell base, ensuring symmetry. Place the tail centrally at the back. - Finishing Touches:
Hide loose ends securely using a tapestry needle. Apply glue (optional) at attachment points for extra durability.

Conclusion
Congratulations, you've completed your adorable Crochet Amigurumi Turtle. This project combines practicality and charm while allowing customization with colors, decorations, or even embroidery.
Make it for yourself, gift it to a friend, or keep it as a quaint keepsake.