
Free Crochet Apple Hair Clip Pattern with Fun Style
Every hairstyle feels more playful with this Free Crochet Apple Hair Clip Pattern, a sweet choice for ponytails, braids, and colorful outfits.
How about adding a cheerful splash of charm to your hairstyle with a cute apple hair clip? This project is simple, fun, and perfect for anyone who loves adorable handmade accessories. Using basic crochet stitches like the magic ring, single crochet (sc), and double crochet (dc), you can shape your yarn into a tiny, delightful apple complete with a stem and a leaf. It's something even beginners can enjoy making. Not only does it look adorable when clipped into your hair, but it also makes a thoughtful little gift for someone special.
Quick & Easy Crochet Apple Hair Clip Pattern for Free
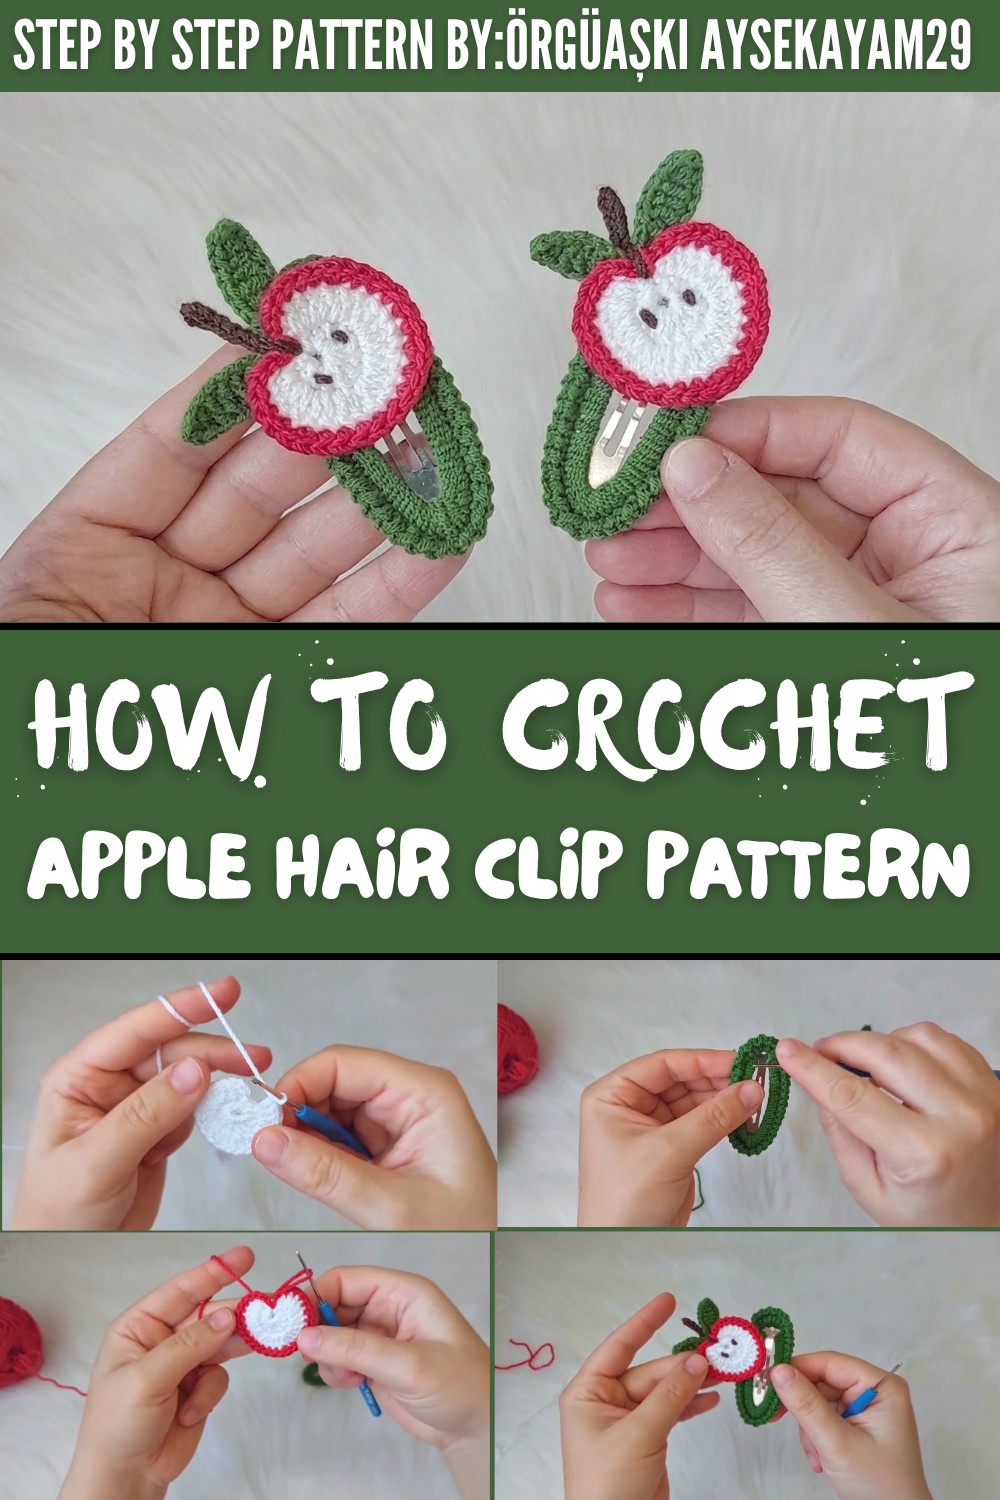
This guide give a simple way to crochet an apple while learning handy techniques. You'll practice working in the round to shape the apple and add charming details like seeds, a leaf, and a stem. The final step involves attaching the apple securely to a hair clip, making it a sturdy and adorable accessory. It's perfect for beginners or anyone looking to improve their crochet skills.
The best part? You can apply these same steps and stitches to create fun alternatives. Make little fruits like oranges, pears, or strawberries, or use the apple on a different item such as a keyring, bag charm, or home decoration. The possibilities for small, adorable crochet projects are endless with this technique.
Some parts might seem a bit challenging for beginners, like managing tight stitches or working with small details, but there's an easy fix. Use slightly thicker yarn and a larger hook to simplify the process. And remember, any small stitch slips or gaps can often be fixed when you sew the pieces together. No matter what, with a little patience and practice, you'll end up with a cheerful accessory you can proudly show off.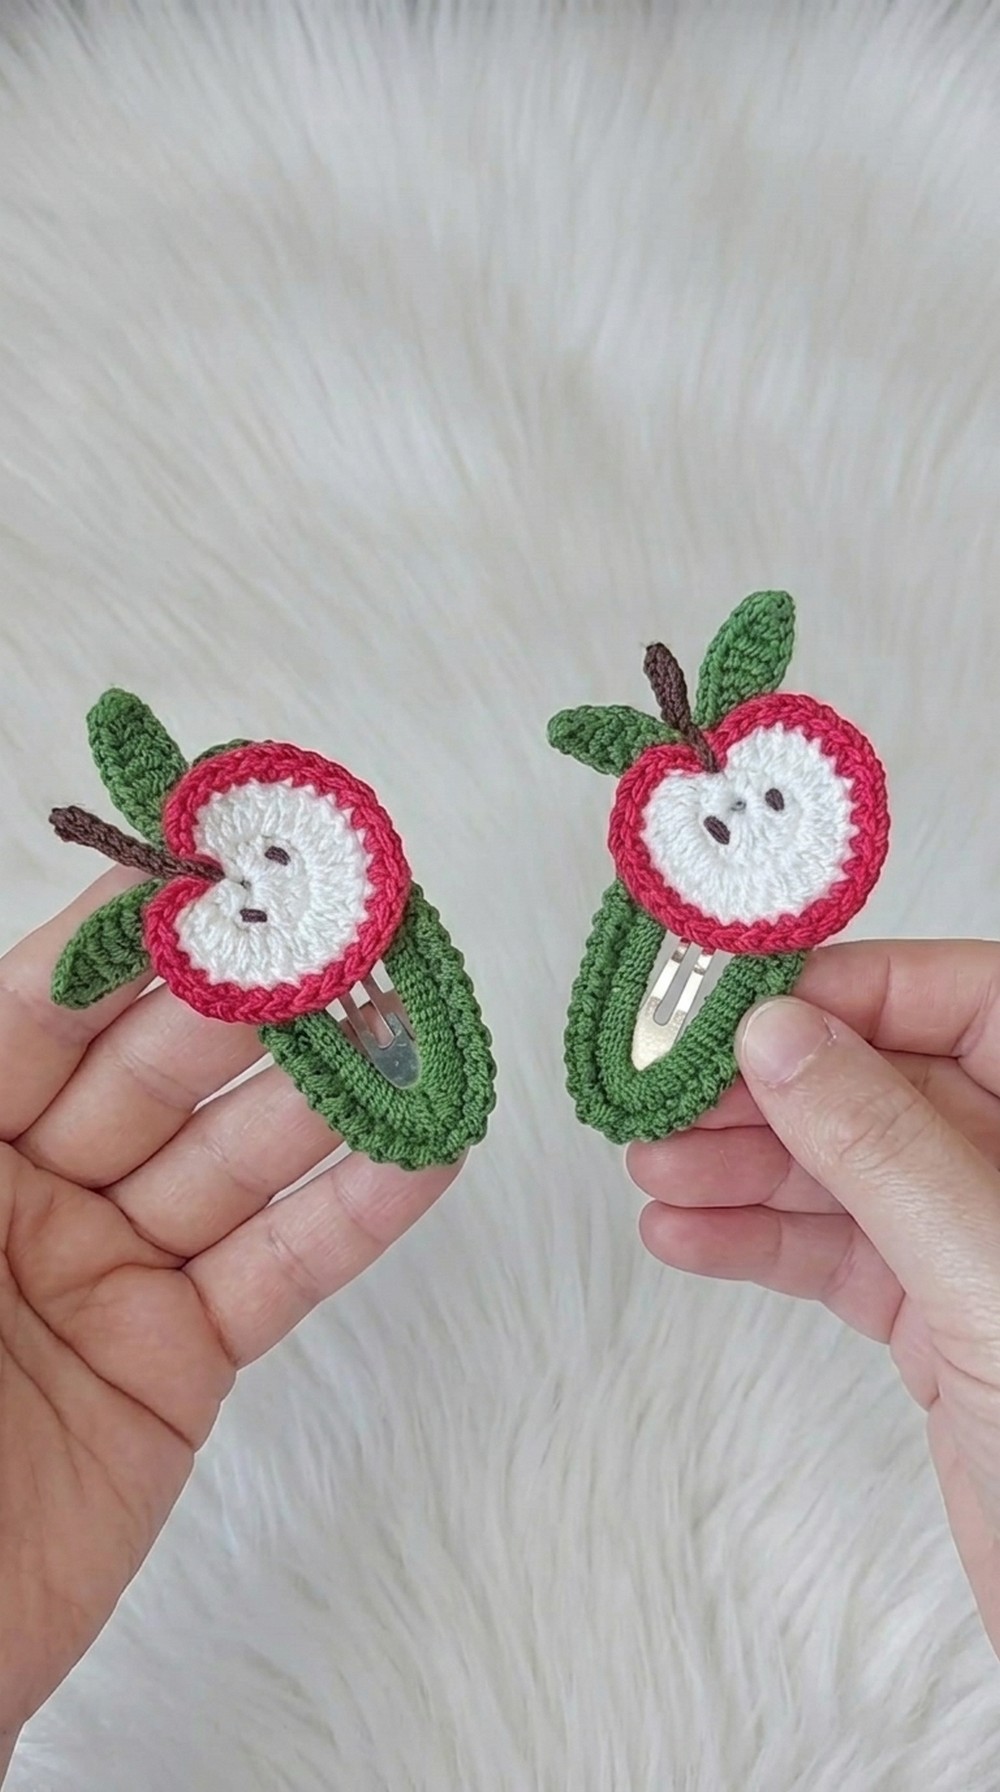
Crochet Apple Hair Clip Pattern
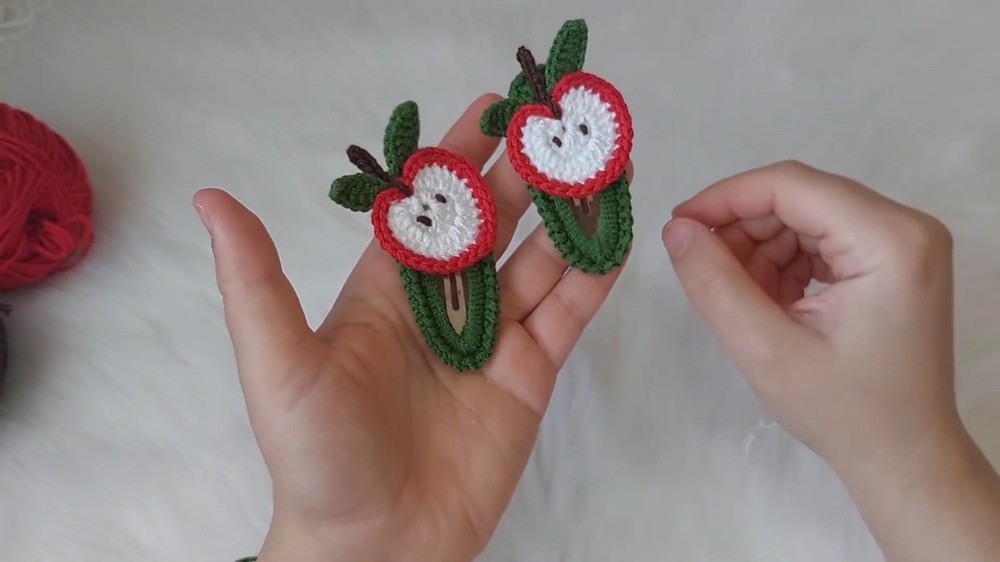
This step by step guide will help you make a lovely Crochet Apple Hair Clip Pattern complete with an apple shape, seeds, leaves, and decorative edges.
Quick Overview Of Pattern:
- Item: Crocheted Apple Hair Clip with a leaf and edge embellishment
- Difficulty: Easy to Intermediate
- Techniques Used: Magic ring, single crochet, double crochet, treble crochet, chaining, slip stitch
- Customization: Feel free to choose different colors and sizes according to your taste
Notes:
- This project uses tight stitches to ensure a structured apple design.
- A colorful yarn selection will enhance the playful vibe.
- Silicone glue or sewing can be used to secure the apple to the buckle.
Skill Level:
Beginner to Intermediate - Requires basic knowledge of foundational crochet stitches.
Materials:
Yarn:
- Red Yarn - For the apple body
- White Yarn - For the apple center
- Green Yarn - For leaves and buckle edge
- Brown Yarn - For the apple stem
- Optional: Alize Cotton Gold or Nako Diamonds
Crochet Hooks:
- A 1.50 mm crochet hook (for detailing)
- A size 5 crochet hook (for buckle edging)
Other Materials:
- A 6 cm buckle (adjust size according to yarn weight if necessary)
- Silicone glue (optional for assembly)
- Tapestry needle
- Scissors
Measurements / Sizing:
Designed for a 6 cm buckle. Customization is possible by scaling the project up or down.
Gauge:
Gauge is not critical for this pattern. Focus on maintaining even tension.
Stitch Abbreviations:
- ch = chain
- sc = single crochet
- dc = double crochet
- sl st = slip stitch
Apple Hair Clip Construction
Part 1: Apple Body
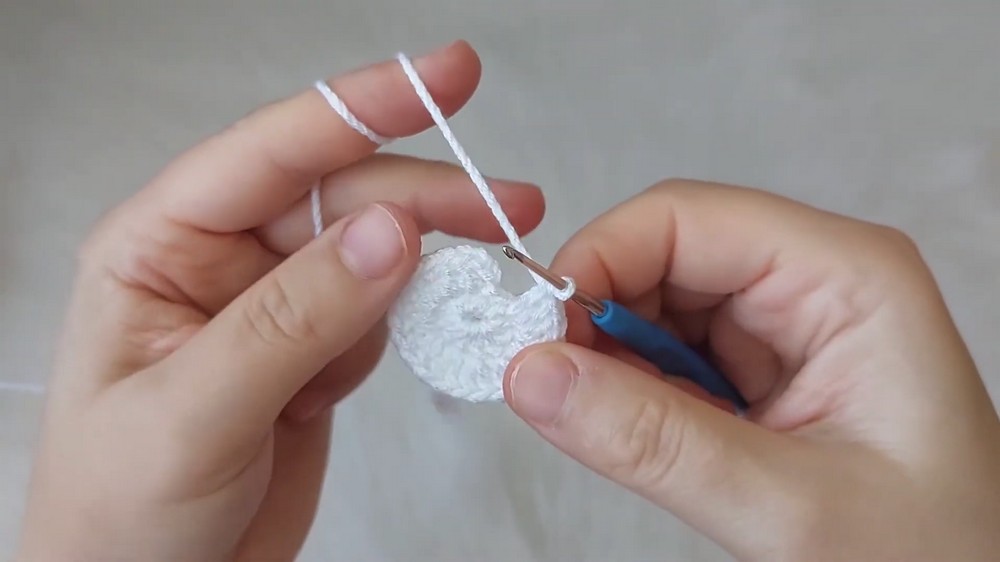
Round 1:
- Start with white yarn.
- Make a magic ring, pull the yarn tightly, and chain 1 (ch 1).
- Inside the magic ring:
- Crochet 3 dc.
- Crochet 6 dc, totaling 9 dc.
- Close the magic ring and join with sl st to the first stitch.
Round 2:
- Ch 3.
- Work 1 dc in the same stitch.
- Crochet 2 dc in the next stitch. Continue 2 dc in each stitch around for a total of 12 dc.
- Join with sl st to the first stitch.
Round 3:
- Ch 3.
- Work 1 dc into each stitch around for a total of 12 dc.
- Join with sl st. Finish with a flat white circular base.
Color Transition:
- Fasten off white yarn and attach red yarn.
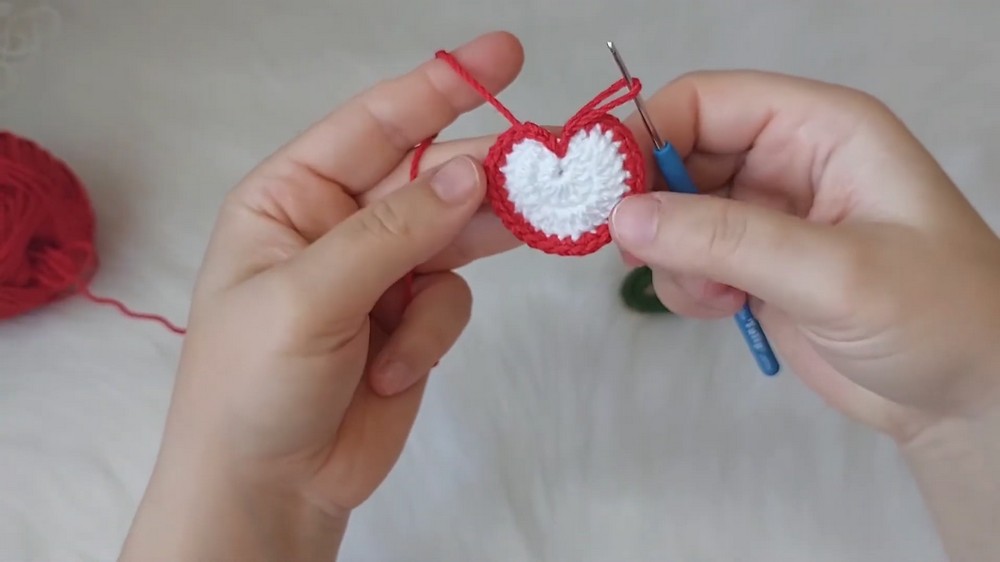
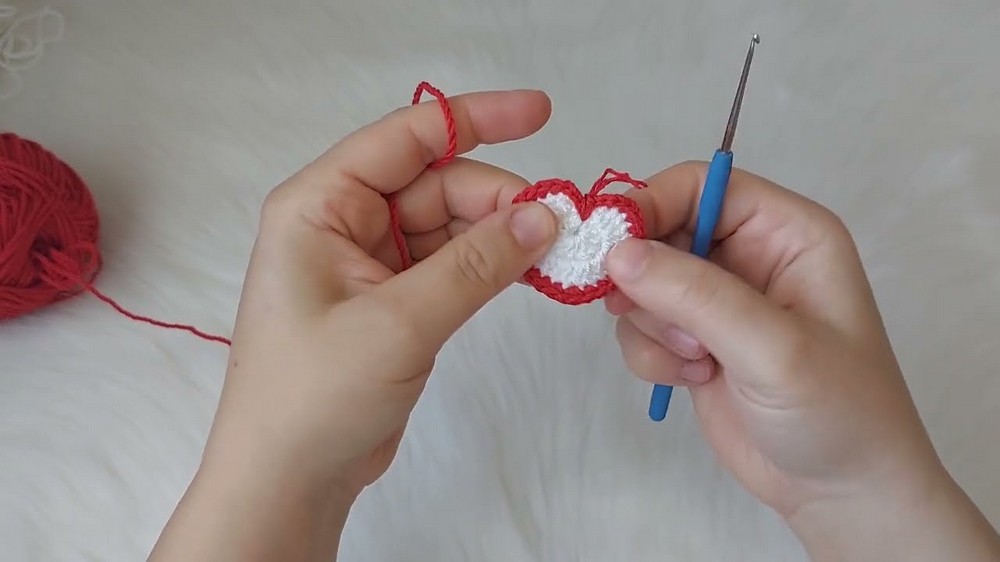
Round 4 (Red Yarn):
- Attach red yarn to any stitch of the white circle.
- Ch 2, then chain 3.
- Crochet:
- 3 sc in the next stitch.
- 4 sc in the next stitch.
- 1 sc in each of the following 7 stitches.
- 1 dc in the bottom stitch.
- 7 sc up toward the top.
- 1 dc (to the 4th stitch from the bottom).
- Close the round with sl st, ensuring a hollow design in the apple center.
- Fasten off and weave in loose ends.
Part 2: Apple Seeds
- Use black yarn.
- Attach to the white circular base in two opposite points.
- Create 2 small oval shapes with single crochet (sc) or sew tiny seed designs.
- Fasten off, hide ends, and ensure symmetry.
Part 3: Apple Leaf
Row 1:
- Use green yarn and chain 9 (ch 9).
- Starting in the second chain from the hook:
- 1 sc, 1 sc, 4 dc, 1 sc, 1 sc, 1 sc.
- Sl st at the end of the row to the starting chain.
Row 2 (Mirror Side):
- Ch 1 and turn your work.
- Repeat stitches along the opposite side of the chain:
- 1 sc, 1 sc, 4 dc, 1 sc, 1 sc, 1 sc.
- Sl st at the base and fasten off.
Adjustment:
- You can reduce the leaf size by working fewer chains and stitches.
Part 4: Apple Stem (Handle)
Steps to Add the Stem:
- Use brown yarn.
- Insert through the hollow area at the top of the apple.
- Begin ch 6 for stem height.

- Starting in the second chain from the hook: 1 sc in each chain (total 5 sc).
- Attach back to the apple base securely with sl st.
- Fasten off, weave in loose ends, and ensure the stem sits upright.
Part 5: Buckle Edging
Creating Base Edging:
- Use green yarn and a size 5 crochet hook. Attach yarn with sl st to the edge of the buckle.
- Ch 1, then work sc stitches all around the buckle edge. Be sure to work tightly to cover the buckle.
Adding Decorative Loops:
- Attach green yarn to any sc.
- Work the following pattern around the edge:
- Ch 5, skip 1 stitch, and sl st into the next stitch.
- Repeat this loop pattern until the buckle edge is fully decorated.
- Join at the starting edge with sl st.
- Fasten off, weave in ends, and clean up.

Assembly
Final Steps:
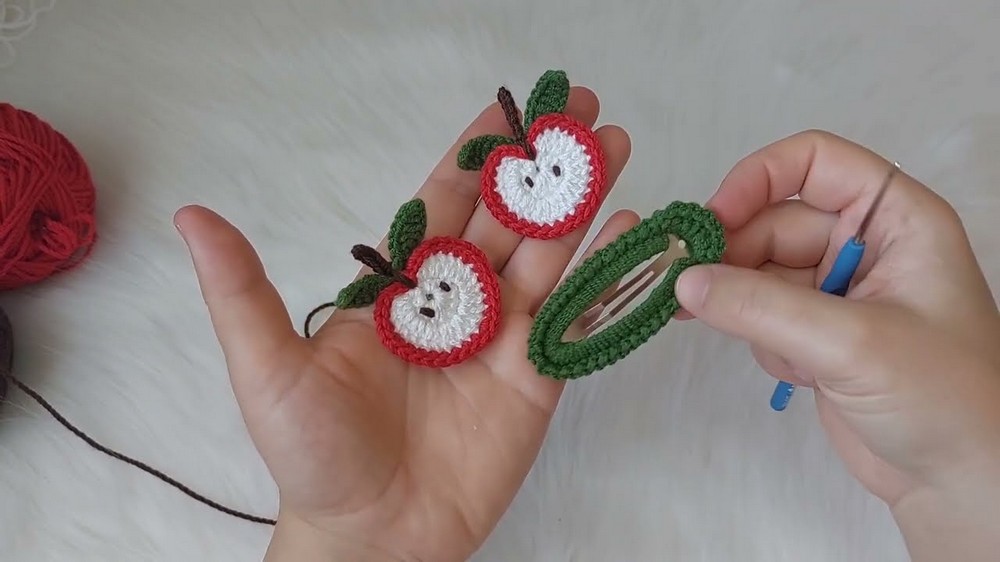
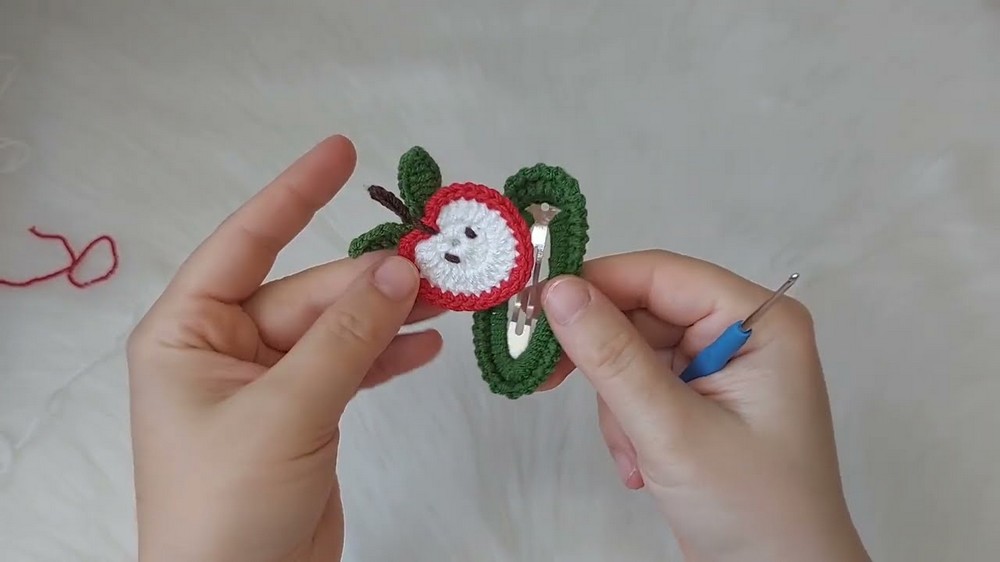
- Position the apple firmly on the buckle edge, making sure the leaf and stem are visible.
- Secure the apple with silicone glue or sew it manually using a tapestry needle.
- Trim loose threads and ensure all parts are attached smoothly.
Conclusion:
This adorable Apple Hair Clip Pattern is an excellent crochet piece that can be customized with different colors and designs.
Great for gifting or personal styling, it's fun and easy to create.
Important Remarks
- This project provides ample room for customization with different yarn colors, buckle sizes, and creative additions such as beads or glitter.
- Work patiently and ensure your tension is tight, especially for the smaller pieces like the leaf and the apple seeds.
- Silicone glue is optional but adds extra durability to the attachment points.
Enjoy your crocheting experience, and flaunt your lovely apple inspired hair clip.