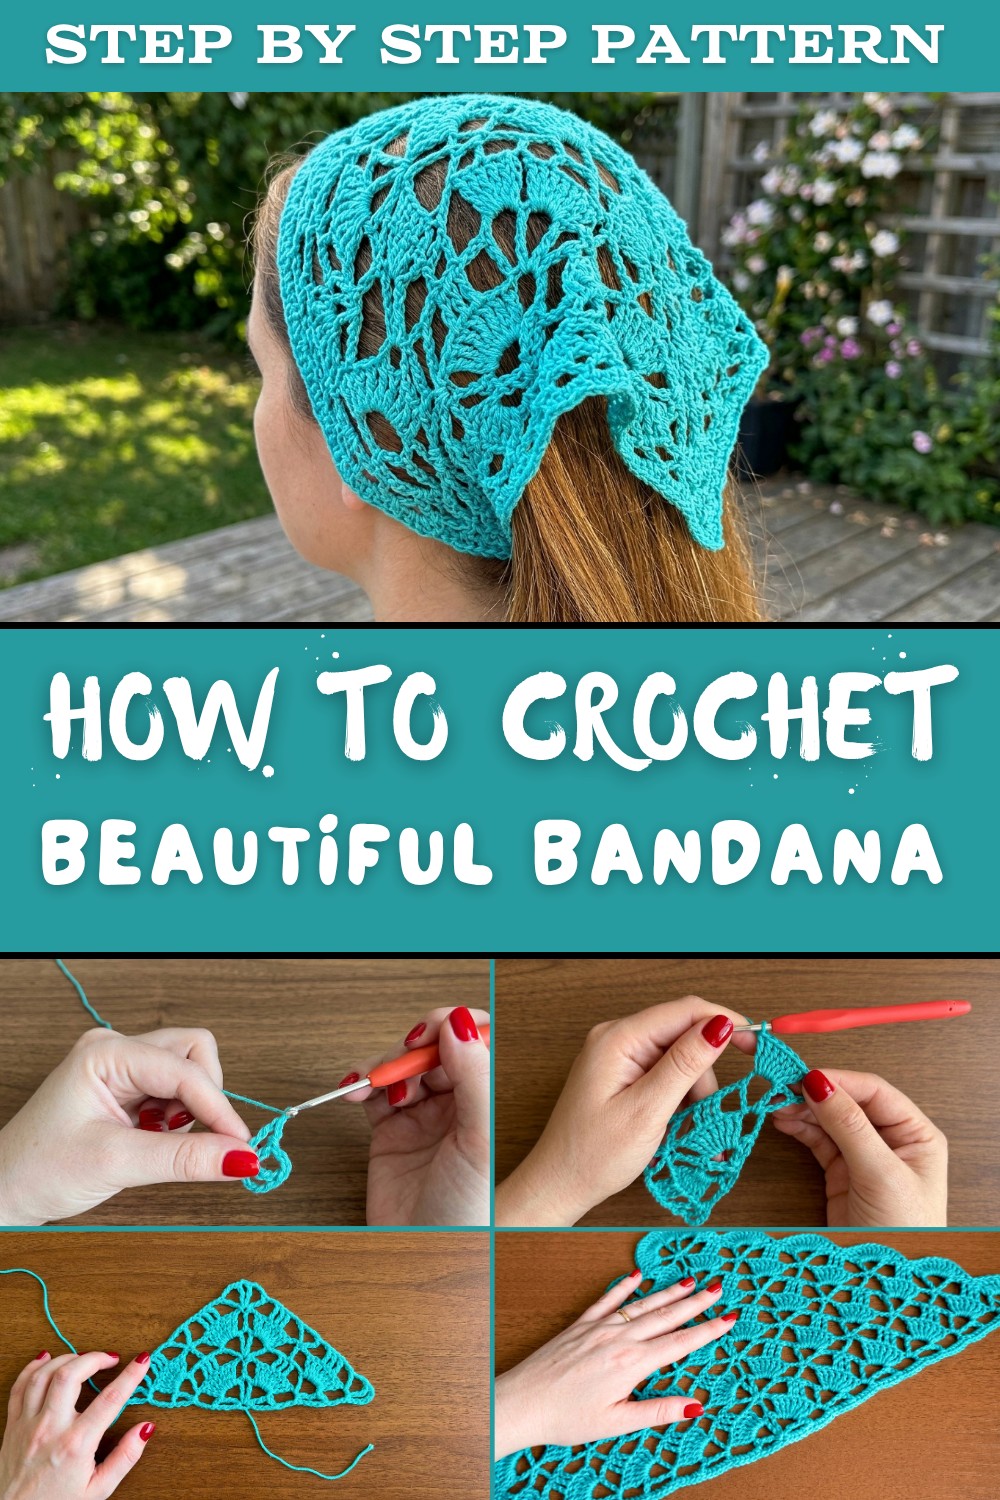
Free Crochet Bandana Pattern That’s Easy and So Stylish to Wear
Slip into cute and comfy fashion with this free crochet bandana pattern stitch for warm days and trendy hair styling fun.
Try this pattern and enjoy making something unique that shows your talent. It's not just an accessory, it's a piece of art made by you. This free crochet bandana pattern is easy to follow and perfect for anyone even if you are still learning. You only need a small amount of soft cotton yarn and a simple hook to start. The design is light and comfortable so you can wear it for many hours without feeling heavy. The bandana is worked step by step with clear parts making it simple to see your progress as the shape grows from a small triangle into a beautiful bandana
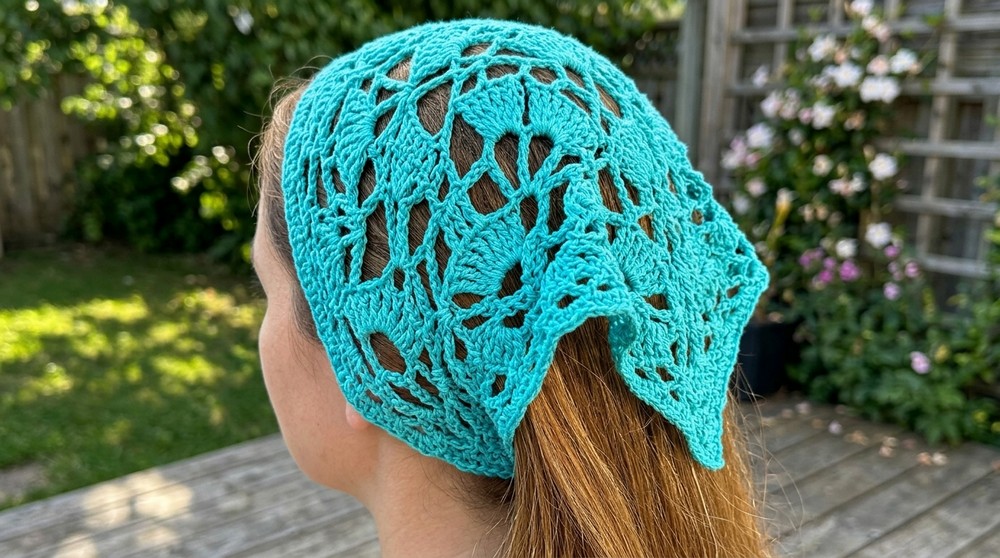
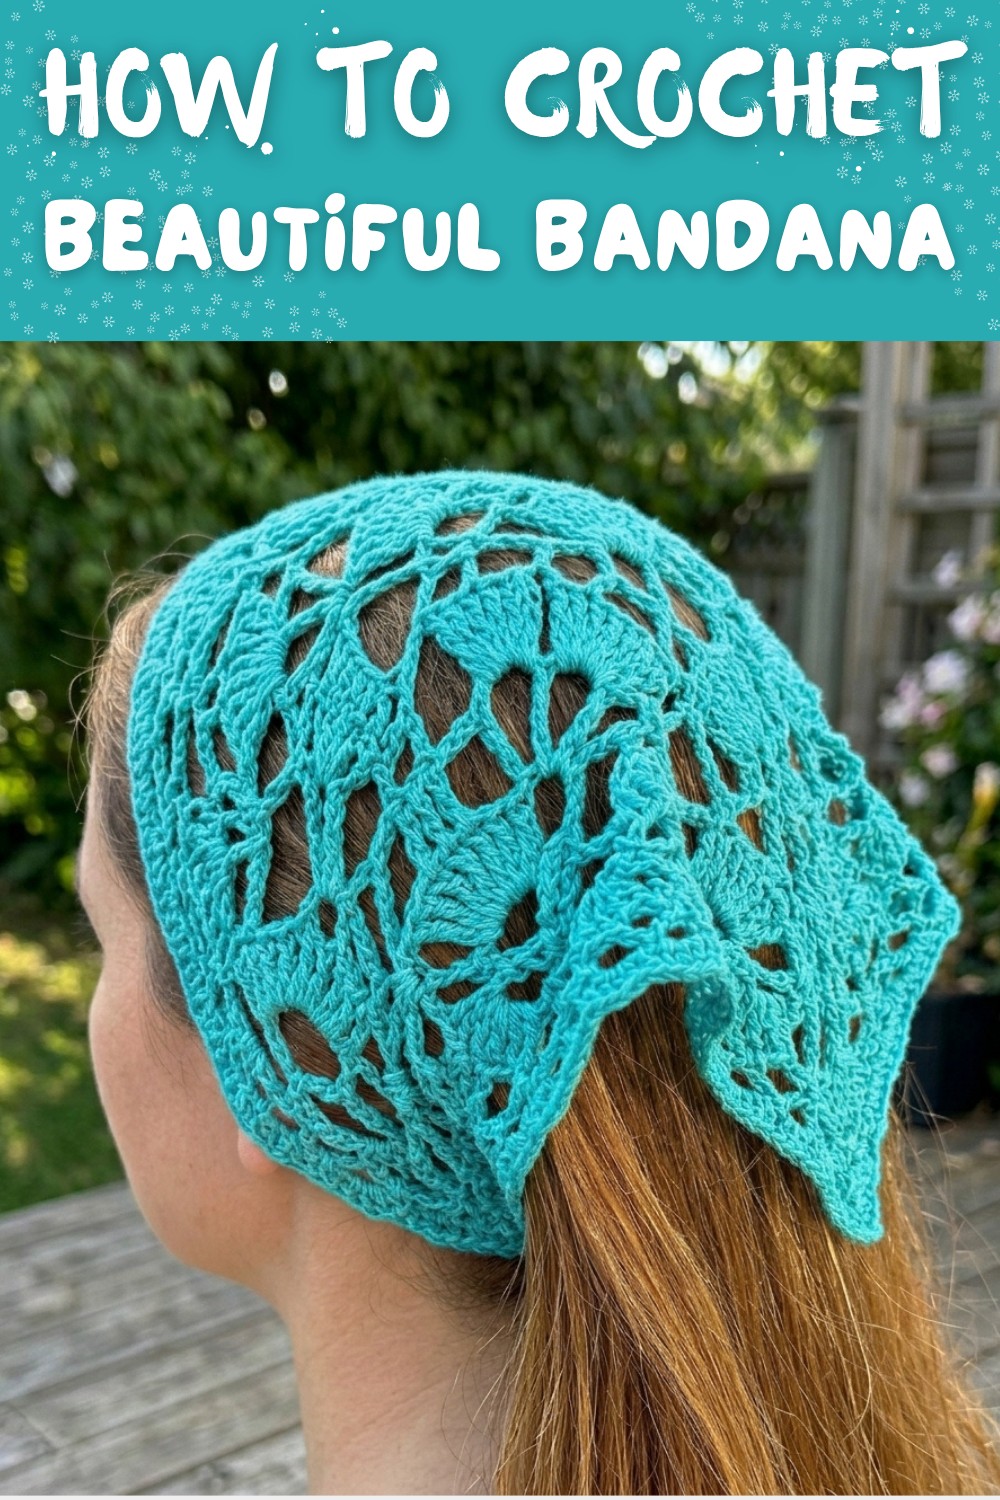
This bandana is very beautiful because it has a soft texture with tiny open spaces that look like lace. The pattern creates a pretty shape that fits nicely on the head and frames the face in a gentle way.
A Fun and Free Crochet Bandana Pattern That's Always in Trend
You can choose natural colors for a calm look or bright colors for a fun and bold style. The finished bandana has a neat edge and strong ties so it stays secure when you wear it
The bandana has many uses. You can wear it as a headband to keep your hair out of your face or as a stylish cover on a bad hair day. It can be used at school at the beach on walks or at parties. It is also great for photos and gifts because it looks special and handmade
Some features of this pattern are easy stitches like chains and double crochet, flexible size so it fits both kids and adults, and a light feel that is perfect for warm days. This project is also a good way to relax and practice your crochet skills while creating something that you can truly enjoy and use every day.
Crochet Bandana Pattern
Materials Needed
- Yarn: Pinguim's Bela yarn in a natural color (color code: 2219). It is 100% mercerized cotton, Tex 370, and comes in a 150g skein. Note: A thin yarn is recommended for a delicate finish.
- Crochet Hook: 3mm (feel free to adjust based on your yarn choice).
- Alternative Yarn Suggestion: Barroco's number 4 yarn can be used for a slightly thicker texture.
- Other Materials: Tape measure and tapestry needle for finishing.
Special Techniques
- Magic Circle: Start your project with a magic circle for neat and adjustable center stitches.
- Double Crochet (DC): Throughout the pattern, double crochet stitches are predominantly used.
- Slip Stitch (SL ST): Used to join sections and finish edges.
- Single Crochet (SC): Used for edging and finishing touches.
Pattern Instructions
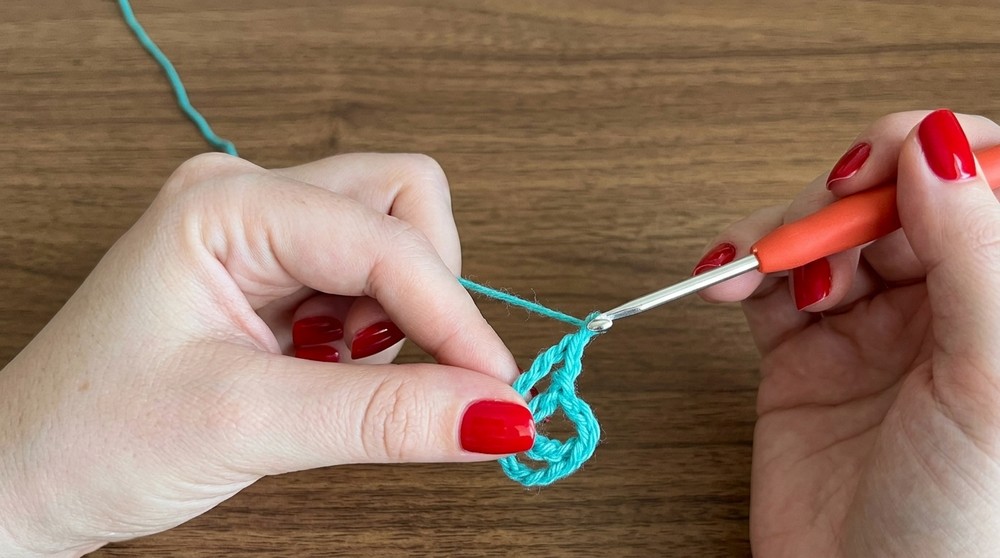
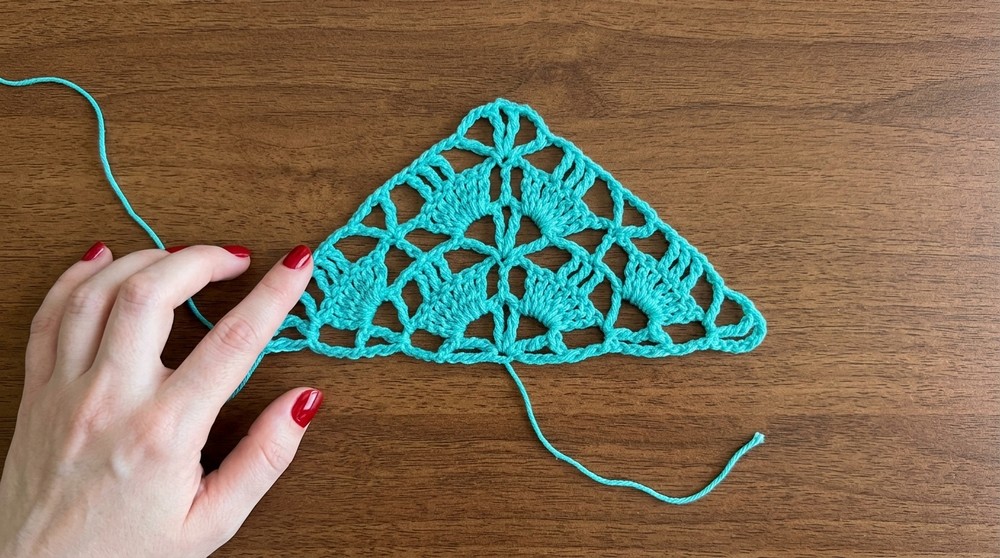
Step 1: First Round
- Begin with a magic circle.
- Chain 6.
- Work as follows into the magic circle:
- 1 DC
- Chain 4
- 1 DC
- Chain 2
- 1 DC
- Chain 4
- 1 DC
- Chain 2
- 1 DC.
- Tighten the magic circle and join with a slip stitch to close the round.
At the end of Round 1, you will have the following sequence:
"Chain 6, DC, Chain 4, DC, Chain 2, DC, Chain 4, DC, Chain 2, DC."
Step 2: Second Round
- Begin this round with Chain 6 and turn your work.
- Work 7 DC inside each set of 4 chains from the previous round.
- After the 7 DC, Chain 2, and make 1 DC into the space created by the 2 chains from the previous round.
- Chain 2, and continue as described:
- Work 7 DC into the next set of 4 chains.
- Repeat this pattern all the way around, finishing with 1 DC in the fourth chain from the bottom.
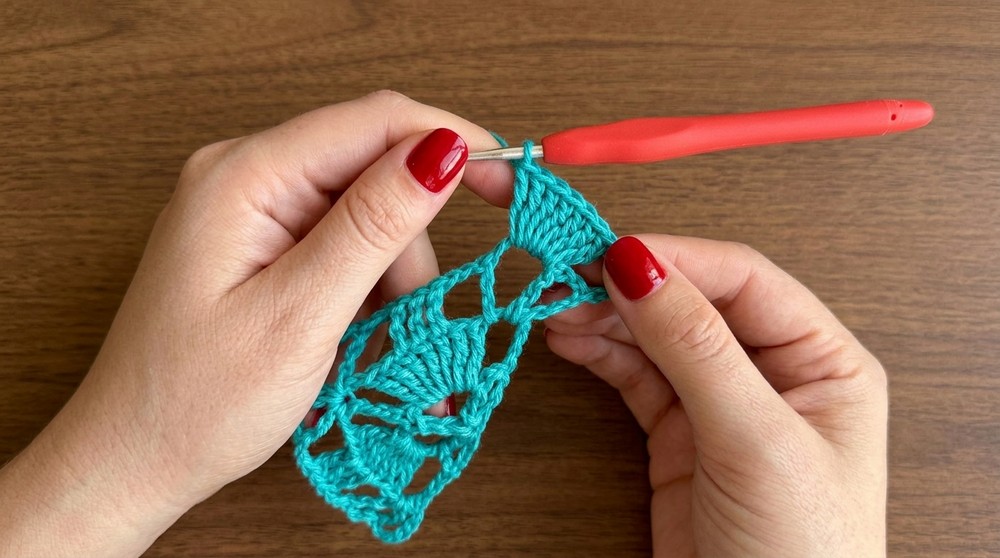
At the end of Round 2, you'll have clusters of 7 DC separated by chains.
Step 3: Third Round
- Chain 6 and turn your work.
- In the next available space, work a V stitch (1 DC, Chain 4, 1 DC).
- Chain 2.
- Skip 2 stitches in the next cluster of double crochets from the previous round, then:
- Work 3 DC in a sequence starting at the third stitch.
- Chain 2 and complete as follows:
- 1 DC in the next available chain space.
- Chain 4, 1 DC in the same space (another V stitch).
- Continue this same sequence until the round ends with DC stitches and V stitches evenly placed around the row.
At the end of Round 3, you will begin to see alternating patterns of grouped DC and V stitches.
Step 4: Fourth Round
- Begin with Chain 6 and yarn over twice.
- For all 4 chain spaces from the previous round, create 7 DC clusters separated by 2 chains.
- For other chain spaces or independent DC spaces, insert DC as described in previous rounds to maintain the alternating V stitch/DC cluster pattern.
- Continue this sequence all the way around.
Step 5: Building Additional Rows
Repeat the pattern described above, alternating:
- Rows with 7 DC clusters (creates textured depth).
- Rows with V stitches and grouped double crochets.
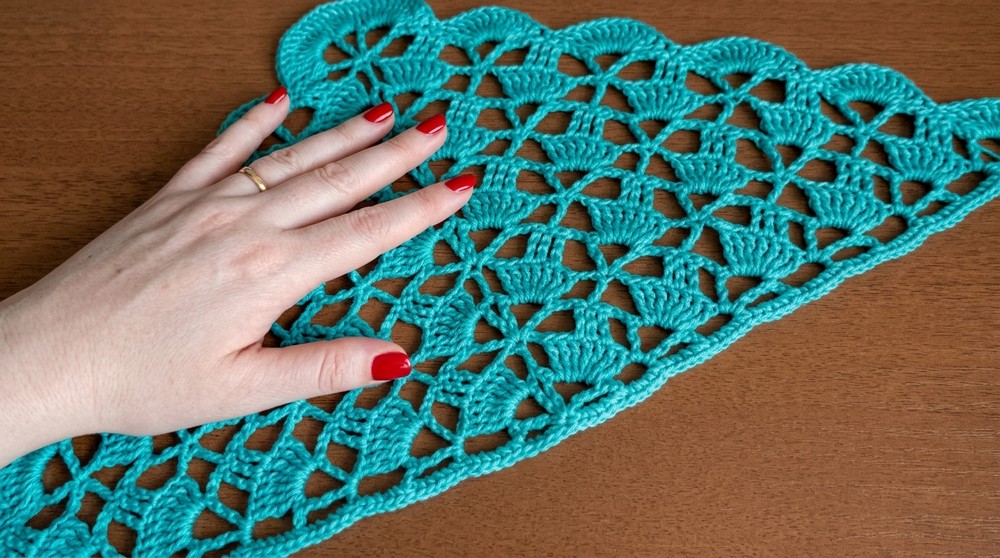
Adjust the size of your headband according to your preferences. Test the width and length by measuring against the intended wearer's head circumference.
Finishing the Pattern
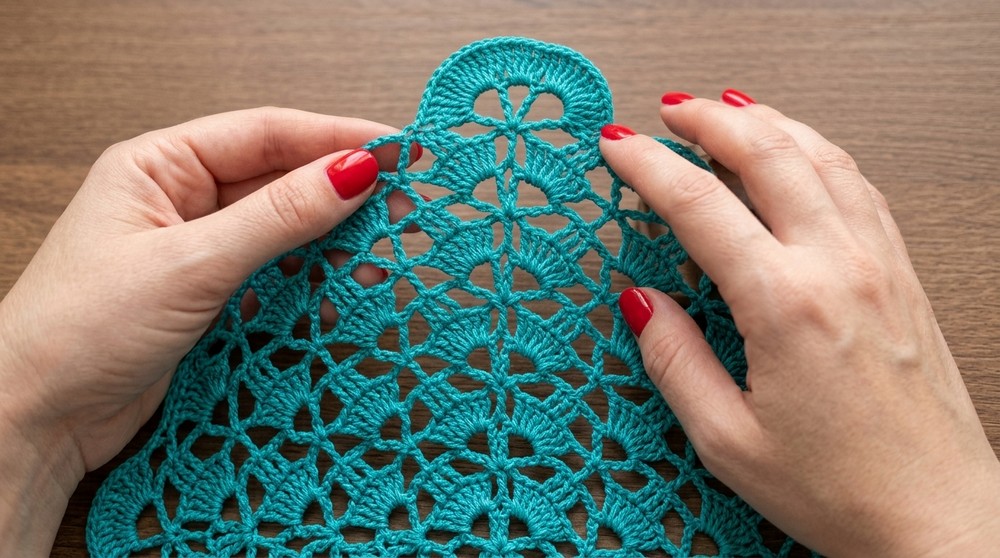
Creating Edging
- At the final round, turn your work to make additional decorative edges.
- Begin by working 11 DC clusters into the set of 4 chain spaces.
- Place a single crochet (SC) in the middle of each cluster. Repeat this step around the headband.
Corners and Tip Adjustment
- For the tips (corners of the headband), work the following within the last available stitch at the corner:
- 1 DC, Chain 4, 1 DC, Chain 4, 1 DC.
- Adjust based on your preferred fullness for the headband corner.
Creating Ties
- For the ties:
- Chain 50 (or to your desired length, approximately 24-25cm).
- Turn and work slip stitches (SL ST) back along the chain to create a thicker tie.
- Repeat the process on the opposite side.
Final Words and Measurements
- Size: Approximately 42-45cm in length and 24cm in width (adjust based on personal preference).
- For children's sizes, reduce the number of rows and adjust the ties accordingly.
- Yardage: A small amount of yarn is used for this project, making it ideal for leftover skeins.
Tips for maintaining the pattern
- Use stitch markers: Mark your starting points to keep track of rounds.
- Gauge consistency: Maintain a consistent tension for a polished look.
- Block the headband: Blocking the headband will help even out the stitches and enhance its professional appearance.
- Experiment with colors: Try ombre or variegated yarn for a unique finish.
Conclusion
This crochet headband pattern offers a refreshing and delicate accessory you can crochet effortlessly. Whether you're crocheting for yourself or as a gift, this handmade piece brings a touch of charm and elegance. Share your creations, experiment with variations, and enjoy the rewarding satisfaction of completing this beautiful piece.