
Free Crochet Bermuda Shorts Pattern to Amaze Everyone
Sunny day comfort starts with this free crochet Bermuda shorts pattern, offering easy movement, relaxed style, and the perfect fit for warm weather adventures.
Show Off Your Style with these unique crochet Bermuda shorts. This free pattern helps you make clothing that is not only stylish but also super comfortable to wear. These shorts are perfect for hot summer days, giving you a light and breathable option to stay cool while looking trendy. Whether you're lounging at home, walking by the beach, or heading out for casual outings, these shorts add a touch of handmade beauty to your wardrobe.
What makes this pattern truly special is its customization. You can make the shorts in any size, adjust the length, and even choose your favorite yarn colors to create something that reflects your personality. Want it a bit shorter or full Bermuda length? This pattern gives you the flexibility to do both. Plus, adding stripes or a mix of vibrant colors can make your piece stand out even more.
Free Crochet Bermuda Shorts Pattern for Summer Vibes You Need

This design is also practical and beginner friendly. The pattern is explained in a simple way, so even if you're new to crochet, you can create these stylish shorts with ease. The fit is snug yet comfortable, featuring a cute drawstring waistband for extra support. If you'd like, you can easily switch to an elastic band for added convenience.
The beauty of this project lies in its versatility. You can use lightweight yarn like Cléa (4 threads) or Anne (2 threads) as shown in the pattern, but feel free to experiment with other yarns that suit your preference. No matter which yarn you choose, these shorts will have a perfect fit and a chic look that works for any casual occasion.
Start this fun project, and enjoy wearing something made entirely with your creativity and love.

Crochet Bermuda Shorts Pattern
Finished Size
The size of this crocheted piece can be adjusted depending on the user. As presented, the size showcased in the video was suitable for the creator, with approximately 1 meter of girth and designed for a snug fit in the waist and hip area. Adjustments can easily be made for larger or smaller sizes according to personal measurements and gauge.
Materials Needed
- Yarn:
- Yarn Used: Line Cléa (4 threads combined). The resulting Tex is approximately 590.
- Alternative Equivalent Yarn: You can substitute 2 threads of Line Anne.
- Amount: Approximately 3 skeins of Cléa were used for the shorts portion. Additional skeins will be required to complete the pants if desired.
- Hook Size:
- A size 2 mm hook was used.
- Ensure to use a tighter tension for a clean and structured look.
- Optional:
- If desired, a circular elastic band (roliço elástico) can be inserted into the waistband for a more fitted look.
- Measuring Tape:
- For customized adjustments based on your body size or another person's measurements (waist to crotch, hip girth).
- Accessories:
- Scissors for finishing ends.
- Stitch markers for indication, if necessary.
Gauge
The gauge will vary significantly based on the individual's tension. For this pattern:
- Stitch Gauge: Approximately 5 single stitches per 2 centimeters with 4 threads of Cléa.
It's important to note that tension plays a critical role. If your tension differs, your sizing may vary. Test swatches and adjust hook sizes or pattern repetitions to align with your desired dimensions.
Customization Ideas
- Color Variations: Use leftover yarns of different colors. Alternating stripes or variegations can result in beautiful, personalized pieces.
- Length Variations: Modify the leg length to suit your preference as shorts, bermudas, or full length pants.
- Waistband Customization: Consider adding a decorative belt instead of a drawstring, or use elastic for versatility.
- Adjustment for Larger Sizes: Add increments in clusters before separating for the legs at the crotch. Reference measurements for hips versus waist.
Tips for Crocheting Experience
- Begin with Patience: Before starting the pattern, create a small test square with your chosen yarn and hook to ensure comfort and gauge.
- Try On Frequently: Ensure the piece fits snuggly, especially around the waist and hips, as crocheted fabric tends to stretch.
- Count Carefully: Errors in counting can lead to uneven legs or waistlines. Keep track of your stitch counts meticulously.
Pattern Instructions
1. Starting the Waistband
Step 1:
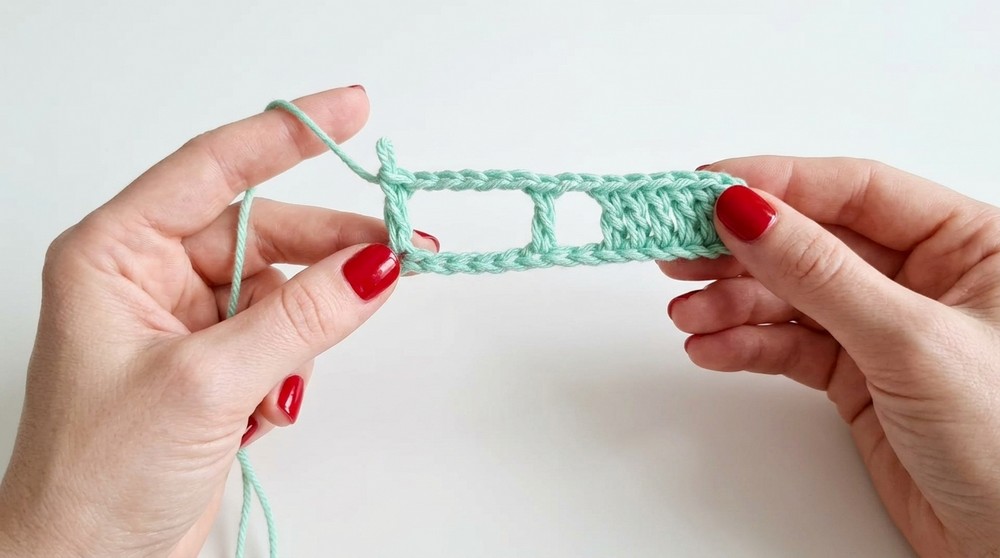
- Chain 138 stitches for the initial foundation for the waistband. Add 3 additional chains for turning, making the total foundation 141 chains.
Step 2:
- Begin working in the fourth chain from the hook and crochet 8 double crochet stitches (dc).
Step 3:
- Chain 2, skip 2 base stitches, and double crochet (dc) in the next. Repeat this technique for the entire round. Close the round with a slip stitch (taking care not to twist the chain).
2. Establishing Decorative Panels
By replicating multiple rows:
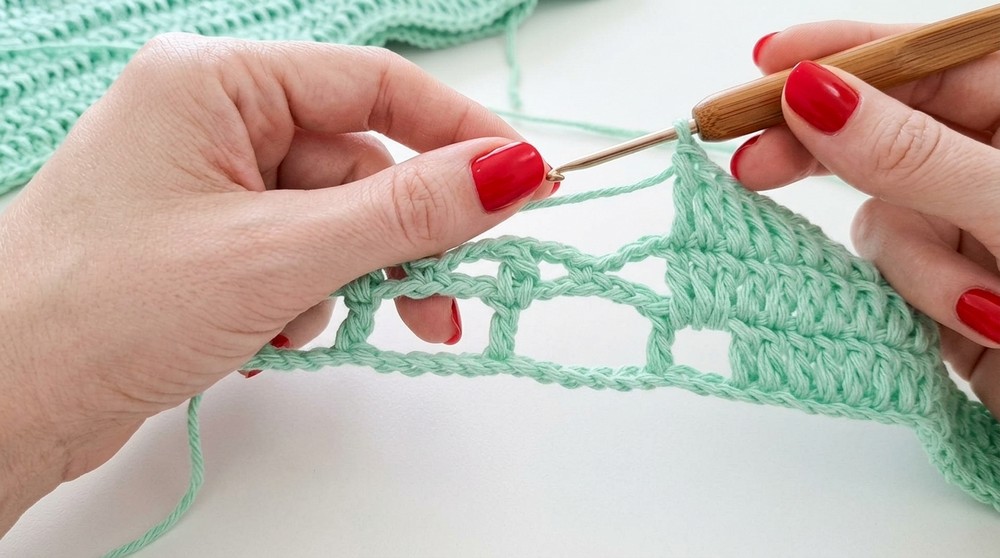
- Work 5 chain spaces, skip 5 stitches, and double crochet (dc) in the sixth. Continue this "decorative mesh" for 8 segments on each side, separated by panels of plain double crochet sections.
3. Main Body Section
Step 1: Complete approximately 10 rows of alternating mesh and dc sections.
Step 2: Gradually widen the bottom portion of the piece by adding 4 double crochet clusters to the mesh spaces instead of the initial 3 dc clusters.
Step 3: Repeat these rows until the desired crotch depth (approximately 13 rows), ensuring the length suits the wearer.
4. Creating the Crotch
Step 1: Chain the desired amount (e.g., 18 chains) to connect the front and back portions and form the crotch. Adjust the chain count for larger or smaller sizes.
Step 2: Attach the chain carefully using slip stitches, ensuring the crotch is centralized between the front and back.

5. Working the Legs
Step 1: Start working around one leg opening first. Crochet one dc stitch for each foundation chain/crotch stitch.
Step 2: Repeat rounds continuously until the desired leg length. For shorts, approximately 7 rows were worked.
Step 3: Repeat identical steps for the second leg opening.
6. Cord and Waistband Finishing
Cord:
- Twist or braid 8 threads together tightly. Use a larger hook (size 4 mm) to construct this cord.
Waistband:
- Crochet 1 round of single crochets (sc), followed by 1 round of double stitches, and then a finishing (third) round of sc stitches.

Special Techniques
- Even Stitching: Ensure stitch placement aligns seamlessly for neat panel transitions.
- Invisible Joining: Incorporate slip stitches strategically rather than bulky methods.
Conclusion and Final Remarks
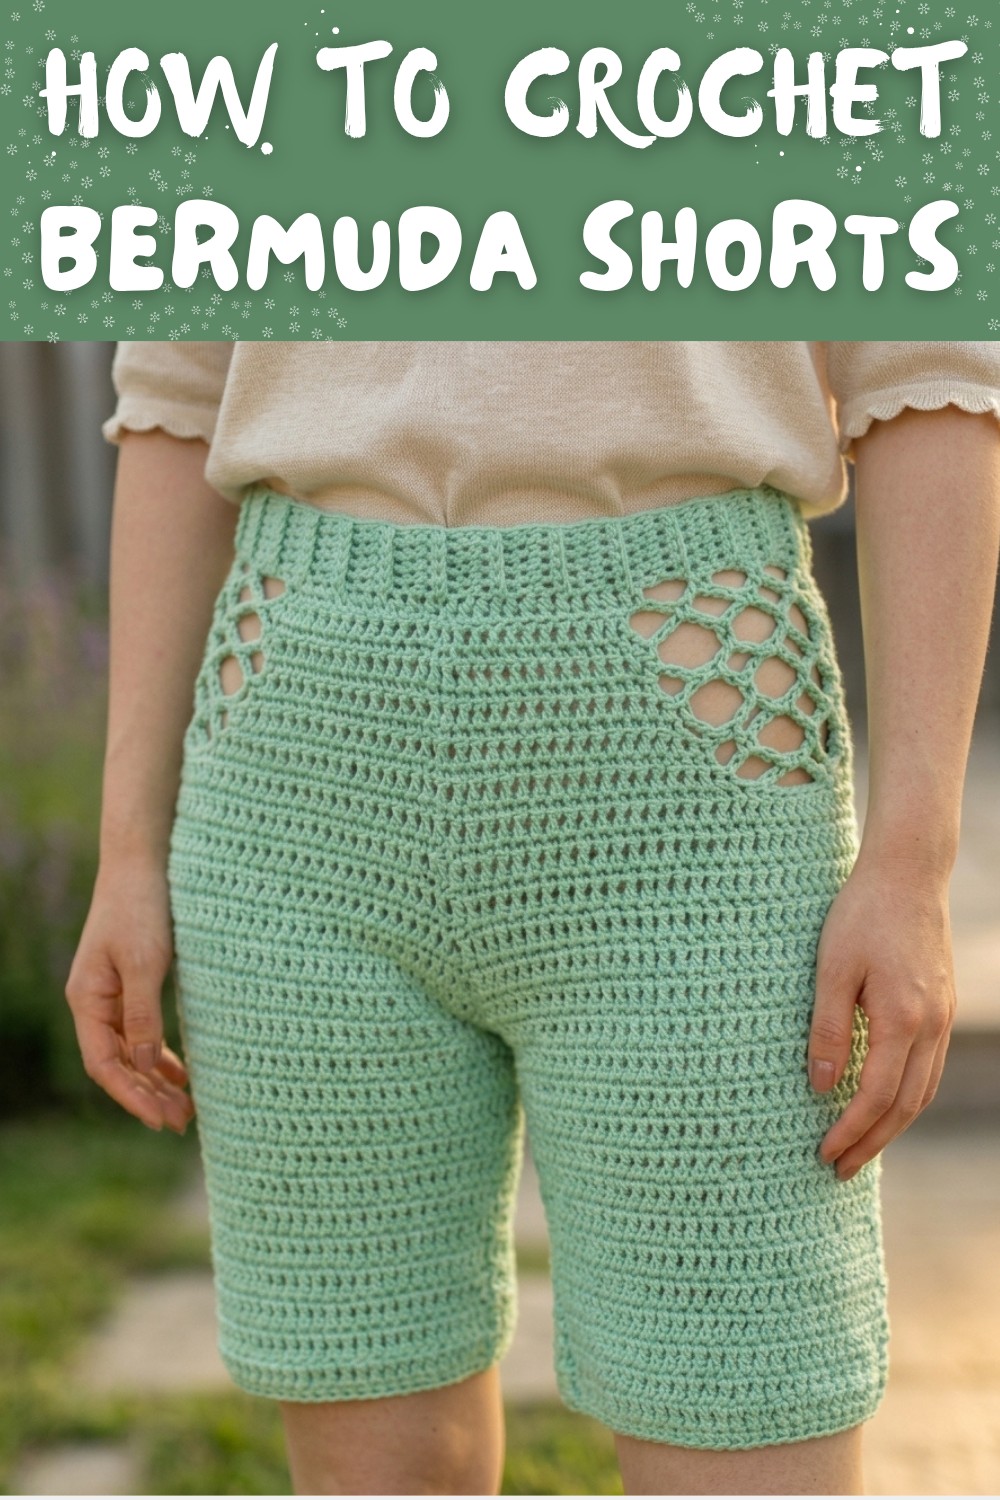
This crocheted shorts/pants pattern has been planned to allow versatile alterations, easy adjustments, and a smooth crocheting experience. The final piece provides comfort with a snug fit, visually appealing design, and practical wearability.
Key Reminders:
- Finish edges with care for structured looks.
- Always block the finished piece lightly to smooth tension inconsistencies.
- Personalize through patterns, lengths, and textures.
Helpful Tips
- Customize Fit:
- Measure frequently and test against your body or the person you are creating it for.
- Use Color Variations:
- Incorporate leftover yarns for a colorful striped effect.
- Stretch Tests:
- Since the pattern stretches, ensure the waistband fits snugly to avoid sagging during wear.
- Washing:
- Wash gently with mild detergent. Lay flat to dry to preserve shape and elasticity.
Enjoy the process of crafting elegant shorts or pants that are both comfortable and fashionable.