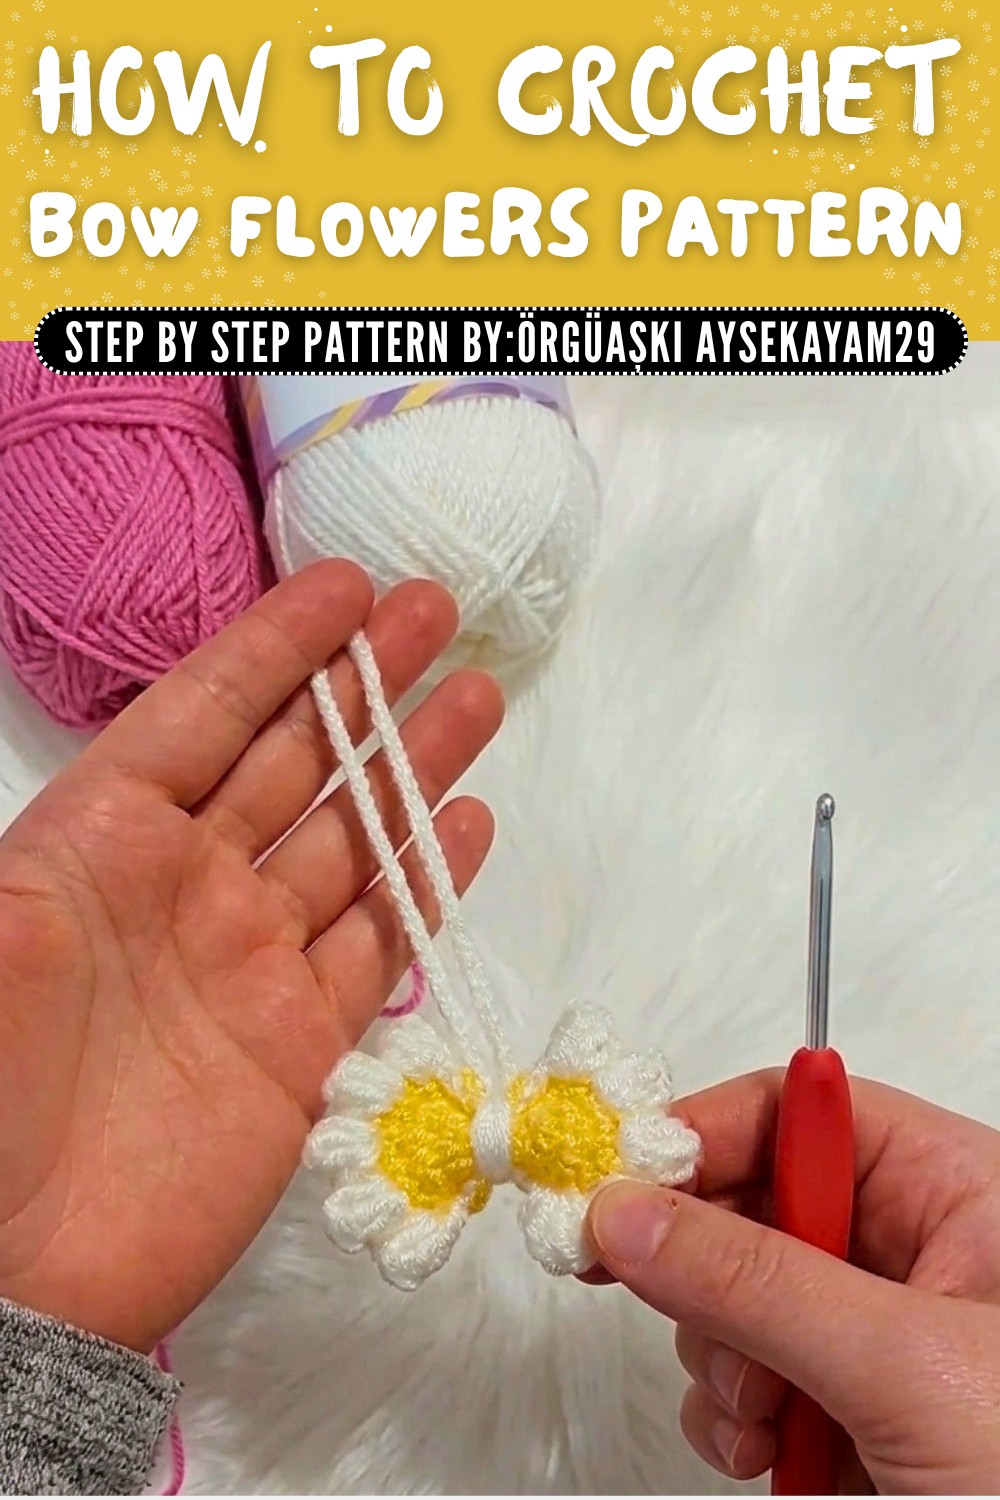
Free Crochet Bow Flowers Bag Pattern with Spring Style
Delight your creative side with this free crochet bow flowers bag pattern, an easy and enjoyable project perfect for beginners to learn and make.
Adding beautiful details like bows and flowers to everyday accessories brings a unique charm that stands out. This bag features soft floral accents paired with delicate bows that complement its base structure. Crocheting with simple stitches such as single crochets and double crochets, paired with the magic ring technique, results in neat, eye catching details. The playful combination of textures and colors makes the project both fun and practical. Not just limited to bags, these decorative additions work wonderfully for hair ties, shoe clips, or even as cheerful keychains.
Free Crochet Bow Flowers Bag Pattern for Travel
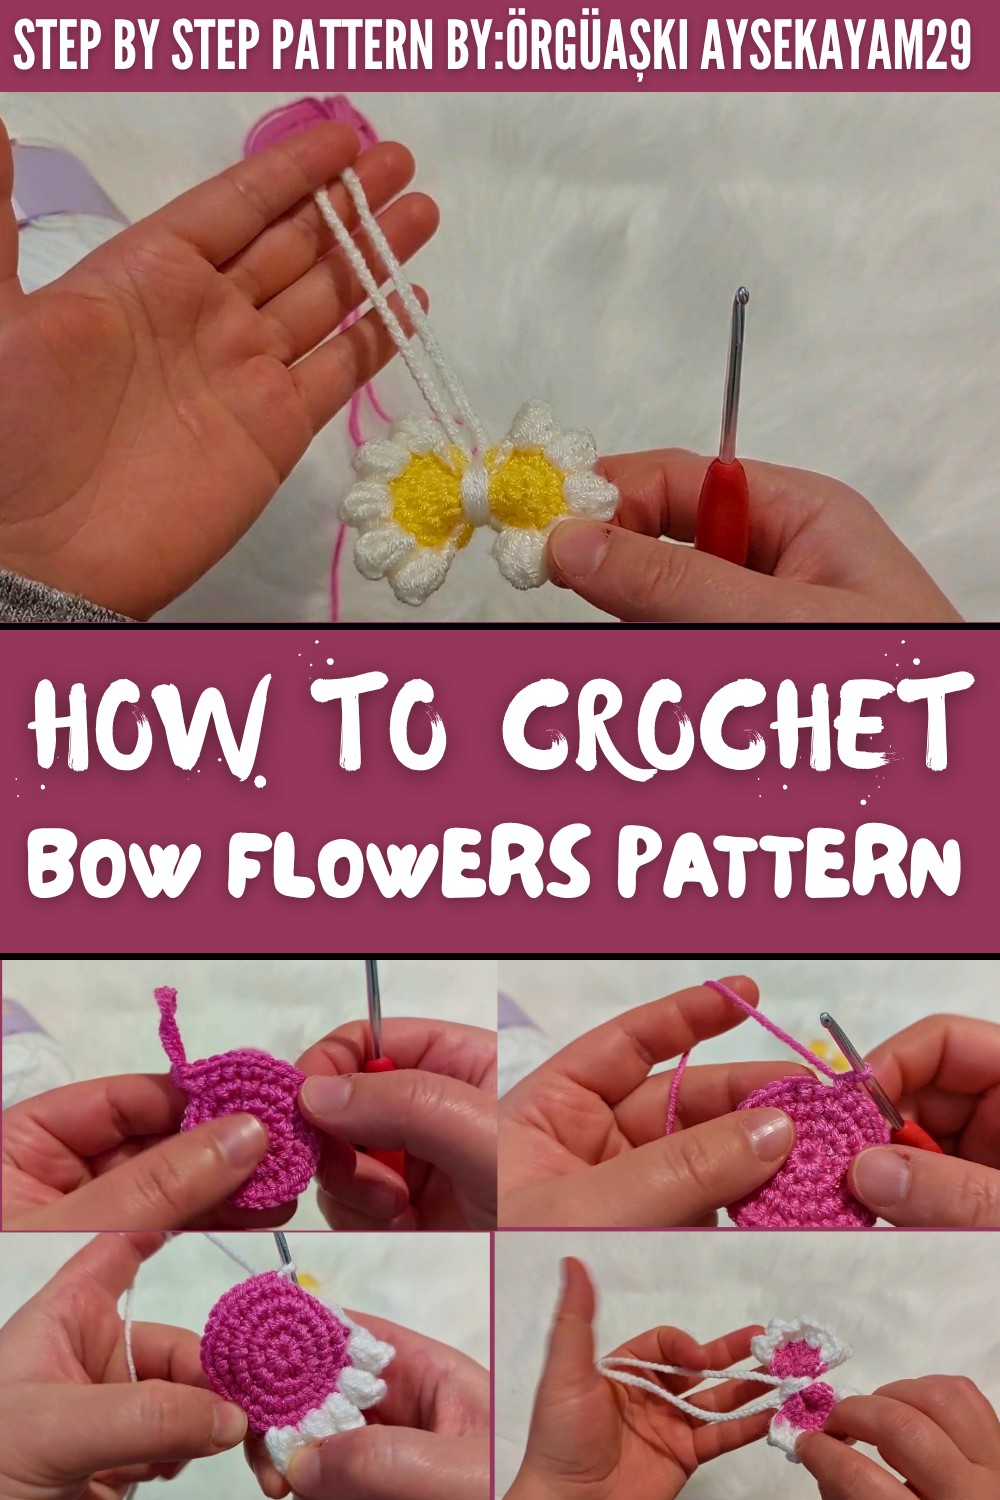
This project introduces techniques that are beginner friendly yet rewarding. Basic stitches work together to build structured layers, while increasing and closing rounds add dimension to the design. Adjusting colors allows diverse possibilities, and the process helps refine skills in both foundational stitches and decorative embellishments. These bows and flowers lend themselves to creating bookmarks, colorful garlands, seasonal decorations, or ornaments for home furnishings. Used alone or in combinations, they enrich crochet projects with charm and versatility.
This pattern is a wonderful choice for beginners and young enthusiasts eager to try something creative and practical. Whether making gifts or personal accessories, these techniques bring both enjoyment and satisfaction.
Crochet Bow Flowers Bag Pattern
This step by step guide will show you how to create a delightful daisy style bow accessory that is versatile and perfect for bags, keychains, ballet flats, or any cute decorative purpose. This pattern can be adapted for various color schemes to match your bags or outfits. Whether you place it on the front of a bag or the side, the final result is an adorable accent perfect for personal use or gifting.
Quick Overview of Pattern
- Type of Project: Decorative bow accessory with daisy inspired design
- Best Uses: Bag charm, keychain, accessory for ballet flats or other items
- Customization Options: Color and size variations to match different bags or styles
Notes
- The pattern uses a magic ring to begin, followed by increasing rounds to shape the base of the bow.
- The bow design features layers of alternating colors (pink and white in this case).
- The final piece is completed by securely wrapping and fastening the bow's center, and an optional chain can be added for hanging purposes.
- It's important to work the stitches evenly and maintain tension for a smooth, professional look.
Skill Level
Beginner to Intermediate
Materials
- Yarn:
- Main color (Pink)
- Contrast color (White)
- Crochet Hook:
- 3mm for the base
- Scissors
- Tapestry Needle (for weaving in ends)
Optional:
- Thin hook for detailing or pulling through wrapped loops in the bow center
Measurements / Sizing
The finished bow fits perfectly on a medium to large bag, and can be scaled up or down depending on your preference.
Gauge
Gauge is not critical for this pattern, but ensure that your stitches are tight for a firm structure.
Stitch Abbreviations
- ch - Chain
- sc - Single Crochet
- dc - Double Crochet
- tr - Treble (Triple) Crochet
- sl st - Slip Stitch
Special Stitches
- Magic Ring: A circular foundation often used in crochet to begin projects with a tight, seamless center.
- Single Crochet Increase (2sc in 1): Work two single crochets into the same stitch to increase the stitch count.
The Crochet Pattern
Step 1: Create the Base with Pink Yarn
Round 1:
- Begin with a magic ring.
- Chain 1.
- Work 8 sc into the magic ring.
- Instructions for sc: Insert hook into the ring, pull up a loop (two loops on hook), yarn over, and pull through both loops.
- Join the final sc to the first sc with a sl st to close the round.
- Pull the magic ring tight to close the center.

Round 2:
- Chain 1.
- Work 2 sc into each sc around. (You will now have a total of 16 sc in this round.)
- Join with a sl st to the first sc.
Round 3:
- Chain 1 and sc in the same stitch.
- Work 1 sc in the first stitch, then 2 sc in the next stitch, alternating between 1 sc and 2 sc per stitch to increase evenly.
- At the end of this round, your total stitch count will increase again.
- Join with a sl st to the first sc.
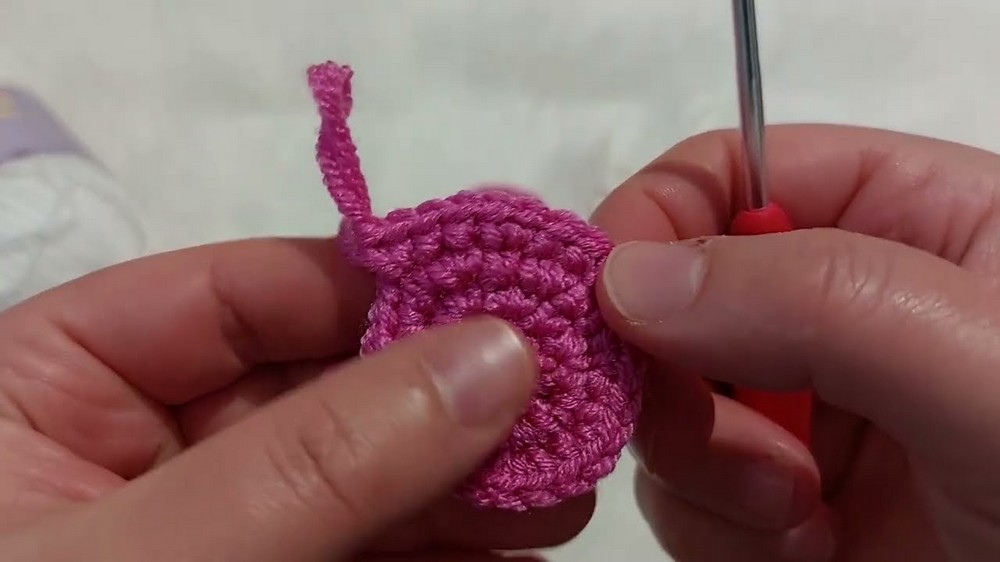
Round 4:
- Chain 1.
- Continue the same pattern: Alternate between working 1 sc and 2 sc as follows:
- Work a sc in one stitch.
- Work 2 sc into the next stitch (increase).
- Repeat the sequence (1 sc, 2 sc) around the row.
- Join with a sl st to close the round. Cut off and weave in the pink yarn ends.

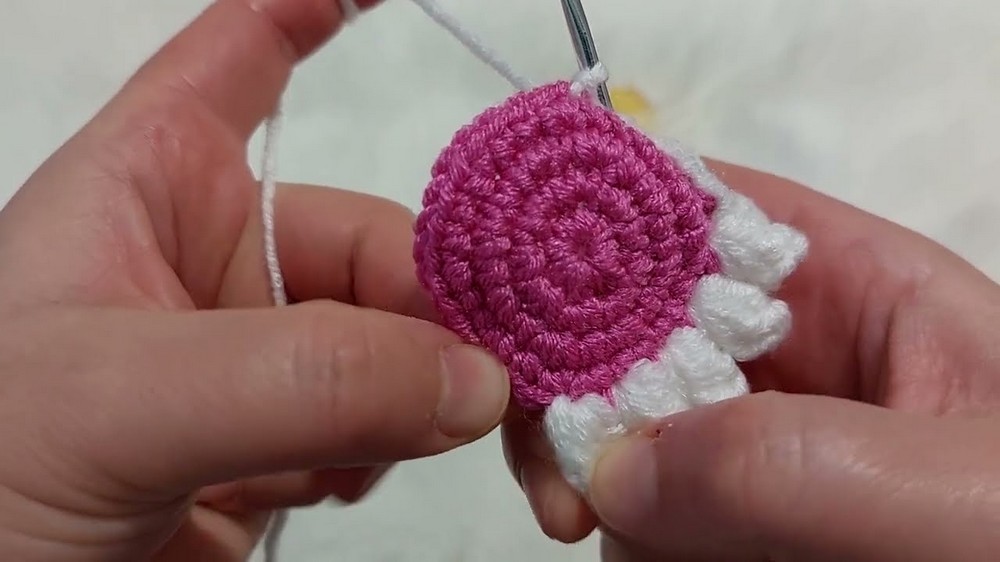
Step 2: Add White Decorative Edge
Preparation for the Edge:
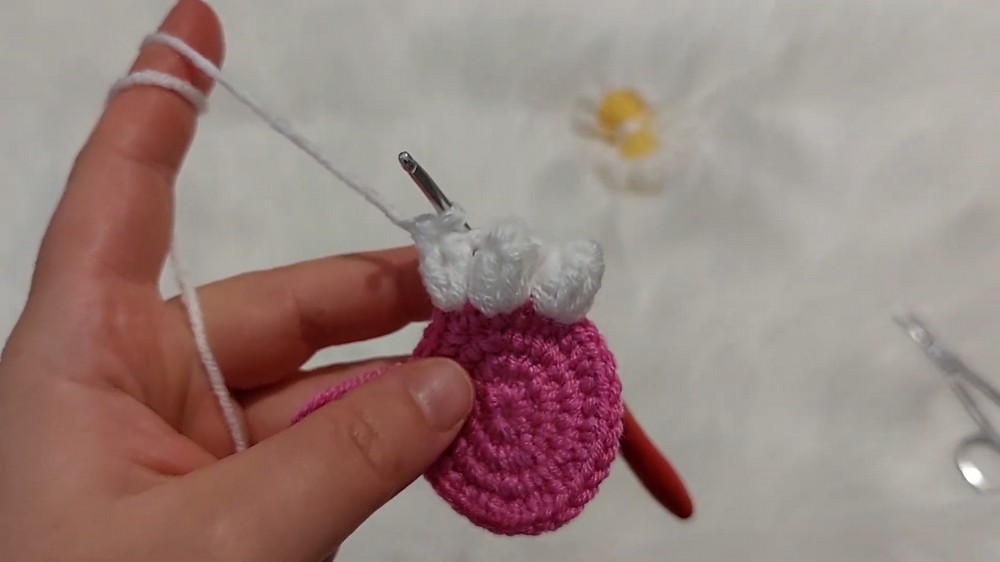
- Attach white yarn to any stitch in the outermost round. Pull it through and chain 3.
Adding Decorative Stitches:
- In the same stitch where the chain was drawn, work 5 dc. (The 3 chains at the start count as the first dc).
- After completing the 5 dc in one stitch, chain 2, then skip 1 stitch and secure the next stitch with a sl st.
- Continue this pattern all around the row, leaving 1 stitch between each cluster of 5 dc.
Complete the Edge:
- Repeat the same sequence of 5 dc clusters around the entire edge of the base.
- Join the final cluster with a sl st to complete the decorative edge.
- Cut the yarn and weave in the ends securely.
Step 3: Form the Bow
Shaping the Bow:
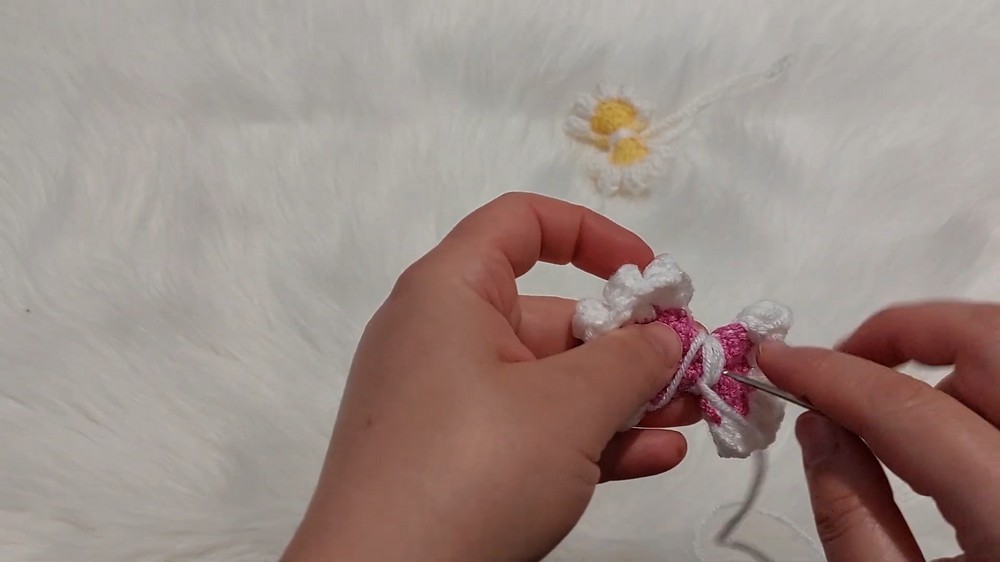
- Fold the base in half vertically by bringing the right and left edges inward.
- Ensure that the decorative white edges meet in the center for a balanced look.
- Wrap a length of pink yarn tightly around the center of the bow multiple times to cinch it into shape.
Securing the Center:
- Use a thin crochet hook or tapestry needle to guide the yarn tail through the wrapped section to secure it.
- Tighten the wrapped portion to hold the bow's shape firmly.
- Cut off any excess yarn, ensuring the ends are hidden or tied securely at the back.
Step 4: Add a Chain for Hanging
Creating the Chain:
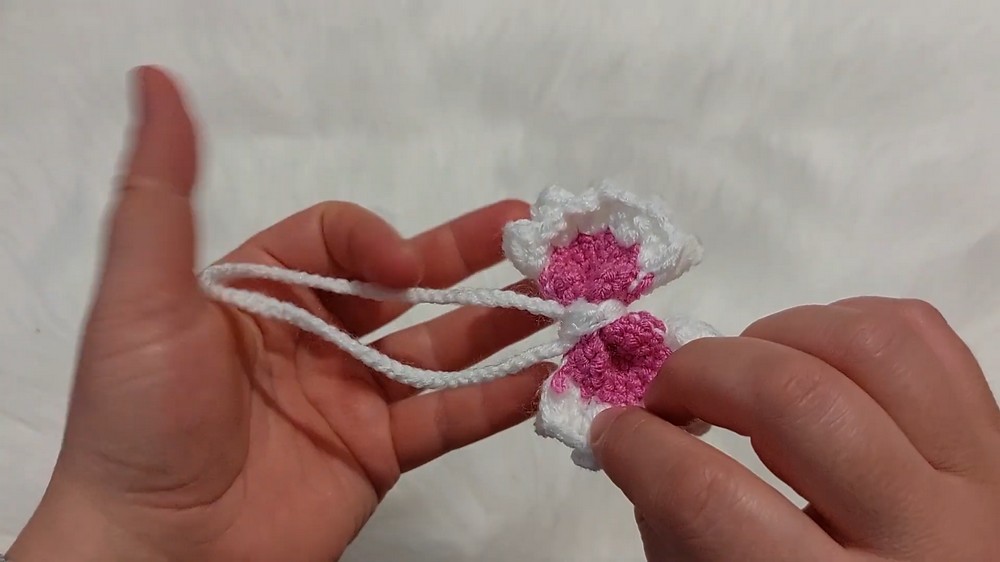
- Using the white yarn, create a long chain of 60 ch.
- Pass one end of the chain through the central back section of the bow and pull it through to form a loop.
- Knot both ends together to create a hanging cord.
- Trim the ends and secure them firmly in place.
Assembly & Finished Size
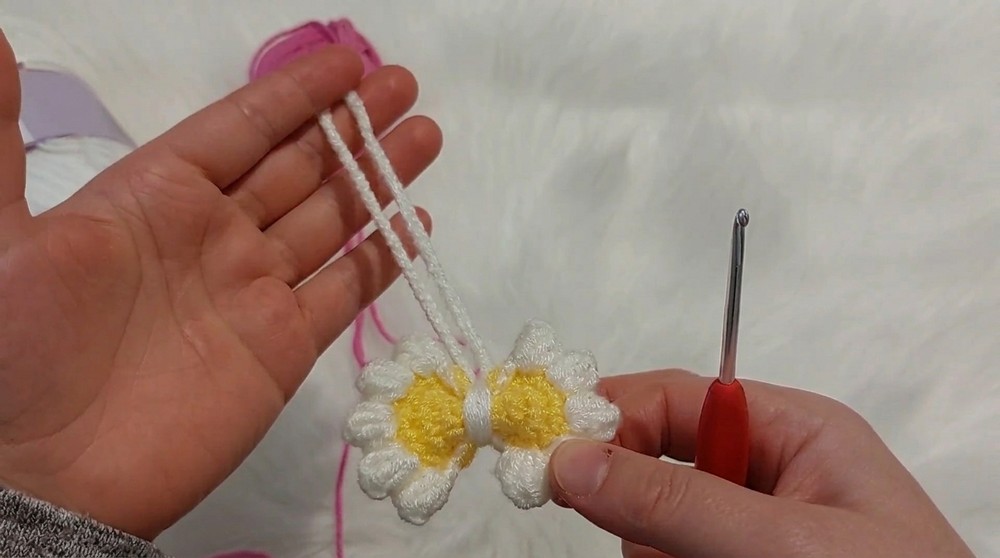
- Your completed bow accessory can now be used as a bag charm or decoration for other accessories.
- Approximate size: 6-8 cm wide, depending on yarn, hook, and tension used.

Conclusion
This daisy inspired bow bag accessory is quick to make, adaptable, and incredibly versatile. The contrast between the pink and white layers gives it a striking yet playful appearance, making it a lovely addition to your handmade collection.