
Free Crochet Bow Hair Clips Pattern That Look So Amazing
Turn simple yarn into stunning crochet bow hair clips, a perfect way to add color, texture, and handmade charm to your style or collection.
Brighten up your hairstyle with handmade charm by working on a project that's simple yet oh so stylish-crochet bow hair clips. These bows are a lovely blend of delicate texture and visual appeal, featuring soft loops and a pinched center that gives them a polished shape. Their understated elegance makes them suitable for a variety of occasions, from casual outings to formal events, while the tactile details add that unmistakable warmth of something handmade.
Free Crochet Bow Hair Clips Pattern to Dress Up Your Style
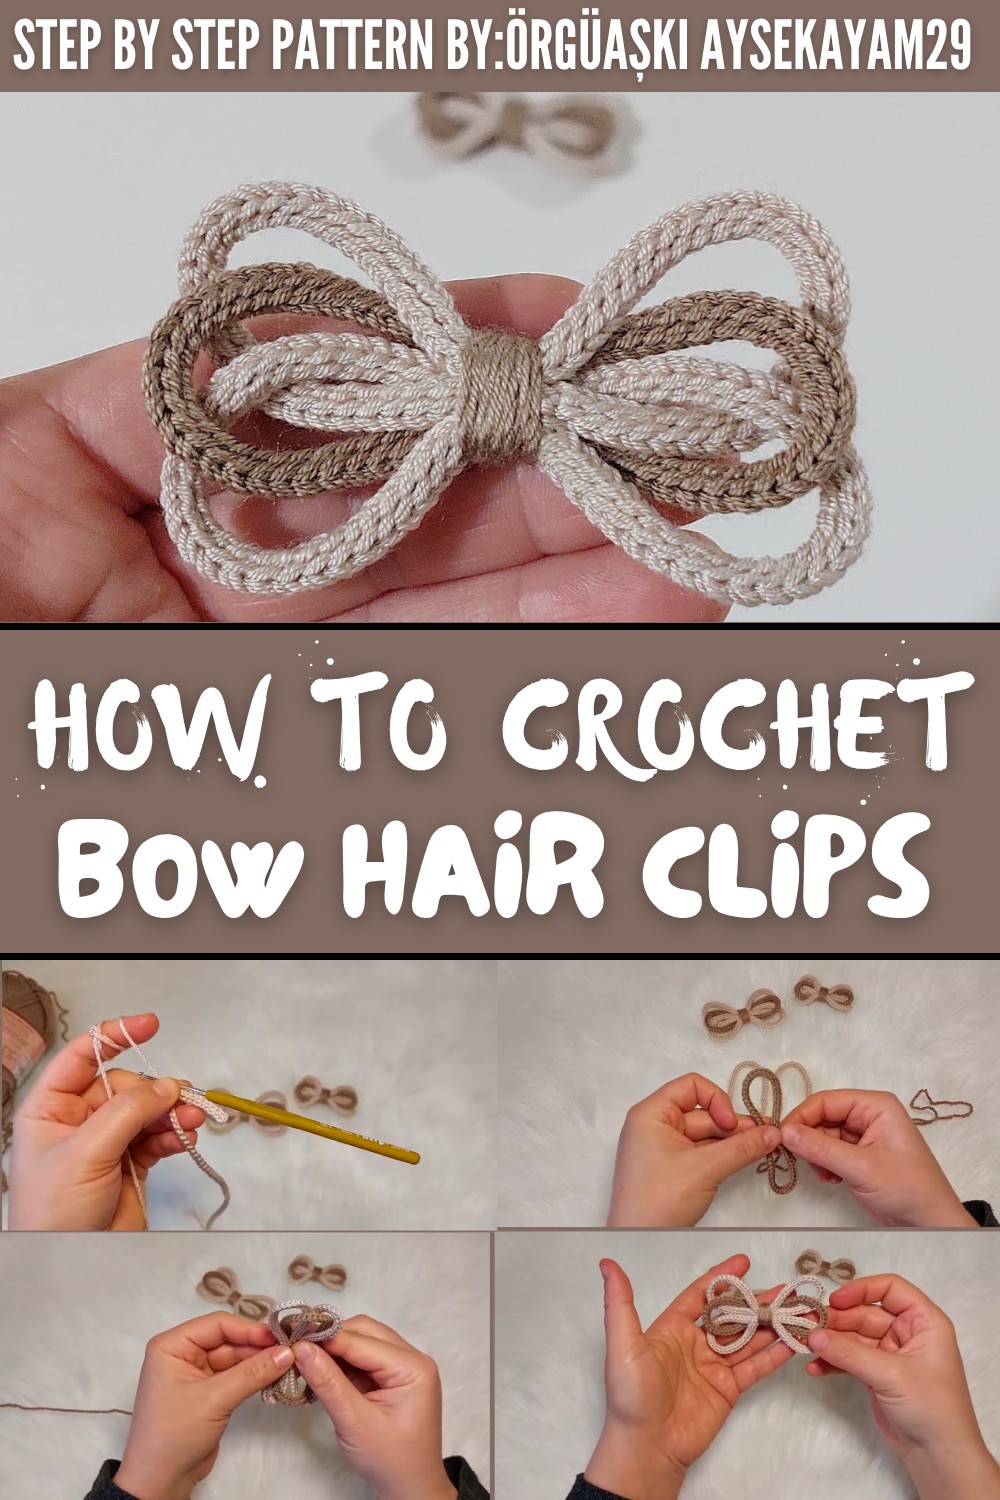
The beauty of these hair clips lies in their flexibility to suit all preferences. You can make them small and subtle for children or opt for dramatic, statement sized bows to turn heads. As for materials, cotton yarn offers crisp stitch definitions for a neat finish, while acrylic yarns open up opportunities for playful color combinations. If you're feeling adventurous, try textured yarns like velvet or ones with a soft shimmer to create bows with added depth and character.
This crochet pattern involves stitching loops combined with a simple wrapping technique to form the bow structure. The final step of attaching the clip ensures its functionality and durability. One helpful tip: use yarn that offers just the right balance of structure and softness-you want it to hold shape but not feel rigid when worn.
The simplicity of the project invites experimentation, so don't hesitate to play around with colors and textures to crochet bows that reflect your creativity and love for handmade beauty.
Crochet Bow Hair Clips Pattern
Materials Needed
To crochet your crochet bow, you'll need the following materials:
- Yarn: Two contrasting colors. Choose a lighter shade for the outer loops and a darker shade for the center band. Recommended options:
- Light Color - Yarn Code: 69 to 42, or any pastel/light shade.
- Darker Color - Choose a color that complements the lighter shade (e.g., dark blue, grey, or burgundy).
- Crochet Hook: Size 4 or 1.60 mm, ideal for medium weight yarn.
- Scissors: To trim ends.
- Yarn Needle: For sewing pieces together neatly.
- Optional Accessories:
- Felt circles for the back of bows.
- Elastic bands or clips if making a hair accessory.

Gauge
Gauge isn't crucial for this project since the bow size is adjustable. However, for best results, aim for a medium tension, where stitches are firm but not too tight or loose. This ensures that the bow maintains its shape without warping during assembly.
Finished Size
The bow size depends on the number of chains used:
- Small Bow: Crocheted with 48 chains.
- Large Bow: Crocheted with 65 chains, ideal for baby slippers or statement pieces.
Pattern Instructions
Below are detailed instructions for each step of the crochet bow making process:
Step 1: Crochet the Foundation Row
- Set Up Your Yarn
- Begin with the lighter color yarn (for the outer loops).
- Make a slip knot and secure it on your crochet hook.
- Chain Foundation
- For a large bow, chain 65.
- For a small bow, chain 48.
- Ensure your chains are medium tension-not too tight or too loose-so the loops are consistent and easy to work with in upcoming steps.
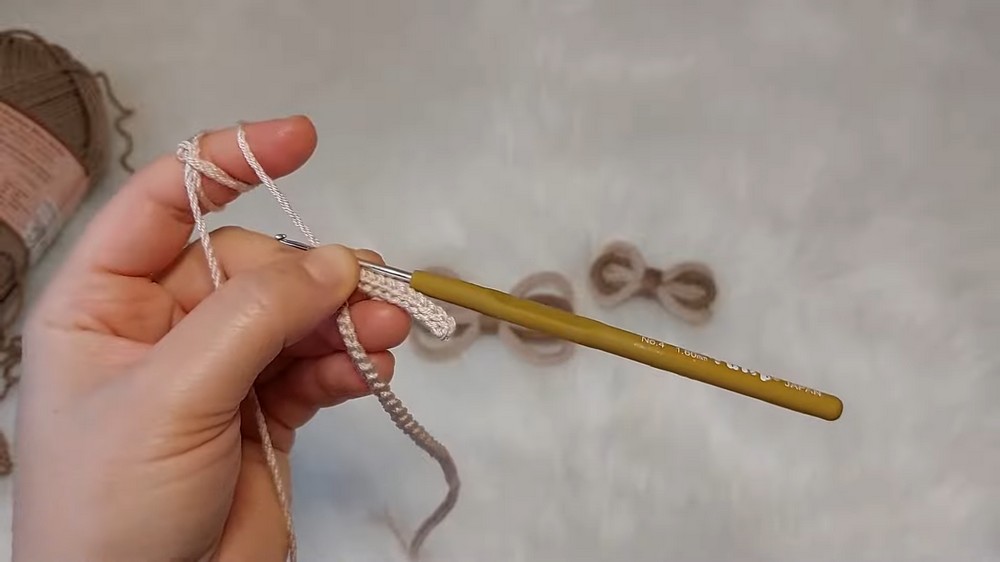
Step 2: Form the Base Loop
- Turn Your Chain
- Flip the chain so the back bumps or loops of the stitches are visible.
- Insert Hook in Second Chain from Hook
- Begin with a slip stitch:
- Insert your hook into the back bump of the second chain.
- Yarn over and pull through both loops on the hook. This creates a slip stitch.
- Begin with a slip stitch:
- Continue Slip Stitches
- Work slip stitches into the back bumps of each chain.
- Ensure consistent tension as you progress, which helps the loop form neatly.
- Complete the Row
- Finish the row with slip stitches through the entire chain.
- Leave a long tail of approximately 12 cm for sewing later.
- Cut the yarn and pull the working end through the last stitch to secure.
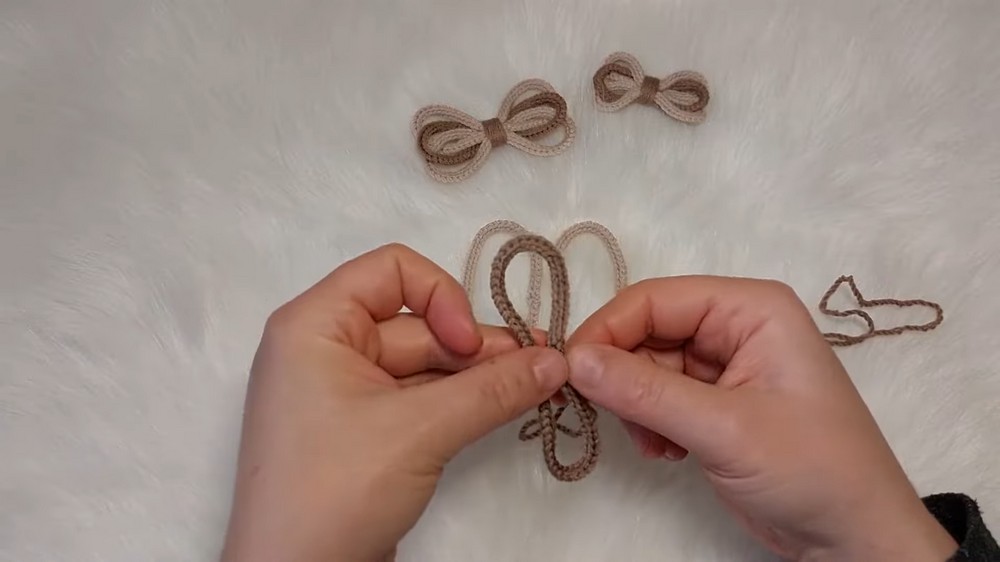
Step 3: Sew and Shape the First Bow Loop
- Fold the Slip Stitch Row
- Bring the two ends of the slip stitch row together to form a circular loop.
- Sew the Edges Together
- Using your yarn needle, sew the two ends neatly to secure them into a closed loop. Work through multiple stitches to ensure durability.
- Keep the seam as inconspicuous as possible, as it will eventually lie on the underside of the bow.
- Adjust the Shape
- Smooth out the edges and ensure the loop is circular. This will form one half of the outer bow.


Step 4: Create a Second Loop
- Repeat Steps 1-3
- Follow the exact instructions to crochet, sew, and shape a second loop.
- Ensure both loops are identical in size and tension, as this contributes to the bow's symmetry.
Step 5: Crochet the Central Band
- Switch to Darker Yarn
- Grab your contrasting darker yarn for the center band of the bow. Begin with a slip knot and secure it on the hook.
- Chain Foundation
- Chain 65 for the large bow (or fewer for smaller; adjust depending on your desired center width).
- Slip Stitch Row
- Work slip stitches into the back bumps or loops of the chain, as detailed in Step 2.
- Ensure the row is consistent, as this forms the visible center band of the bow.
- Form the Center Loop
- Once the row is finished:
- Fold the slip stitch row into a circle like before.
- Sew the edges neatly using a yarn needle.
- Leave a long tail to sew this loop around the bow layers later.
- Once the row is finished:
Step 6: Assemble the Bow
Now that you've created the two outer loops and the central band, let's combine them into the final bow shape:
Align the Loops
- Place the two light colored loops side by side. Align them with seams neatly positioned at the back.
- Stack the dark colored center loop above the light loops, positioning it centrally.
Bind the Layers
- Wrap the center band (dark colored loop) tightly around the middle of the light loops.
- Adjust the placement:
- Ensure the light loops are equally aligned on either side.
- Hide all seams or joins at the back of the bow.

Secure the Wrap
- Using the yarn tail left from the center band, sew the layers together securely.
- Work multiple stitches around the center band and through the loops to prevent slipping.
- Ensure the bow maintains its puffed appearance, with the tied band cinching the center tightly.
Customization Ideas
Color Variations
- Combine complementary or contrasting colors for a bold look (e.g., yellow + grey).
- Use seasonal colors (e.g., red + green for holiday bows).

Size Adjustments
- Modify chains for different bow sizes:
- Miniature: Start with 40 chains.
- Oversized bows: Use more than 70 chains for the foundation rows.
Textural Modifications
- For textured loops, consider replacing slip stitches with single crochets.
Attachment Options
- Add felt backing for secure attachments (e.g., to brooch pins, bags, or shoes).
- Incorporate elastic bands or glue to attach the bow to hair ties and clips.
Tips for Success
- Consistent Tension
- Aim for uniformity in stitch tension throughout the project. Tight stitches may warp the shape.
- Seam Placement
- Keep seams at the back for a clean, professional looking front view.
- Blocking
- Lightly steam or block the bow after assembly to ensure it keeps its shape.
Conclusion
Through this guide, you've learned how to create a beautiful crochet bow that can be used in endless ways-from baby accessories to elegant gift wrapping embellishments. This project is simple yet versatile, leaving room for creativity with colors, sizes, and applications. Whether you're a beginner or an experienced crocheter, this bow pattern is a timeless addition to your skills.
Important Remarks
- Adjusting Bow Shape
- After securing the wrap, spend time tweaking the loops to ensure symmetry.
- Use a gentle tug on each layer to adjust the bow's puffiness.
- Experiment Freely
- Add beads, sparkly threads, or embroidery elements for extra charm.
- Final Look
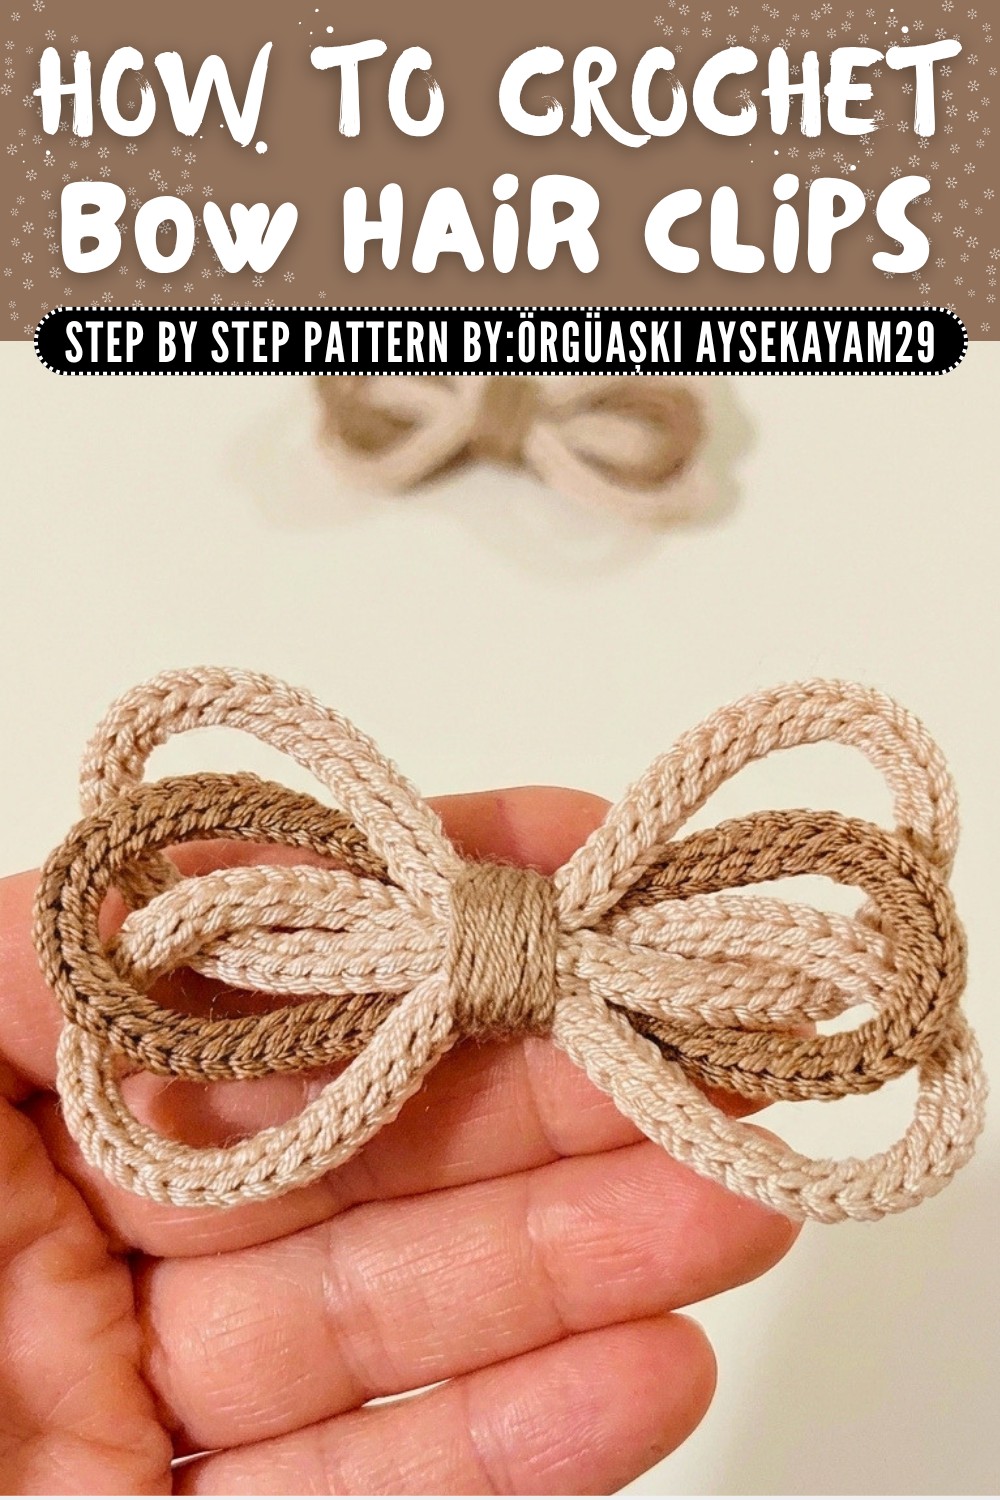
- Your finished bow will feature layered loops with a clean central band, offering an elegant, polished aesthetic.
This crochet bow pattern is easy to follow, fun to customize, and makes a perfect gift for any occasion. Enjoy crocheting this versatile accessory and exploring the possibilities it brings.