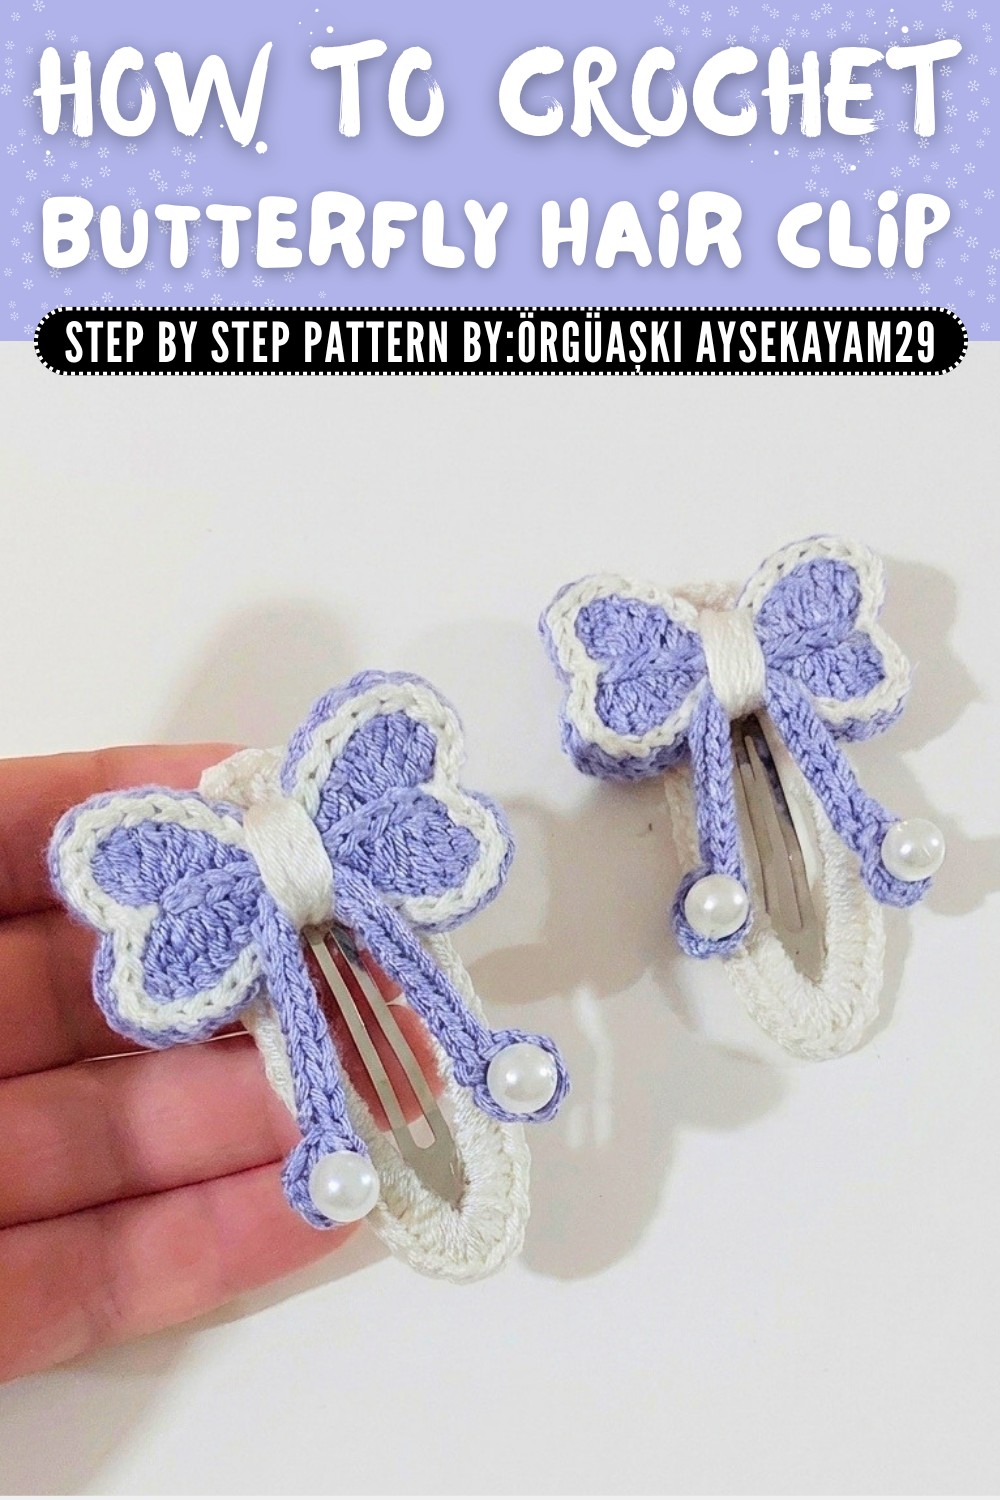
Free Crochet Butterfly Hair Clip Pattern to Shine Every Day
Freshen every outfit with this Free Crochet Butterfly Hair Clip Pattern bringing extra charm to ponytails, braids, parties, and everyday adventures.
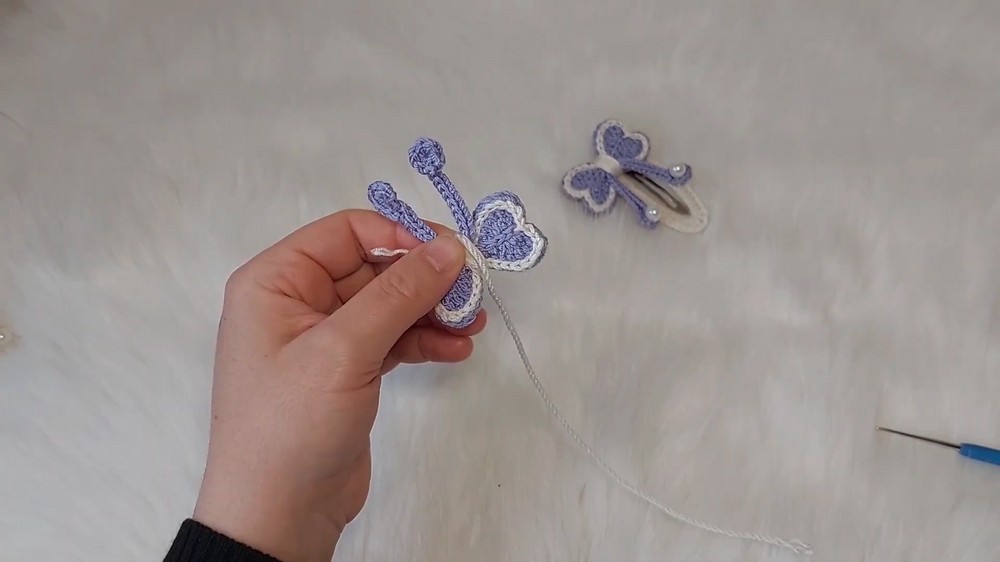
One sunny afternoon, a curious little butterfly landed on a garden fence, wings shimmering with soft colors that seemed too beautiful not to capture. That simple moment became the spark for this free crochet butterfly hair clip pattern, designed to bring a touch of whimsical charm to everyday accessories. These fluttery little clips are the perfect way to add a playful yet elegant twist to any hairstyle. The clip's design features delicately textured wings that appear to be mid flight, giving it a soft, dynamic look. The centerpiece acts as a tidy little belt, holding the entire butterfly together with a sleek and polished finish.
Free Crochet Butterfly Hair Clip Pattern with Spring Style

The beauty of this project lies in its customization potential-choose soft pastels for an airy, nature inspired vibe or vivid, bold colors for something that truly stands out. You could even combine yarns for a multicolored or ombré effect, adding even more personality. This crochet butterfly hair clip suits all ages, from toddlers looking for cute accessories to adults who love a touch of whimsical flair. While the standard size fits a classic 6cm barrette, the dimensions can easily be adjusted by changing the hook size or swapping out the yarn weight.
The wings are crocheted using familiar crochet stitches, including single crochet, double crochet, and treble crochet, creating a beautifully layered, structured texture. To enhance the design, choosing lightweight yarns with a slight sheen is recommended. This gives the butterfly a luminous, almost lifelike quality, especially when viewed in natural light. Ideal for birthdays, spring celebrations, or as simple just because gifts, these clips are a thoughtful way to share a handmade treasure. Small yet impactful, these butterfly hair clips are sure to make anyone smile.
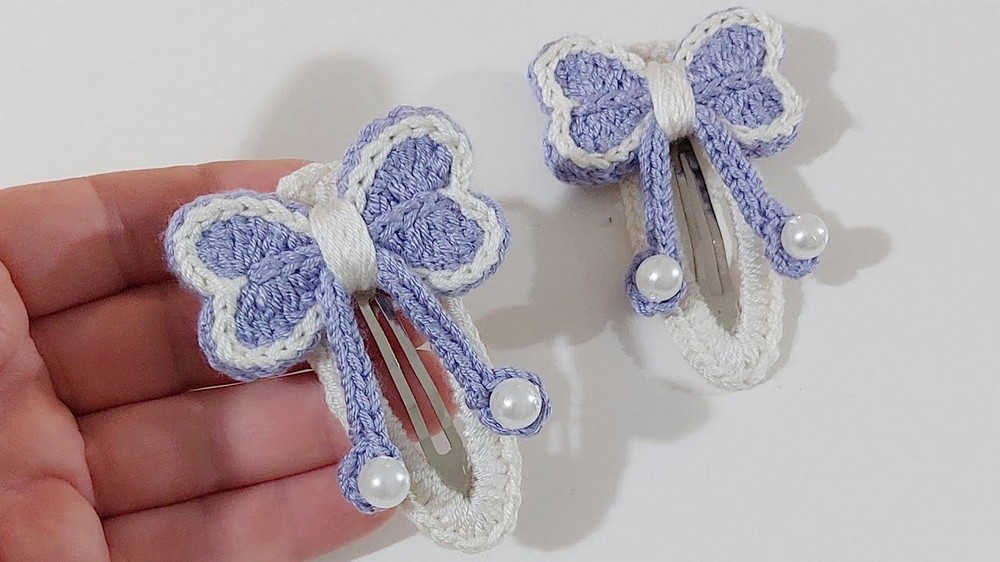
Crochet Butterfly Hair Clip Pattern (Step by Step)
This is a detailed step by step guide to crochet a beautiful Butterfly Hair Clip. Follow each stitch carefully for a clean and professional finish.
Materials Needed
- Yarn:
- Pırlanta yarn in dark lilac or preferred color (or any medium weight acrylic/polyester yarn).
- Hook:
- 5mm crochet hook.
- Hardware:
- 6cm snap hair clip.
- Optional Embellishments:
- Large plastic beads for decoration (optional).
- Other Tools:
- Scissors.
- Tapestry needle or sewing needle.
- Silicone glue or hot glue gun.
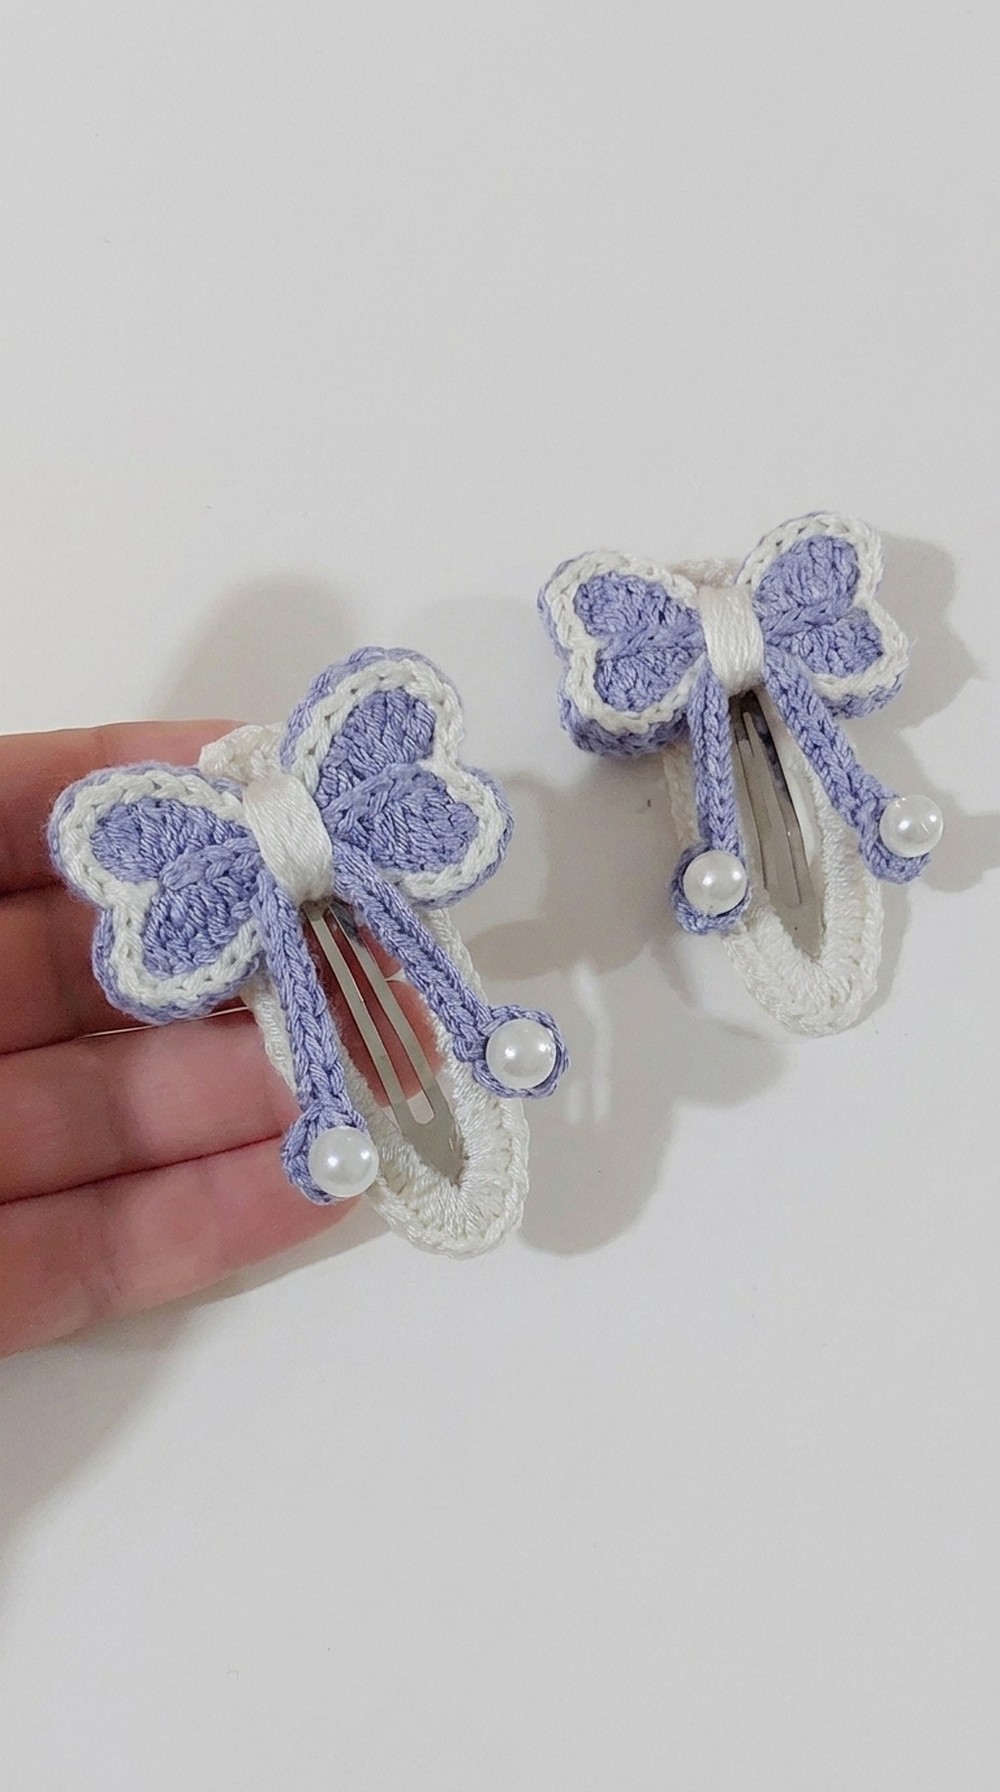
Step by Step Pattern
1. Creating the Bow Wings (Make 2)
Foundation
- Chain 11 stitches.
Row 1: First Half of Wing
- Treble Crochets (tr):
- Yarn over twice.
- Insert the hook into the 4th chain from the hook.
- Pull through a loop (4 loops on hook).
- Yarn over and pull through 2 loops. Repeat twice to complete a treble crochet.
- Repeat two more times into the same stitch (3 treble crochets total).
- Double Crochet (dc) in the same chain space:
- Yarn over.
- Insert the hook into the same space used for the treble crochets.
- Pull through a loop (3 loops on hook).
- Yarn over and pull through 2 loops twice (1 double crochet).
- Double Crochet (dc) in the next chain:
- Yarn over and insert the hook into the next chain.
- Work 1 double crochet.
- Half Double Crochet (hdc):
- Yarn over.
- Insert the hook into the next chain.
- Pull through a loop (3 loops on hook).
- Yarn over and pull through all 3 loops.
- Single Crochet (sc):
- Insert the hook into the next chain.
- Pull through a loop (2 loops on hook).
- Yarn over and pull through both loops to complete 1 single crochet.
- Repeat 1 single crochet in the following chain (2 consecutive sc).

Middle Turn Section
- Half Double Crochet (hdc):
- Yarn over.
- Work into the next chain and complete 1 hdc.
- Double Crochet (dc) in two stitches:
- Yarn over and work 1 dc into the next chain.
- Work another 1 dc into the following chain.
Row 1: Second Half of Wing
- Treble Crochets (tr):
- Yarn over twice.
- Work 3 treble crochets into the last chain space.
- Cluster End:
- Chain 4.
- Slip stitch into the same chain space to close this row.
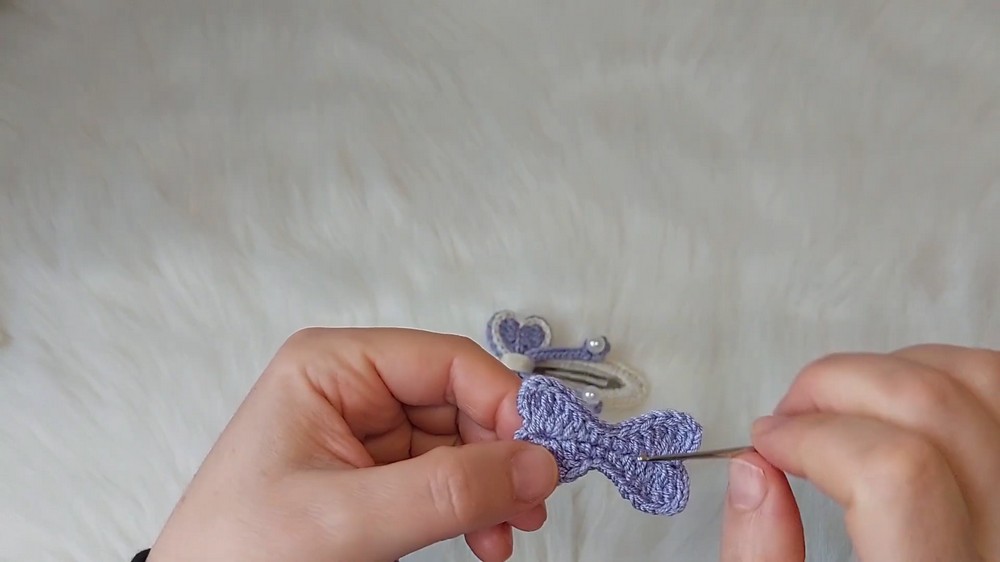
Working the Opposite Side of Chain Foundation
- Turn the piece to work into the opposite side of the chain foundation:
- Chain 4.
- Yarn over twice and work 3 treble crochets into the same base stitch.
- Continue working back across the chain foundation as follows:
- 1 double crochet (dc) into the next chain.
- 1 double crochet (dc) into the next chain.
- 1 half double crochet (hdc) into the next chain.
- 2 single crochets (sc) into the next two chains.
- 1 half double crochet (hdc) into the following chain.
- 1 double crochet (dc) into the next chain.
- 1 double crochet (dc) in the next chain.
- In the last chain, work:
- 3 treble crochets (tr).
- Chain 4, and slip stitch into the same corner space to complete.

Fasten Off:
- Cut the yarn and weave in the ends securely.
Repeat Steps 1-12 to create a second identical bow wing.
2. Assembling the Bow
Positioning
- Lay the two bow wings together with their wrong sides facing inward (back-to-back).
Joining
- Attach yarn to the outer edge of the bow wing.
- Align the stitches on both sides.
- Work surface slip stitches around the entire perimeter:
- Insert the hook through both wings simultaneously.
- Yarn over and pull through the loops to create a slip stitch.
- Continue joining until the perimeter is completely sealed and both wings are fully secured.
Fasten Off:
- Cut yarn and weave in the ends.
3. Making the Center Strap
Foundation
- Chain 24 stitches.
Loop Formation
- Join yarn with a slip stitch into the 4th chain from the hook to form a small loop.
Row 1
- Work 5 single crochets (sc) into the ring space.

Row 2
- Turn the strap and work slip stitches evenly across the full length of the strap.
Attaching the Strap
- Wrap the completed strap firmly around the center of the joined bow wings to create a neat, structured look.
- Secure the strap by tying a tight knot at the back or by sewing the ends together tightly for durability.
4. Covering the Snap Clip
- Open the 6cm snap clip and insert the yarn.
- Attach yarn with a slip knot at one end of the clip.
- Chain 5 and start working single crochet (sc) stitches around the metal frame.
- Space single crochet stitches evenly along the sides of the clip.
- Curve Filling:
- At the curved tip, work half double crochet (hdc) stitches to fill the curved area smoothly.
- Continue working single crochets (sc) along the second side of the clip.
- Slip stitch to the original starting point to close.

Fasten Off:
- Cut yarn and weave in ends neatly.
5. Finishing
- Apply silicone glue or use a hot glue gun.
- Spread glue evenly along the top surface of the covered snap clip.
- Firmly press the back center of the bow onto the glued clip. Hold in place for a few seconds until secure.
Finished Dimensions
- The bow clip measures approximately 7-8 cm wide.
- The base clip length is 6 cm.
- For embellishments, sew or glue plastic beads or other decorations onto the center or edges of the bow as desired.

Conclusion
Congratulations, Your beautiful, handmade Crochet Butterfly Hair Clip is now complete.
This stylish project is perfect for gifts, or adding a personal flair to everyday outfits.