
Free Crochet Carrot Pattern for Farmhouse Style Decor
Grow your handmade collection with this Free Crochet Carrot Pattern that stitch a cute carrot for play, food decor, gifts and seasonal displays.
Radiant, charming, and full of excitement, this adorable creation is perfect to brighten up your Easter celebrations or add a playful touch to your decor. With its cheerful design and vibrant colors, this crochet carrot pattern guides you to make a beautiful handmade piece that's both fun and versatile. It features a vibrant orange body with a lively green top, giving it a fresh and lifelike appearance. The optional addition of safety eyes and a stitched smile makes it even more unique and charming. It's the perfect way to turn a simple crochet into an expressive and joyful creation. Use it as a decorative item, a cute toy, or a thoughtful handmade gift for friends and family.
Make an Adorable Crochet Carrot Free Pattern for Kitchen Display Use
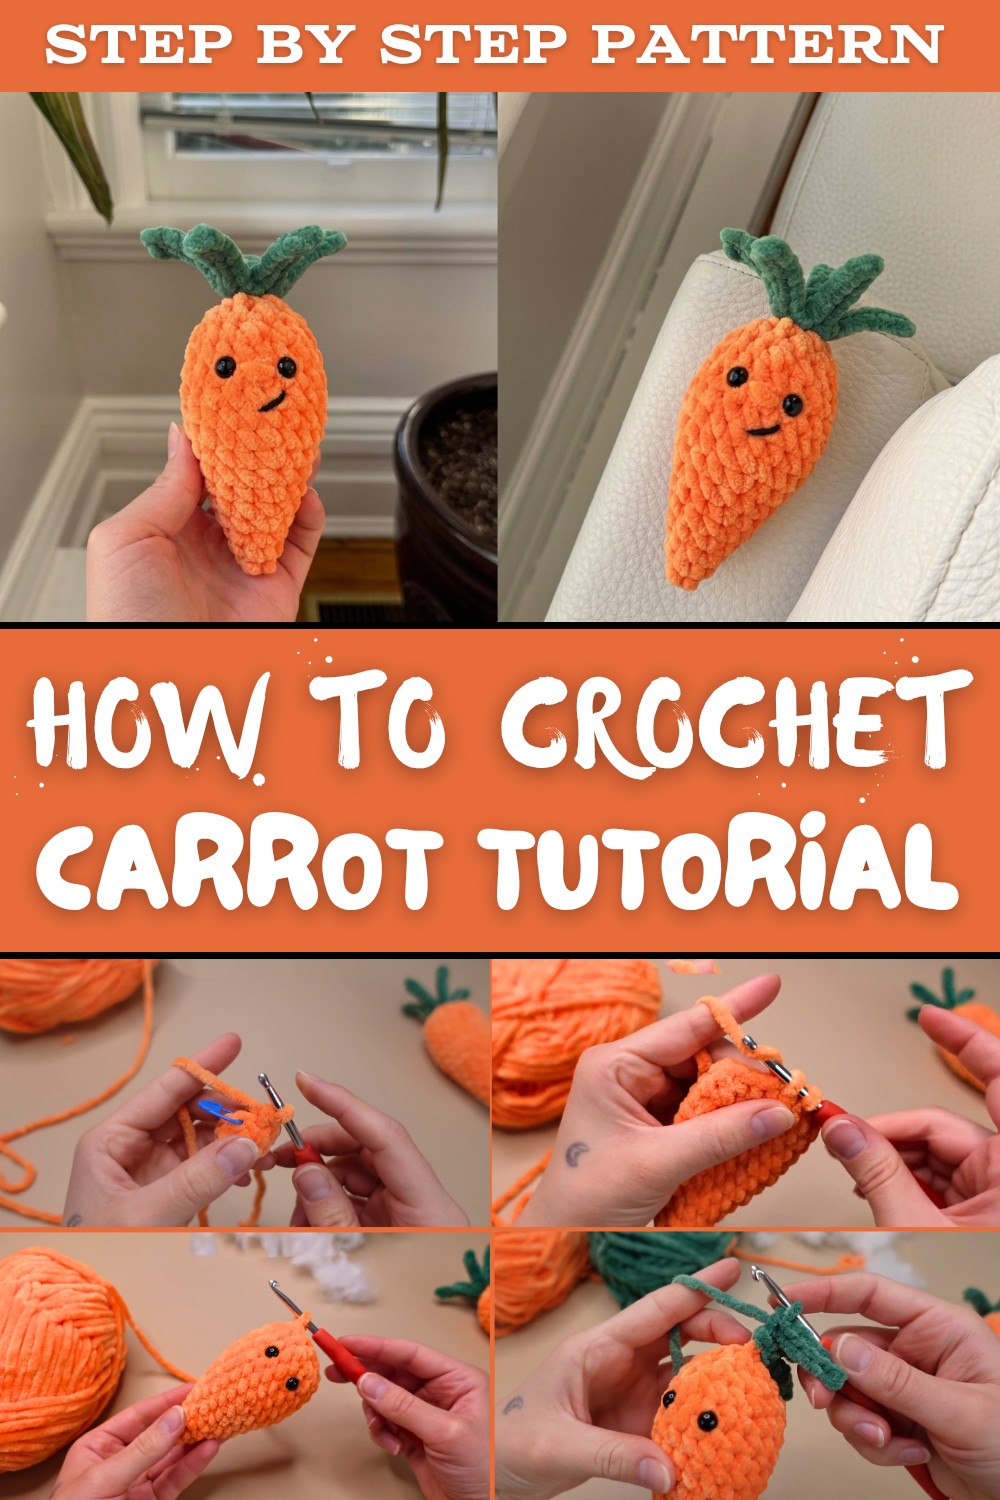
The step by step instructions make it easy for anyone to follow, even if you're new to crochet. The color transition from the body to the leafy top adds a fun challenge, while still remaining beginner friendly. Plus, you can customize it with different expressions or even adjust the size for different uses.
Whether for Easter, springtime displays, or adding character to your home, this delightful pattern ensures you'll love the process and the result. Grab your yarn and hook today and create something radiant and meaningful.
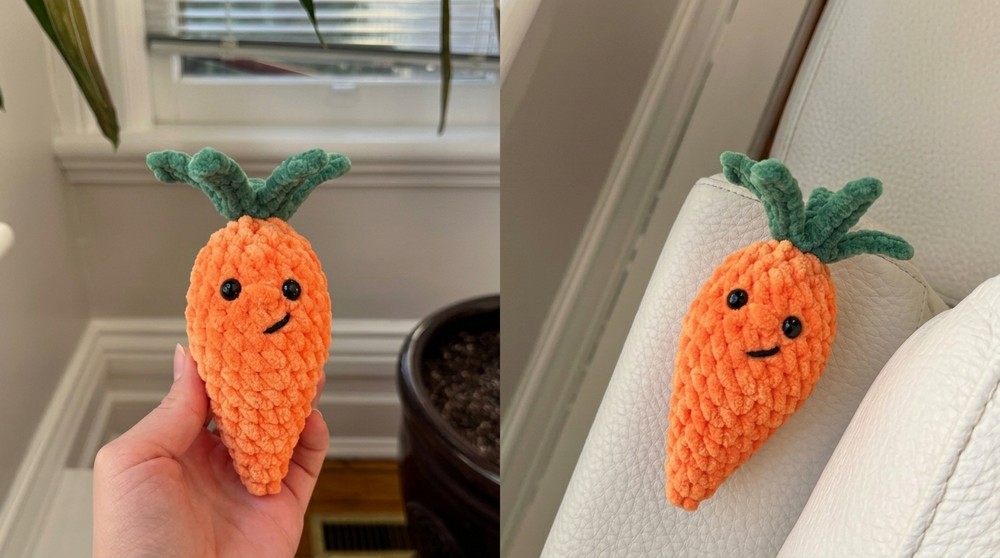
Crochet Carrot Pattern
Materials Needed
To get started, gather the following supplies:
- Yarn:
- Orange yarn for the carrot body.
- Green yarn for the carrot top.
- Optional: Lightweight yarn in black or darker colors for adding facial embroidery.
- Crochet Hook: Use the recommended size for your yarn or a hook that keeps your stitches tight. The video suggests a 3.5mm crochet hook.
- Safety Eyes: A pair for the carrot (optional but adorable).
- Toy Stuffing: Polyfill stuffing for a soft, plush finish.
- Stitch Marker: To mark the beginning of each round.
- Tapestry Needle: For weaving in ends and embroidering details like the carrot's face.
- Scissors: For cutting yarn.
Special Techniques Used in This Pattern
- Magic Ring: A method to start crochet projects in the round without leaving a hole in the center.
- Single Crochet (sc): Insert hook in stitch, yarn over, pull through, yarn over again, and pull through both loops on the hook.
- Increase: Work two single crochet stitches into the same stitch to increase the stitch count for shaping.
- Decrease: Crochet two stitches together (sc2tog) to reduce the stitch count for shaping.
- Slip Stitch (sl st): Insert hook, yarn over, pull through the stitch and the loop on the hook in one motion.
- Working in Front Loop Only (FLO): Used for the carrot top; work only in the front half of the stitch.
Crochet Instructions
This pattern is worked in continuous rounds without joining. Be sure to use a stitch marker to mark the first stitch of each round.
Steps to Create the Carrot Body (Orange Section)
Round 1: Magic Ring
- Create a magic ring and work 4 single crochet (sc) into the ring.
- Tighten the ring by pulling the yarn tail to close the center.
- Total stitches: 4
Round 2: Increases
- Work 2 single crochet stitches into each stitch around (increase).
- Total stitches: 8
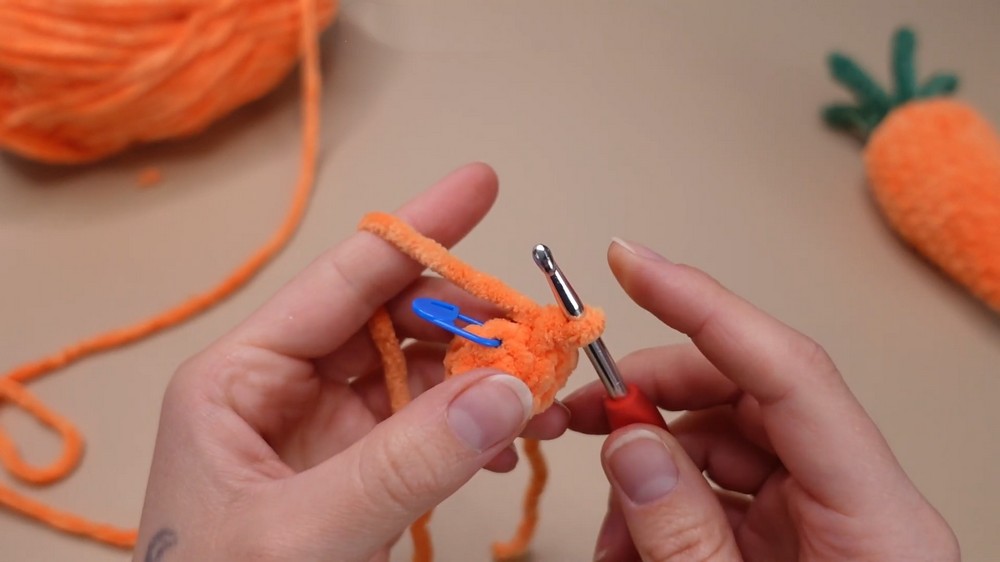
Round 3: Single Crochet Round
- Work 1 sc into each stitch around without increases.
- Total stitches: 8
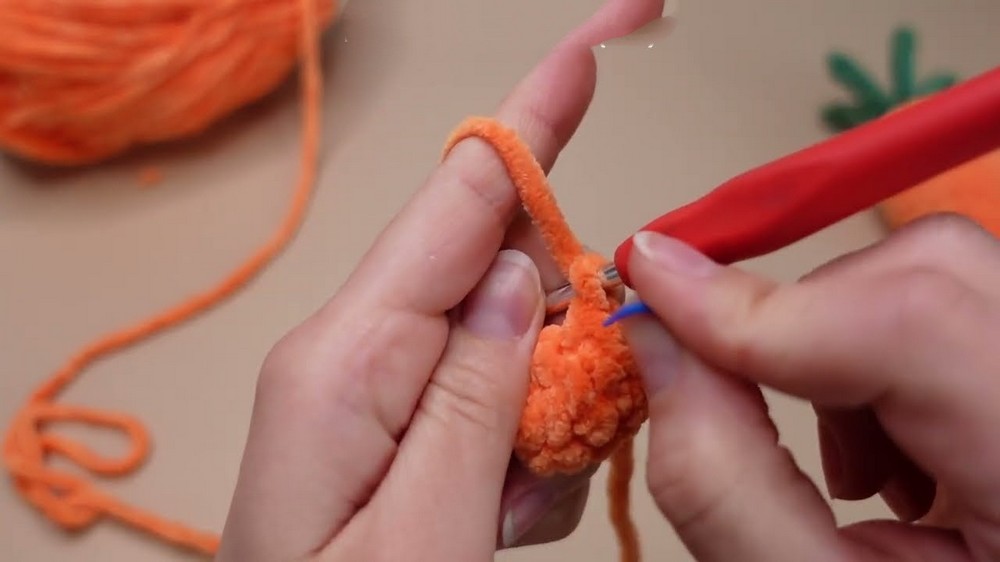
Round 4: Shaping with Increases
- Alternate between 1 sc in the next stitch, then 2 sc in the next stitch (increase). Repeat 4 times.
- Total stitches: 12
Round 5: Single Crochet Round
- Work 1 sc into each stitch around.
- Total stitches: 12
Round 6: Adding Shape
- Work the pattern: 1 sc in the next two stitches, then 2 sc in the next stitch (increase). Repeat 4 times.
- Total stitches: 16
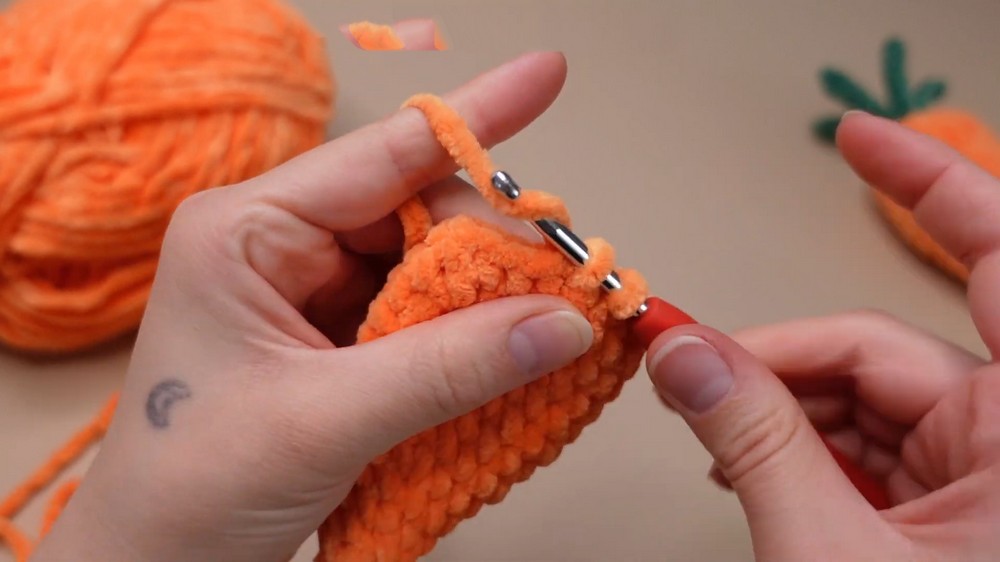
Round 7: Single Crochet Round
- Work 1 sc into each stitch around.
- Total stitches: 16
Round 8: Expanding the Carrot
- Work the pattern: 1 sc in the next three stitches, then 2 sc in the next stitch (increase). Repeat 4 times.
- Total stitches: 20
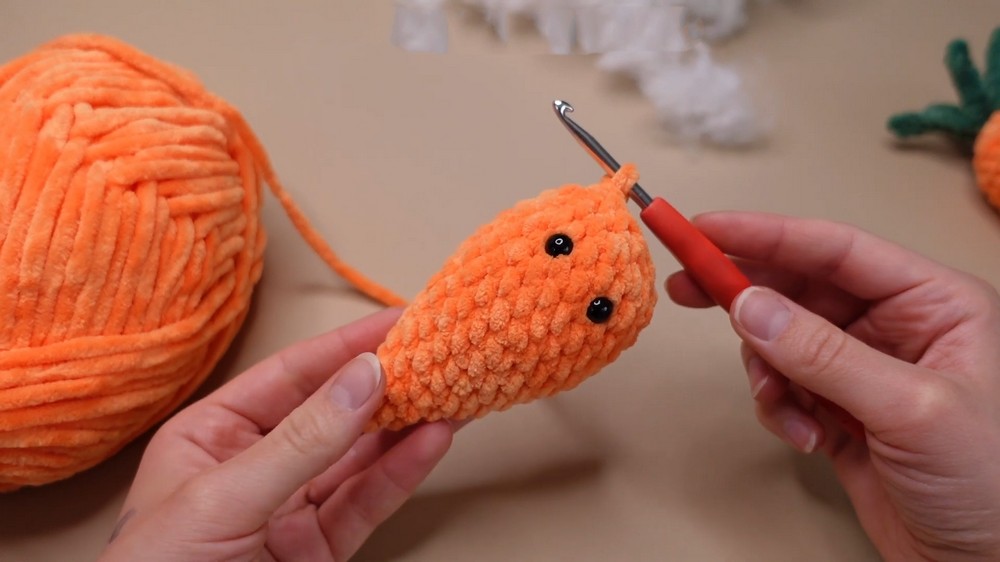
Rounds 9-13: Stable Form (No Increases)
- Work 1 sc into each stitch around for 5 rounds.
- Total stitches for each round: 20
Round 14: Simple Decreases
- Work the pattern: 1 sc in the next two stitches, then sc2tog (decrease). Repeat 5 times.
- Total stitches: 15
Round 15: Reducing Further
- Work the pattern: 1 sc in the next stitch, then sc2tog (decrease). Repeat 5 times.
- Stuff the carrot at this stage, focusing on the bottom and filling the body firmly. Avoid overstuffing.
- Total stitches: 10

Round 16: Final Decrease Round
- Work sc2tog (decrease) in every stitch around.
- Stop halfway through the last decrease and switch to the green yarn to prepare for the carrot top.
- For the color change: Pull green yarn through the final step of the last decrease stitch.
- Total stitches: 5
Steps to Create the Carrot Top (Green Section)
Round 17: Forming the Leaves
- Slip stitch into the front loop only (FLO) of the next stitch.
- Chain 7 to create the first leaf.
- Starting in the second chain from the hook, work 6 slip stitches back down the chain (1 sl st per chain).
- Slip stitch into the front loop of the next stitch in the round to secure the first leaf.

Repeat these steps to make a total of 5 leaves, one leaf for each stitch of the previous round.
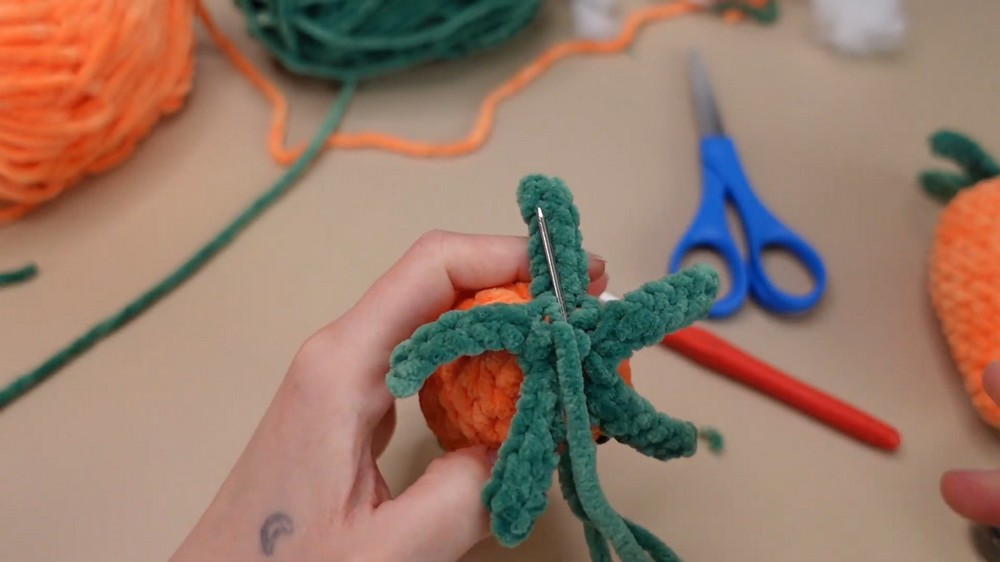
Finishing the Carrot Top
- After completing the final leaf, slip stitch into the same stitch where the first leaf began.
- Cut the yarn, leaving a long tail. Use this tail to sew closed any small opening left in the carrot.

To sew the hole:
- Thread the yarn tail onto a darning needle.
- Insert the needle through the backs of any front loops left from round 16, pulling tightly to close the hole. Tie a knot to secure.

Optional: Adding a Face
Safety Eyes:
- Place the eyes between rounds 12 and 13, with 3 stitches of space between the eyes.
- Secure the safety eye backings tightly inside the carrot.
Embroidered Details:
- Use black or dark colored yarn to add a small mouth or eyebrows. Use orange yarn to add a small triangular nose directly beneath the eyes.
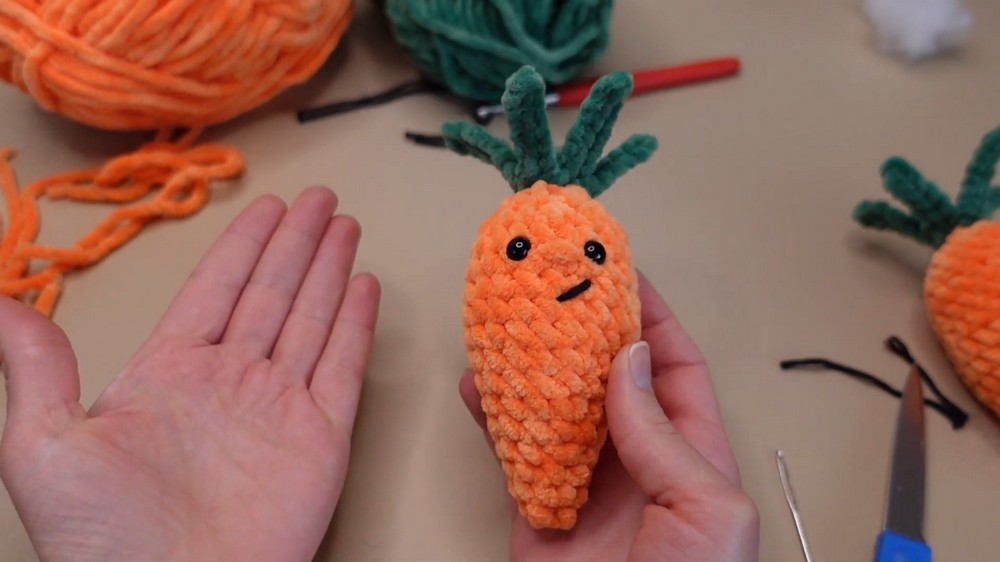
Embroider by inserting the darning needle from the back of the carrot to create the desired design, then knot and hide the ends inside the carrot.
Final Steps
- Ensure all yarn tails are tucked and secured neatly inside the carrot.
- Adjust the leaves to make them stand upright or appear more natural, depending on your desired look.
Tips for the Best Results
- Tension Matters: Keep your stitches tight, especially for the carrot body, to prevent stuffing from showing.
- Stuff Gradually: Add stuffing in small amounts to shape the carrot evenly.
- Safety First: Use high quality safety eyes, especially if gifting to children under age 3. Make sure the eyes are securely fixed.
- Color Matching: Choose vibrant yarn colors to make your carrot plushie stand out.

Final Words
Congratulations on finishing your no-sew carrot plushie. This cute and beginner-friendly crochet project is perfect for practice or as a gift. Its playful design and versatility make it a great choice for all ages. Whether you use it as a toy, decoration, or display piece, your carrot is sure to bring joy.