
Free Crochet Crop Top Pattern With Granny Square Sleeves
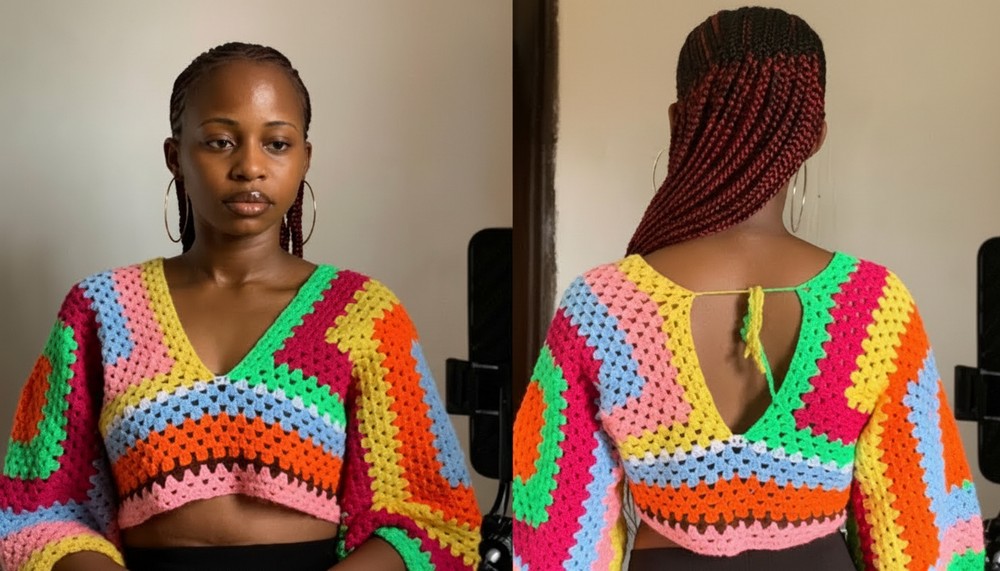
Radiate style with a trendy crop top featuring colorful granny square sleeves that's perfect for turning heads and redefining your wardrobe.
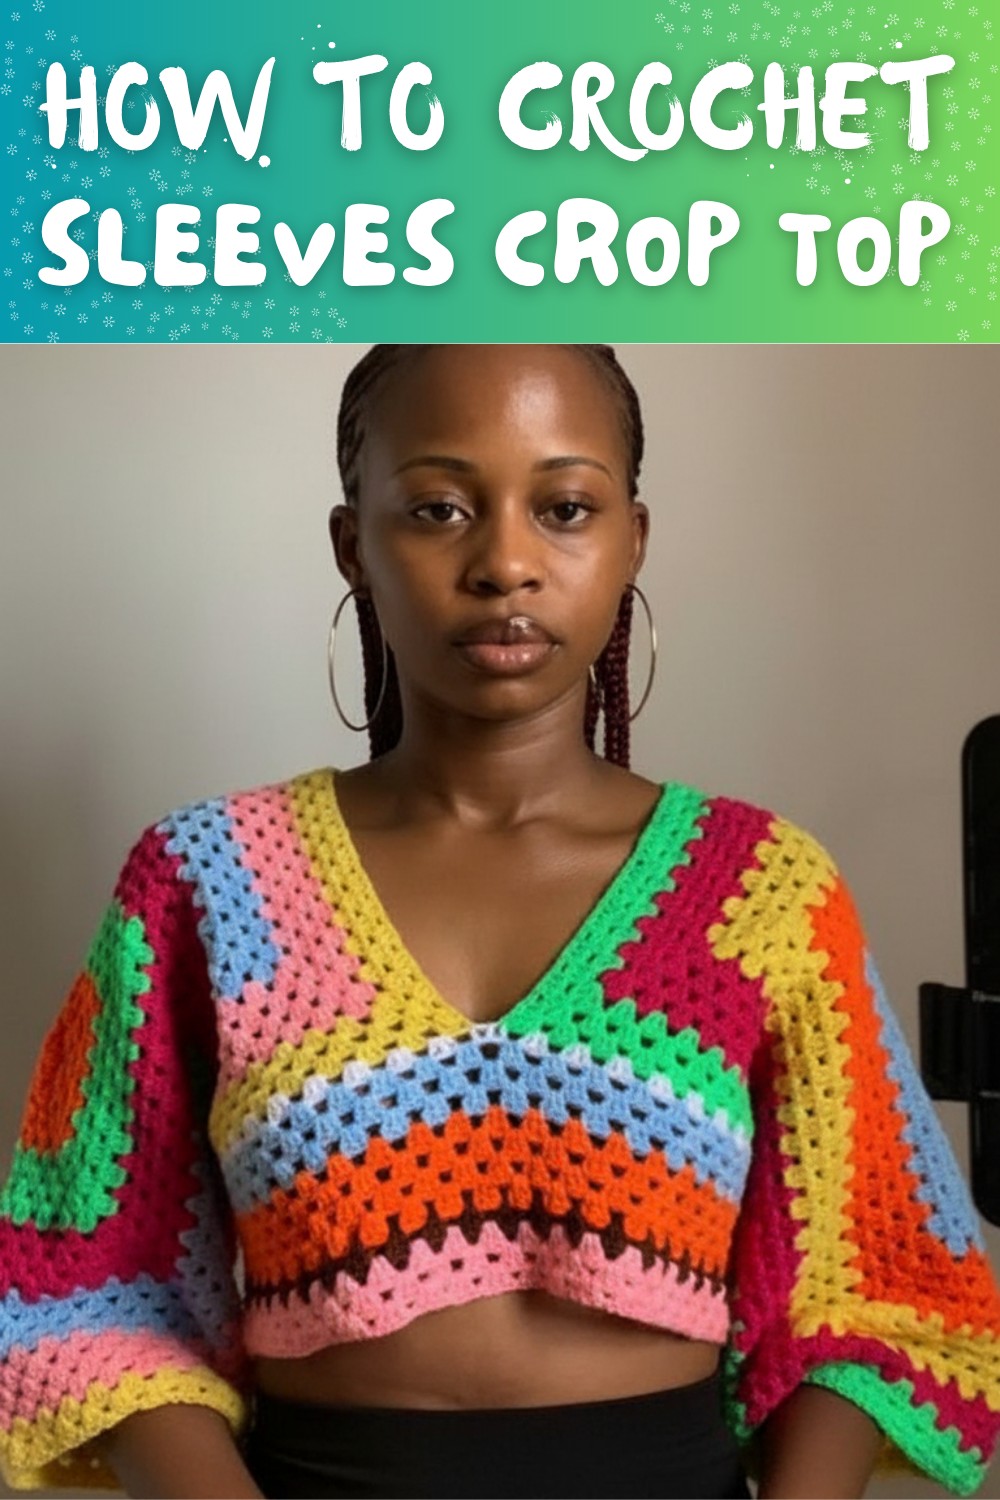
A top that's vibrant, trendy, and full of handmade charm. This crop top stands out with its colorful granny square sleeves, offering a playful yet stylish look that's hard to miss. With its unique design, it's perfect for adding a touch of creativity to your everyday outfits. The lightweight and cozy feel makes it great for warmer days, while the fitted crop style gives it a fashionable edge. Whether paired with jeans, skirts, or shorts, this top effortlessly elevates any casual look.
Free Crochet Granny Square Sleeves Crop Top Pattern
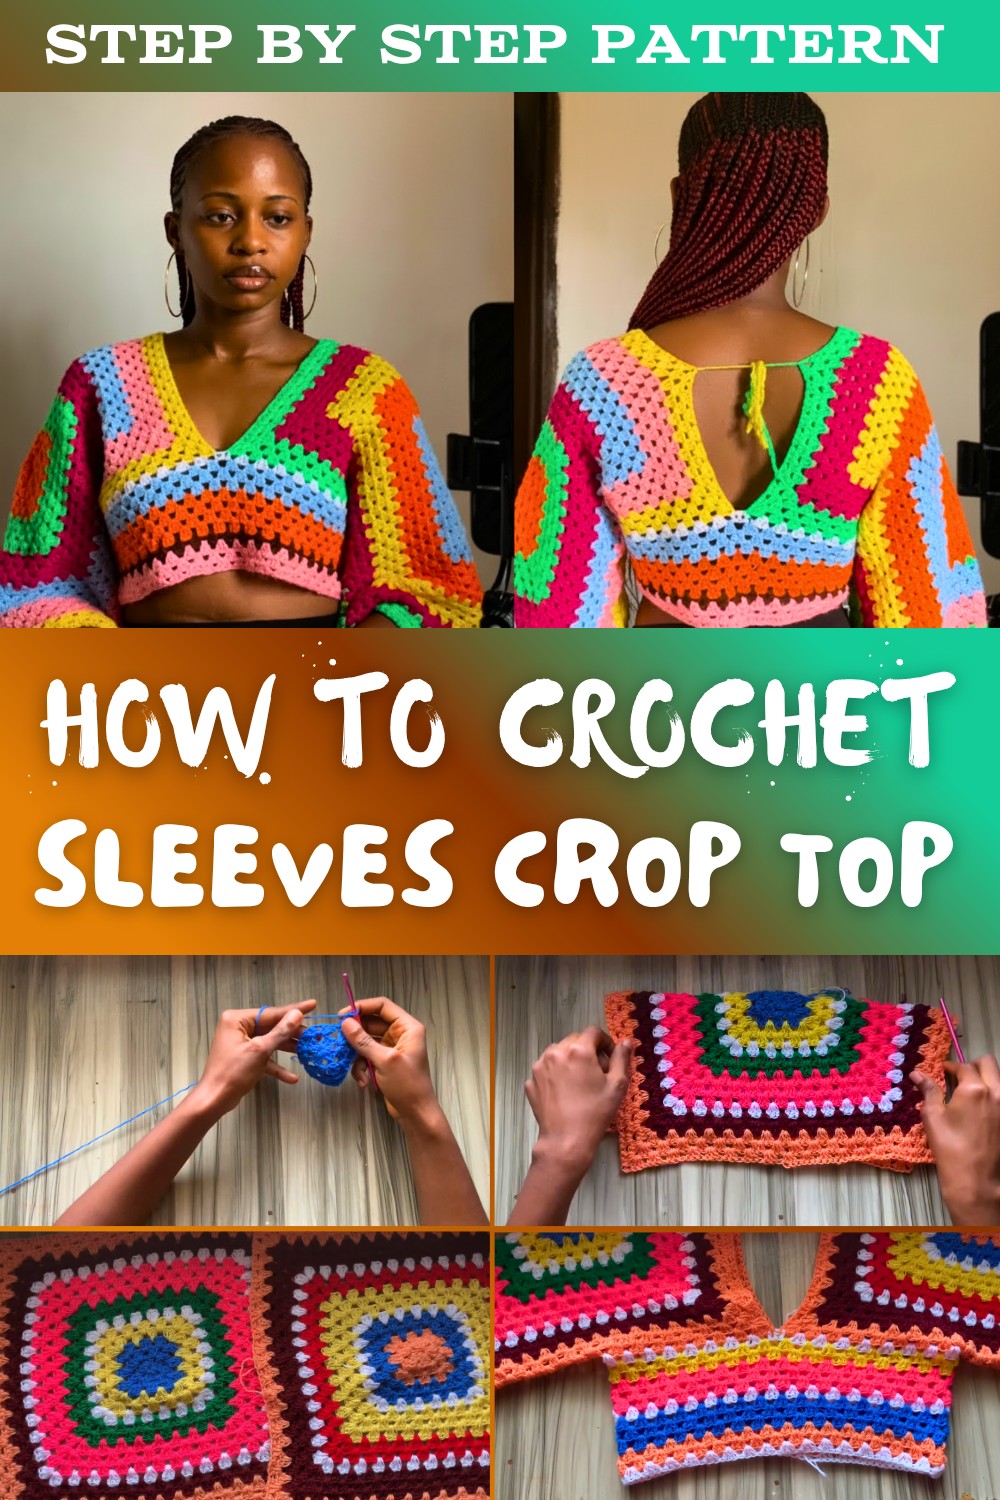
The beauty lies in the tiny details-the classic granny squares arranged into sleeves create a cheerful patchwork effect that catches everyone's eye. It's a great choice for expressing your love for handmade fashion and showing off your individual style. Easy to wear and visually striking, this top brings art to life with its bright colors, creative patterns, and thoughtful design.
Multicolor Granny Square Top - Crochet Pattern
Materials Needed
Yarn
- Various yarn colors (multicolor): Choose colors that complement or contrast, based on your preference. The tutorial uses color changes to highlight variations.
Crochet Hook
- 4.5 mm crochet hook: Ideal for DK yarn to achieve the correct tension.
Additional Supplies
- Scissors: To cut yarn tails.
- Darning needle: For weaving in loose ends.
- Measuring tape: For sizing and ensuring correct fit.
Special Techniques
Magic Circle:
Used as a foundation for the granny square.
- Wrap yarn around your hand, forming a loop.
- Insert the hook into the circle, pull up a loop, and secure with a chain stitch.
Changing Colors:
To change colors:
- Work to the point of a slip stitch at the end of a round but stop before completing it.
- Wrap the new yarn over your hook and pull through all loops.
- Tie off the previous yarn to the newly added yarn to secure.
Single Crochet Join:
Used to join panels:
- Insert the hook through corresponding stitches on both panels.
- Pull up a loop and complete a single crochet stitch, maintaining alignment.
Pattern Instructions
Part 1: Creating the Granny Squares
The granny squares form the base of the sleeves.
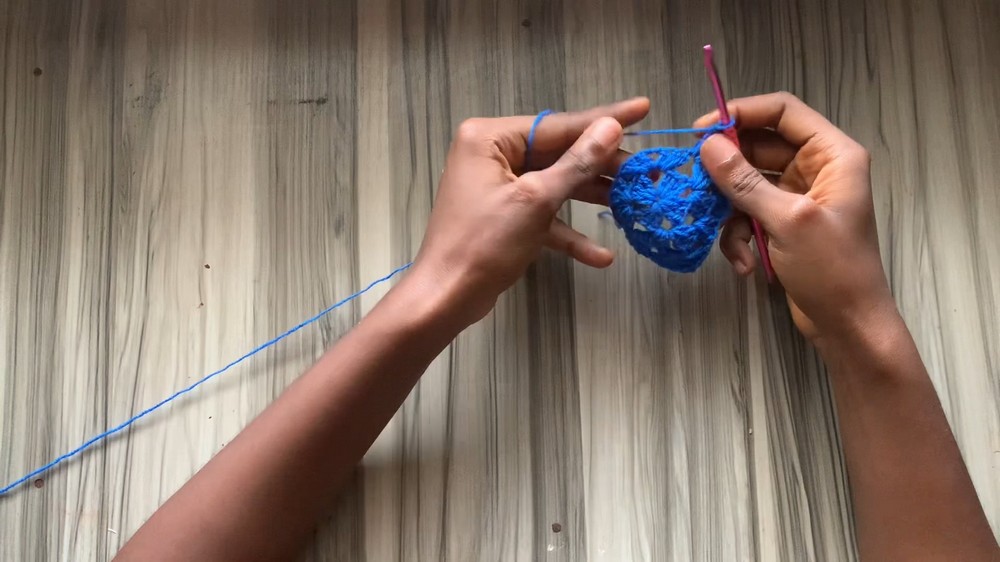
Step 1: Magic Circle and Foundation Round
- Create a magic circle.
- Chain 3 (counts as the first DC).
- Make 3 double crochet clusters (total of 4 double crochet clusters in the round, each separated by Chain 2):
- Cluster: Chain 3 (counts as 1 DC), make 2 DC into the circle. Chain 2.
- Repeat the cluster and chain sequence 3 more times.
- Close the round with a slip stitch into the top of the chain-3.
This completes Round 1. Tighten the magic circle to secure.
Step 2: Subsequent Rounds
In each round:
- Corners: Work clusters into each chain-2 corner space:
- Cluster: 3 DC, Ch 2, 3 DC.
- Sides: Work 3 DC clusters into spaces between clusters from the previous round.
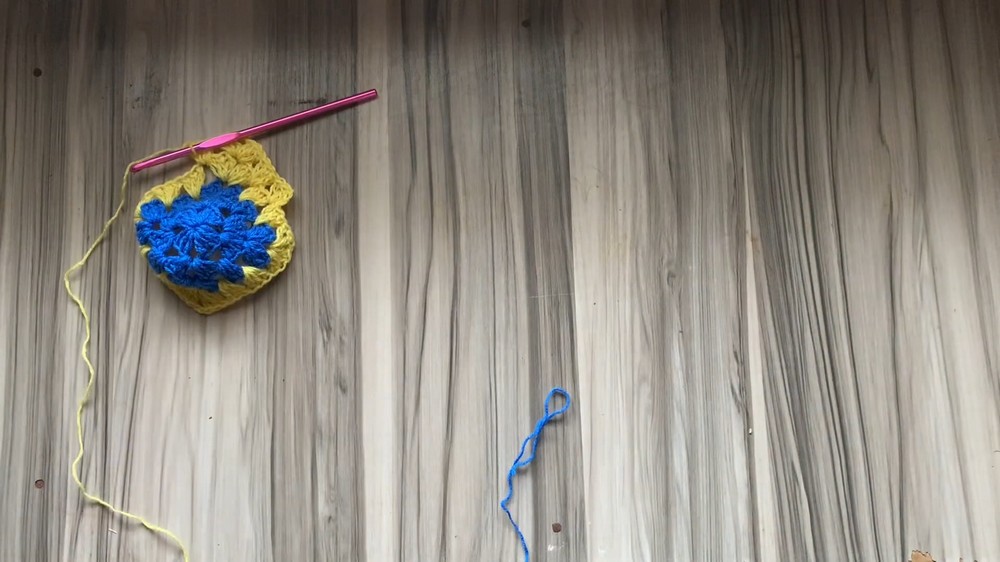
Continue repeating this pattern while increasing the number of spaces along the sides with each new round. For each granny square sleeve:
- Total Rows: 24 rows for a baggy sleeve (customizable as desired).
- Change colors after desired rounds for multicolor effect.
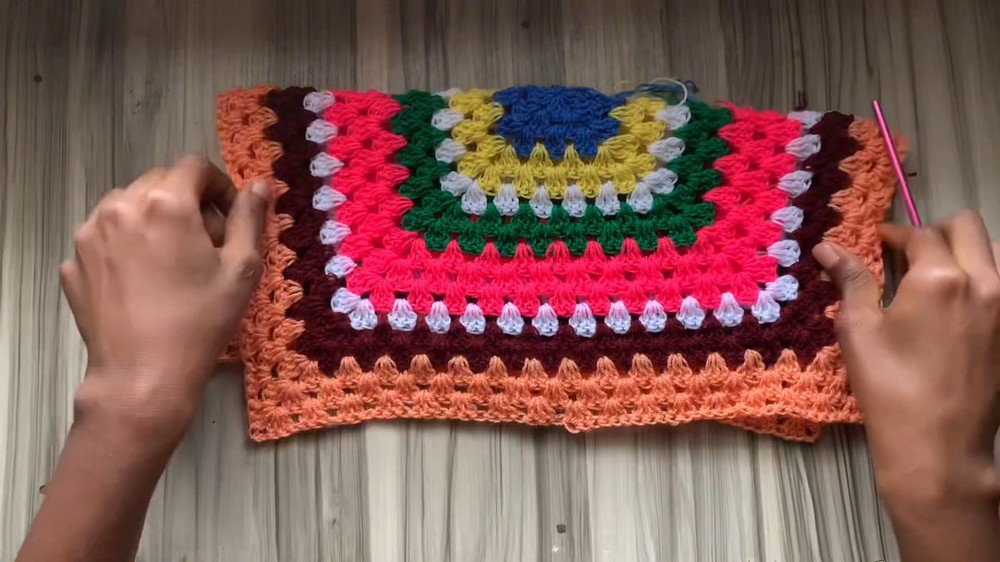
Part 2: Joining the Granny Square Sleeves
- Fold each square diagonally into a triangular shape (wrong sides facing up).
- Use the single crochet join to seam along the open side of each square to create a sleeve.
- Repeat for both sleeve panels.
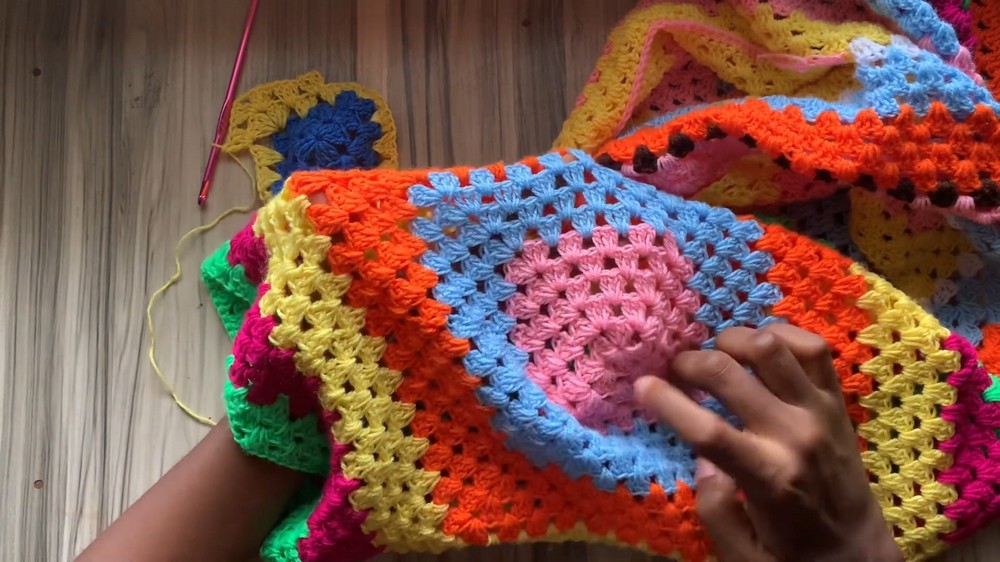
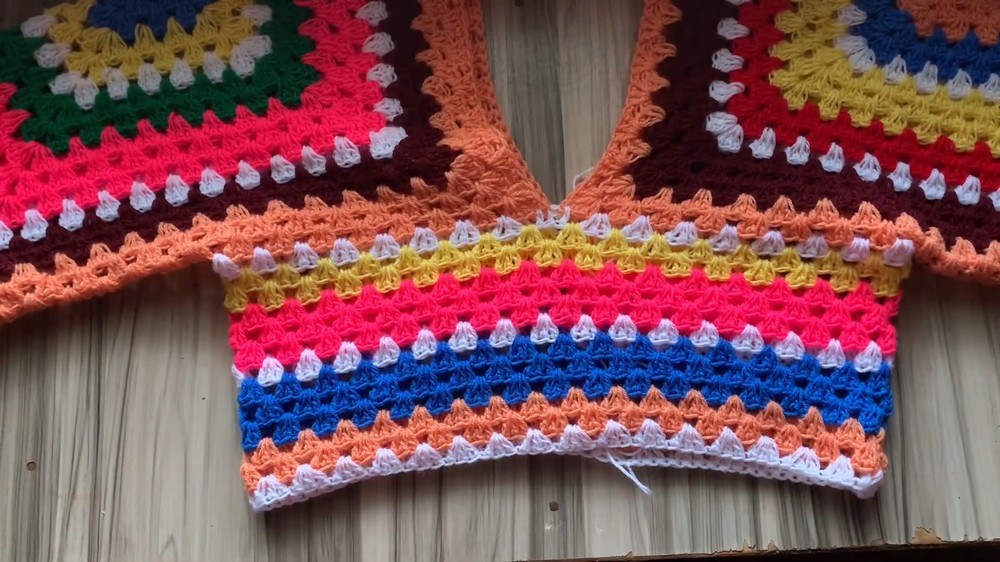
Part 3: Body Construction
Foundation Row
- Align both sleeve panels (the seamed edges should face each other).
- Attach yarn to the edges (at corresponding chain-2 spaces on both panels).
- Chain 3 and begin working the granny stitch along the body edge:
- Work 3 DC clusters in spaces.
- For chain-2 corners, work clusters as follows: 3 DC, Chain 2, 3 DC.
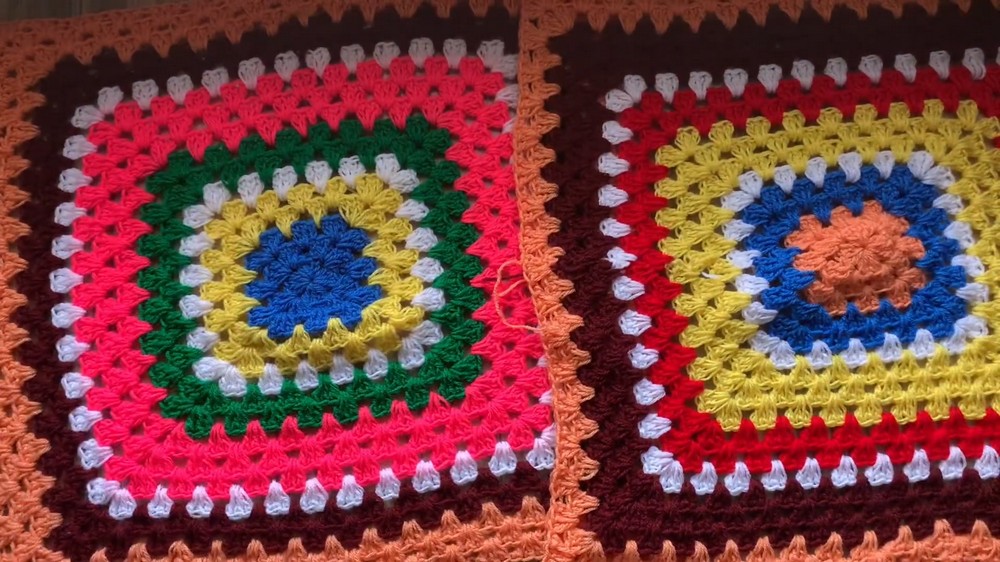
Body Rows and Length
- Work rows of granny stitch in the round.
- Change colors to create a multicolor body effect (optional).
- Suggested Number of Rows: 12 rows for a standard fit (adjust for longer or shorter tops).
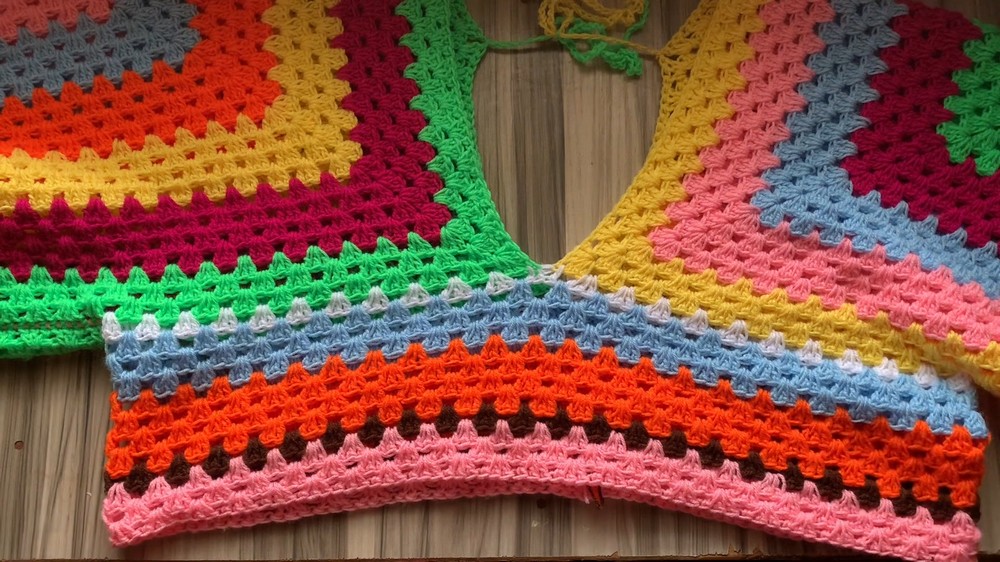
Part 4: Adding Tie Strings
To secure the top across the back shoulders:
- Create a chain of desired length (e.g., approx. 70 chains for ties).
- Attach the ties to corresponding corners at the back neckline using slip stitches.
- Add tassels to the ends if desired.
Finishing Instructions
- Weave Loose Ends: Use a darning needle to securely weave in all yarn tails, ensuring clean edges.
- Blocking: Block your top to enhance the square shape and give it a more polished finish.
- Inspection: Check seams and ties to ensure durability before wearing.
Tips for Customization
- Fitting: Use the wearer's bust measurements to ensure a perfect fit. For loose-fitting sleeves, add more rows to the granny squares.
- Color Customization: Create a gradient effect or alternate bright and neutral colors for a vibrant and dynamic style.
- Body Length: For crop tops, reduce the number of body rows. For a longer top or tunic-style design, increase rows.
Final Words
Congratulations! You've created a beautiful and fashionable Multicolor Granny Square Top that showcases both your creativity and crochet skills. This pattern is highly versatile; experiment with color choices, body length, and sleeve fit to make it uniquely yours.