
Free Crochet Cropped Top Pattern to Freshen Up Outfits
Unlock endless creativity with a crochet cropped top pattern that combines charm and versatility while adding a personalized flair to your wardrobe effortlessly.
Lightweight and stylish, a handmade crochet cropped top offers the perfect combination of practicality and personality for warm-weather outfits. This versatile garment fits comfortably and can be tailored to complement any wardrobe, making it ideal for casual outings or layered looks. Its design allows for endless customization, from the choice of fibers and colors to the incorporation of unique textures and stitchwork that express individuality.
Crochet Chic Cropped Top Pattern for Wear Looks

Creative touches like scalloped borders, lacy panels, or playful stripes enhance its appeal, turning a simple project into a timeless piece. Unlike store-bought clothing, this type of top has a distinct charm, as it reflects care and craftsmanship. It's also adaptable to all sizes, ensuring a flattering fit for every body type.
Whether worn with high-waisted jeans, paired with a flowy skirt, or tossed over a bikini at the beach, this garment stands out for its effortless style and practicality. A crochet cropped top goes beyond being an accessory; it's a statement of creativity and a personal touch to fashion that speaks to those who value both comfort and artistry.

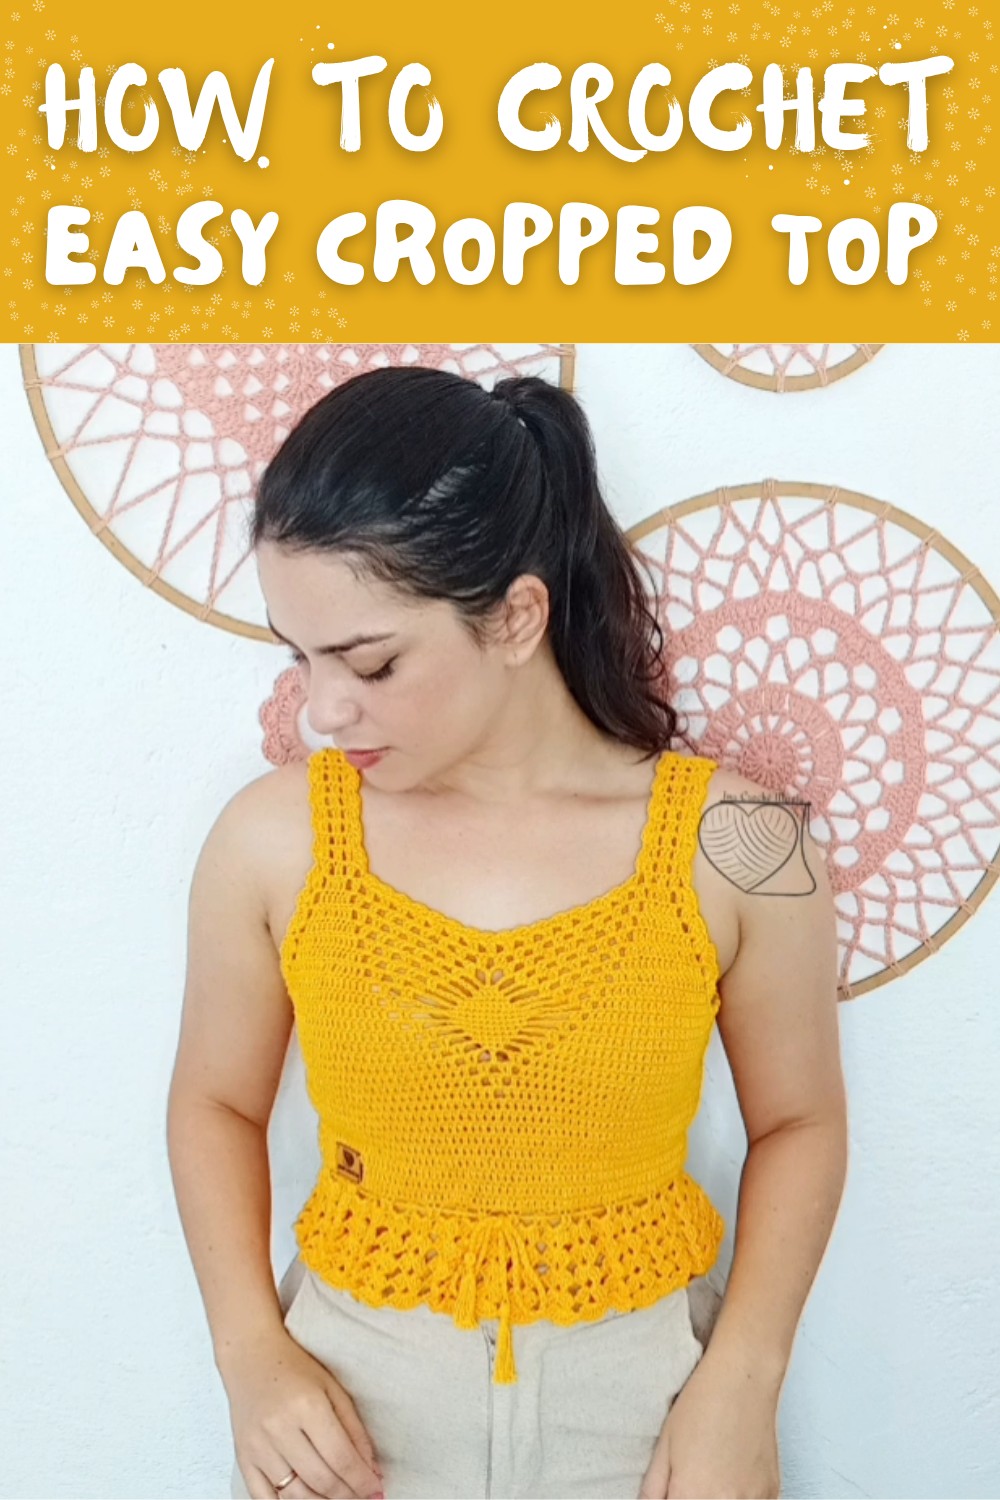
Crochet Crop Top with Tassels - Step-by-Step Pattern
Skill Level
Intermediate to Advanced: Skills required include working with chains, slip stitches, single crochet, double crochet, fan stitch, tassel-making, and creating cord drawstrings.
Materials List
- Yarn:
- Recommended: 100% Mercerized Cotton Yarn.
- Yarn tex: ~300 (or similar, tex 295-300).
- Color: Golden yellow (optional; use any preferred color).
- Approximately 500 m (for size S).
- Hook:
- Suggested: 1.75 mm hook (adjust hook size if using different yarn thickness).
- Optional: 2 mm hook for looser tension during chains.
- Other Tools:
- Stitch markers (or spare yarn pieces).
- Measuring tape: To ensure accurate sizing.
- Scissors: For finishing threads.
- Sewing needle: For attaching tassels and cord finishing.
Finished Measurements
- Pattern demonstrated for Size S (Small) (~84 cm bust size with ~7-8 cm crop height before fans).
- Height and width adjustments are provided for PP (XS), M, G (L), GG (XL). See customization section for details.
Key Abbreviations (US Terminology)
- ch: Chain
- sl st: Slip Stitch
- sc: Single Crochet
- dc: Double Crochet
- st(s): Stitch(es)
Special Notes
- The lace stitches in the center (open blocks on front/back) are optional. You may choose to keep all sides in solid block stitching for simplicity.
- All stitch patterns, row placements, and tassel-making techniques can be adjusted to suit personal preferences.
- Always work evenly in the round for a seamless finish.
Pattern Instructions
Step 1: Foundation Chain
- Create a slip knot and count it as 1 chain stitch.
- Chain multiples of four until it reaches the desired bust measurement minus 10 cm (~4").
- Example for size S (84 cm):
- 84 cm - 10 cm = 74 cm.
- Ensure chain length measures 74 cm and ends in a multiple of four.
- Example for size S (84 cm):
- Check the foundation chain for any twist; straighten it.
- Join the chain into a round:
- Slip stitch into the first chain.
- Chain 3 (counts as the first dc of the next row).
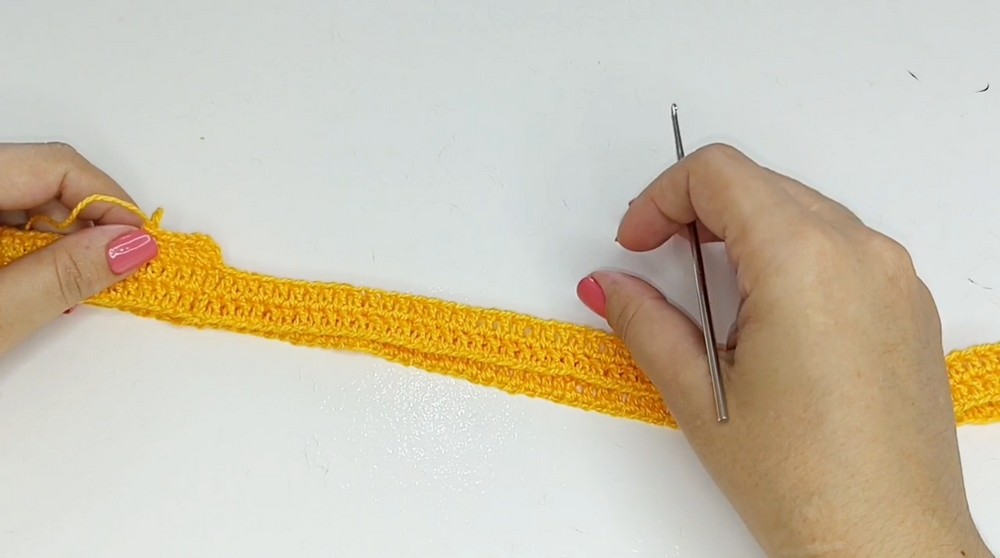
Step 2: Block Stitch Rows
- Row 1:
- Work 1 dc into each chain stitch across the row until the end.
- Slip stitch into the third chain of the 3-chain turning stitch to close the row.
- Rows 2-7 (or desired height):
- Chain 3 (counts as the first dc).
- Work 1 dc into each stitch across the row.
- Slip stitch into the third chain of the turning stitch to close the row.

Size Adjustments:
- PP (XS): 5-6 cm height (~6 rows).
- M (Medium): 9-10 cm height (~10 rows).
- G (Large): 11-12 cm height (~12 rows).
- GG (XL): 13-14 cm height (~14 rows).
- Customize height as desired for a cropped or full-length top.
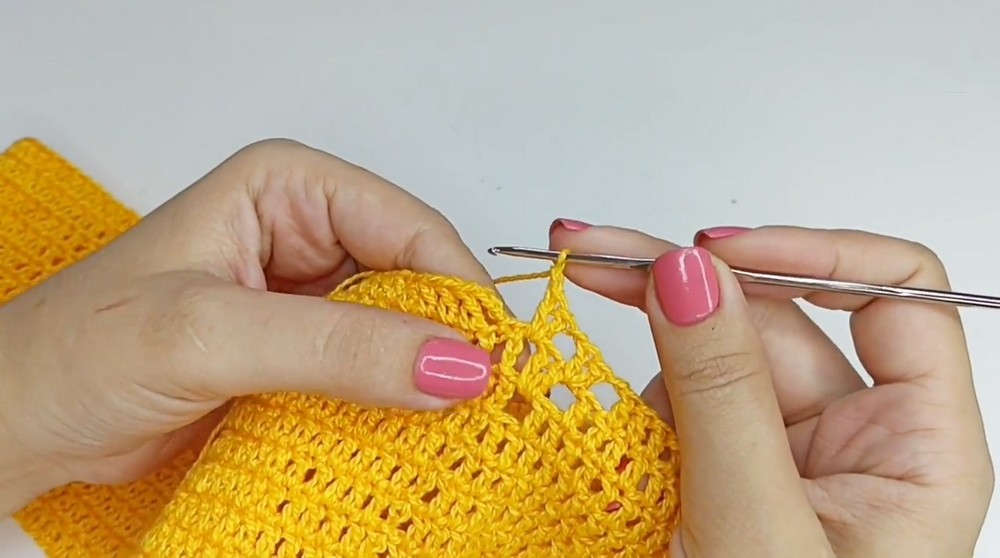
Step 3: Dividing and Marking
- Identify sections (front, back, sides):
- Count all stitches in the last row (e.g., 156 for size S).
- Divide stitch count by four (e.g., 156 ÷ 4 = 39 for S). Each section will have 39 stitches.
- Mark stitches:
- Place markers at:
- Front section center.
- Back section center.
- Left and right side seams.
- Place markers at:

Step 4: Lace Stitch Rows
Row 1 (Post-Division):
- At the first marked stitch (e.g., back), begin working non-solid areas:
- Chain 3 (counts as the first dc).
- Work dc into the stitch before the marker.
- Chain 1, skip the marked stitch, and work dc after the marked stitch.
- Continue working solid dc stitches across sections without markers. Repeat the lace detail at each marked section.
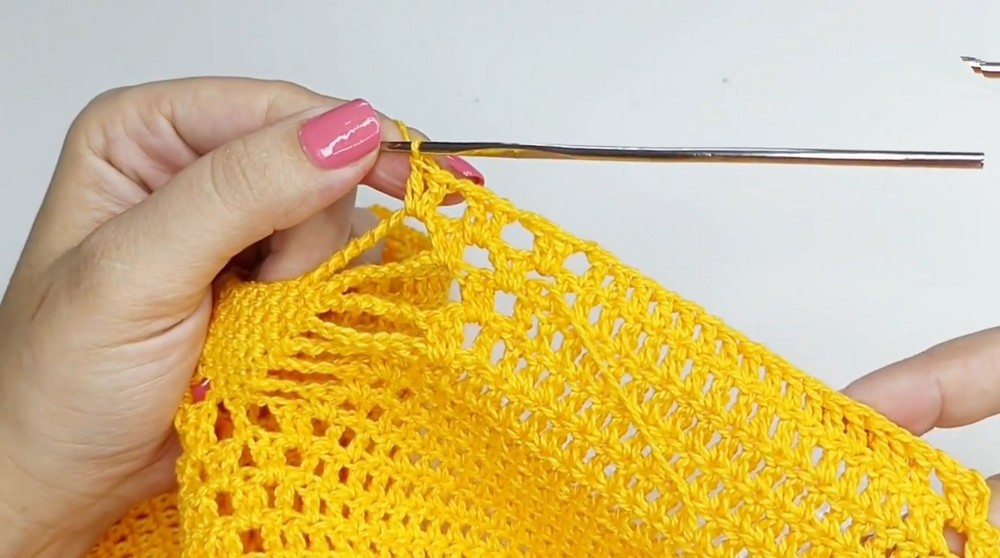
Row 2-3:
- Repeat the lace detail at the front and back markers:
- Chain 1, skip the stitch where the previous lace stitch was made, and insert in the next space.
- Continue solid dc stitches for other sections.
Step 5: Open Lace Rows
For rows featuring single crochet and chain stitch:
Increase Rows:
- Increases apply to the front and back lace detail sections:
- Chain between stitches increases by one chain stitch per row (e.g., three chains → four chains).
- Single crochet rows before/after the chain loops increase by two stitches for each row.

Decrease Rows:
- Decreases apply to the back lace detail sections:
- Chain between stitches decreases by one chain stitch per row.
Repeat until lace details reduce to three stitches in total, forming neat closure before transitioning to solid rows.
Step 6: Armhole and Strap Construction
- For both front and back armholes:
- Decrease rows until the armhole opening measures the desired size (~17 cm for S).
- Use slip stitches at the edges and continue stitching row by row for straps.
- Work each strap as desired, stitch by stitch.

Step 7: Fan Stitch Bottom Edging
- Begin fan edges at the bottom hem:
- Work fans (sets of 3 dc → 2 ch → 3 dc) evenly spaced along the bottom edge.
- Final Edging Row:
- Chain 1 for spacing, work 7 dc into each fan, connected by chain spaces.

Step 8: Lace Cord Construction
- Work lace cord using double yarn strands for added texture.
- Use chain stitches for the cord length (~1 meter or more), ensuring extra length for threading and tying tassels.
Step 9: Tassels
Tassels are made by folding threads into bundles. Knot around the cord ends. Secure with additional thread wraps.
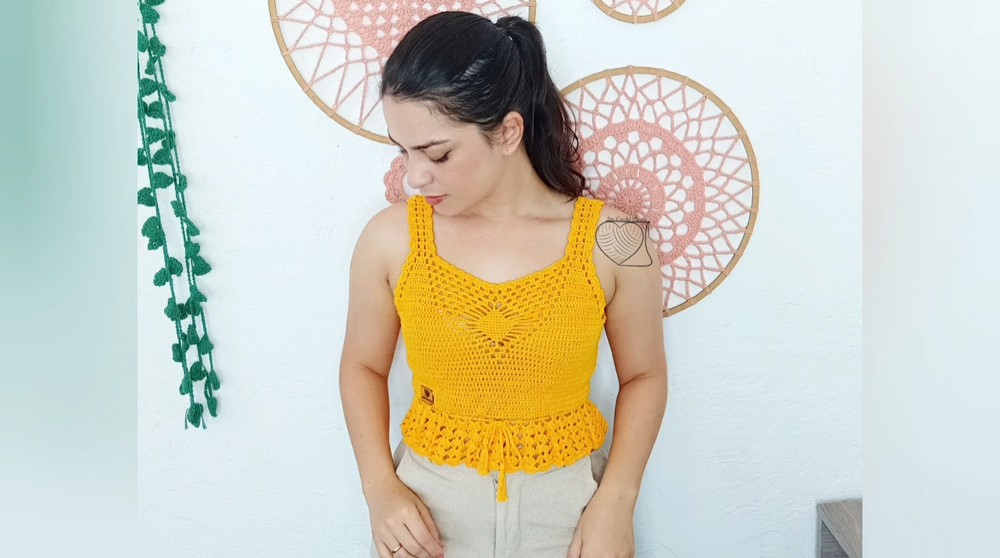
Conclusion
Congratulations! Your crochet crop top is complete, featuring tassels, lace cord, adjustable straps, and fan edges. This piece combines style, comfort, and versatility, making it suitable for all sizes and preferences.
Pattern Correction
- If side sections feel uneven, recount stitches before continuing lace rows.
- For straps, ensure symmetry in placement and stitch count.
Tips and Customization
- Color Variations: Experiment with gradient yarns for depth.
- Sizing Adjustments: Use broader fans or extra rows to lengthen the crop top.
- Enhanced Details: Add beads to the tassels or decorative stitches in the fan rows.