
Free Crochet Daisy Bag Granny Square Pattern That Stands Out Anywhere
Turn your favorite colors into a lovely, handmade accessory with this Free Crochet Daisy Bag Granny Square Pattern, perfect for everyday use.
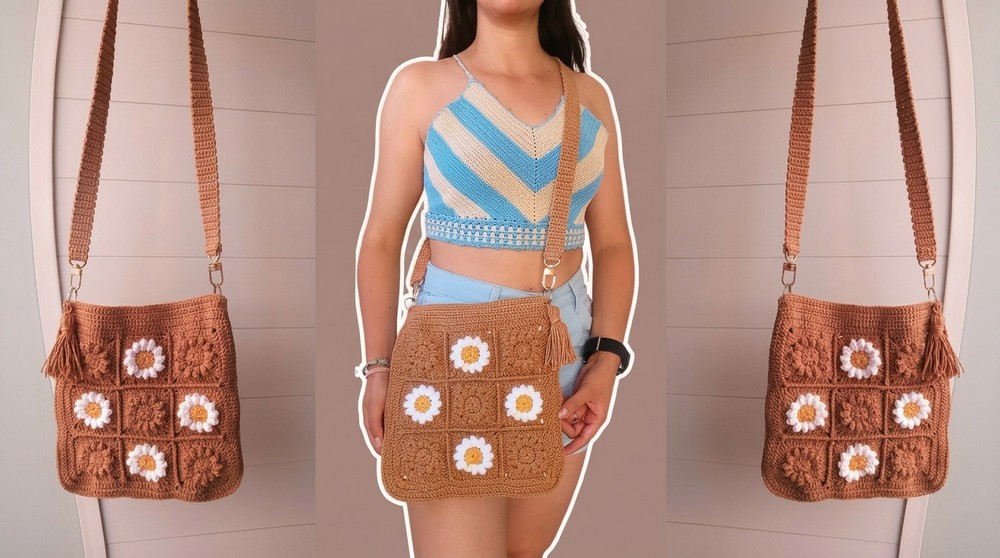
There was a little bag that wasn't just a bag-it was a bundle of flowers captured in yarn. Made with soft cotton yarn in warm, cheerful colors, this bag became the perfect companion for anyone who loved a mix of beauty and usefulness. The centerpiece of this bag? Adorable daisies with bright yellow centers and delicate white petals, all surrounded by warm, earthy tones. This bag isn't just something to carry your things; it brings a smile every time you use it. Its square shape gives it a neat yet playful look, and it's just the right size to hold your daily essentials like your phone, notebook, or wallet.
Dreamy Free Crochet Daisy Bag Granny Square Pattern You Will Want to Carry
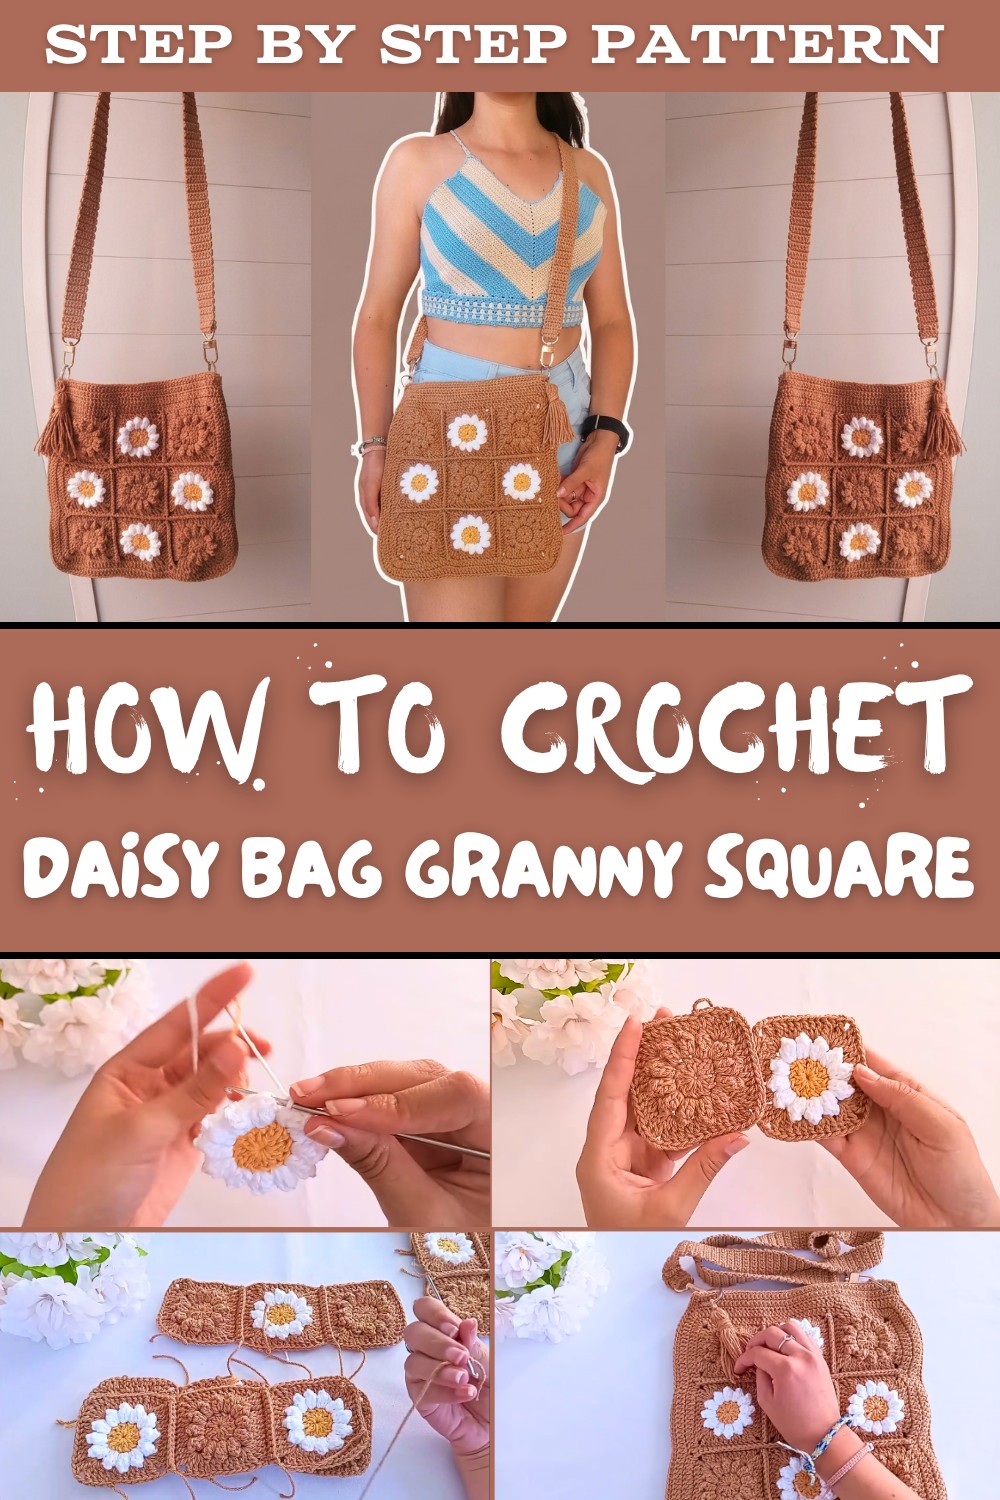
Take it to school, out shopping, or use it to carry your small treasures-it will never let you down. Love bright colors? Go for bold red petals. Prefer something calming? Try soft pastel shades. And it comes with a sturdy strap so you can sling it on your shoulder and go hands free. Add a zipper or even a cute tassel to the strap for a look that's truly your own.
With its mix of practicality and charm, this daisy bag is perfect for adding a touch of spring to every outfit and every season. Whether it's a casual day out or a small gift to show someone you care, this bag is always in style. Turn some yarn into something as fun and beautiful as a field of flowers-a charm that stays with you everywhere you go.
Crochet Daisy Bag Granny Square Pattern
Finished Size
- The completed bag measures approximately 30 cm by 25 cm (12 inches by 10 inches), excluding the strap, which can be adjusted in length according to your preference.
Materials Needed
- Yarn:
- Main color: Tobacco/Dark Brown (approx. 200g, 100% cotton).
- Flower center: Mustard Yellow (small amount, 100% cotton).
- Petals: White (approx. 150g, 100% cotton).
- Hook: 2 mm crochet hook.
- Scissors.
- 2 snap hooks and 2 metal rings for the strap (gold or matching color preferred).
- Optional: Zipper, button, or magnetic clasp for closure.
Gauge
- One Daisy Granny Square measures approximately 10 cm x 10 cm (4 inches x 4 inches).
Pattern Instructions
Step 1: Daisy Granny Square
Center of the Daisy:
- Use mustard yellow yarn to create a magic ring:
- Wrap yarn around your fingers twice.
- Insert the hook under the first loop, pull the second loop through, and secure with a twist.
- Chain 1 to secure the ring.
- Chain 3 (counts as the first double crochet), then work 12 double crochets (dc) into the magic ring.
- Pull the tail tightly to close the ring and slip stitch into the top of the starting chain-3 to close the round. (12 sts total).
- Fasten off yellow yarn.
Petals:
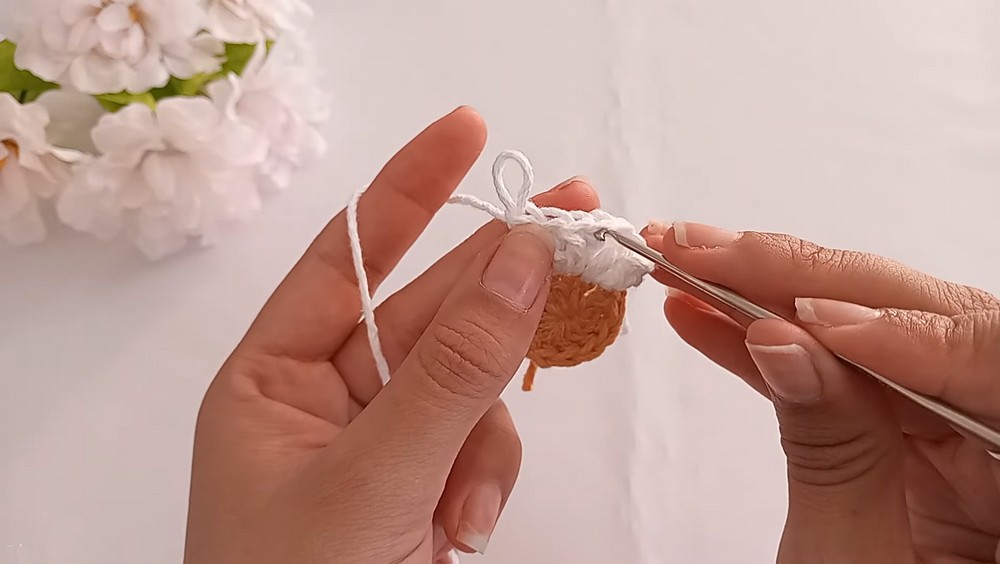
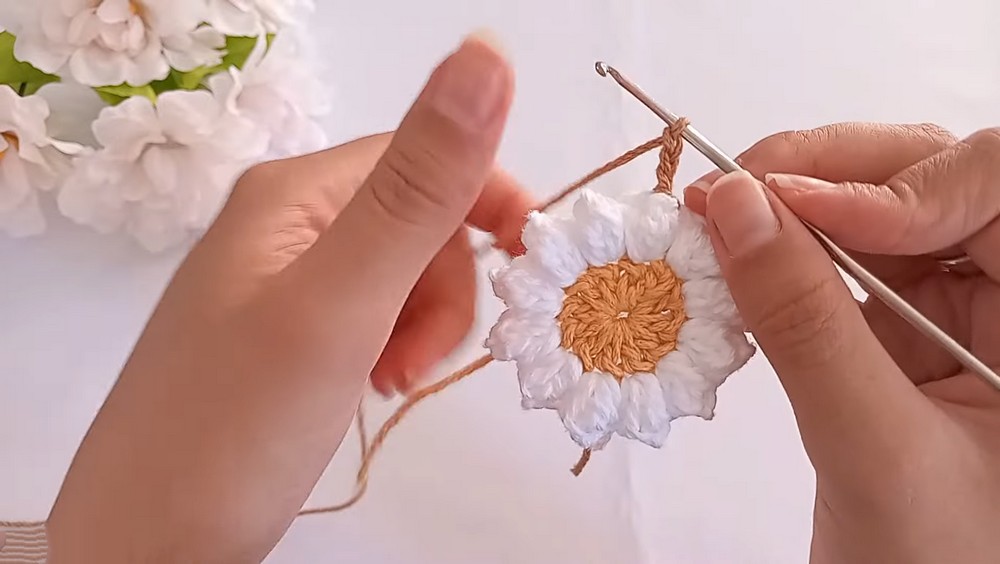
- Join white yarn in any stitch of the previous round with a slip stitch.
- Chain 3 (counts as the first double crochet). Work 3 more double crochets in the same stitch to form the first petal.
- Remove the hook, reinsert it into the top of the first chain 3 of the petal, grab the working yarn, and pull through to create a popcorn stitch.
- Chain 2 (for spacing between petals).
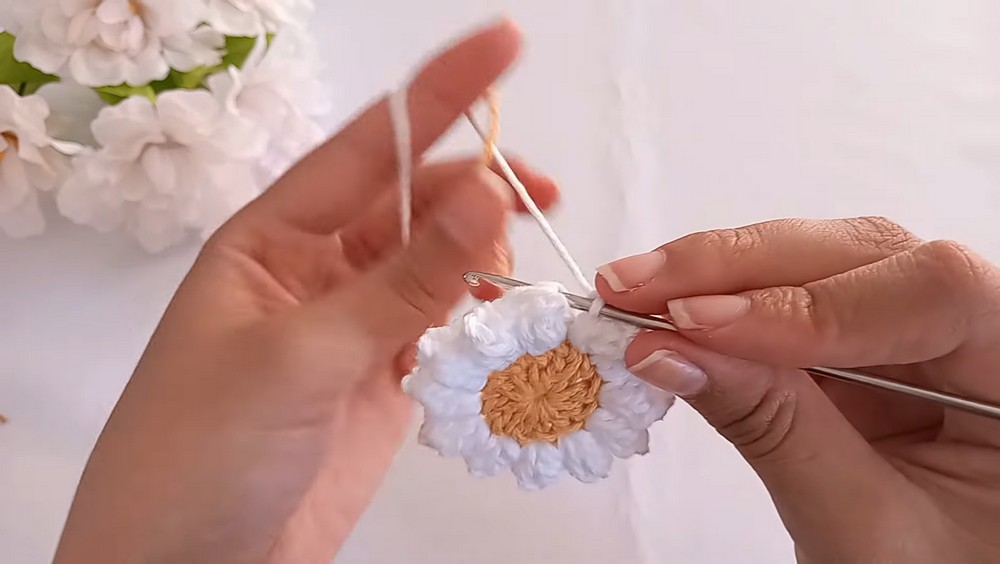
- Repeat steps 2-4 in each of the remaining stitches, creating a total of 12 petals.
- Slip stitch into the first popcorn stitch to close the round and fasten off white yarn.
Square Base:
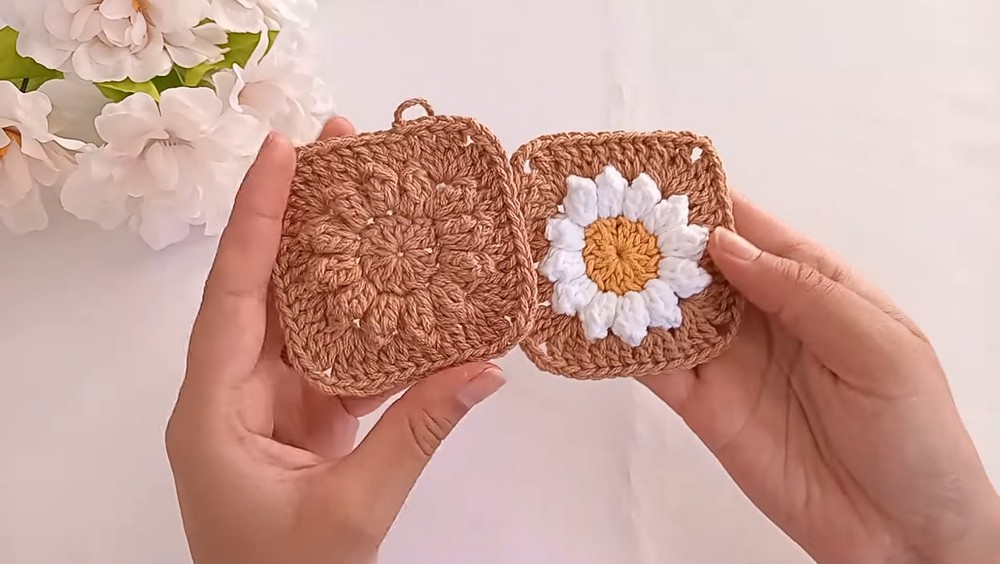
- Attach the tobacco colored yarn into any chain 2 gap between petals.
- Chain 3 (counts as the first double crochet), work 2 more double crochets into the same gap.
- Move to the next chain 2 gap and make 3 double crochets. Repeat this step around for the sides.
- For the corners: In each corner gap, work 3 double double crochets, chain 2, then 3 double double crochets (to form the corners of the square).
- Slip stitch into the starting chain 3 to close. Fasten off yarn.
Step 2: Making Multiple Squares
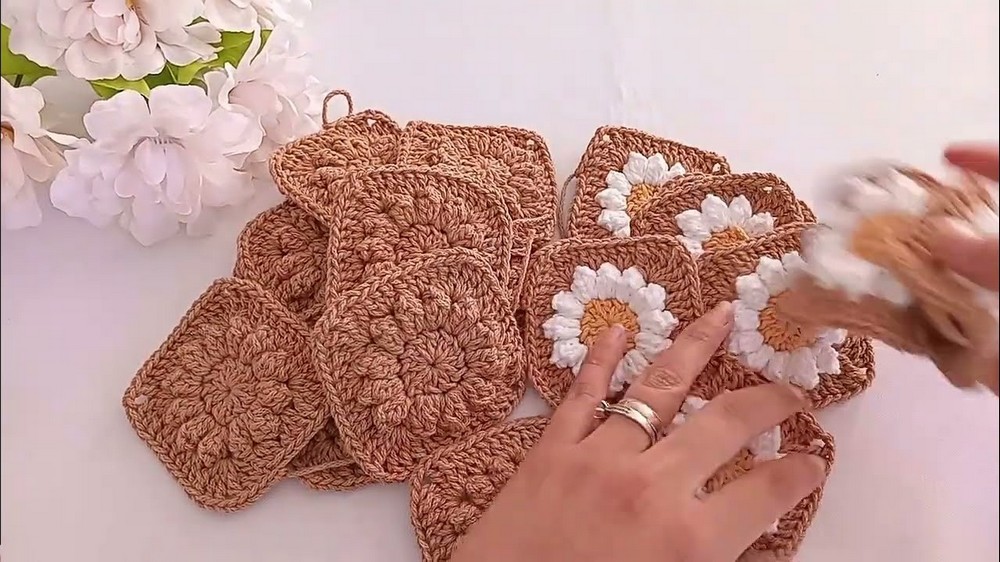
- Create a total of 18 granny squares:
- 10 plain squares (using only tobacco yarn without color changes).
- 8 daisy squares (as outlined above, combining the yellow, white, and tobacco yarns).
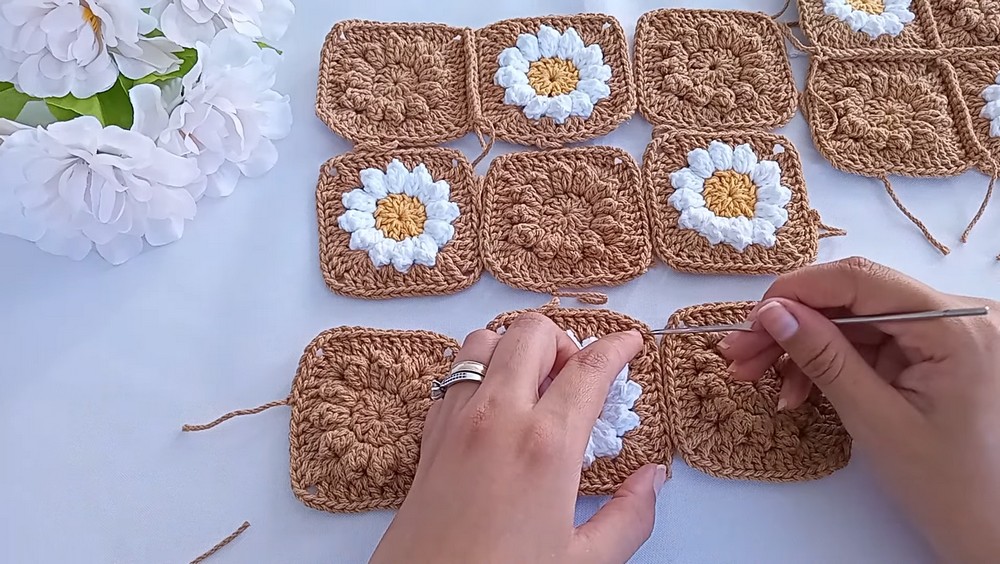
Step 3: Assembling the Granny Squares
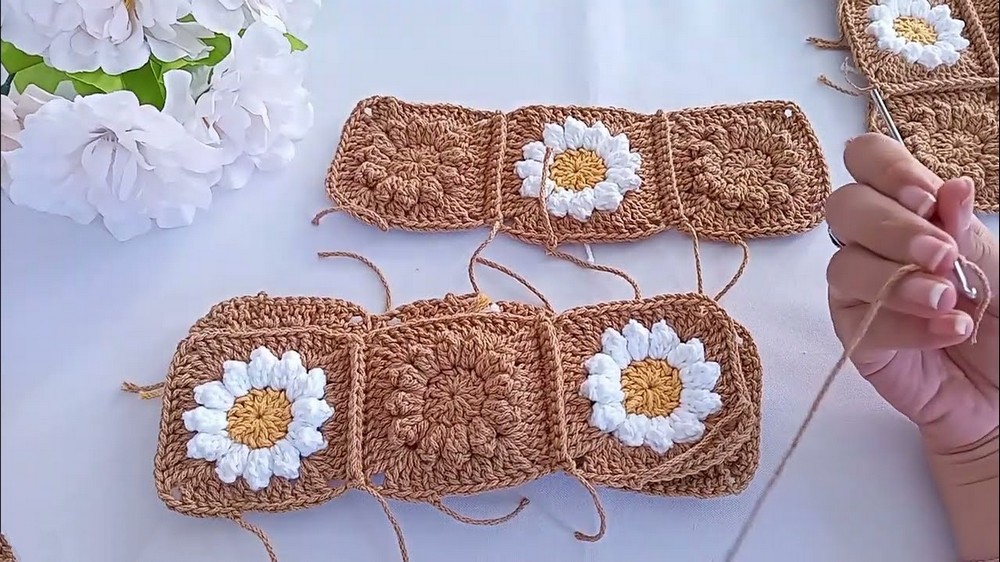
- Arrange the squares in rows as follows:
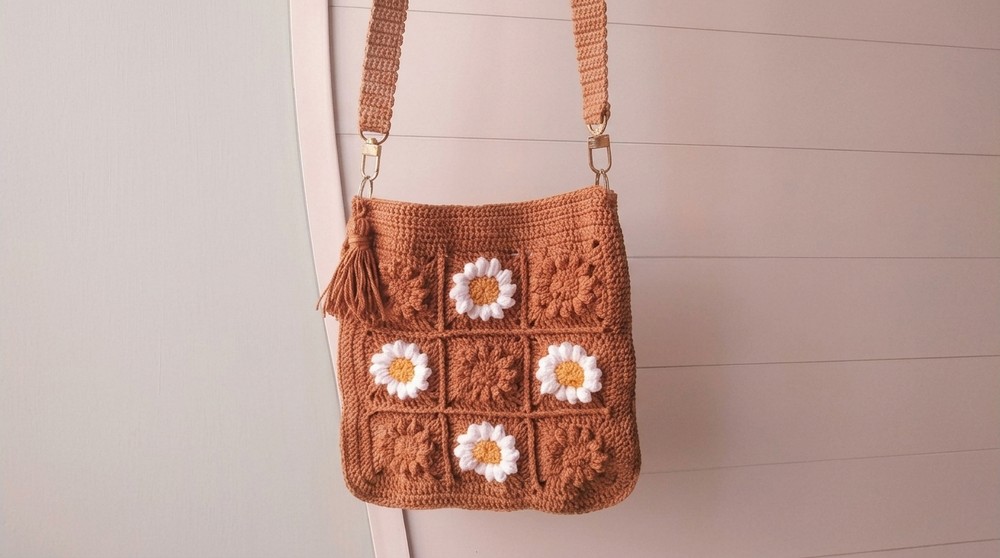
- For the front and back panels: Three rows of 3 squares each (alternating plain and daisy squares in a checkered pattern).
- For the sides and base: Two rows of 3 plain squares each.
- Joining the Squares:
- Place two squares with right sides facing inward.
- Use tobacco yarn to join them with single crochet (sc) through the outer loops of the stitches to create a seamless join.
- Continue joining squares row by row horizontally and vertically until one complete panel is formed. Repeat for all panels.
Step 4: Forming the Bag Body
- With both panels of the bag complete, place them together with right sides facing inward.
- Join the panels along the sides and bottom edges using the same single crochet join. Leave the top edge open.
- Turn the bag right side out.
Step 5: Adding a Zipper (Optional)
- Sew a zipper or magnetic clasp along the top opening for added security.
- If using fabric for lining, insert and sew it inside the bag before attaching the zipper to give the bag a more structured finish.
Step 6: Creating the Strap
- Use tobacco yarn and leave a long starting tail.
- Chain 6 (or as wide as you desire the strap to be).
- In the second chain from the hook, work 1 single crochet (sc) in each stitch across (5 sc total).
- Chain 1, turn, and work 1 sc in each stitch for the next row.
- Repeat Row 4 until the strap measures approximately 1 meter (or your desired length).
- Fasten off, leaving a long tail, and use it to sew the strap ends onto the snap hooks.
Step 7: Attaching the Strap
- Slide the strap's snap hooks onto the metal rings.
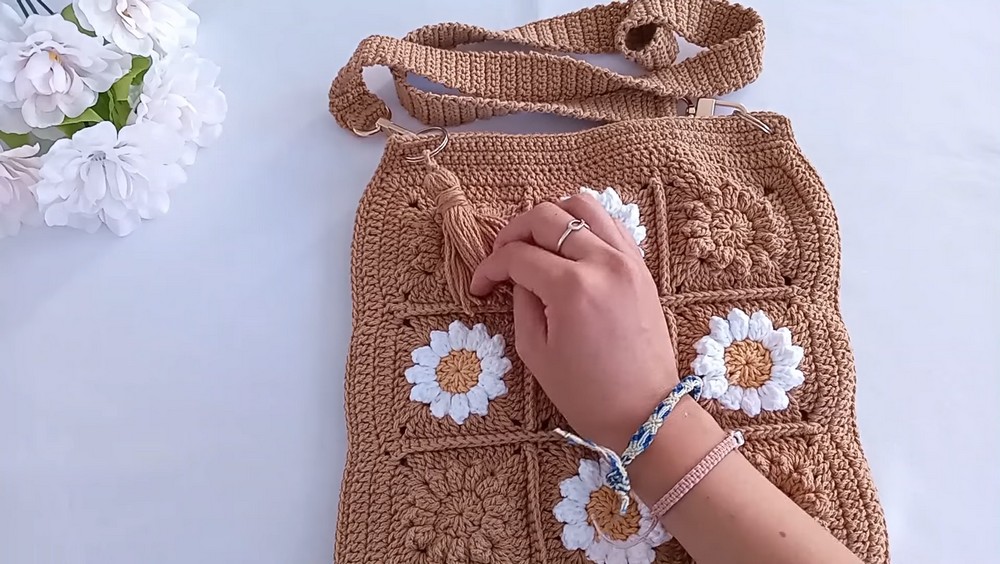
- Attach the rings to the top corners of the bag. Ensure they are securely fastened.
Customization Ideas
- Colors: Match the granny square colors to suit seasons or occasions. For example, use pastels for spring or festive shades for holidays.
- Lining: Add a fabric lining for additional durability and structure.
- Adjustable Strap: Consider making the strap adjustable with buckles for added functionality.
- Tassels: Create tassels or pom poms in matching yarn to attach to the corners for extra flair.
Special Techniques
- Magic Ring: This technique helps create a tight, seamless center in your granny squares.
- Popcorn Stitch: Creates the dimensional effect of daisy petals by pulling the last loop through the first stitch.
- Single Crochet Join: Provides a clean, durable seam when assembling the squares.
Tips for Success
- Consistency: Keep your tension even while crocheting to ensure that all granny squares are uniformly sized.
- Lazier Join Alternative: Use slip stitches instead of single crochets for a quicker join.
- Blocking: Block all granny squares before assembly to achieve crisp edges.
- Double Check Placement: Arrange squares before joining to ensure they follow your desired pattern.
Conclusion
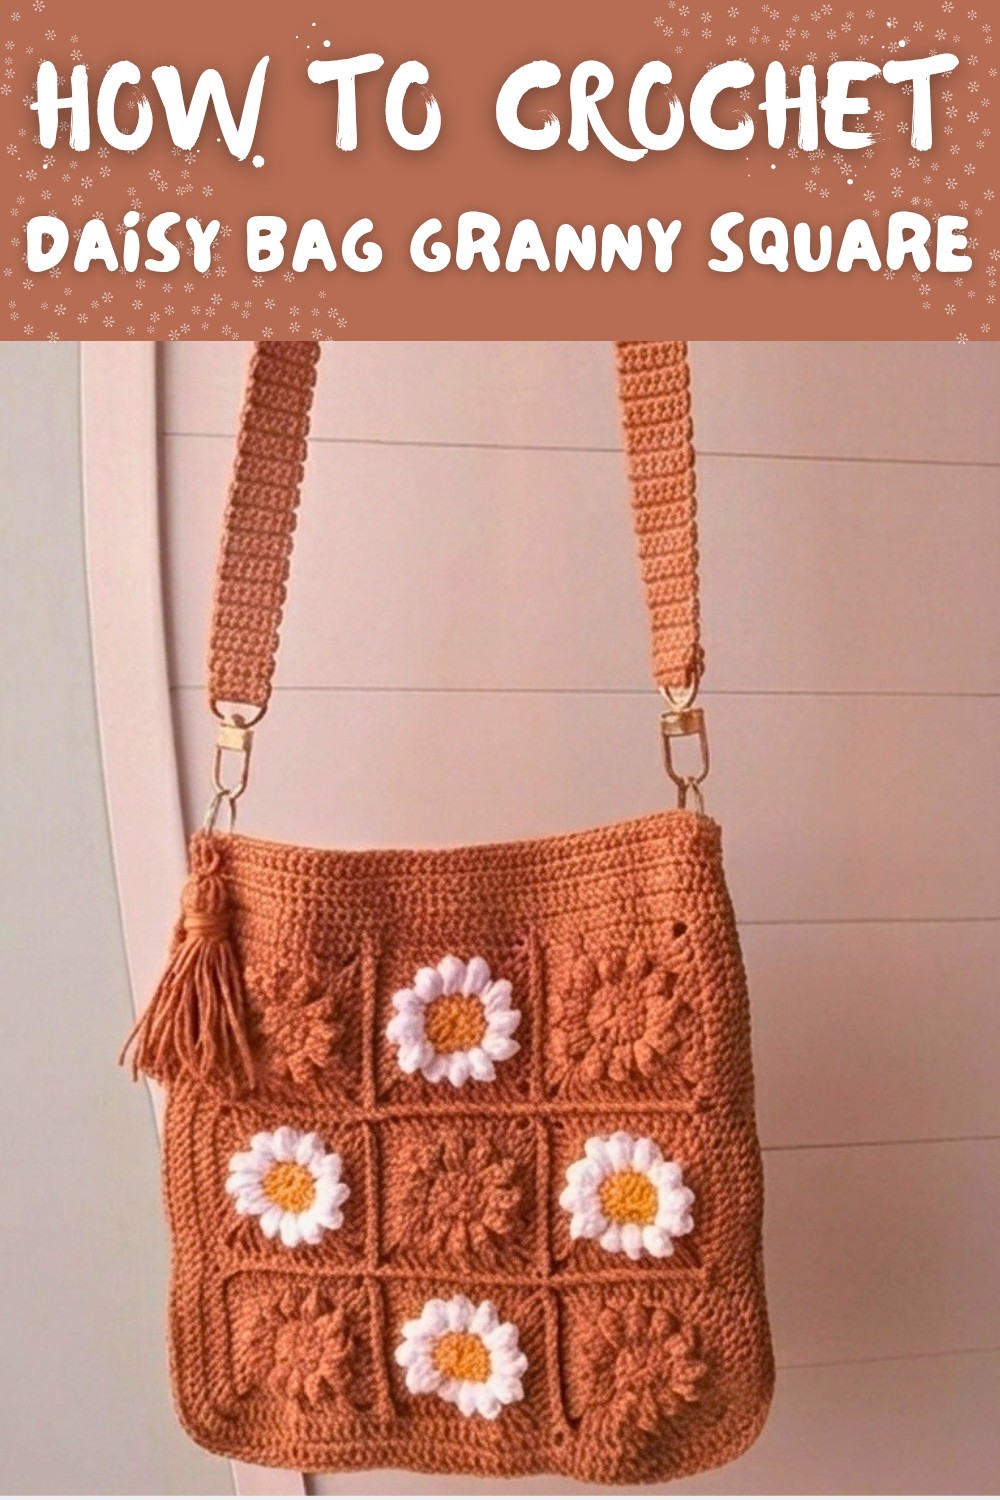
Your Daisy Granny Square Bag is now complete. This charming and customizable accessory is perfect for everyday use or even as a thoughtful, handmade gift. By combining floral motifs with a classic granny square pattern, this bag achieves a unique balance of elegance and simplicity.
Remember to experiment with colors, textures, and additions to make the project truly your own. Whether for casual outings, shopping trips, or as a fashionable statement piece, this bag is sure to impress.
Final Look
The final bag should showcase vibrant daisy granny squares complemented by a neutral frame and finished with a sturdy, practical strap. Add your unique touch by including a tassel or charm to personalize it further.