
Free Crochet Flower Hair Claw Pattern to Customize Any Outfit
Invent a stunning flower hair claw using this free crochet pattern that is simple to follow and ideal for adding a unique handmade charm to your everyday look.
Decorating your hair with a unique and delicate accessory made by your own hands. A crochet flower hair claw is both beautiful and useful, giving a touch of elegance to your hairstyle while securely holding your hair in place. Its charming design features intricate flower details that look soft and lovely, making it perfect for casual days or special occasions. The bright and colorful flowers can be customized to match your favorite outfits, letting you create something truly unique and personal.
Stylish and Fun Free Crochet Flower Hair Claw Pattern

This accessory is lightweight, comfortable to wear, and easy to make with clear instructions that anyone can follow, even beginners in crochet. It's not just an accessory; it's a piece of art that adds a handmade beauty to your look. With a mix of creativity and functionality, this crochet claw helps you stand out with style. Whether for yourself or as a thoughtful gift, it's a practical and beautiful project that combines crocheting joy with everyday use.

Crochet Flower Hair Claw
Skill Level
Beginner
Materials
- Fine cotton yarn in zinc (or shade of your choice)
- 2.0 mm crochet hook
- Fabric dye in "rose red" or similar (optional; for painting)
- Tissue (to absorb excess dye/water)
- Paintbrush
- Glue gun (for attaching flower to hair claw)
- Old hair claw
- Scissors
- Stitch marker (optional, for marking rounds)
Special Techniques
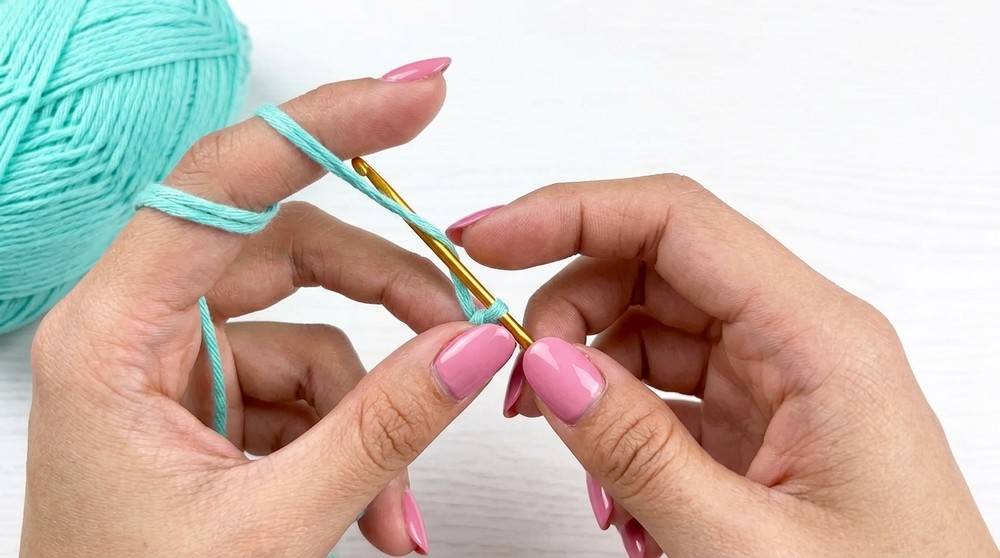
- Magic ring: Used to start flower petals.
- Decreases: Single crochet decrease (sc2tog) to shape petal.
- Attaching: Gluing crochet flower to a hair claw.
Pattern Instructions
Step 1: Sketch (Optional)
Sketch your flower hair claw design before starting. This helps visualize your finished project.
Step 2: Flower Petal Construction
Magic Ring:
- Create a magic ring big enough to fit 5 petals.
Petal Foundation:
Each petal is crocheted as follows:
- Chain 10.
- Skip the last chain.
- Work stitches as follows (starting in 2nd chain from hook):
- Sc in next two chains (chains 2-3)
- Hdc in next two chains (chains 4-5)
- Dc in next chain (chain 6)
- Hdc in next two chains (chains 7-8)
- Sc in last two chains (chains 9-10)
- You should have worked into 9 chains in total.
- Slip stitch into the magic ring to secure the petal.
Petal Rounds for Shape and Dimension:
- Turn your work.
- Skip the slip stitch.
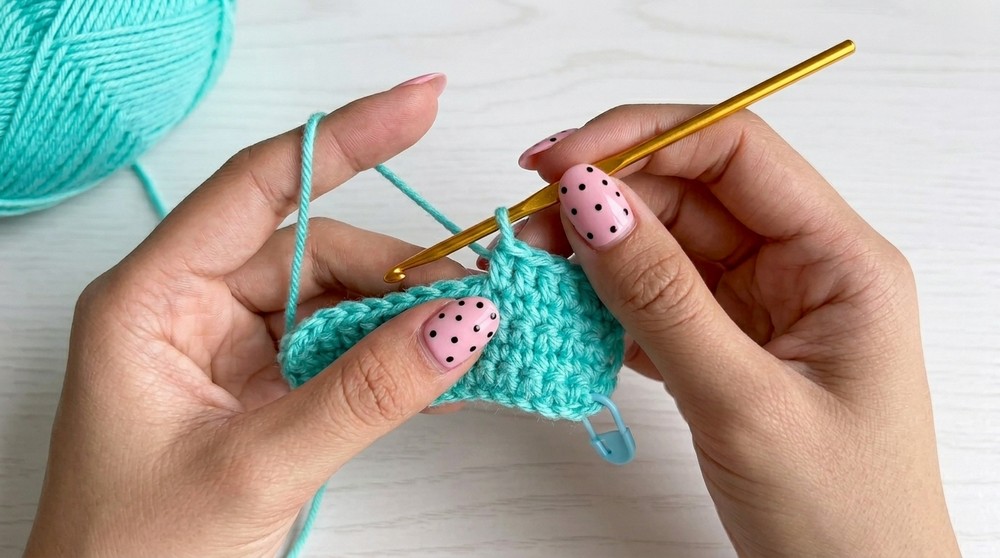
- Sc in next 8 chains.
- 2 sc in the last chain.
- You have 10 sc for this round.
- Turn.
- 2 sc in the first chain.
- Mark the first stitch with a stitch marker (optional; this helps you slip stitch in the correct spot later).
- Sc in each chain to the end.
- You have 11 sc for this round.
- Slip stitch into ring.
- Turn.
- Sc in all 11 chains.
- No increases or decreases. This is the middle portion of the petal.
- Turn and sc again in all 11 chains.
- Repeat to desired thickness.
- Slip stitch into ring.
- Final Shaping with Decreases:
- Turn.
- Sc in first 9 chains.
- For the last two chains:
- Insert hook into the second-to-last, yarn over (do not pull through).
- Insert hook into last chain, yarn over. You now have three loops on your hook.
- Yarn over and pull through all loops together (single crochet decrease/sc2tog).
- This creates a tapered end.
- Next round (for sharper decrease):
- Sc2tog over first two chains.
- Sc in next chain.
- Hdc in next two chains.
- Dc in next chain.
- Hdc in next two chains.
- Sc in last two chains.
- Slip stitch into ring.
Repeat Petal Sequence
Work a total of 5 petals onto the magic ring, each petal constructed as above.

Step 3: Finishing Flower
- Cut off working yarn after completing petals.
- Arrange petals to desired shape.
Step 4: Dye/Paint Details (Optional)
- Mix dye in warm water.
- Prepare two concentrations: one a saturated color, the other more diluted for gradient effect.
- Use a tissue to absorb excess water from flower.
- With a paintbrush:
- Paint inner part of flower with diluted dye.
- Use saturated dye for more color in the center or edges as desired.
- Paint the edges for depth and dimension.
- Allow flower to dry completely (hang or lay flat until fully dry).
Step 5: Attach Flower to Hair Claw
- Secure and trim all excess yarn ends.
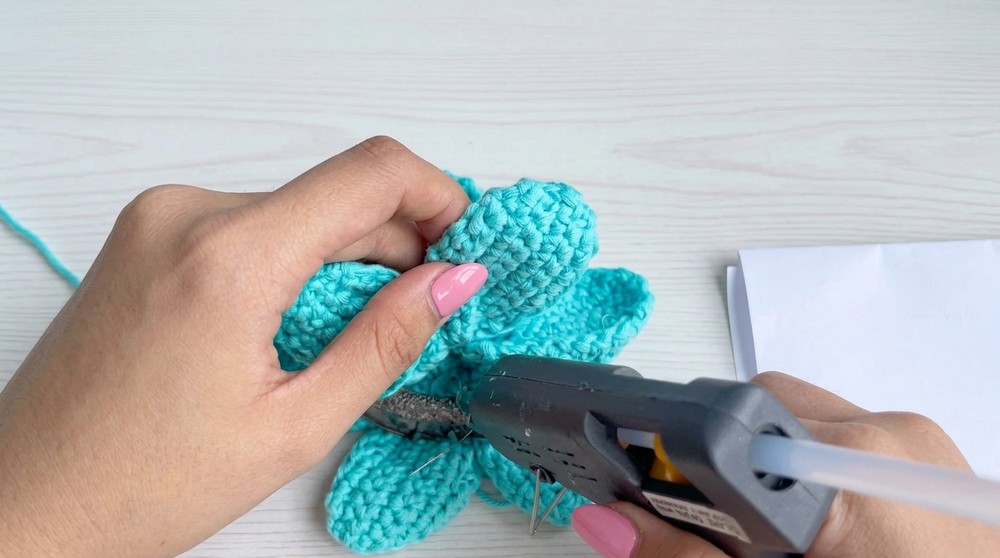
- Use a glue gun (take care during use):
- Position the flower onto the hair claw where you wish it to be attached.
- Apply glue to the underside of the flower and carefully press it onto the hair claw.
- Ensure glue covers all contact points to prevent flower from coming loose.
- Allow glue to fully cool and harden.
Step 6: Final Touches
- Trim any stray yarn ends.
- Make sure the petals are positioned neatly.
- Enjoy your flower hair claw!
Tips & Suggestions
- Use a stitch marker when starting each round for accuracy.
- Paint your flower gently and with patience; allow it to dry fully before handling.
- Arrange petals evenly before gluing for a symmetrical look.
- Choose yarn and dye colors to match your style or outfit.
- You can attach the flower to other accessories (headbands, pins) using this method.
Special Techniques
- Magic Ring: Creates a tight, adjustable center for attaching petals.
- Single Crochet Decrease (sc2tog): Used for shaping petal ends.
Final Words
This elegant flower hair claw adds a handmade touch to your accessories. The project is simple yet creative, combining crochet and fabric dye techniques for a unique gradient effect. With care in construction and finishing, your flower hair claw will become a standout piece.

Maintain the pattern:
- Count stitches for each petal round and shape exactly.
- Use careful gluing for durability.
- Store accessory away from direct moisture for longevity.