
Free Crochet Hairband Pattern That Makes Every Look Pop
Feel confident every day with this free crochet hairband pattern-a stylish, comfy, and charming accessory to add a personal handmade touch to your look.
Why settle for plain hairbands when colorful crochet creations can add charm and beauty to your look? This amazing crochet hairband pattern is your chance to create something unique, stylish, and completely customized. With a mix of soft flowers and elegant leaves, this handmade accessory stands out with its vibrant colors and fun design, making it perfect for kids and adults alike.
Crochet Hairband Pattern To Keep Hair Stylishly Tidy
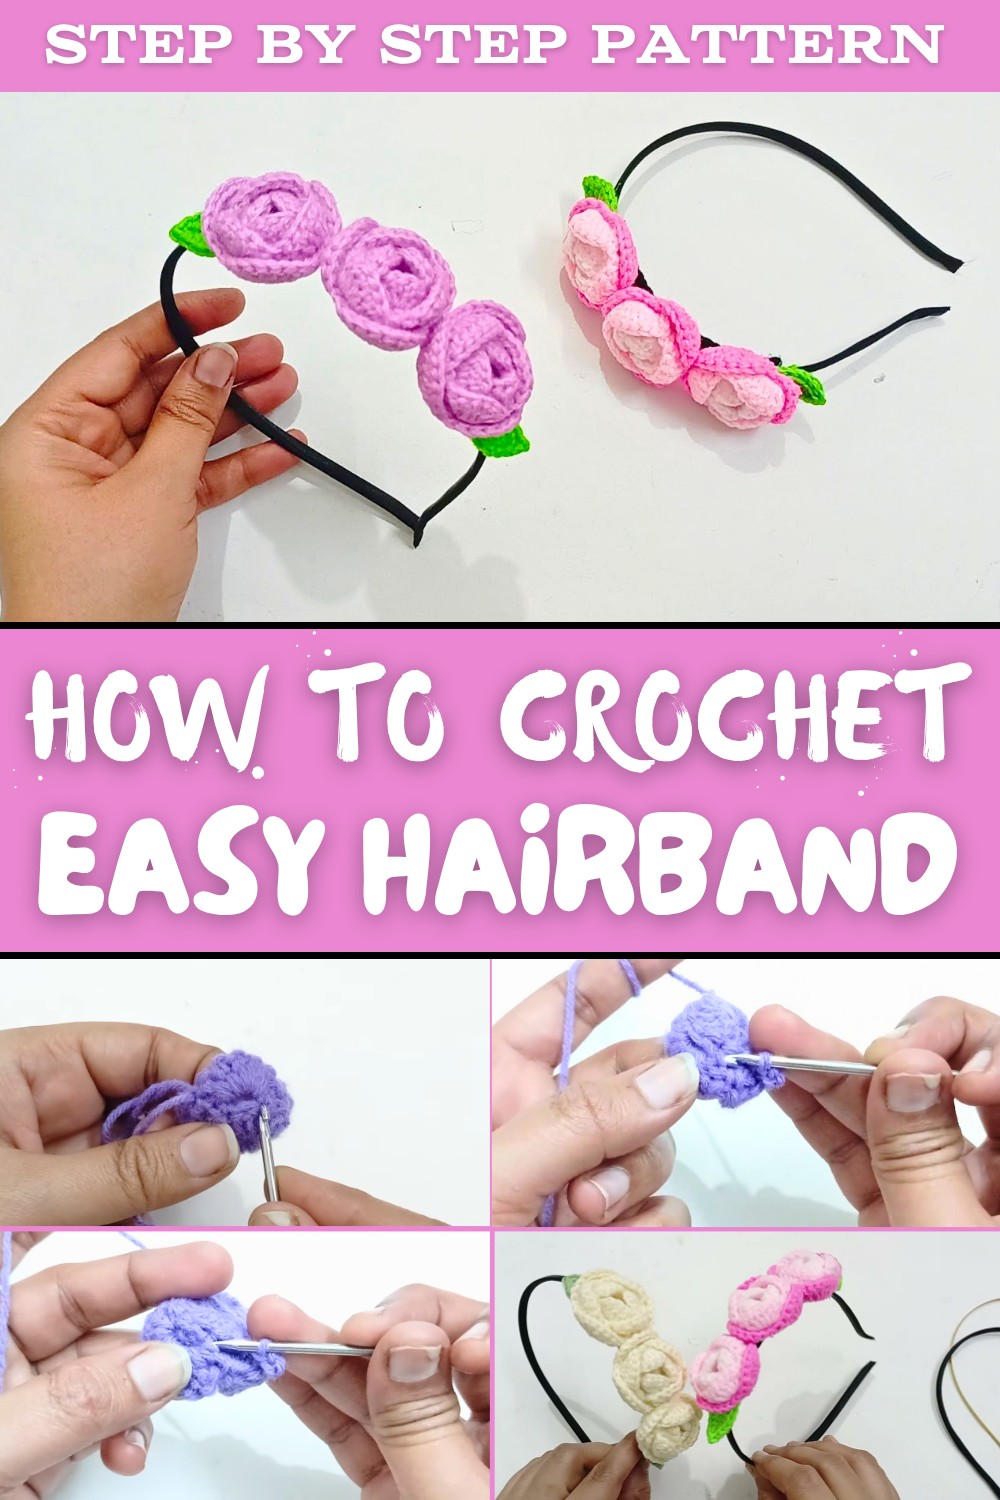
The pattern is easy to follow and uses basic crochet techniques, which means beginners can dive right in and enjoy the fun. You can use materials like plain hairbands, crochet hooks, and colorful yarns to make this accessory look exactly how you want. Whether you pick subtle shades or bold colors, this hairband can be tailored to match any outfit. Plus, it's super practical-comfortable, lightweight, and perfect for adding a special touch to hairstyles for daily wear or parties.
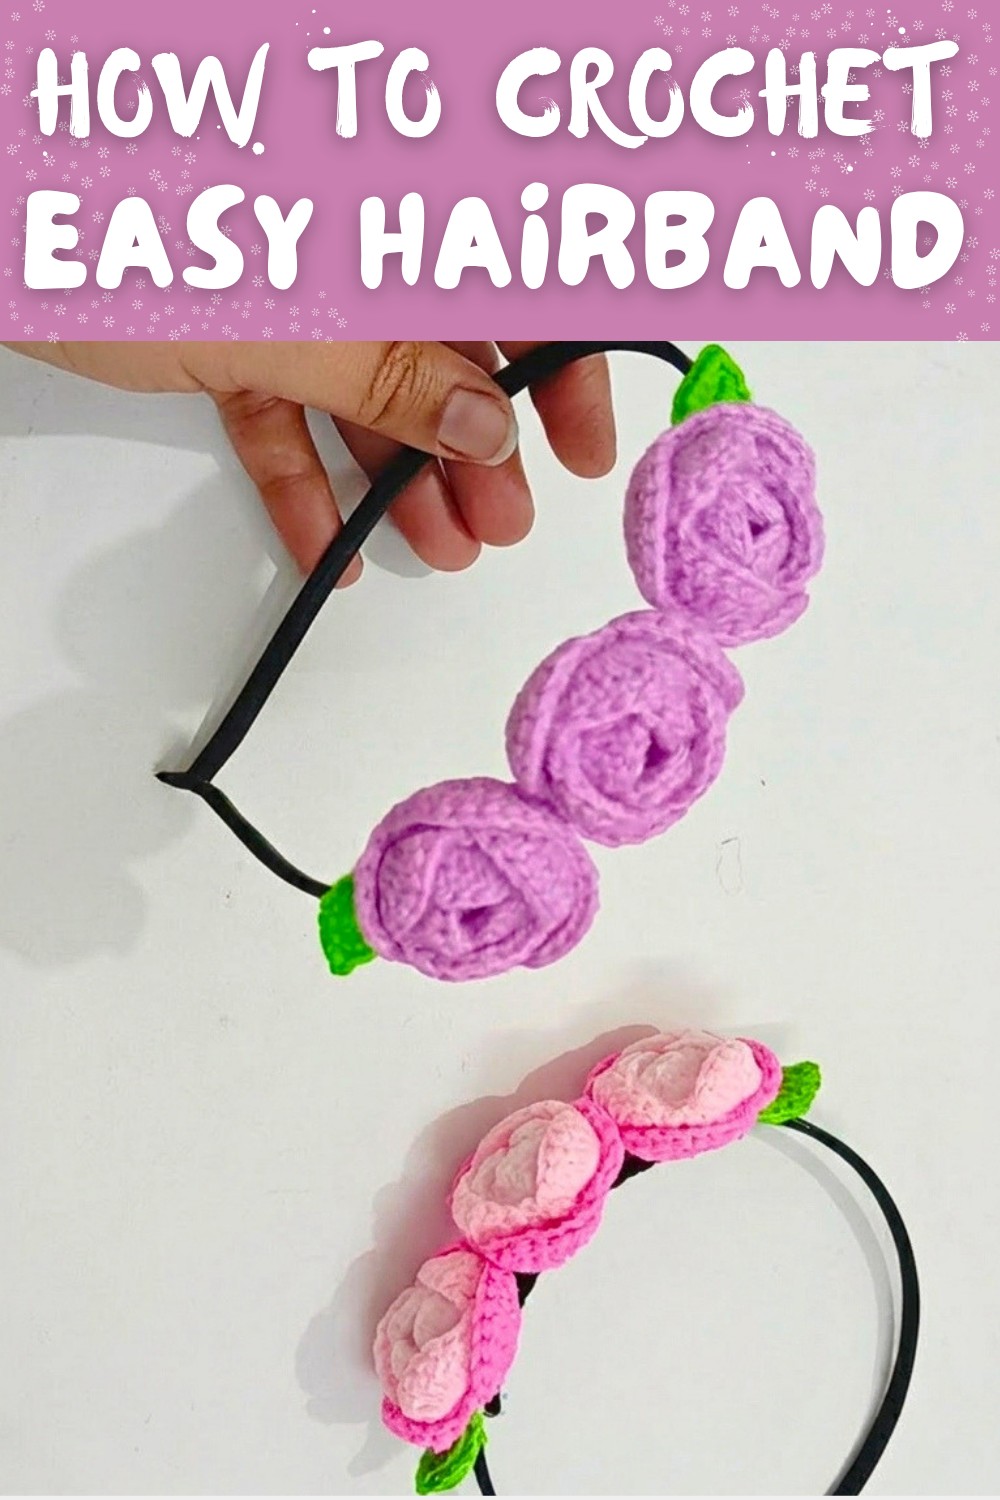
The beauty of this crochet hairband lies in its creative design, especially the adorable three petal flowers and leaf detailing. Adding these small details makes the hairband look like a charming masterpiece made just for you. To ensure durability, glue and neat finishing techniques are applied to keep everything secure and comfortable. Even the inner surface is carefully crocheted to prevent any discomfort for kids or anyone who wears it.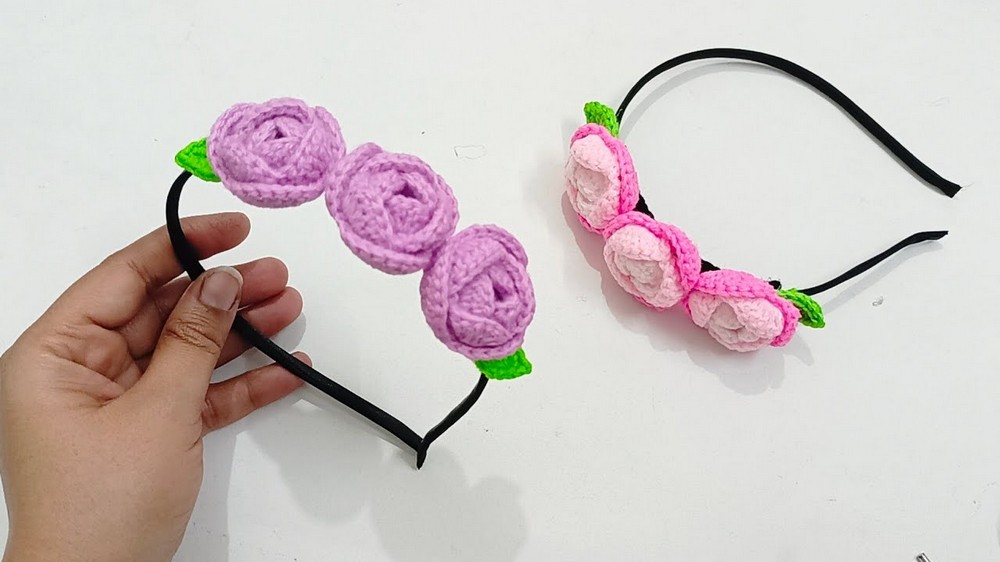
This crochet hairband is not just a practical accessory; it's a fun, creative project that lets you show off your artistic side. Whether you're gifting it, styling it, or just making it for fun, this free pattern is the perfect way to make something special and beautiful. Try this delightful project, and enjoy the colorful magic of crochet.
Crochet Hairband Pattern
Materials Required
Before you begin, gather the following materials:
- Hairbands
- Plain hairbands (preferably black or covered with fabric).
- If using uncovered bands, wrap yarn or thread (green or black) around the band for a polished look.
- Yarn
- 4 ply yarn for creating the flowers and leaves.
- Opt for contrasting colors like yellow for the petals, green for the leaves, and purple for variation.
- Crochet Hooks
- Size 11 mm hook (approximately 3 mm) for easy to see stitches-ideal for beginners.
- Size 14 mm hook (approximately 2 mm or 2.5 mm) for tighter, more refined stitches-perfect for an enhanced finish.
- Needles
- A large eye sewing needle for securing ends.
- A threader to make threading easier.
- Glue Gun
- To attach the crochet flowers and leaves securely onto the band.
- Scissors
- For neatly trimming excess yarn and thread.
Gauge
Maintain a consistent gauge, especially for the flower petals, as this ensures an even texture:
- 4 ply yarn + 14 mm hook = Tight stitches with a refined finish.
- Variations in gauge will slightly affect the size of the flowers but won't impact the overall functionality of the hairband.
Finished Size
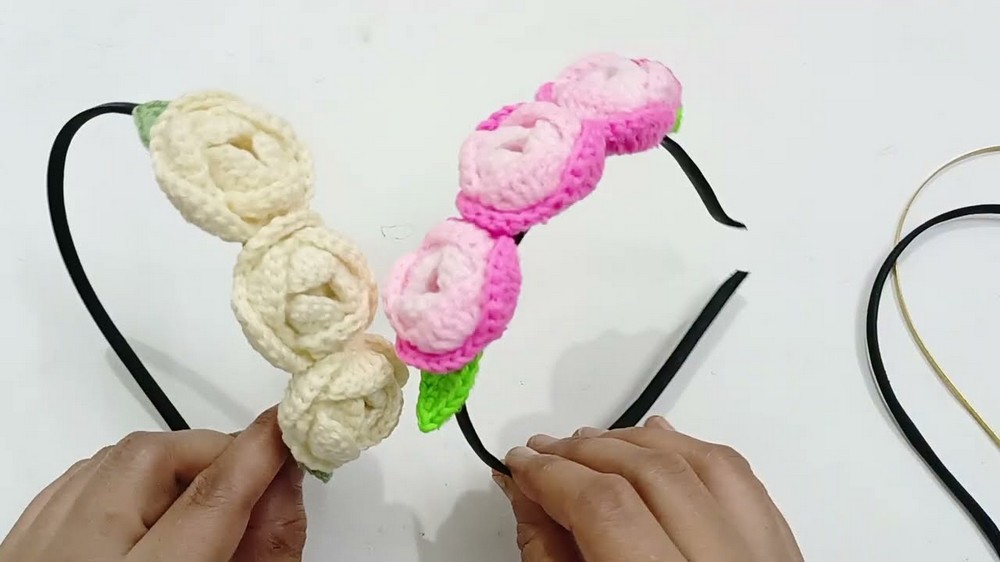
- Each completed flower measures approximately 3.5 inches in diameter.
- Hairband design and placement can be customized for children or adults.
Tips for Crocheting
- Beginner Friendly Techniques: If you're new to crochet work, use an 11 mm hook to make each stitch visible during the learning process.
- Tidy Wrapping: If using a black cover free band, wrap it completely with thread in a matching or neutral color for added uniformity.
- Flexibility: Flowers can be centered or scattered depending on your preference, and additional designs can be layered for unique aesthetics.
Crochet Flower Pattern
Round 1: Foundation Layer
- Begin with a magic ring.
- Pull the yarn into a loose loop, ensuring it's large enough to work comfortably.
- Chain 3.
- Crochet 12 double crochets into the ring.
- Pull the loop tight to close the ring.
- Slip stitch into the third chain to join the round.
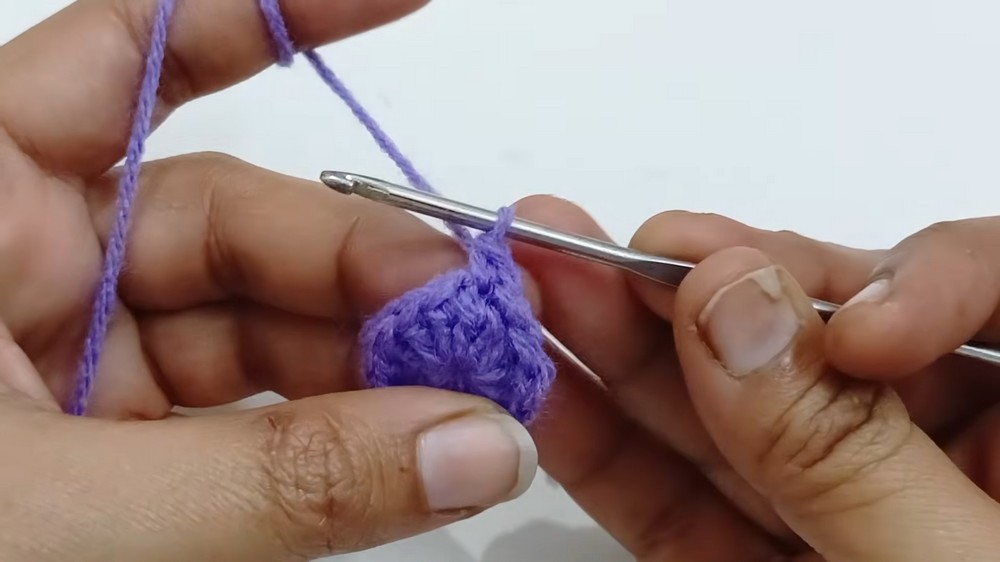
Round 2: Creating Loops for Petals
- Chain 1, then crochet a single crochet into the same stitch as the slip stitch.
- Work around the ring as follows:
- Chain 2, skip 1 stitch, single crochet into the next stitch.
- Repeat this process until you have 6 loops.
- Finish the round by slip stitching into the first single crochet.
Round 3: Petal Formation
- Work into the first loop:
- Slip stitch into the loop.
- Chain 1, then crochet 5 double crochets into the loop.
- Finish the petal with a single crochet in the same loop.
- Repeat this process for all remaining loops to form 6 petals.
- Slip stitch into the first single crochet to close the round.

Round 4: Extended Petals
- Slip stitch to the base of each petal's edges.
- Chain 3, skip ahead, and attach to the next petal's base using another slip stitch.
- Repeat the step around all petals to form 6 new loops.
- Complete the round with a slip stitch into the starting chain.
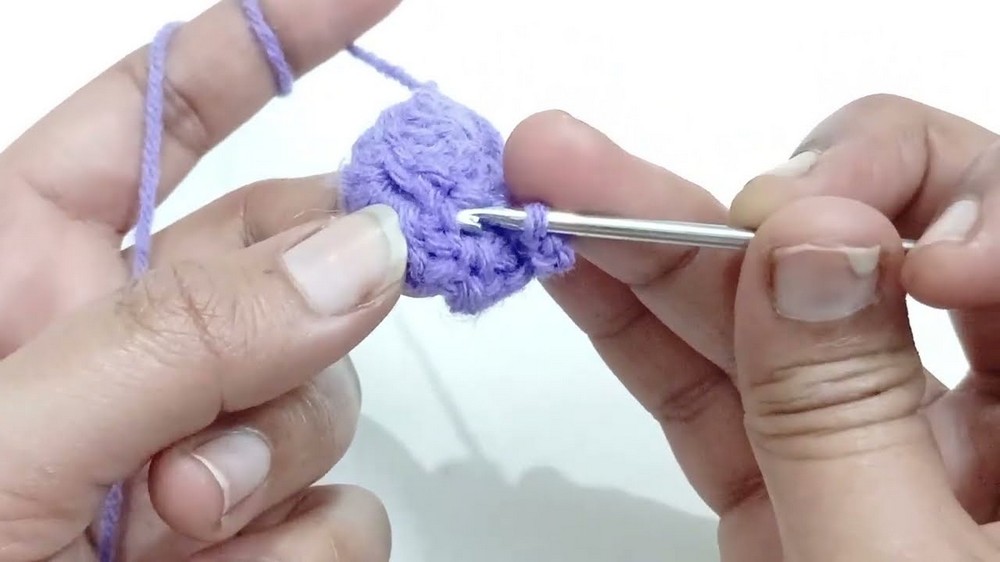
Round 5: Final Petals
- Work into each new loop as follows:
- Slip stitch into the loop.
- Chain 1, then crochet 9 double crochets into the loop.
- Finish with a single crochet in the same loop.
- Repeat this process for all 6 loops.
- Close the round with a slip stitch to the first single crochet.
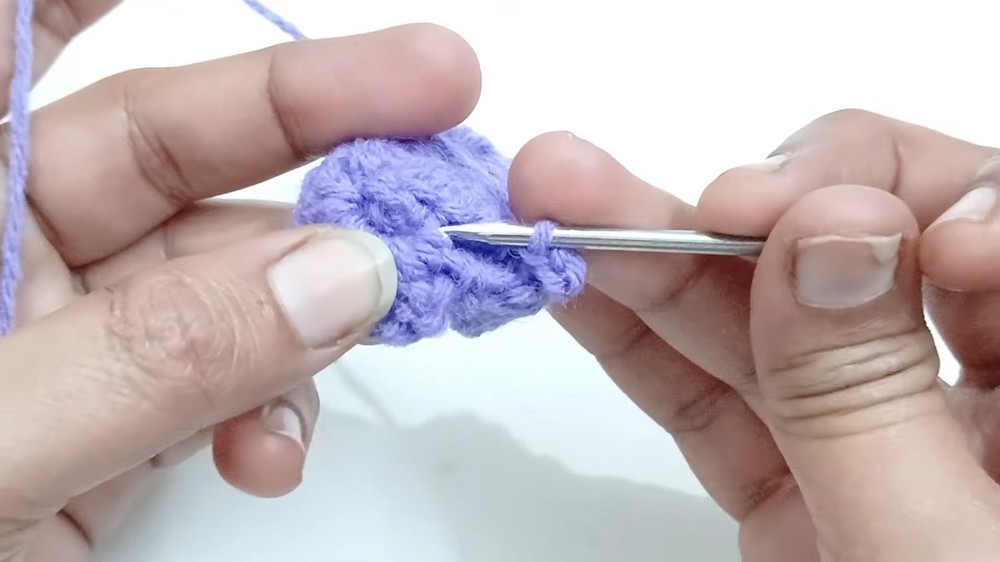
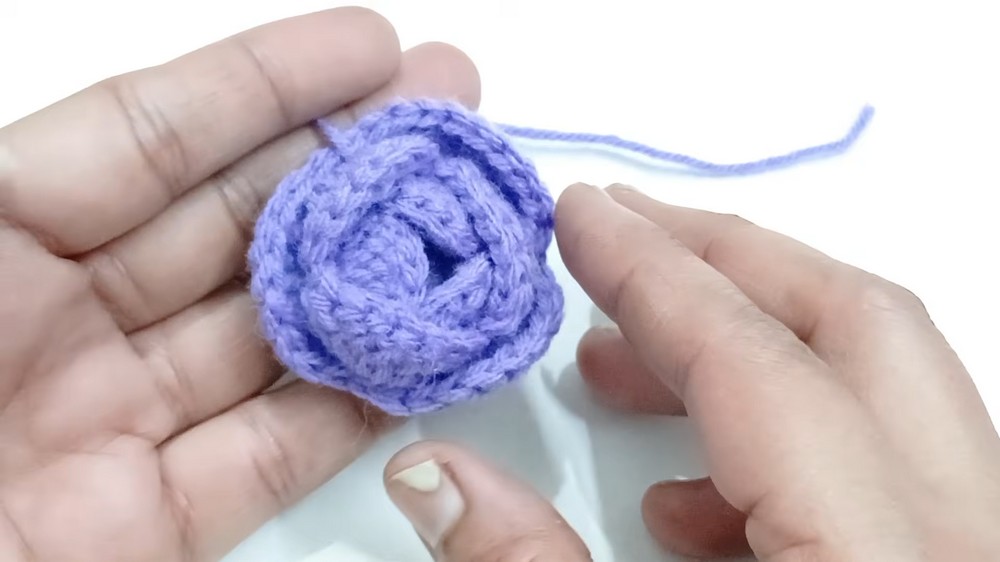
- Leave a long tail, secure the stitches, and weave in the ends with a needle.
Leaf Pattern
Base Chain
- Create a chain of 10 stitches.
Shaping the Leaf
- Skip the first chain and crochet into the second chain as follows:
- Single crochet in the chain.
- Half double crochet in the next chain.
- Double crochet into the next four chains.
- Return to half double crochet in the next chain.
- Finish with a single crochet in the final chain.
Mirroring the Leaf
- Chain 1, turn, and repeat the above steps along the opposite side of the chain.
- Slip stitch to the starting stitch to secure.
- Weave the ends with a needle to tidy up.

Assembly and Finishing
Flower and Leaf Arrangement
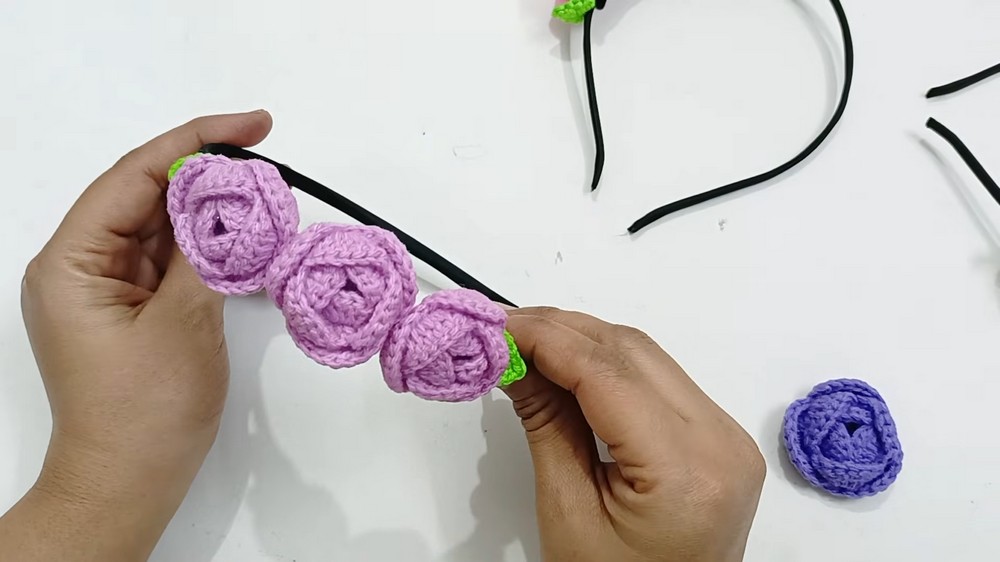
- Arrange flowers on the band before attaching them to finalize the design.
- Warm up the glue gun.
- Apply glue generously to the underside of each flower and attach securely to the band. Press firmly.
- Attach leaves beneath the flowers or layered slightly for dimension.
Optional Band Wrapping
- Wrap the hairband entirely with yarn/thread for a uniform base.
- Use glue to secure the yarn for long term durability.
Special Techniques
Magic Ring
Creates a neat starting loop for flowers without gaps in the center.
Slip Stitch
Ensures clean, seamless round transitions without bulges.
Weaving Ends
Hides leftover threads perfectly to prevent unraveling with use.
Heat Finishing
Use a candle or lighter carefully to seal yarn edges and prevent fraying. Always work at a safe distance to avoid burning the material.
Customization Options
- Color Combinations: Mix and match petal and leaf colors to suit various themes, such as pastel tones for spring or vibrant hues for summer.
- Additional Designs: Add beads, sequins, or embroidery for additional sparkle and texture.
- Placement Variations: Create centered designs or scatter pieces along the band for different looks.
- Layered Flowers: Add an additional round of petals to create a fuller flower pattern.
Finished Piece Remarks
The completed crochet flower hairband is a charming, handmade accessory that adds style to casual or festive outfits. It is versatile, durable, and customizable to suit personal tastes. The inclusion of additional flowers and leaves enhances its appearance while maintaining its practicality for regular use.
Whether crocheting for personal use, gifting, or selling, this design is sure to stand out for its elegance.
Conclusion
This crochet flower hairband pattern offers a detailed, step by step approach to guide crocheters through the process, ensuring clarity at each stage. Using minimal materials and easy techniques, this project is perfect for all skill levels. With opportunities for personalization, it teaches not only the basics of crocheting but also inspires creativity in making unique accessories.
Complete this pattern with patience and precision to crochet a stunning finished piece that will enhance your outfit, make a thoughtful gift, or be the perfect addition to any handmade collection.
Enjoy crocheting this project and let your creativity flourish.