
Free Crochet Handkerchief Cowl Pattern for Stylish Layers
Stitch a warm and stylish neck scarf this winter with this free crochet handkerchief cowl pattern, perfect for adding comfort and charm to your outfits.
The "Free Crochet Handkerchief Cowl Pattern" is a simple yet stylish project that combines beauty and functionality. It is perfect for keeping you warm and fashionable during chilly days. This crochet pattern forms a unique triangular shape that wraps around your neck effortlessly, giving it a modern and cozy appearance. Whether you're adding the cowl to your everyday winter outfit or gifting it to a loved one, it's a must try project for crochet lovers.
Free Crochet Handkerchief Cowl Pattern for Every Winter Style
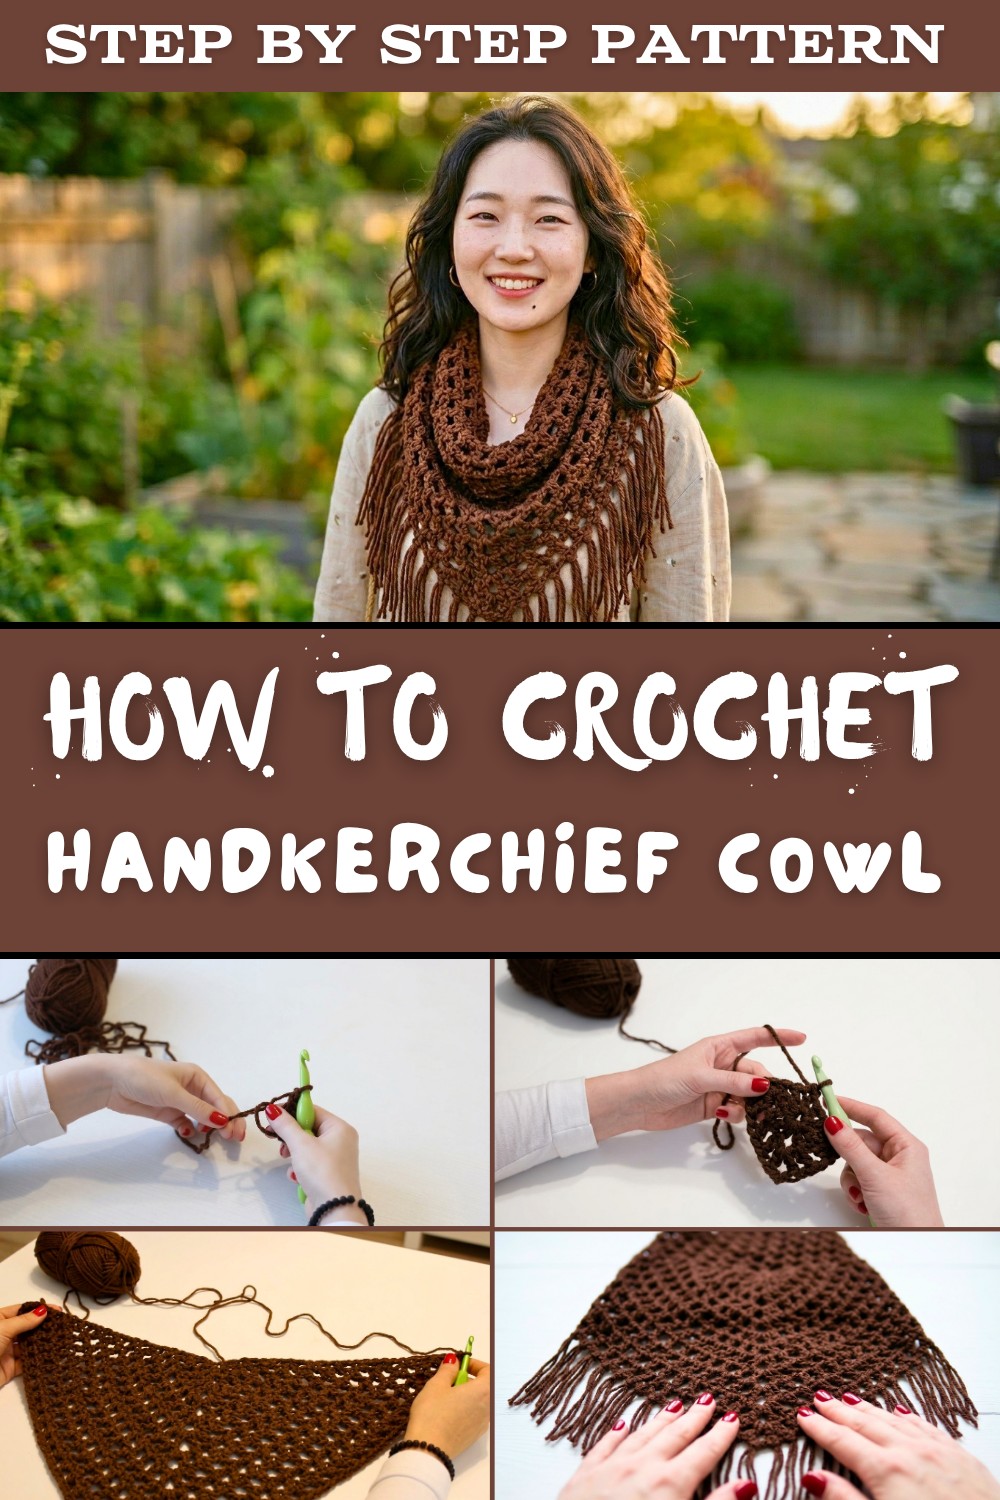
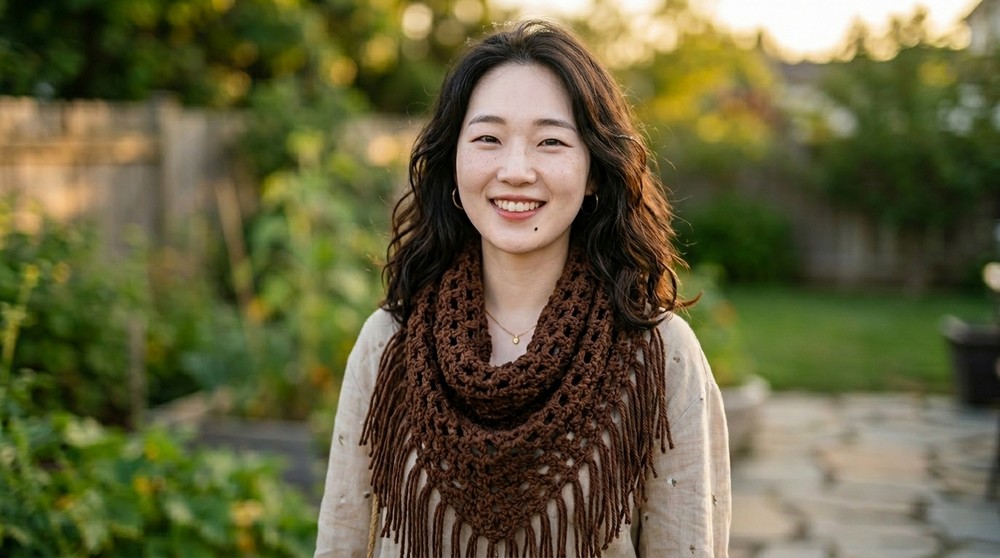
One of the best features of this pattern is how versatile it is. You can choose to make it in either a shorter midi length or a slightly larger maxi length for fuller coverage. Using chunky yarn, such as bamboo spun yarn, adds a soft drape and makes the cowl feel light yet warm, perfect for layering. The pattern also includes a fringe detail, adding a playful and decorative touch that makes it stand out.
This project is beginner friendly and involves basic crochet techniques like the magic circle, double crochet, and chain stitches. The design grows row by row into a triangle, giving you creative control over its size and style. Whether you are new to crochet or an experienced maker, this pattern is fun, quick, and offers endless customization. Try it today and elevate your winter wardrobe with this charming handmade accessory.
Crochet Handkerchief Cowl Pattern
Materials Required
- Yarn: Bamboo spun yarn or any chunky yarn (Recommended: 2 skeins of bamboo spun yarn from Hobby Lobby, each approximately 112 yards).
- Crochet Hook: Size N.
- Scissors: Sharp and precise.
- Yarn Needle: For weaving in ends.
- Measuring Tape: To measure your cowl and fringe lengths.
Special Techniques
- Magic Circle: Used to start the cowl base.
- Double Crochet (dc): The primary stitch used throughout the pattern.
- Chain Stitch (ch): Used to build foundational rows and spaces.
- Slip Stitch (sl st): For connecting rows and securing Fringe.
Pattern Instructions
Step 1: Begin the Foundation
- Create a magic circle:
- Pull the yarn around your fingers and form a loop. Insert your hook into the loop and pull the working yarn through, leaving a tail for tightening later.
- Work stitches around the circle without closing it immediately.
- Chain 4 (ch 4):
- This will count as the first double crochet (dc) plus a chain stitch (ch 1).
- Work 3 more sets of double crochet + chain 1 (dc + ch 1) into the magic circle:
- Ensure you are working over the tail yarn.
- Tighten the circle to close it and secure the foundation:
- You should have a triangle shape forming with 4 double crochets and chain stitches spaced evenly. Leave the circle open temporarily; no joining required.

Step 2: Start Building Rows
Each row builds the triangular shape of the handkerchief.
- Row 1:
- Chain 4 (counts as first dc + ch 1).
- Turn your work. Work a double crochet into the first stitch (this creates the row's edge increase).
- Continue working dc + ch 1 into each stitch until the chain 2 space (center of the triangle).
- Work a dc, ch 1, dc in the chain 2 space (this creates the middle increase).
- Continue working dc + ch 1 along the other edge until the last stitch.
- In the last stitch/chain, work dc + ch 1, dc to create the final row edge increase.
- Repeat Row Building:
- Each row follows the same pattern:
- Begin with a ch 4 (counts as first dc + ch 1), turn, and work an increase at the start.
- Work dc + ch 1 into each previous dc across the row.
- In the center chain space, always work dc, ch 1, dc for the middle increase.
- Finish rows with an increase by working dc + ch 1, dc into the last stitch/chain.
- Each row follows the same pattern:


Continue this process until the cowl measures 24 inches across (approximately 11 rows). Adjust the number of rows based on the yarn thickness and desired size.
Step 3: Joining the Corners
- Once the triangular section is complete, join the two top corners:
- Slip stitch (sl st) the edges together into the third chain from the start of the first row.
- This creates the neckline of your cowl.

Step 4: Build the Neck Section
- Switch to working in rounds for the cowl neckline.
- Work the pattern (dc + ch 1) into each chain space along the edge:
- Start with ch 4.
- Work dc + ch 1 into each chain space across the row.
- Join with slip stitch into the third chain of the starting chain.
- Build a total of 8 rows for the neckline section. You can adjust the number of rows for a taller or shorter neckline.

Finishing
Add Fringe:
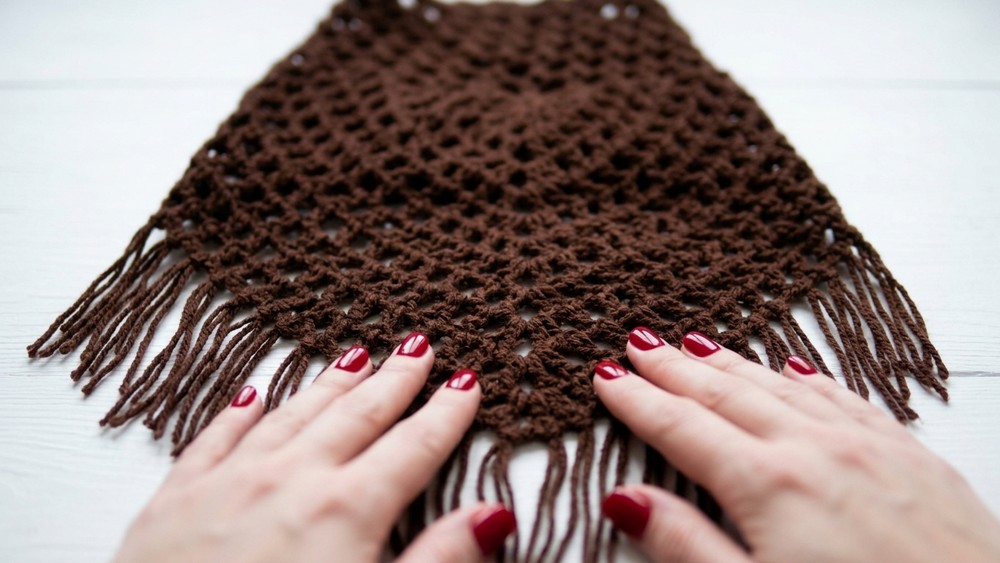
Fringe adds beautiful movement to the cowl and complements its triangular design.
- Cut 37 strands of yarn, each 12 inches long.
- Place Fringe only in chain 1 spaces along the edges and the bottom corner (chain 2 space).
- Avoid placing Fringe along the back to keep a neat finish. Add Fringe only to the parts visible on the front and sides.
- Attach Fringe:
- Fold each strand in half.
- With your crochet hook, pull the folded strand through the chain 1 space from back to front, creating a loop.
- Pull the loose ends of the strand through the loop and tighten.
Weave in Ends:
Use a yarn needle to securely weave in any loose ends.
Final Words
Your handkerchief cowl is now ready! This elegant design balances warmth, style, and functionality, making it perfect for cozy winter outfits. Whether you're gifting it or wearing it yourself, it pairs beautifully with coats, sweaters, and scarves.
Tips for Pattern Maintenance
- Washing: Hand wash gently using cold water and lay flat to dry to maintain the yarn texture and Fringe integrity.
- Adjusting Size: Consider the recipient's neck size when choosing row and Fringe counts.
- Yarn Selection: Bamboo spun yarn provides a soft drape, but any chunky yarn can be substituted.
- Personalization: Add beads to the Fringe or mix yarn colors for creative flair.

Enjoy making your cozy and stylish handkerchief cowl.