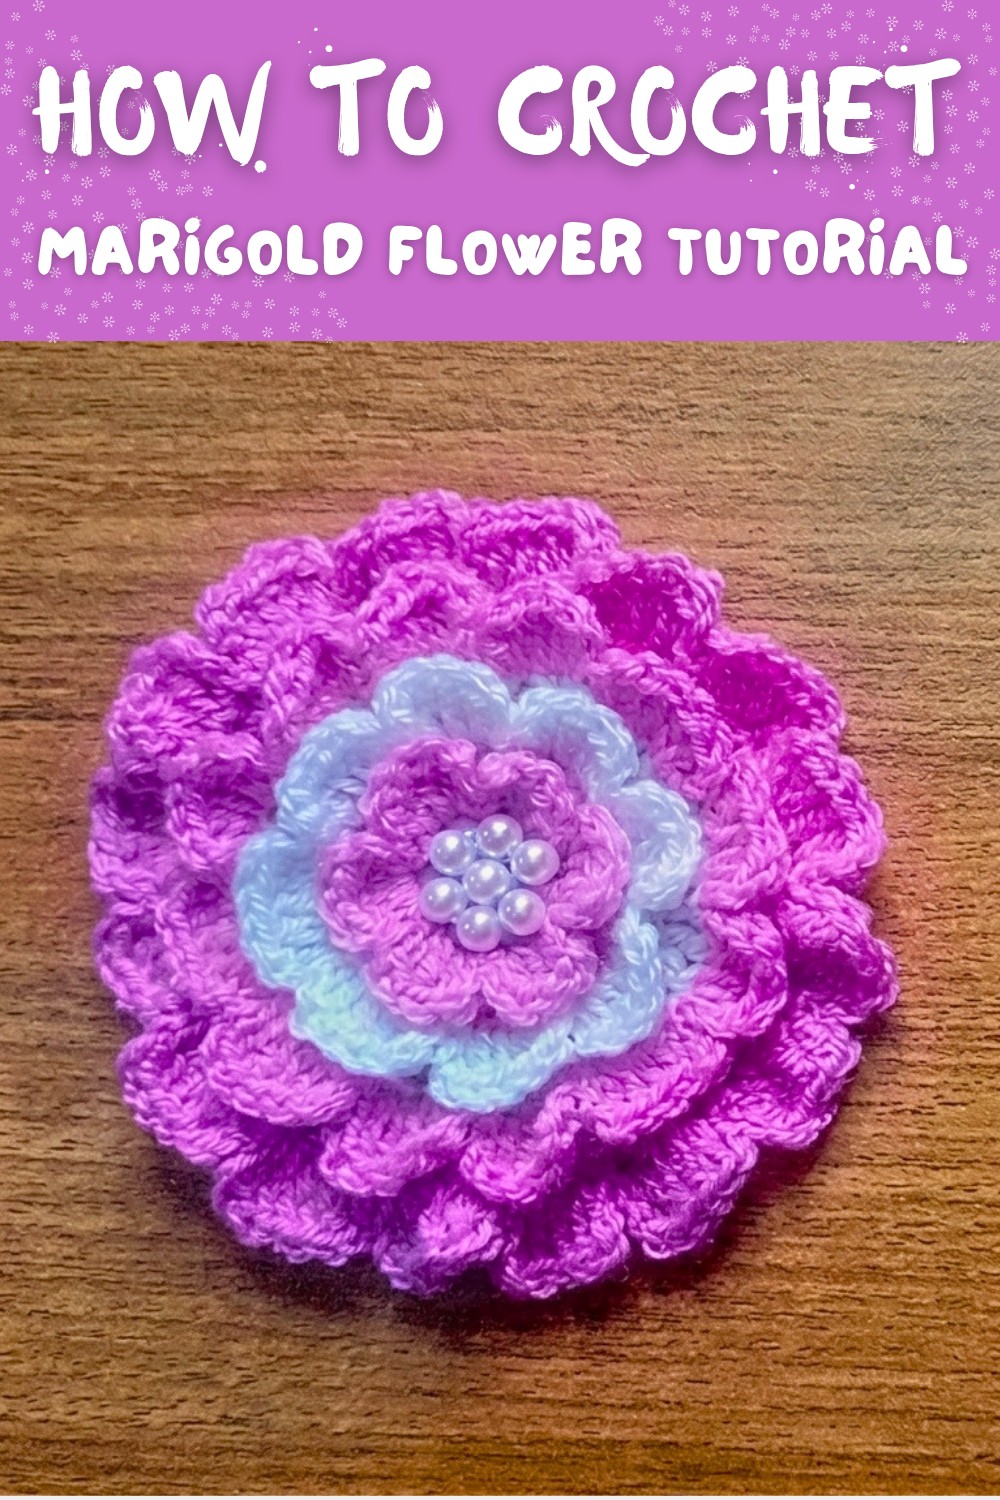
Free Crochet Marigold Flower Pattern For Bright Decorations
Refresh your decor with this free crochet marigold flower pattern and make a colorful bloom for tables, shelves and gift displays.
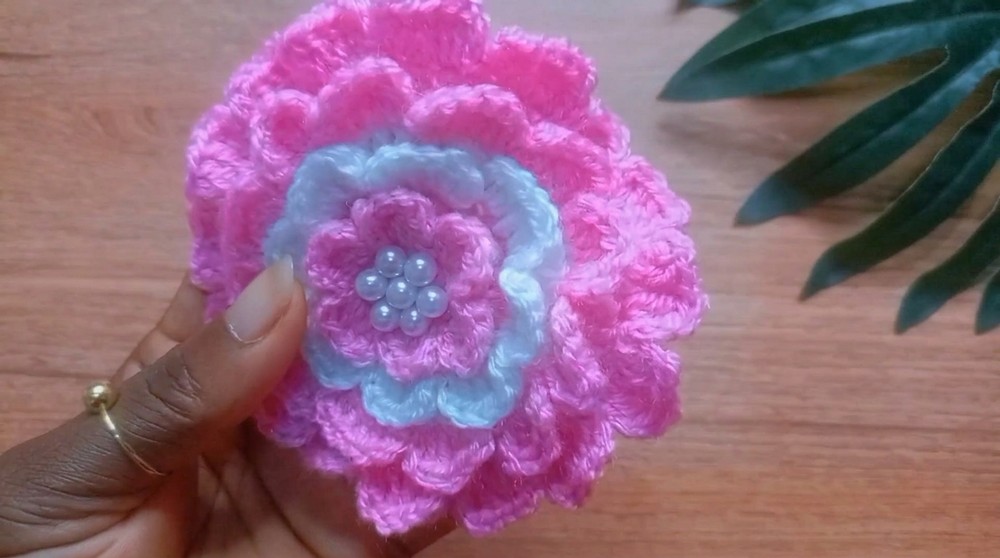
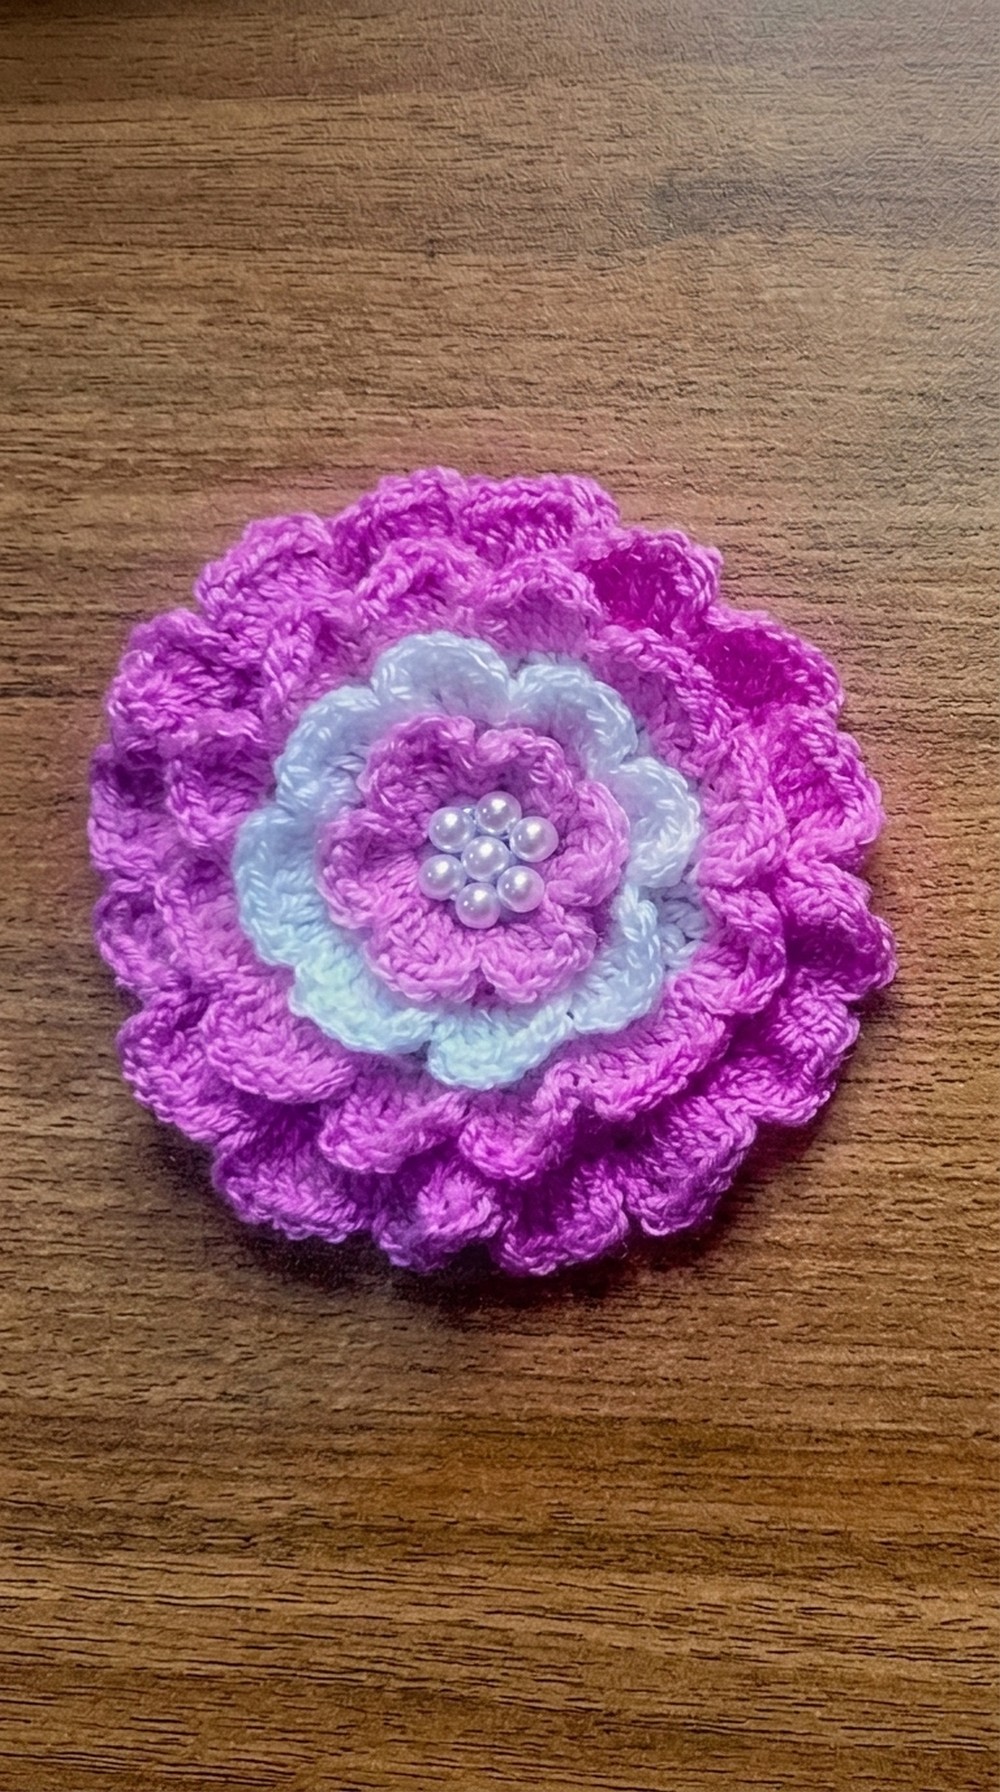
This simple and free pattern allows you to make something truly beautiful and unique. The marigold flower is known for its gorgeous layered petals and vibrant design, making it a perfect decoration for many items. You don't need to be an expert to follow along, as the pattern is beginner friendly and guides you every step of the way. The crochet marigold flower stands out because of its amazing layers of petals, which can be made in different colors. Each layer adds depth and beauty to the flower, making it look full and realistic. You can customize the flower by using bright colors, mixing shades, or keeping it simple with one color. Even better, the size of your flower is adjustable-just choose a thicker yarn for a larger flower or a thinner yarn for a smaller one.
Crochet Marigold Flower Free Pattern With Warm Vibes
This flower isn't just beautiful; it's also super useful. Use it to decorate hats, bags, baby clothes, headbands, or cushions. You can even attach beads or pearls to the center for a special touch. It's also a great way to add a personal, handmade touch to your gifts and projects.
The pattern is based on easy techniques like magic circles, slip stitches, double crochets, and working into front or back loops. By following along, you'll be stitching six, eight, or more petals as you go-truly bringing your creation to life. This project is simple, fun, and perfect for anyone who wants to explore crochet or just try something new.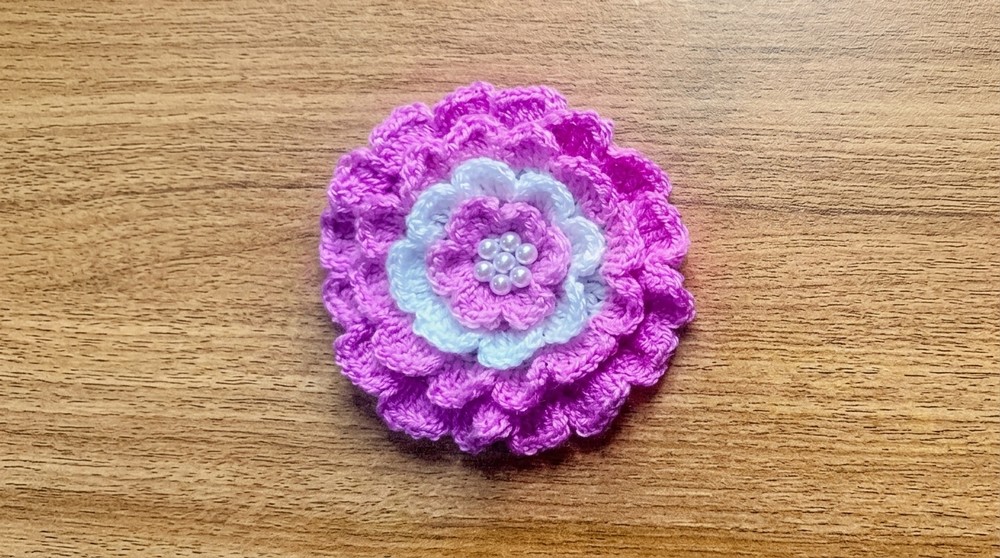
Start crocheting your marigold flower today and enjoy the creativity and beauty it brings.
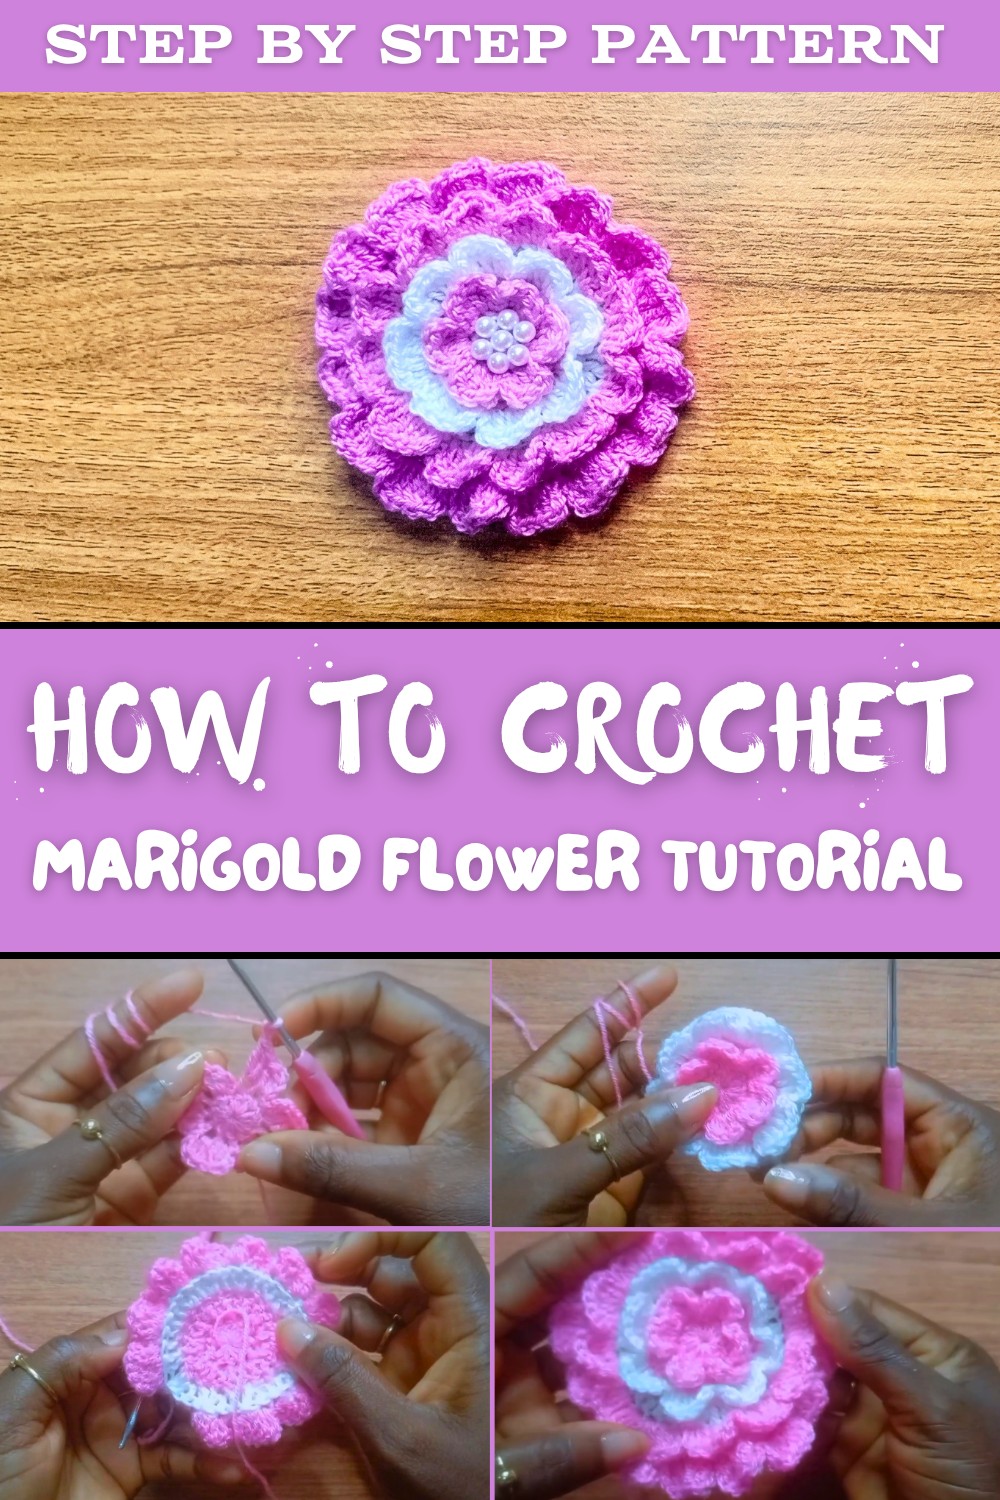
Crochet Marigold Flower: Step by Step Pattern
Materials Required
- Yarn: Any weight of yarn can be used; however, the thickness of the yarn will determine the size of the flower. For best results, choose a soft, vibrant yarn.
- Crochet Hook: 3 mm crochet hook (or one suitable for your chosen yarn).
- Scissors: For cutting the yarn.
- Darning/Tapestry Needle: To weave in the ends.
- Optional Decorations: Buttons, beads, or pearls for embellishing the center of the flower.
Stitches and Special Techniques
Below is a list of crochet stitches and techniques used in this pattern:
- Magic Circle: Creates a tight center for your crochet rounds.
- Chain (Ch): Basic stitch to create foundational loops.
- Slip Stitch (Sl St): Used to join rounds and secure petals.
- Double Crochet (Dc): Adds height and texture to each petal.
- Front Loops Only (FLO): Working into the front loops creates layers for the petals.
- Back Loops Only (BLO): Creates a base for the next layer of petals.
Step by Step Pattern
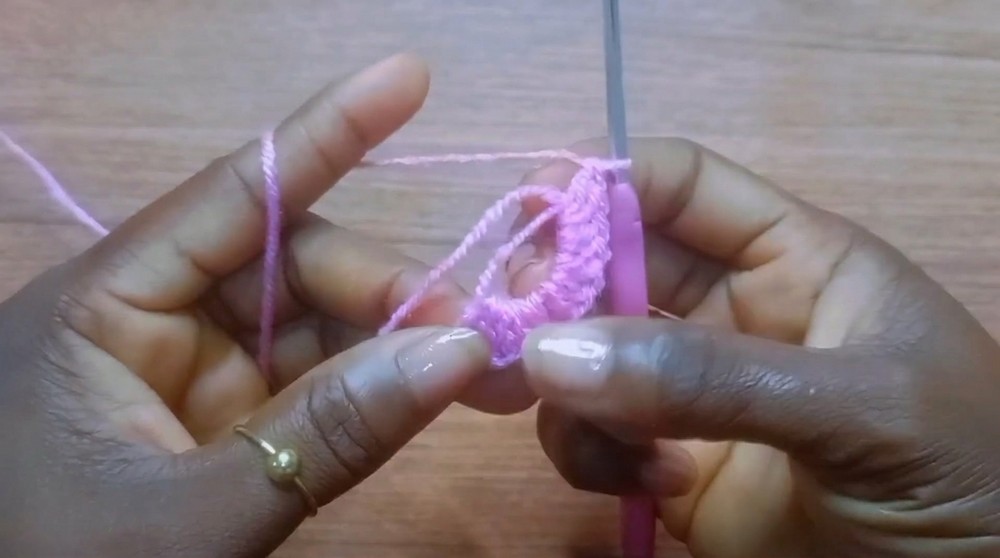
Foundation Round
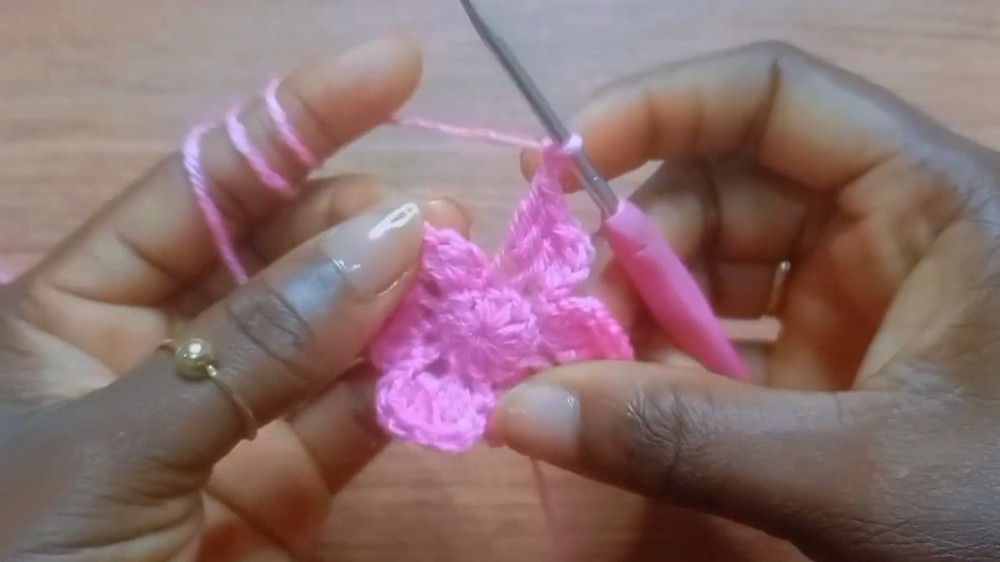
- Begin with a magic circle. Wrap the yarn around your fingers to form a loop and secure it on your hook.
- Chain 2 (this does not count as a stitch).
- Crochet 12 double crochets (Dc) into the magic circle.
- Pull the yarn tail tightly to close the circle.
- Slip stitch into the top of the first double crochet to close the round. You should have a total of 12 stitches.
First Layer of Petals
Note: Work this round in the front loops only (FLO).
- Chain 2 (does not count as a stitch).
- In the first stitch FLO: Crochet 2 Dc, chain 2, then slip stitch back into the same FLO.
- Repeat Step 2 for each stitch around in the FLO. You should have 6 petals at the end of this round.
- Slip stitch to the bottom of the first petal to close the round.
Second Layer of Petals
Note: Work this round in the back loops only (BLO) from the foundation round.
- Locate the first unworked BLO from the foundation round and slip stitch into it.
- Chain 2 (does not count as a stitch).
- Crochet 2 Dc into each BLO around. You'll increase the stitch count from 12 (original stitches) to 24.
- Slip stitch to the top of the first Dc to close the round.
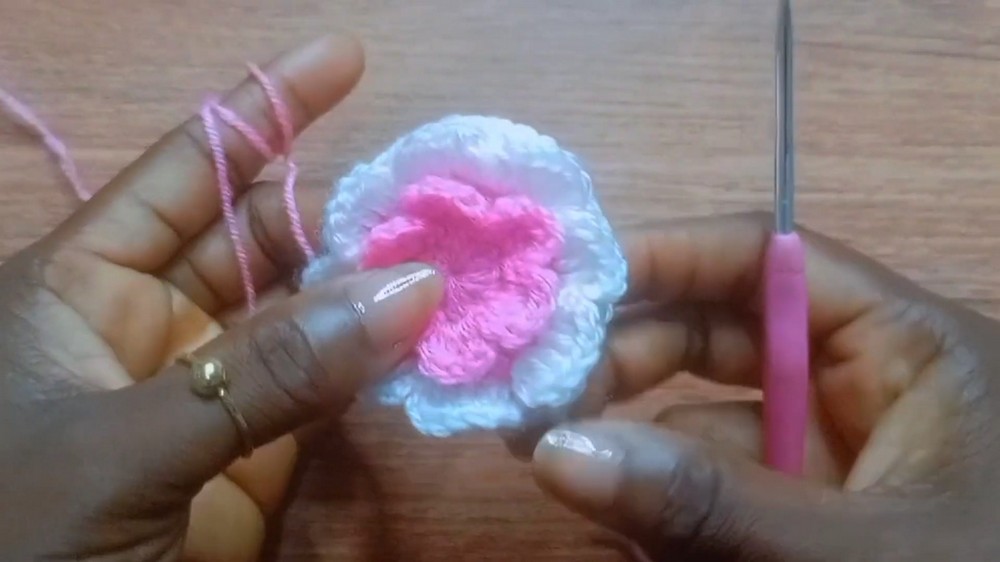
Adding a New Color (Optional)
- If you'd like to change colors, fasten off your current yarn and attach a new color to any stitch in the previous round.
- Work the following round in front loops only (FLO) to create the second layer of petals.
Third Layer of Petals
Note: Work this round in FLO.
- Chain 2 (does not count as a stitch).
- In the first FLO: Crochet 2 Dc, 1 Dc in the next stitch, and 2 Dc in the following stitch. Chain 2 and slip stitch back into the same FLO.
- Repeat Step 2 for each group of 3 FLO stitches around. You should have 8 petals at the end of this round.
- Slip stitch to the base of the first petal to close the round.
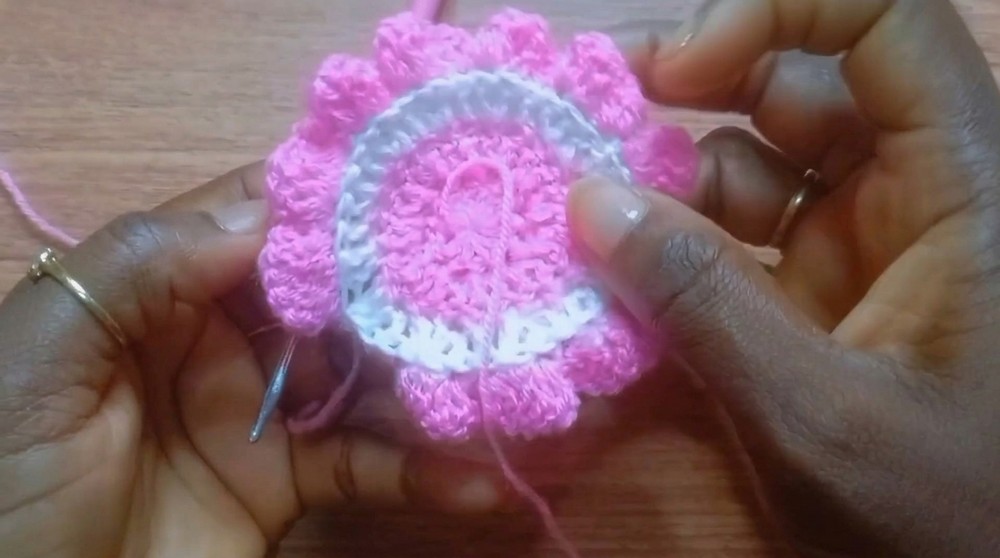
Fourth Layer of Petals
- Slip stitch into the BLO of the previous round (24 stitches from the second layer).
- Chain 2 (does not count as a stitch).
- Work the following sequence in BLO around: 2 Dc in the first stitch, 1 Dc in the next, 1 Dc in the next. This will increase your stitch count from 24 to 36.
- Slip stitch to the top of the first Dc to close this round.
Fifth and Final Layer of Petals
Note: You can keep the current color or switch to another.
- Chain 2 (does not count as a stitch).
- Work into both loops in this final round: In the first stitch, crochet 2 Dc. In the next two stitches, crochet 1 Dc each. Repeat this sequence (2 Dc, 1 Dc, 1 Dc) around. Chain 2 and slip stitch back into the base of the petal.
- Repeat for each group of 3 stitches around. You should have 12 petals at the end of this round.
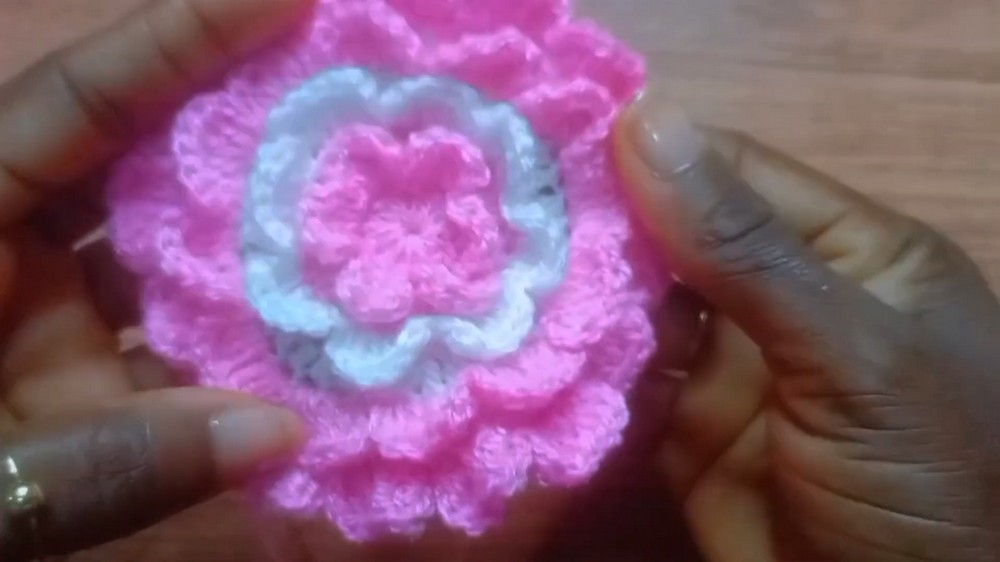
Finishing the Pattern
- At the end of the fifth round, fasten off your yarn and cut it, leaving a 2-3 inch tail.
- Use your darning needle to weave in all loose ends on the back side of the flower.
- If desired, stitch a button, beads, or pearls to the center to enhance the marigold's charm.
Tips and Suggestions
- Choosing Colors: Experiment with vibrant or contrasting colors for each layer of petals to achieve a stunning, layered effect.
- Yarn Weight: The thicker the yarn, the larger the flower. Use lightweight yarn for dainty accessories or bulky yarn for statement pieces.
- Secure the Magic Circle: Tighten the magic circle completely to ensure a firm center for your marigold.
- Layer Adjustments: You can stop at 3 layers for a simpler flower or add more layers for a fuller look. Each layer simply involves increasing the petal count (e.g., 6, 8, 12, 16 petals).
- Decoration Ideas: Attach your finished marigold to hats, headbands, bags, or sew it onto baby blankets or clothing for added flair.
Final Words
Thank you for following this crochet marigold flower pattern. With its intricate yet simple assembly, the finished flower is perfect for embellishments or creative projects. I hope this guide has provided the clarity and support you need to bring this beautiful flower to life. Remember to enjoy the process and have fun experimenting with colors, placements, and designs.